Since bok choy is suitable for cultivation in USDA Hardiness Zones 2 to 11, just about anyone in the US can grow their own supply of the cruciferous leafy green.
And don’t rule yourself out just because you’re an apartment dweller, or don’t have the space or the energy to keep up with a full-size vegetable patch.
We link to vendors to help you find relevant products. If you buy from one of our links, we may earn a commission.
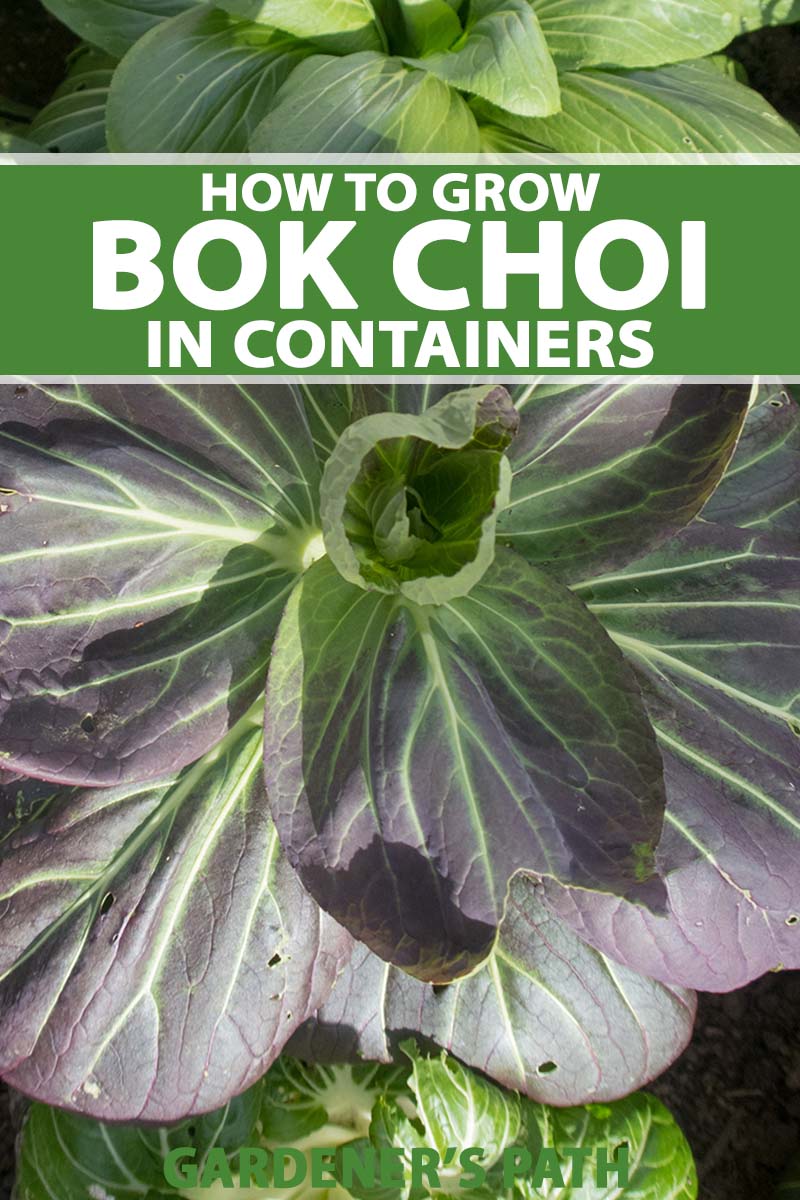
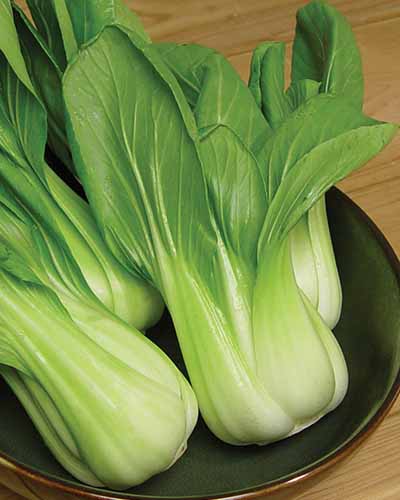
It’s entirely possible to grow this cool-weather veggie, also known as pak choi or by its botanical name Brassica rapa subsp. chinensis, in a container!
The benefits of transplanting or direct-seeding bok choy in a pot don’t stop with mere space saving, either.
You can also more easily extend the growing season by protecting small pots of bok choy with row covers, for example.
It’s simpler to handle insect pests and prevent diseases in a container, too.
But the biggest plus might be the increased control over bolting, which is a bok choy gardener’s Public Enemy No. 1.
When pak choi bolts, flowering and going to seed before its time, it loses its flavor and becomes tough and woody.
Container gardeners can avoid the two main causes of bolting – early heat waves and surprise bouts of freezing weather – simply by bringing their plants indoors for a brief spell.
Try that with a raised bed or veggie patch!
Along with selling you on the merits of this gardening option, I’d like to share the tried-and-true garden practices that will help you succeed with growing bok choy in containers.
Here’s what I’ll cover:
What You’ll Learn
Choosing the Right Container
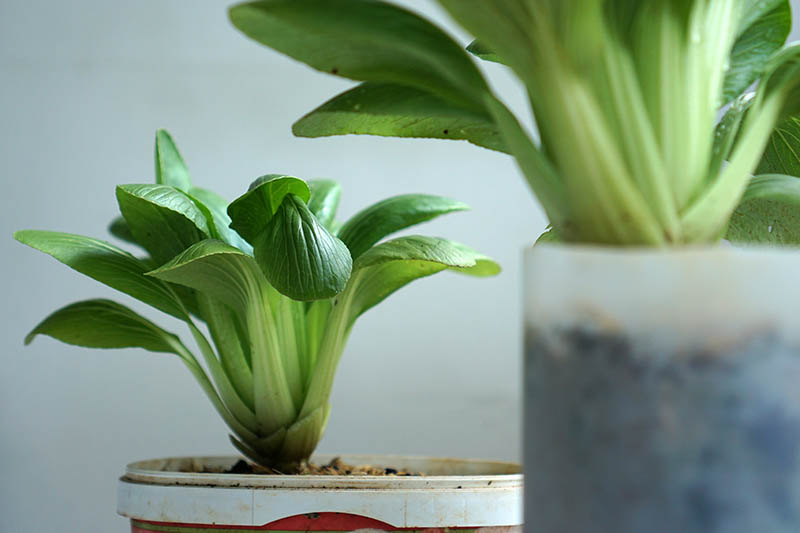
I’ve seen people do just fine growing pak choi and other leafy brassicas in all sorts of pots, from coffee cans (remember those?) to peanut butter jars, styrofoam cups, tea kettles, or even clean, dry ice cream cartons.
Any of those would work for you, too, as long as you clean them first and can figure out a way to add drainage holes. Bok choy likes moist, well-draining soil, and will languish if the growing medium is waterlogged or overly dry.
If you’d like to plant in a more conventional container, be sure to find one that has drainage holes and that’s made from a material that won’t dry out too quickly.
You’ll need a pot that’s at least eight to 10 inches in diameter per plant, and that’s at least six inches deep for dwarf varieties, or eight to 10 inches deep if you’re planning to grow standard cultivars to maturity.
When you aim to grow more than one plant per pot, it should be wide enough to allow for the spread of each plant plus a couple of inches between plants.
Some gardeners mistakenly believe they can plant any variety of veggie seeds quite close together in a container, but that’s only true of bok choy if you plan to harvest it all at the microgreen stage, while it’s still just an inch or so tall.
Larger seedlings need good air circulation to avoid fungal diseases and grow quickly.
Also consider how big and heavy of a pot you are willing to contend with. Some ceramic or concrete planters are quite difficult to move, which makes it tough to bring bok choy indoors to avoid weather that’s too hot or too cold, if this is something that you hope to be able to do.
Even a vinyl planter or a grow bag can become exceedingly heavy once you fill it with soil.
Your best bet is going to be lightweight pots that are big enough to hold three plants each at most, or bigger metal tubs with a rolling plant stand placed beneath them that will allow you to move them around easily.
Once you’ve settled on a container, choose the best soil to go with it, and load ‘er up. Here’s how:
Preparing the Pot
Whether you’re growing bok choy in a garden plot or a container, it prefers fertile, well-draining growing medium.
It’s also important to fill containers with a potting mix that’s sterilized, so you’re not importing bugs or soilborne disease pathogens.
Nature’s Care Organic Potting Mix
Nature’s Care Organic Potting Mix with Water Conserve from Miracle-Gro is a suitable option. It’s available in eight-quart bags from Home Depot.
Ordinary garden soil can also be too dense and may not have enough nutrients, not to mention the slightly acidic to neutral pH of 6.0 to 7.5 that’s required for quick-growing, flavorful pak choi.
Ahead of transplanting or direct seeding, fill the containers with the loose, fertile potting mix. Leave a gap of an inch or two at the top of the pot to allow for easy access when watering.
Then add your plants or seeds of choice, as we cover below.
How to Sow
Identifying a spot outdoors where you can tuck a container or two is easier than preparing a garden bed, but you’ll still need a location that’s partially shaded, and that delivers three to five hours of sun each day.
A protected deck might offer some shade, or a mature tree.
If you’re planting more than one plant in a pot, use the space requirements listed on your seed packet or transplant label to calculate how much room you’ll need between plants, also taking into account whether you plan to pick them when they’re mature or baby size.
Learn more about bok choy spacing in our guide.
Bok choy grows best when nighttime temperatures are reliably higher than 50°F, so wait to transplant or sow seeds outdoors a couple of weeks past your average last frost date.
Also be sure you’ll have enough time for them to mature before hot weather arrives and the plants bolt, which can ruin the flavor and make the texture woody.
See our guide on preventing bok choy bolting for more instructions on that important aspect of growing this vegetable in containers.
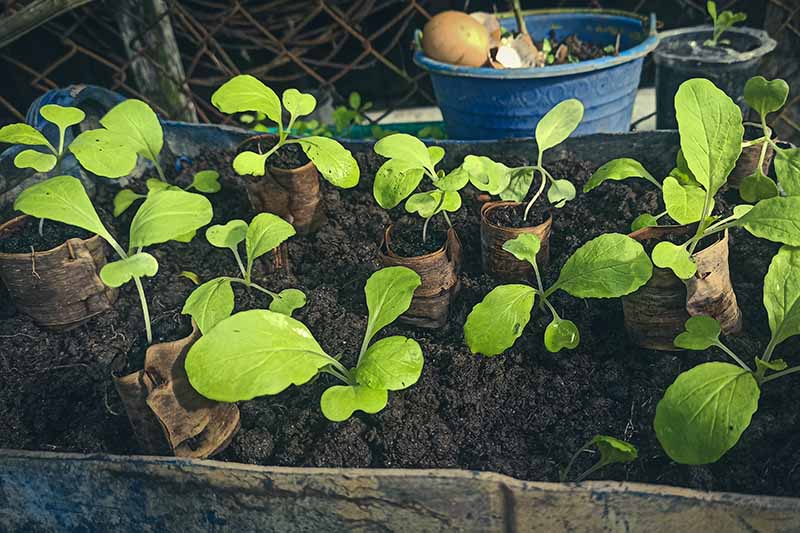
To direct seed into your container, sow the seeds a quarter-inch deep. Keep the soil in the pot moist but not soggy until germination. This usually takes four days to a week.
When they’re an inch or two tall, thin the seedlings to stand three to five inches apart, depending on the variety you are growing.
If you wish to start your seeds indoors, sow them a quarter-inch deep and about an inch apart in a flat or in individual cells filled with about an inch of pre-moistened potting mix or commercial seed starting medium.
Once the seeds sprout, move them to a sunny windowsill or somewhere else so they’ll receive about five hours of sun per day. Keep the soil moist and keep them out of direct light.
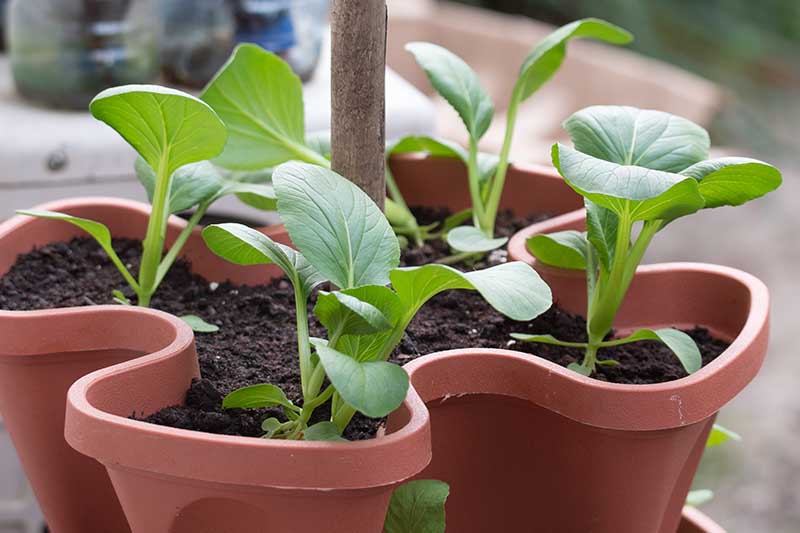
Once they’re a couple of inches tall, you can transplant them into containers.
Plant them outdoors in pots in spring a week or two after the average last frost date in your area. Only plant once the nighttime temperatures are reliably above 50°F.
Use a spoon or trowel to make a space for the root ball of each transplant.
Ease each start from its cell or tray and place it directly in the hole, making sure the top of the root ball aligns with the soil surface and the roots are beneath the soil.
Backfill with soil, tamping it down with the tips of your fingers and then watering thoroughly, stopping only when you see the excess draining out of the holes at the bottom of the pot.
How to Grow
You’ll need to water containers more often to give bok choy the moisture it requires, since its roots can’t escape the pot to seek more water on their own, as they would if they were growing in the ground.
Container-grown bok choy is thirsty whenever the top inch or so of soil is dry to the touch. Just plunge your pinkie finger in the edge of the container to determine if the plants need more water.
If the rain doesn’t keep the soil moist, give the plants supplemental water, pouring it into the pot at the soil line until you see it draining out of the bottom.
The plants may also need a nutrient boost every couple of weeks, especially if you’ve spotted yellowing leaves or the growth rate isn’t keeping pace with the cultivar’s number of days to maturity listed on the seed packet.
In this case, feed with half-strength liquid fertilizer that’s high in nitrogen.
Fox Farm 6-4-4 Grow Big liquid fertilizer is a suitable choice, and it is available via Amazon.
A one- to two-inch layer of mulch can also be beneficial for water retention and weed suppression. But it needs to be placed at least a couple of inches from the base of each plant.
If you can’t achieve that spacing because you’re growing in a smaller pot, you’ll need to forgo the mulch and be extra conscientious about watering and checking the containers for weeds before they gain a stronghold.
When you’re growing in a colder climate, you could try to eke a few more days from the growing season by bringing the pots into a greenhouse or cold frame ahead of heavy frosts.
Growing Tips
- Place containers in part shade where they’ll receive three to five hours of sun per day.
- Give the plants enough space to encourage proper air circulation, whether several plants are growing in one pot or several pots are grouped together.
- If you notice yellow leaves or slow growth, fertilize every two weeks with liquid plant food that’s high in nitrogen.
Cultivars to Select
Ahead of deciding which cultivars to plant, it’s a good idea to make yourself familiar with the difference between bok choy and baby bok choy.
Any variety can be grown to just baby leaf size, and harvested at about six to 10 inches tall.
If you plan to pick yours early, you can opt for any type of pak choi you can find. You don’t have to worry that plants you harvest while they’re still immature and mostly leafy will spread too much or deplete the soil and water supply when they grow too darn big because you’ll pull them before there’s any threat of that.
But you may want to choose a genuine dwarf variety that tops out at four to five inches. These cultivars have been bred to mature quickly, usually reaching full-size in 30 to 45 days.
They are also shorter and spread less than standard types, which can be ideal for container growing.
Here are two types that do well in containers:
Baby Choi
This cultivar forms rosettes of crinkly, spoon-shaped green leaves on pale stems.
The plants can be harvested at six inches tall in 30 to 35 days, but they’ll grow to a mature height over 12 inches in 55 to 60 days.
Organic ‘Baby Choi’ is available in 200-seed packets from Burpee.
Toy Choy
Fully mature in just 30 to 35 days, ‘Toy Choy’ tolerates heat, spreads just five inches, and grows five inches tall. Its stalks are white and thick, while the leaves are a robust, deep, dark green.
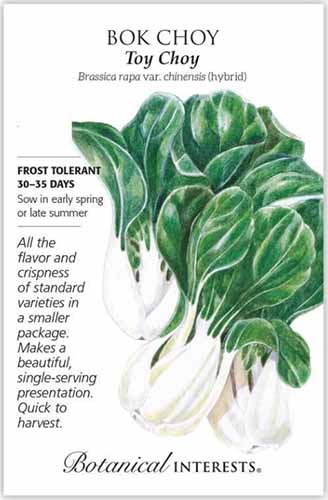
‘Toy Choy’ is available in 60-seed packets from Botanical Interests.
Managing Pests and Disease
Even when it’s grown in a container, bok choy is susceptible to a number of insect pests and diseases.
Remember, prevention is always better than treatment, and far less costly than destroying affected plants and starting all over again with clean containers and fresh growing medium.
The presence of pests can also contribute to the spread of bacterial and fungal disease.
Pests
It is convenient to be able to move all the vegetables you’re growing in containers away from other affected plants, and to be able to cover them easily to block certain insects.
If certain types of bugs are prominent in your area, you may want to resort to growing your bok choy beneath a row cover, which can keep insects out while allowing water and light to reach the greens.
Once the plants are established, make it a point to examine the leaves regularly to make sure there are no insect larvae getting ready to devour the harvest. Here are a few to watch for:
Aphids
Brassicas including pak choi are a favorite snack of these icky little sap-suckers that can also help spread turnip mosaic virus.
If you look lively and catch them before they’ve spread extensively, you may be able to get rid of them with a strong spray from the garden hose.
When they’re more widespread, treating with neem oil or insecticidal soap may be required to bring them back under control.
Our guide will tell you all you need to know about detecting, treating, and preventing aphids.
Cabbage Loopers
You won’t want to sing any nursery school songs after coping with these particular inchworms. They grow about two inches long, and will chew gaping holes in your precious crop of Asian greens.
The first line of defense is natural predators including ladybugs, but some gardeners also turn to pyrethrins or Bacillus thuringiensis (Bt).
Learn more about cabbage loopers in our guide, including ways to prevent an infestation.
Diamondback Moths
These pretty moths lay eggs, and then the larvae hatch and chew up your healthy bok choy – and you might spot the little chewing fiends emerging from between the leaves, blech!
You can use Bt or spinosad to control the larvae.
Get more tips on identifying and controlling bok choy pests.
Disease
If you can minimize insect pests, that goes a long way towards preventing multiple diseases, since bugs can spread harmful bacteria and fungi.
You should also make an effort to water at the soil line, not from overhead, since leaves that stay wet overnight have substantially greater odds of developing bacterial and fungal diseases. Splashing soil onto the plants can also lead to disease issues.
Ample airflow can help to prevent various fungal conditions, including downy mildew.
Black Rot
This bacterial infection is caused by Xanthomonas campestris pv. campestris. You’ll be able to recognize it from the yellow splotches it creates on leaf edges.
They’ll keep getting darker, eventually turning black and outright killing your pak choi.
Find out how to prevent and detect black rot in our guide.
Damping Off
This one is a heartbreaker, since it attacks young seedlings at the roots and destroys them completely.
Preventing damping off is reason enough to never fill containers with ordinary garden soil, since it’s caused by Rhizoctonia or Fusarium species of fungi, or Pythium water molds, and all of these live in soil.
You can learn more about treating and preventing damping off in our guide.
Downy Mildew
This disease creates a white powder on the undersides of leaves. It arises in warm, moist growing conditions, so two good ways to protect your plants are by spacing them properly and keeping weeds out of the containers.
Find more info on identifying and controlling bok choy disease here.
Harvesting and Storage
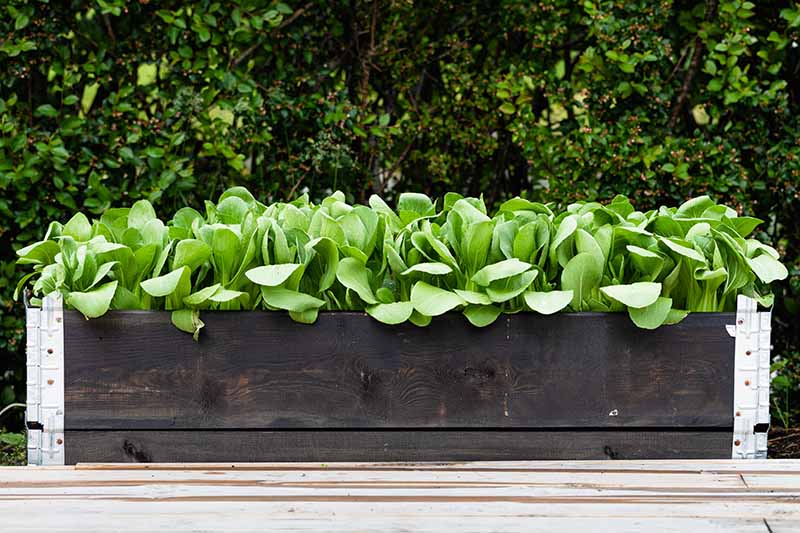
Even when you’ve just planted a modest amount, it’s pleasing to pick the bok choy you’ve grown yourself, whether that’s a few baby leaves for the salad or entire full-size heads of a dwarf variety for braising or stir-frying.
The baby leaves of standard pak choi varieties are ready to pick when they reach six to 10 inches tall, typically 30 to 35 days after the seeds sprout.
Of course, some of the dwarf varieties reach their full size in the same amount of time. You can pick them once they’ve matured, which usually takes about 30 to 40 days.
You can also harvest the leaves from dwarf varieties when the plants are just a couple of inches tall. I guess that would make them baby-baby leaves, heh…
Since you don’t have to tramp out to a garden to do the picking, it’s simple to use the “cut and come again” method of harvesting a few outer leaves first, leaving the center of each plant to keep growing.
Use a sharp knife to carefully pare away a few older leaves, making the cuts one inch above the soil line.
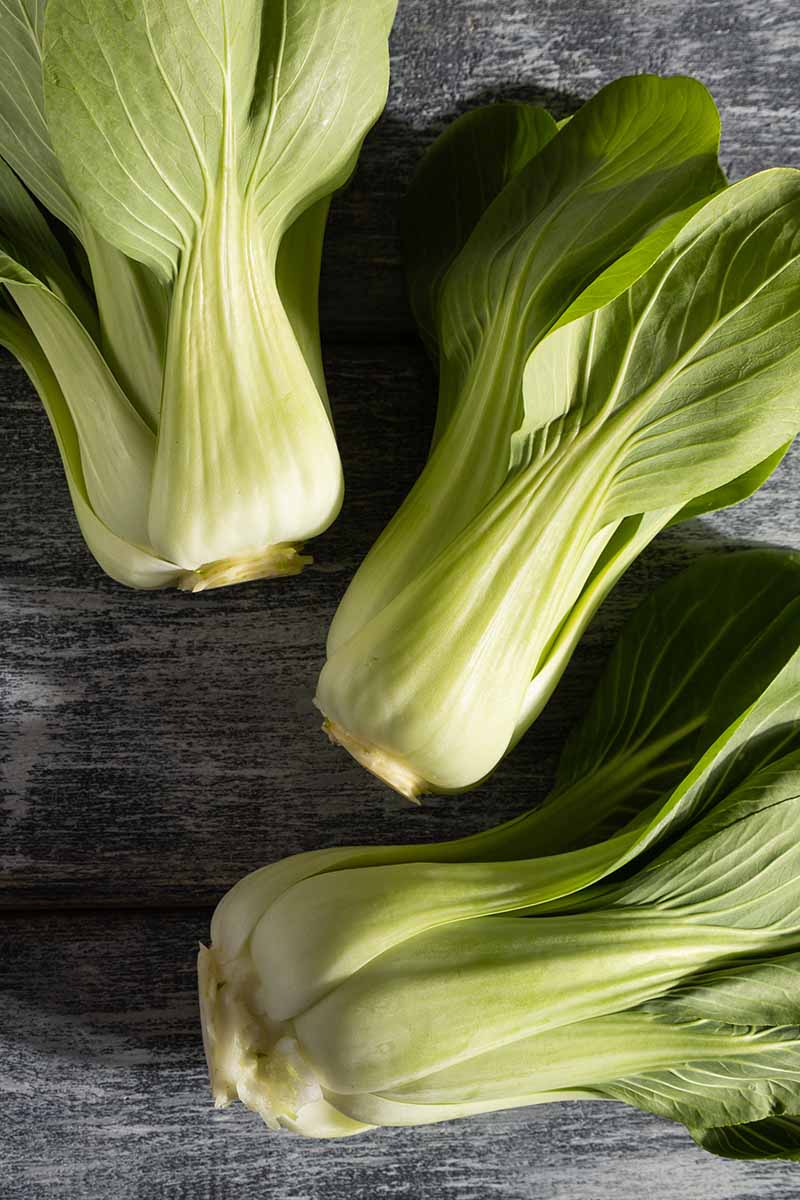
If you want the whole bunch to cook or eat fresh right now, gently lift the bowl-shaped base of the stem with one hand. Cut the root stem that sits below the base and ease the entire head of bok choy away from the base of the plant.
You can also pry the entire plant out of the soil with a trowel, shake any dirt loose, and take care of severing the root from the core once it’s out of the ground.
Of course, an uprooted head of bok choy won’t grow any more leaves, while one that you sever at the base may send up some more shoots.
Keep in mind, you can’t keep doing the “cut and come again” routine endlessly. After a few big cuts, the leaves won’t be as tender or flavorful when they grow back.
But that’s cool, because you can always sow some more seeds or grow some more transplants, either now if it’s not too late in the season, or next fall or spring.
Learn more about harvesting bok choy in our guide.
Once you’ve got the harvest in hand, it’s best to use it immediately.
Like other cruciferous vegetables, bok choy tastes best when it’s freshly picked. Wash it right before you want to eat it or cook with it.
You may want to cut the stems from the base at this point, so you can experiment with regrowing the scraps for a repeat bok choy harvest.
If that doesn’t appeal to you, leave the base intact and place the full heads or separated leaves in the vegetable crisper. Bok choy will stay fresh for up to five days in a zip-top bag in the fridge, but don’t push that deadline unless you want to lose much of the taste and texture.
Recipes and Cooking Ideas
Unless you planted dozens of containers, I predict you will run out of pak choi long before you run out of ways to enjoy the harvest.
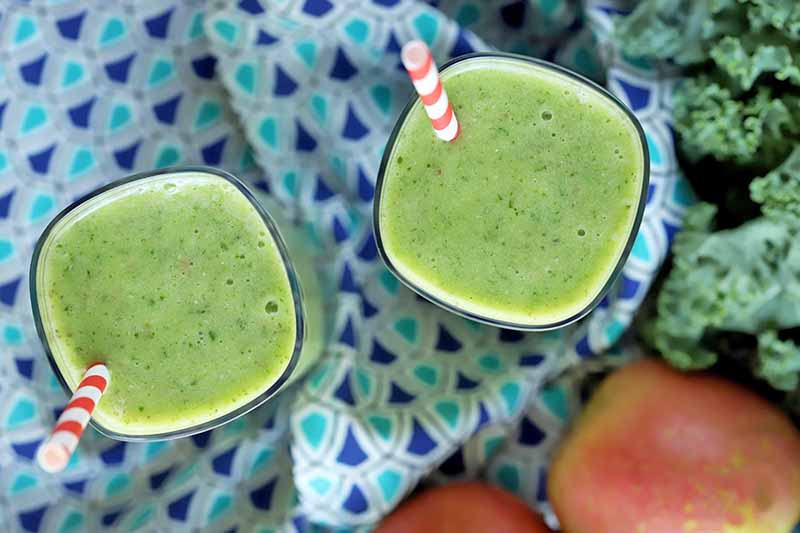
You can start by adding the freshest baby leaves to a spring mix salad or whirring a handful in a smoothie.
Our sister site, Foodal, features a recipe for a Get Well Green smoothie, and it’s simple to substitute baby leaves in place of all or some of the kale or spinach that’s called for.
You can stir-fry or braise full-size pak choi leaves and stalks for a delicious Asian-style side dish, or stir them into soups or stews, too.
Just make sure to cut the stalks from the leaves for those hot, brothy dishes, since the crisp white centers need to cook for a few minutes to be flavorful but still crunchy.
The leaves taste best when they’re only briefly wilted. Chop them into pieces or ribbons, and add them in the last minutes of cooking, at the same time as other delicately-flavored fresh ingredients like basil or spinach.
Should you need further inspiration, go ahead and try this salad preparation I learned from a PTA mom when my kids were high schoolers.
Basically, you slice fresh scallions, white and green parts, and baby bok choy leaves, and toss them together.
About six cups total will feed four people. Adjust the onion-to-pak choi ratio to suit your family’s tastes.
Next, create a crunchy, sweet topping. Melt together two tablespoons of butter and two tablespoons of granulated sugar in a nonstick pan on medium heat, stirring constantly. This will take about three minutes.
Add a cup of broken, uncooked ramen noodle pieces (without the seasoning packet) and a half cup of sliced almonds. Cook until the noodles and almonds are just golden, for about five minutes, stirring all the while.
Remove the topping mix from the heat and immediately toss it with the fresh vegetables, and store bought sesame dressing to taste.
You can save any unused topping in an airtight container for up to a week, but I’ll be honest: I’ve never had one extra particle left over.
The Joy of Container-Grown Bok Choy
Along with the space-saving benefits, I find that sowing a couple of pots of bok choy is reassuring.
It would be daunting to protect a larger planting from cold or heat, but I know I’ll be able to toss a piece of row cover over the tops of my one-gallon containers when cold weather looms, no problem.
And I can handily tote the pots indoors for a few days if scorching temperatures are predicted.
Although the harvest is small-scale, I’m happy knowing I’ll have a reliable source of leafy greens in the weeks and sometimes months when other homegrown vegetables are only a fond memory.
I hope you already share my attitude about container-grown bok choy, or that you will once you start your own seeds or grow transplants in the coming months.
Are you a veteran veggie gardener who’s already explored this option? Or maybe a beginner who’s giving it a go?
Be sure to add your experience to the comments section below, whether you have a host of these vegetables already thriving in planters, have potted up a lone dwarf plant, or are still in the planning stage.
Should you have questions about growing pak choi in containers, we’re happy to field those in the comments section as well.
And if you found this guide useful, check out these bok choy guides next: