The first time I ever propagated a stem cutting, it was by accident.
I was throwing a party, and I didn’t have time to run to the market to buy flowers for the table centerpiece. So I cut a few stems off my overgrown Swiss cheese plant and stuck them in a vase filled with water.
The leaves stayed lush and healthy, so I left them in the vase for weeks.
I even left them when I went on a week-long vacation. I came back and checked the stems, and what do you know? They had developed a mass of roots.
We link to vendors to help you find relevant products. If you buy from one of our links, we may earn a commission.
I put the surprise plants in some soil, and years later, they still grow happily in my home. In fact, I’ve propagated new specimens for dozens of people in the same way.
I handed them out, along with some of my sourdough starter, during the early days of the COVID-19 pandemic to friends and neighbors who had caught the houseplant and bread making bugs.
All that is a long way of saying that, at least with some species, propagation via stem and leaf cuttings is reliable, simple, and easy-as-pie. Much easier than mastering a sourdough boule.
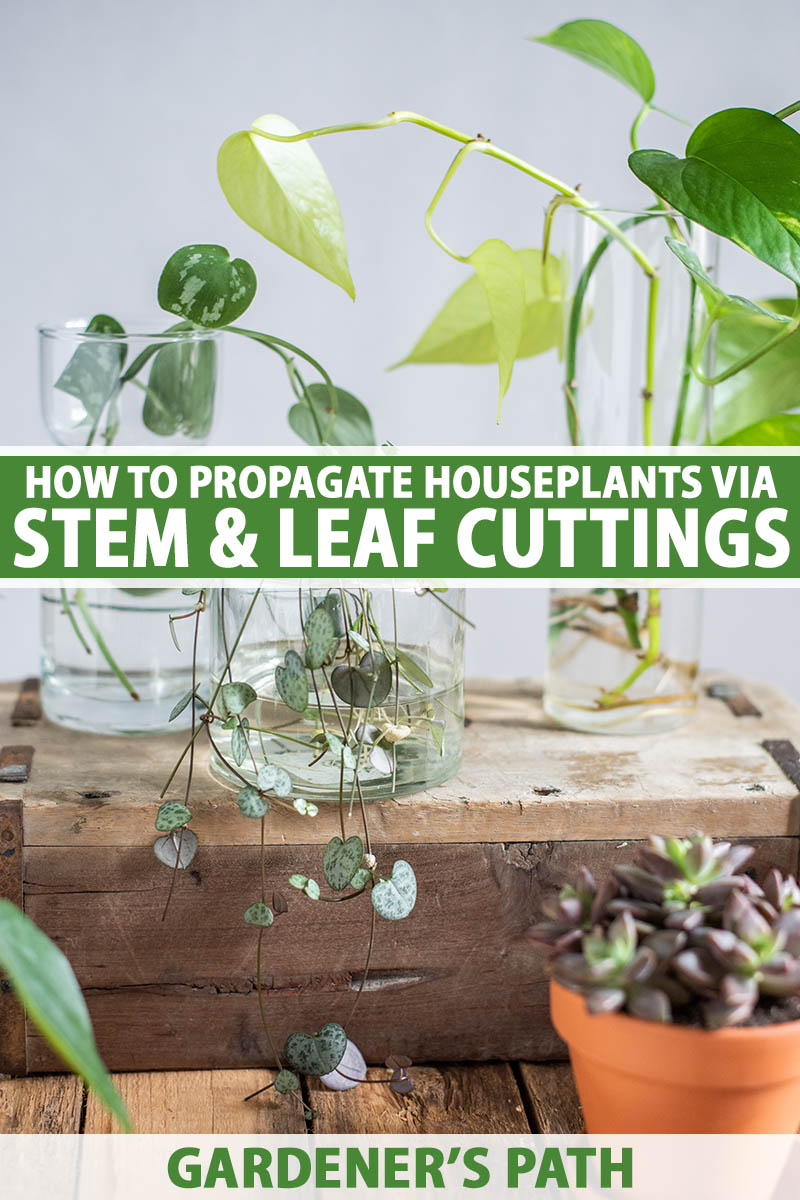
While we can’t help you perfect your bread baking in this guide, we can help you master the art of propagating houseplants with stem and leaf cuttings.
To help make that happen, we’re going to talk about the following:
What You’ll Learn
The process for either propagation method is fairly similar. It’s mostly a difference in what parts of the plant you snip away from the parent.
Let’s start by looking at some of the species that can be propagated this way.
Species to Propagate via Cuttings
All plants have something called a meristem. It’s the part of the plant that contains cells that are capable of dividing and developing into other types of tissue.
That means the meristematic cells can become roots, leaves, stems, petioles, or any other part of the plant.
Meristems are divided into different types depending on where they occur in the plant.
- Apical meristems are present in the roots and the tips of shoots.
- Intercalary meristems are in the internodes of the stems (the parts between the nodes) and the bases of the leaves.
- Lateral meristems are contained in the cambium layer.
You can make cuttings for propagation based on the types of meristems present in the plant. Basically, you remove the meristematic region, place it in a medium in which it can reproduce, and watch the cell division happen.
Rooting stem cuttings works well with the following plants:
Species that grow adventitious roots, which are roots that develop on the stem above the soil, are all good candidates.
For leaf cuttings, these can be used for:
- African violets (Streptocarpus sect. Saintpaulia)
- Begonia (Begonia spp.)
- Cacti (family Cactaceae)
- Hoya (Hoya spp.)
- Peperomia (Peperomia spp.)
- Pilea (Pilea spp.)
- Snake plant (Dracaena trifasciata)
- Streptocarpus (Streptocarpus spp.)
- Succulents
- Swedish ivy (Plectranthus verticillatus)
- ZZ plants (Zamioculcas spp.)
Before you can take your cuttings, you need to be able to determine which material will work best.
Preparation
While it can vary from species to species, most propagation methods work best if you choose healthy, mature tissue.
In the case of stems, you want a cutting about six inches long with at least two nodes. The leaves for leaf cuttings should be large and mature, and without any discoloration or dead areas. Avoid tiny or new leaves.
The best time of year for propagation is typically during spring and summer when plants are actively growing.
Many species go dormant in late fall and winter, and that means they might not develop roots before rot sets in.
Avoid propagating stunted leaves and stems and any tissue with brown or yellow areas, spots, or other signs of disease, such as the presence of fungal spores.
Whether you reuse pots or choose new ones, wipe them out with isopropyl alcohol or a 10 percent solution of bleach and water (one part bleach to nine parts water).
Young specimens are extra vulnerable to disease, and you want to prevent any pathogens from infecting your plants by sterilizing your tools.
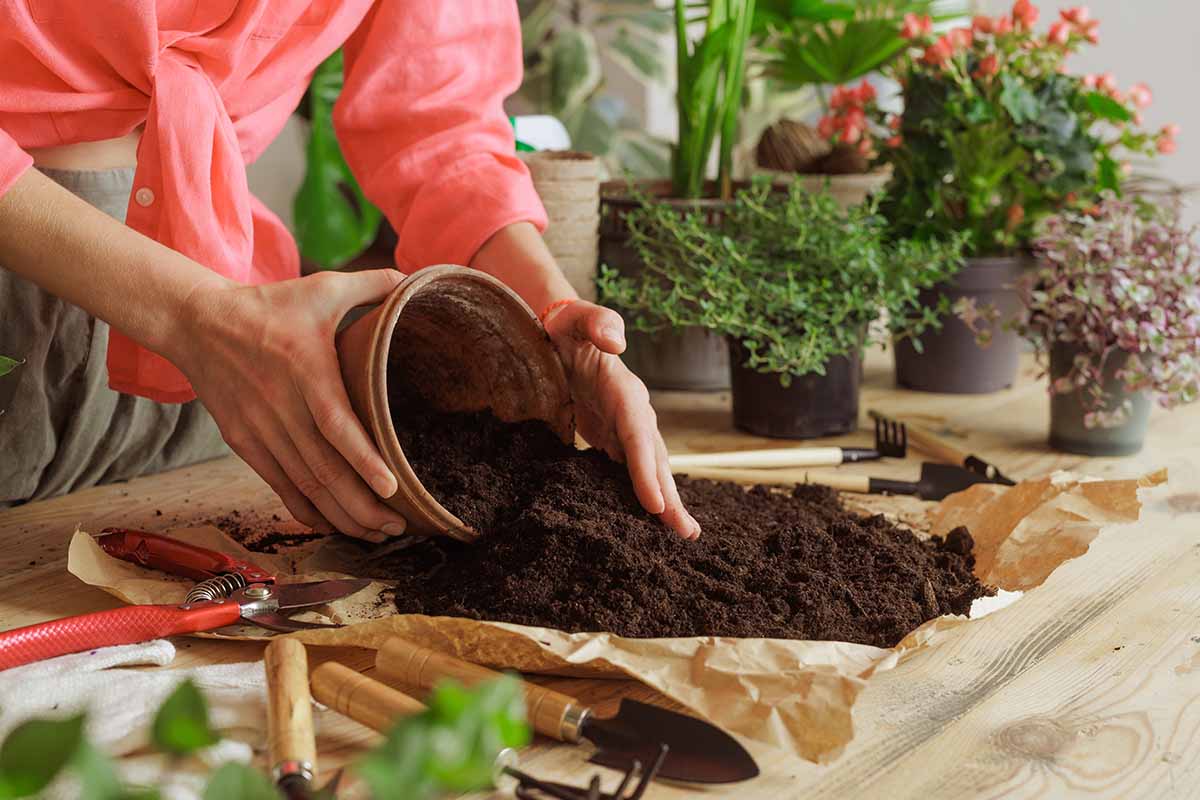
You should always use fresh potting medium for this reason and avoid those that contain garden soil. Seed-starting mixes are a smart option.
Tank’s Pro-Lite Seeding and Potting Mix is one of my favorite options. It’s light and airy thanks to the addition of coconut coir and perlite.
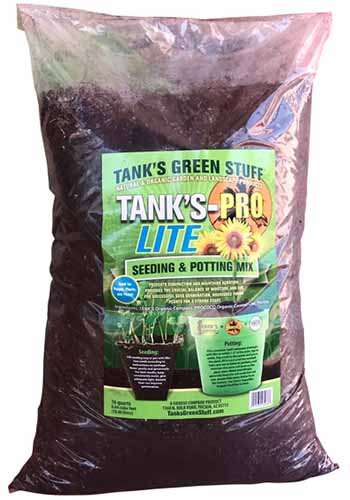
Tank’s Pro-Lite Seedling and Potting Mix
Snag some at Arbico Organics in 16-quart bags.
Make sure your tools are clean, too. You can wash them in soapy water and then wipe them with alcohol or watered-down bleach.
Regardless of the method of propagation you choose, make a note of the light preference of the species you are propagating.
Most houseplant cuttings do best in bright, indirect light, but there are exceptions. Some species need direct light for at least part of the day.
There are few, if any, plants that should be propagated in a dark spot.
Stem Cuttings
Stem cuttings can be taken in several ways. For plants that have canes, you can take the cane along with some leaves.
Leaf bud cuttings involve removing a small piece of stem with the petiole, if the plant has them, and a leaf. A standard stem cutting includes a piece of the stem and at least two buds.
Leaf Bud Cuttings
Devil’s ivy (Epipremnum aureum), dracaena, jade plants, rubber trees (Ficus elastica), fleshy peperomia, and philodendron can all be propagated by leaf bud cuttings.
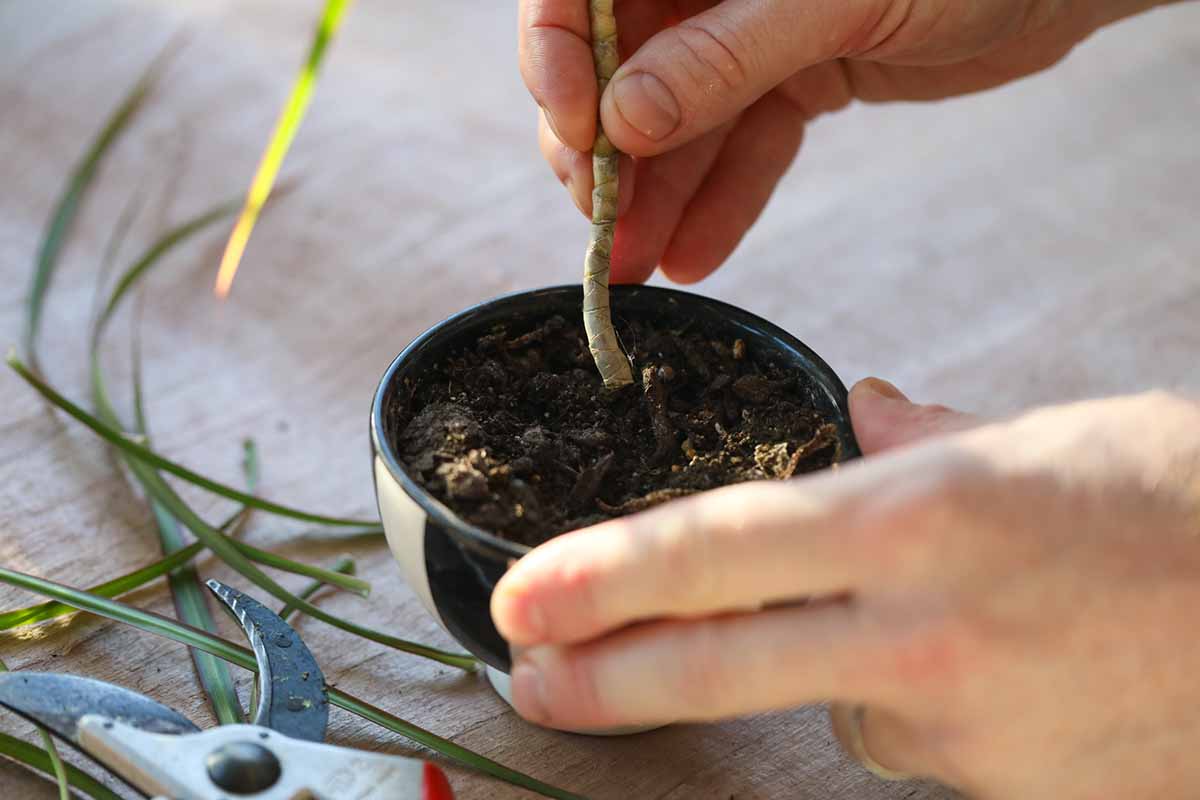
For a bud cutting, take just an inch or two of stem that contains a single bud and a single leaf. Moisten the stem and lightly coat the cut end in rooting hormone.
Place the cutting in the medium so that the bud is buried, but the leaf is above the medium.
Water the medium well so that it feels like a well-wrung-out sponge and tent a piece of plastic over the new plant.
The plastic should never touch the leaves, so you might need to prop it up with a stick. I save my take-out chopsticks for just such an occasion.
Cane Cuttings
Chinese evergreen, dracaena, dumb cane, and any other species with thick stems or canes can be grown via cane cuttings.
To take the cuttings, remove a section of stem with a sharp knife.
Section the cane into two-inch segments, taking care to include a node, bud, or horizontal ring in each segment. Roots will emerge from these areas.
Note which side is up on each segment so you don’t accidentally plant the segment upside-down.
Dip the cut end in root hormone and set each segment in the medium, buried by about a third. You can also place the canes horizontally, pressed into the surface of the soil.
Water the medium and cover the cane with a tented plastic bag.
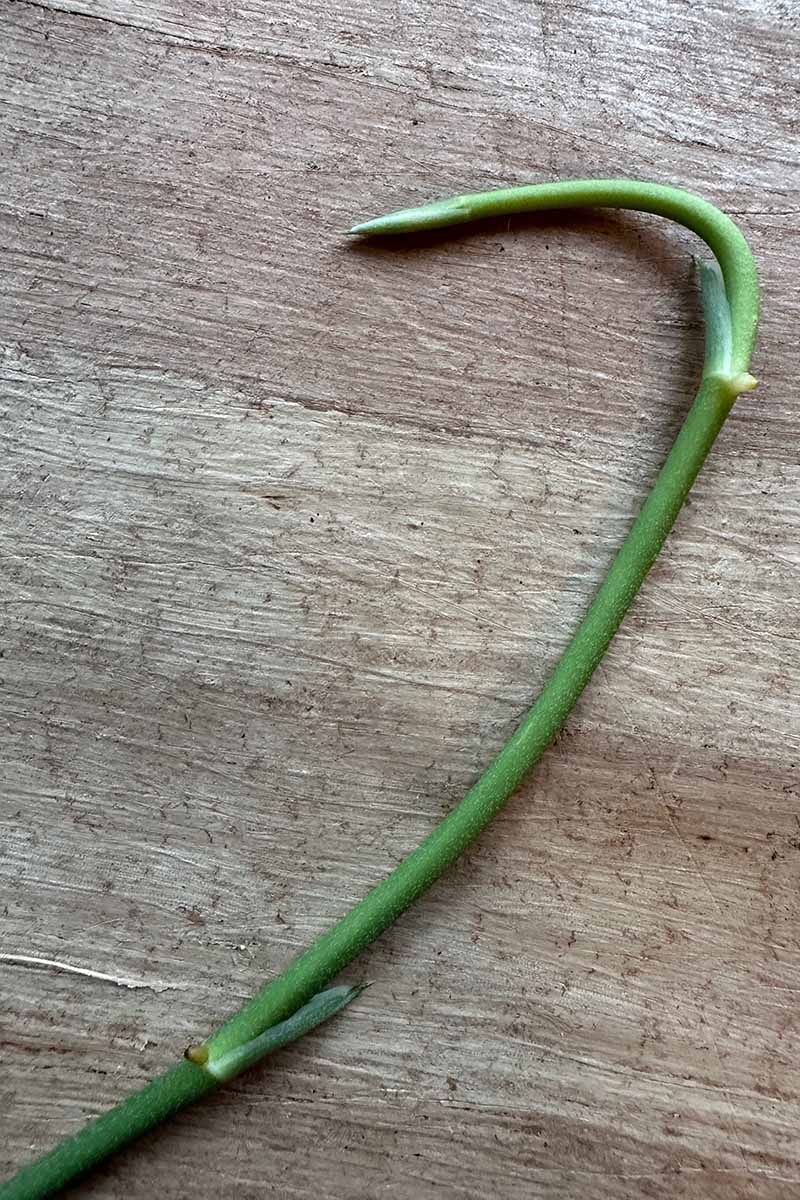
Herbaceous or Softwood Stem Cuttings
Many plants can be propagated via herbaceous or softwood stem cuttings.
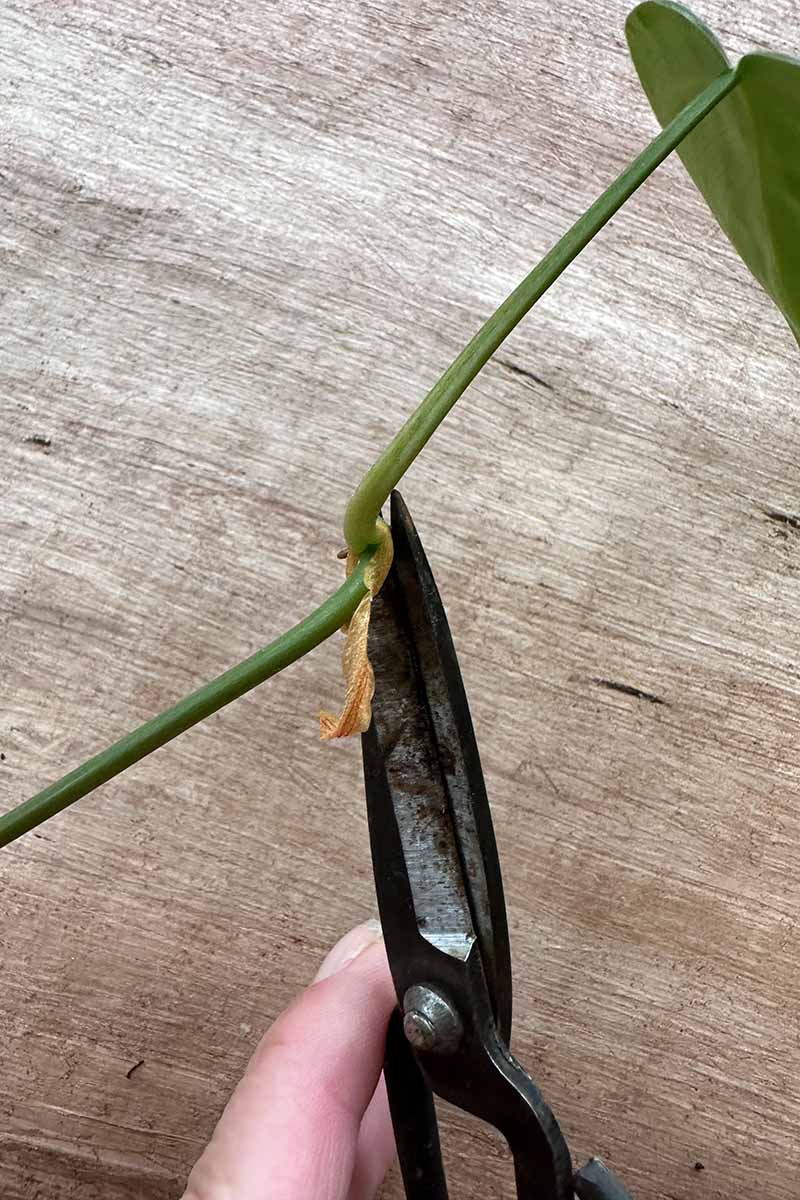
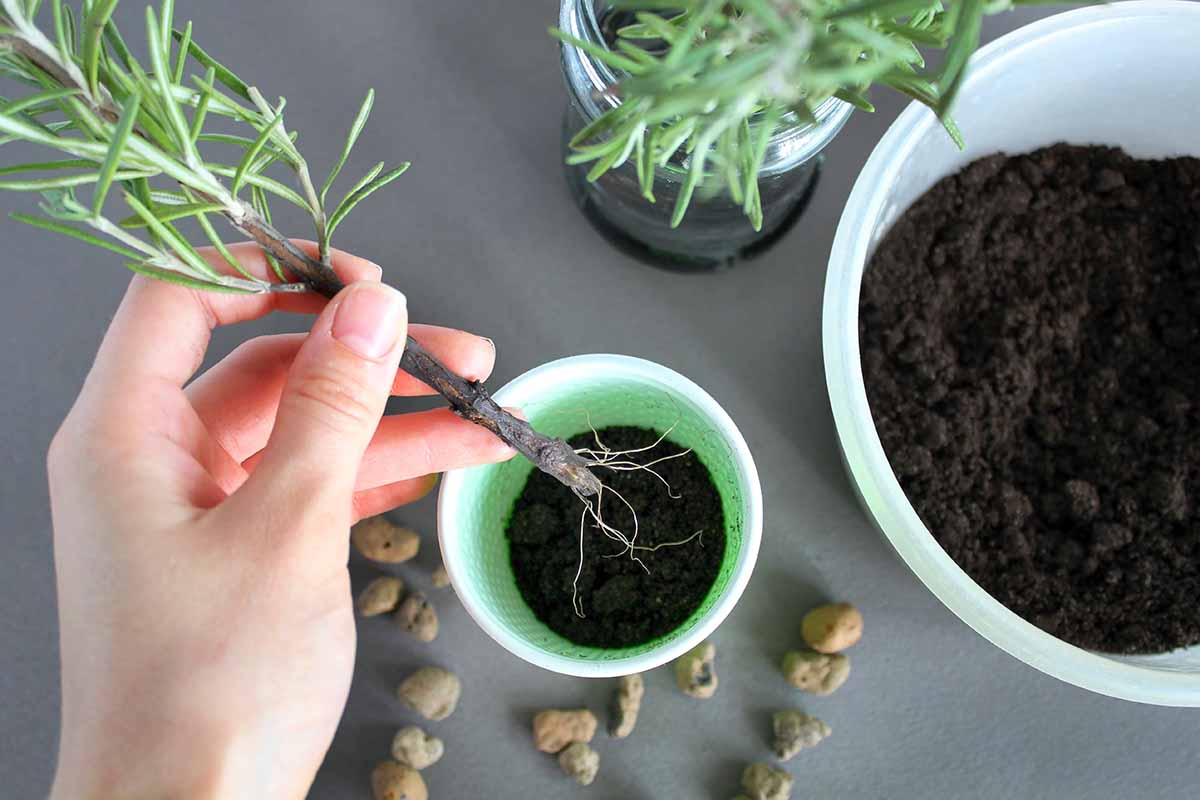
To take a stem cutting, remove a piece of stem between three to six inches long that includes at least three sets of leaves. The bottom cut should be just below a node.
Remove half to two-thirds of the lower leaves. If the specimen has large leaves, like a fiddle-leaf fig, for example, cut the remaining leaves in half.
Dip the cut end in powdered rooting hormone. Poke a hole in the potting medium with a chopstick or pencil and gently lower the stem into the hole.
A quarter of the length of the cutting should be submerged in the medium.
Moisten the potting medium. You can tent plastic over the container, but it isn’t required with these cuttings unless the particular species you are propagating needs high humidity.
Leaf Cuttings
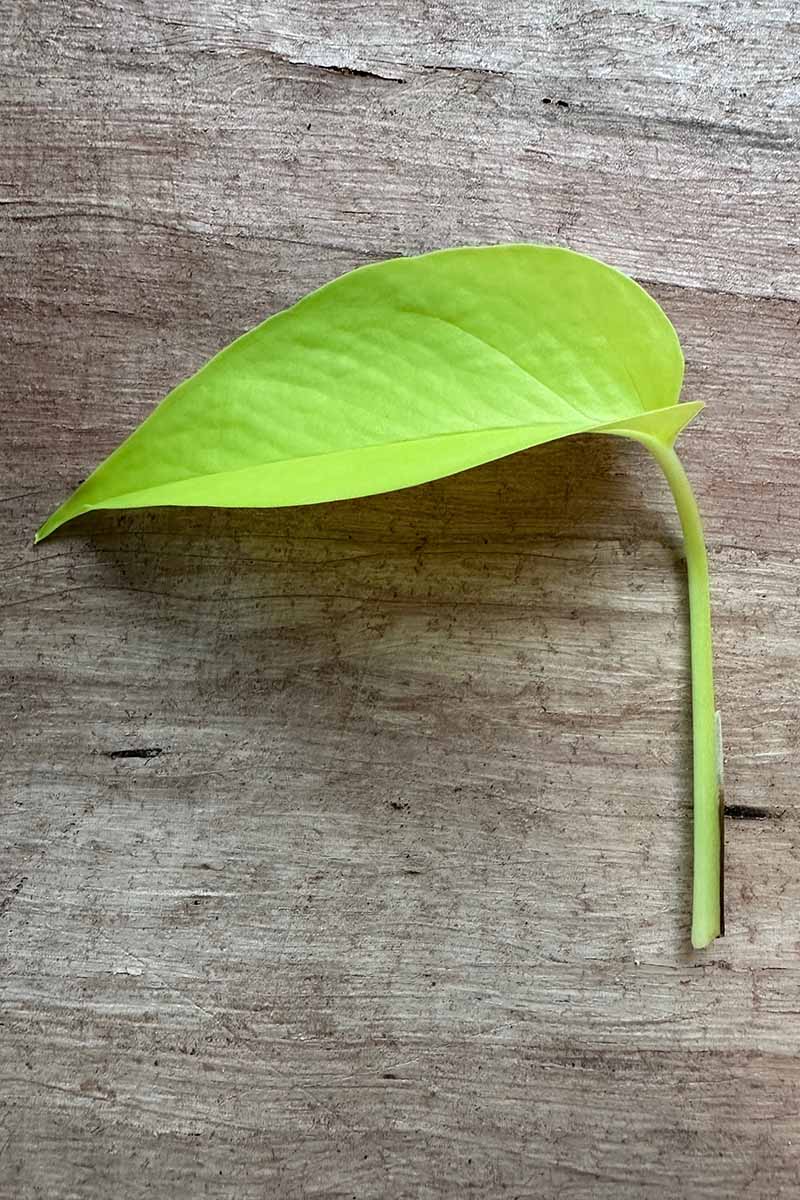
There are three types of leaf cuttings suitable for propagation. The first is a leaf with its petiole, which is the stem-like growth that holds the leaf to the stem.
The second is a leaf without the petiole, sometimes called a leaf blade cutting.
This propagation method is commonly used with cacti and succulents, as well as African violets and Cape primroses (Streptocarpus spp.). Plants with thick, fleshy leaves work best for this method.
The third is vein cuttings. Begonias are the classic choice for propagation via this method.
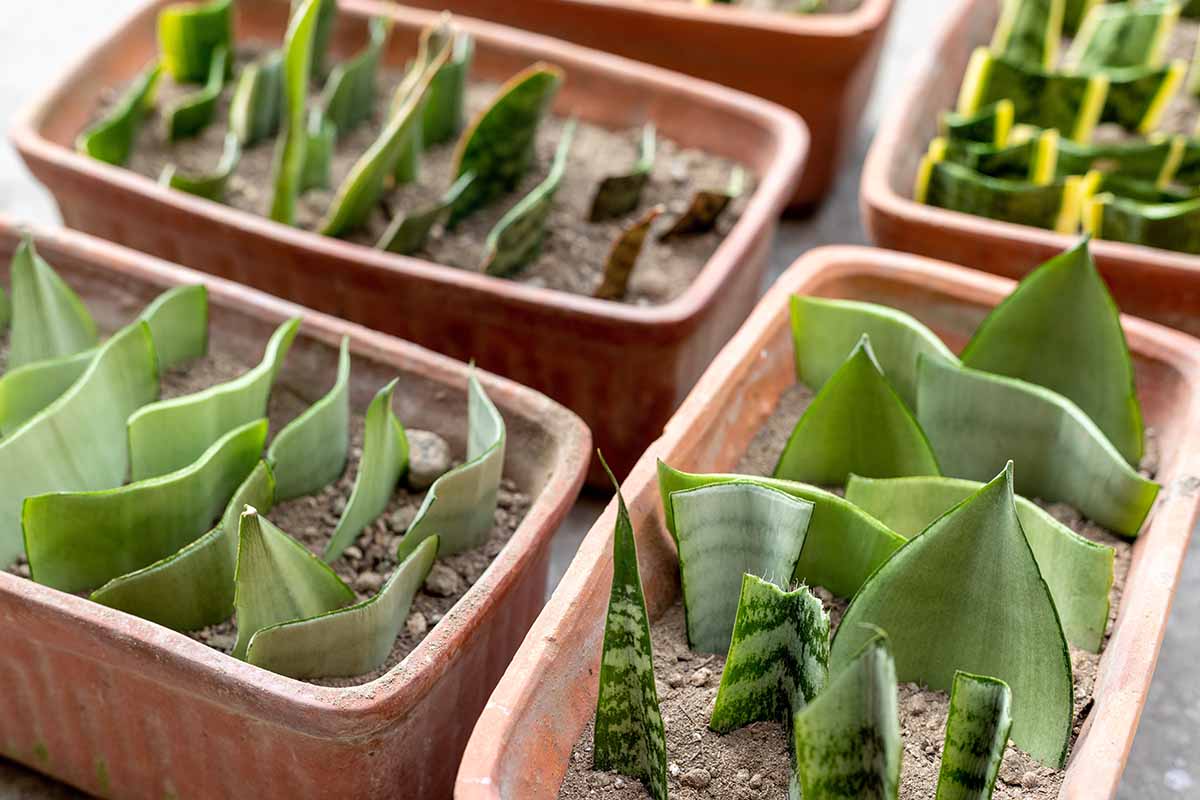
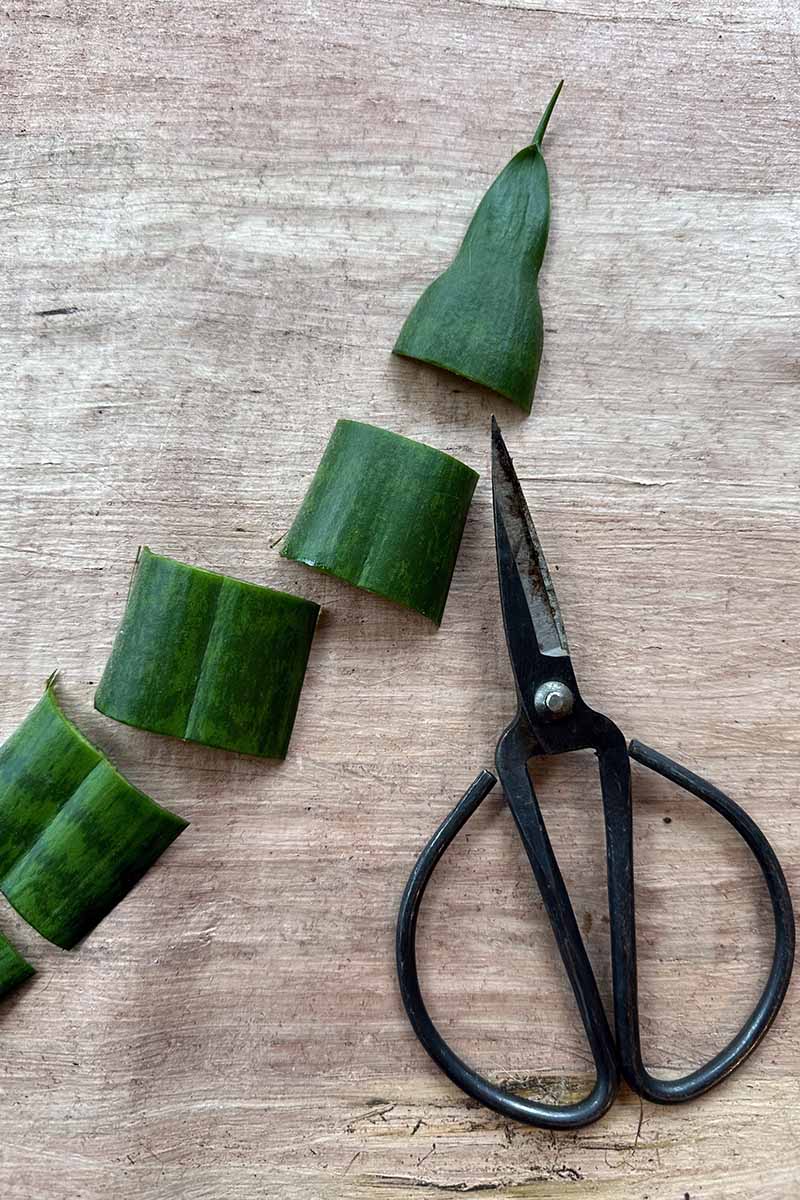
Some species, such as snake plants, have leaves that can be chopped up into several sections for planting. You should take the entire leaf of plants like ZZ plants and African violets.
These types of cuttings generally take longer than stem sections to develop sufficient roots that can be transplanted.
Don’t be surprised if it takes several months before you see any evidence of roots forming.
Leaf Blade
To propagate with a leaf blade, snap or cut off the leaf from the stem or just above the soil.
In the case of thick, succulent leaves, these should be left out on a piece of cloth or a paper towel for a day to develop a callus on the cut end. This callus helps prevent rotting.
Once the end is callused over and feels firm and dry, moisten it and dip the cut end in rooting hormone. Insert the leaf into the growing medium so the leaf sits about a third of its length deep.
Keep the medium moist until roots develop. Even cacti should be kept slightly moist until they develop roots.
If the species you’re working with thrives in high humidity, cover with a cloche or plastic bag propped up with a stick.
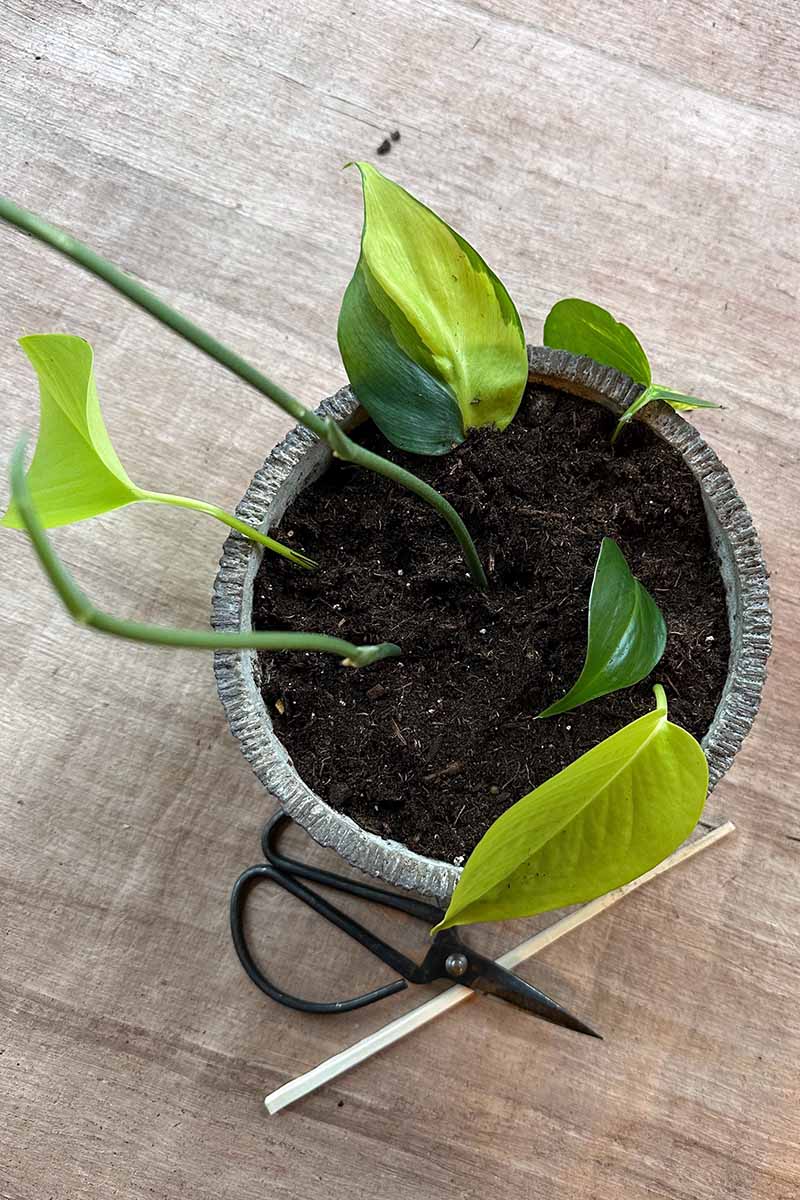
Leaf Petiole
This method is similar to leaf blade propagation, but you simply take the cutting to include some or all of the petiole.
When planting the leaf in the medium, only the very bottom of the leaf should be in contact with the medium.
After planting, moisten the medium and cover the pot in plastic propped up with a stick or a cloche, and place the container in an area with bright, indirect light.
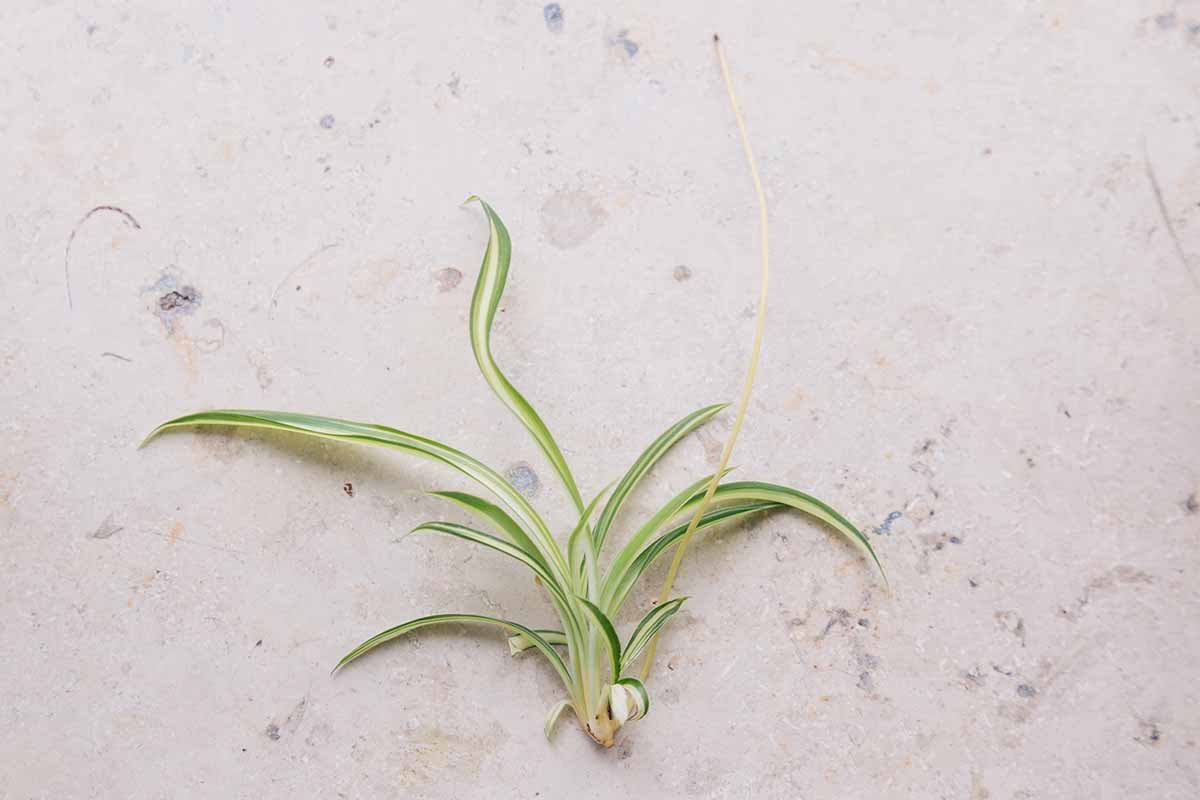
Most species will develop several plantlets from each cutting. You can gently separate these and plant them individually or leave them together.
Leaf Vein
For plants like begonias, cut off a leaf that has lots of prominent veins.
Lightly dust the bottom with rooting hormone and lay it on top of the potting medium. Use horticultural wire or paper clips to anchor the leaf into the mix.
The whole section must remain in contact with the medium or roots won’t be able to form.
Moisten the potting mix and cover the pot with plastic. Eventually, plantlets will emerge from the leaf. Separate these and place them in their own containers.
When to Transplant
Regardless of the type, most popular houseplants do best in bright, indirect light and in soil that is moist, like a well-wrung-out sponge.
You can check for roots after a few weeks by working your fingers under the plant and gently lifting it up. If you don’t see any roots or the roots you do see are just beginning to emerge, put it back in place and check again in a few more weeks.
As long as there is no sign of rot, you can keep waiting for roots to develop. Some species take months, so don’t lose heart.
Once you see root development, remove the plastic bag if you used one. Give it another week or two in the same conditions and then move it into a permanent pot or location.
How to transplant depends entirely on the species you’re working with. In general, you don’t want to move a young specimen to a container that is too large.
One size up from the existing container should be sufficient. When you transplant, try to dig up some of the soil surrounding the new roots, if you can, to reduce shock.
Make More Marvelous Plants
It’s expensive to buy new houseplants. If you have access to a parent plant, whether your own or one belonging to a generous friend, you don’t need to buy them. You can propagate your own.
What kind of houseplant are you propagating? What method will you choose? Let us know in the comments section below!
And for more information about growing houseplants, check out these guides next: