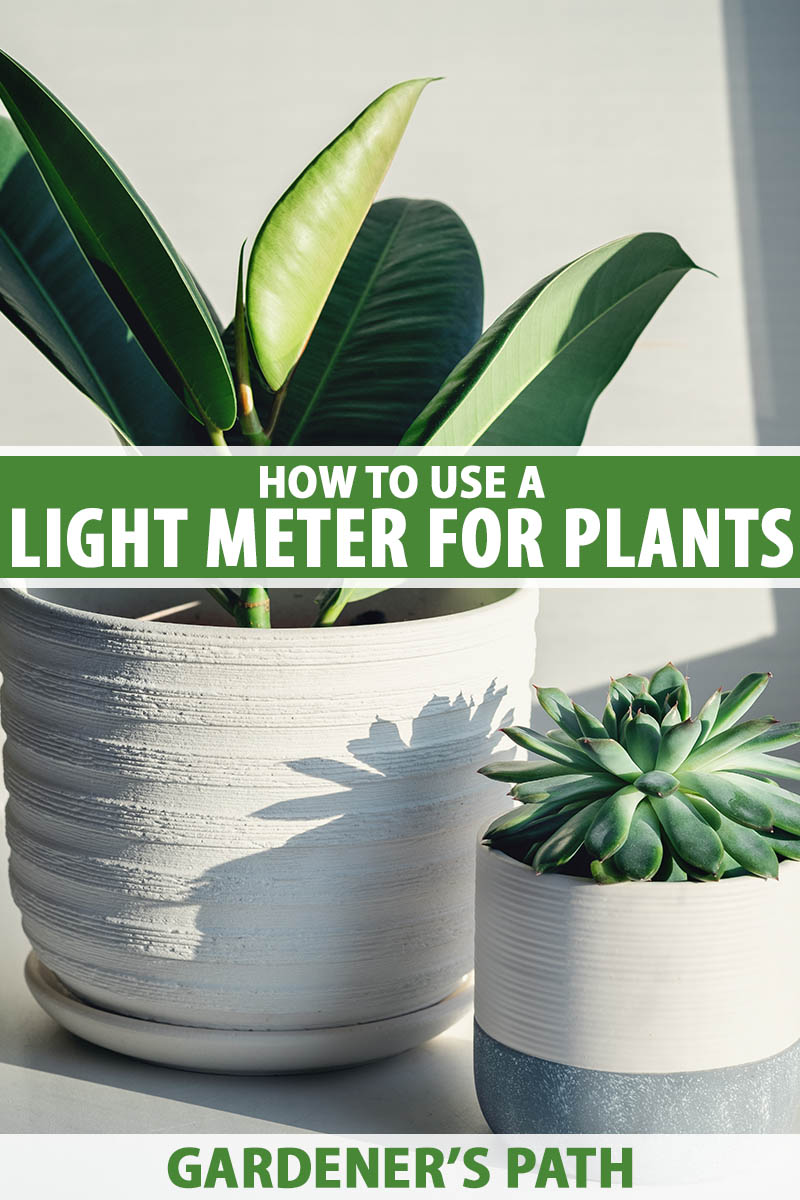
Have you ever had a houseplant fail to thrive despite your efforts to provide it with the best possible care?
You may be able to solve this problem with a simple wave of a magic wand – er, that’s to say – a light meter!
We link to vendors to help you find relevant products. If you buy from one of our links, we may earn a commission.
This seemingly magical tool can help you to understand when your houseplant simply isn’t receiving the correct amount of light.
And if you are on track to create a veritable collection of houseplants, then you might start looking for additional spots in your home to locate them. A light meter can help to determine whether each houseplant will flourish in a given location – or if it might flounder.
We’ll go into more specifics as to why you might want to add this tool to your indoor gardening routine. But first, let me tell you what else to expect in this article.
We’ll talk about what to consider when choosing a light meter, go over the basics of how to use these gadgets, and last but not least, dig into how you should interpret the results you gather.
In short, we’re also going to focus on the practicalities – how to use these devices to keep your plants feeling happy and looking lush.
Ready to get started?
What You’ll Learn
Why Use a Light Meter?
Before we get started, let’s cover some basics.
Plants convert light into food for themselves via the marvel of photosynthesis, but just how much illumination is needed varies from plant to plant.
Depending on where the plant evolved, low or medium light might be recommended if its natural habitat was shady, such as with philodendrons.
On the other extreme, a plant such as hens and chicks may need several hours of direct sunlight each day – what we gardeners refer to as full sun.
It’s not hard to find illumination guidance for specific types of houseplants – usually categorized as bright, medium, or low light.
Seems easy enough!
But unfortunately, there can be a huge disconnect between what we humans may perceive to be bright, medium, or low light levels, and what our houseplants are actually experiencing.
That’s because the human eye easily adapts to different brightness conditions.
This means our subjective perception of the illumination in our homes may be vastly different from the quantifiable amount of illumination to which our houseplants are objectively being exposed.
In other words, what I perceive as medium brightness may only be low light when measured quantifiably – and this can make a huge difference to a houseplant!
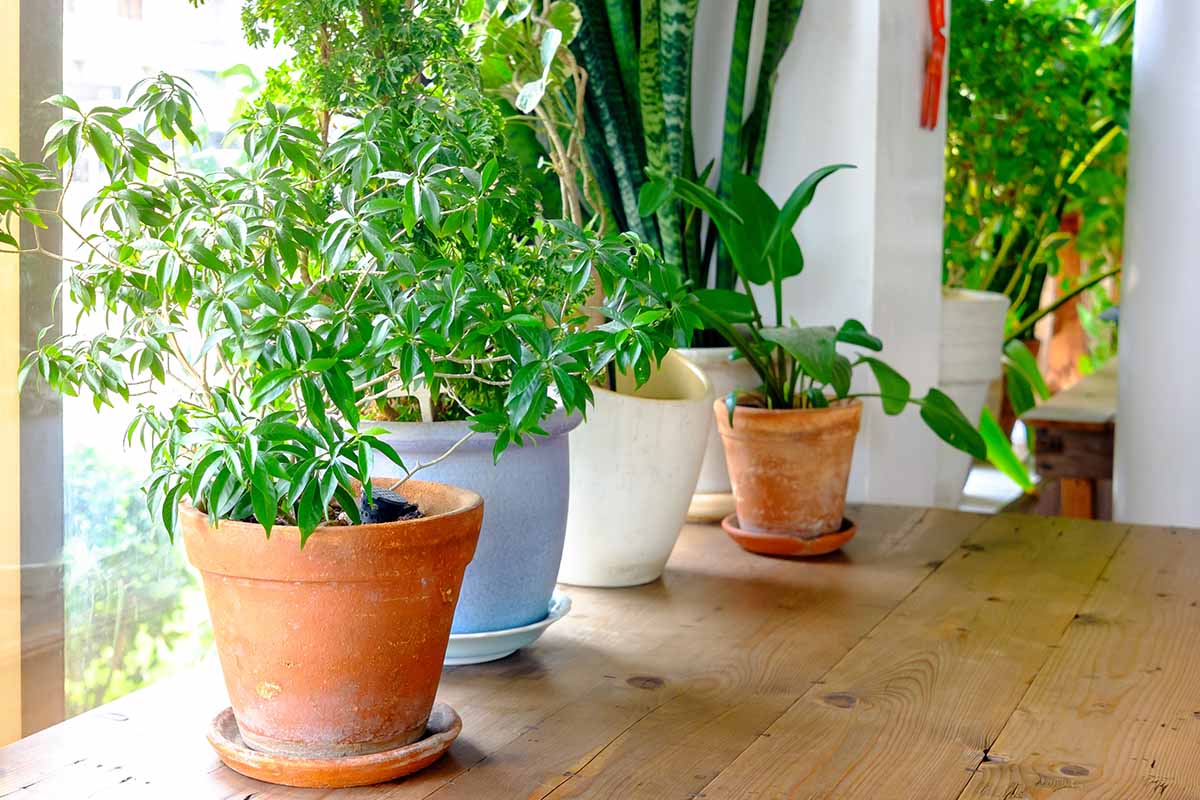
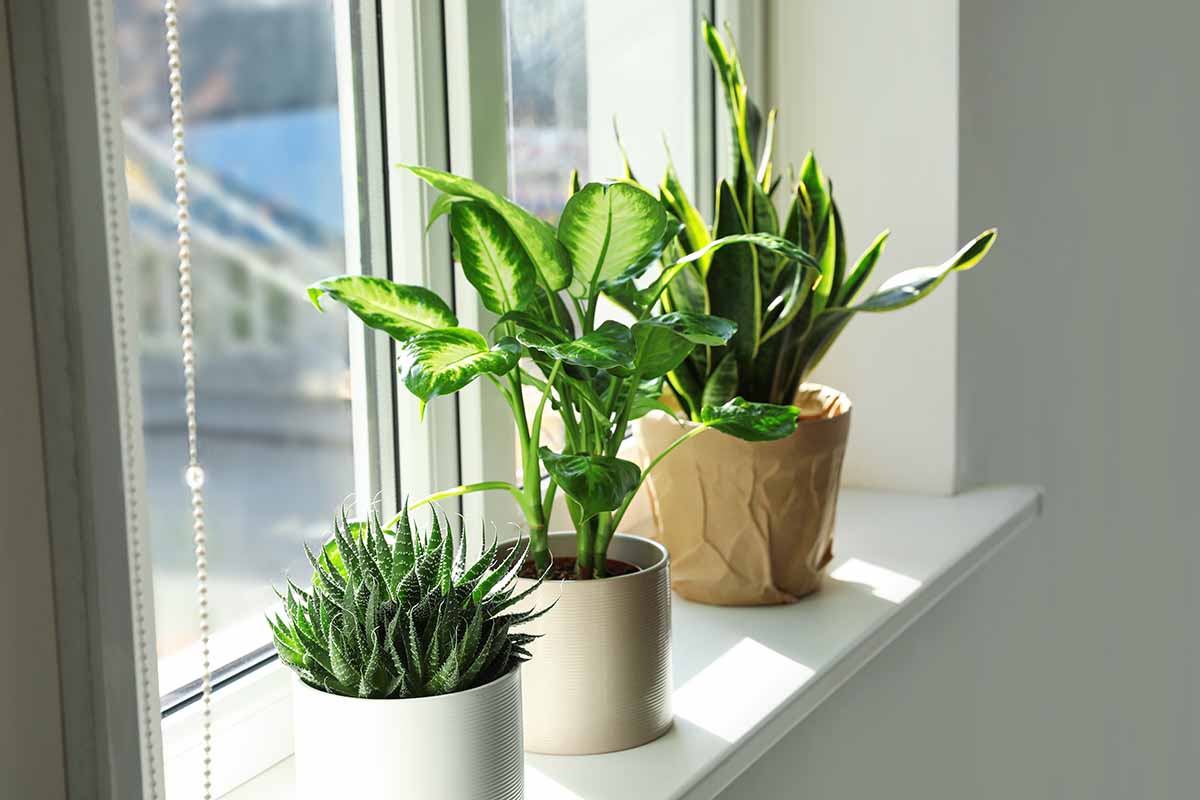
Another potential problem is that some guidelines for houseplant light exposure specify situating plants next to or a certain number of feet from north-, south-, east-, or west-facing windows.
But windows come in many different sizes – and this can affect the amount of sunshine passing through those windows significantly.
So do any outside obstructions near those windows, such as nearby buildings and trees.
Positioning houseplants based on such recommendations may give the plant the right amount of sun if you’re lucky – but it may not.
And we haven’t even factored in time of year and latitude yet!
Let’s take a quick look at these issues, starting with the time of year.
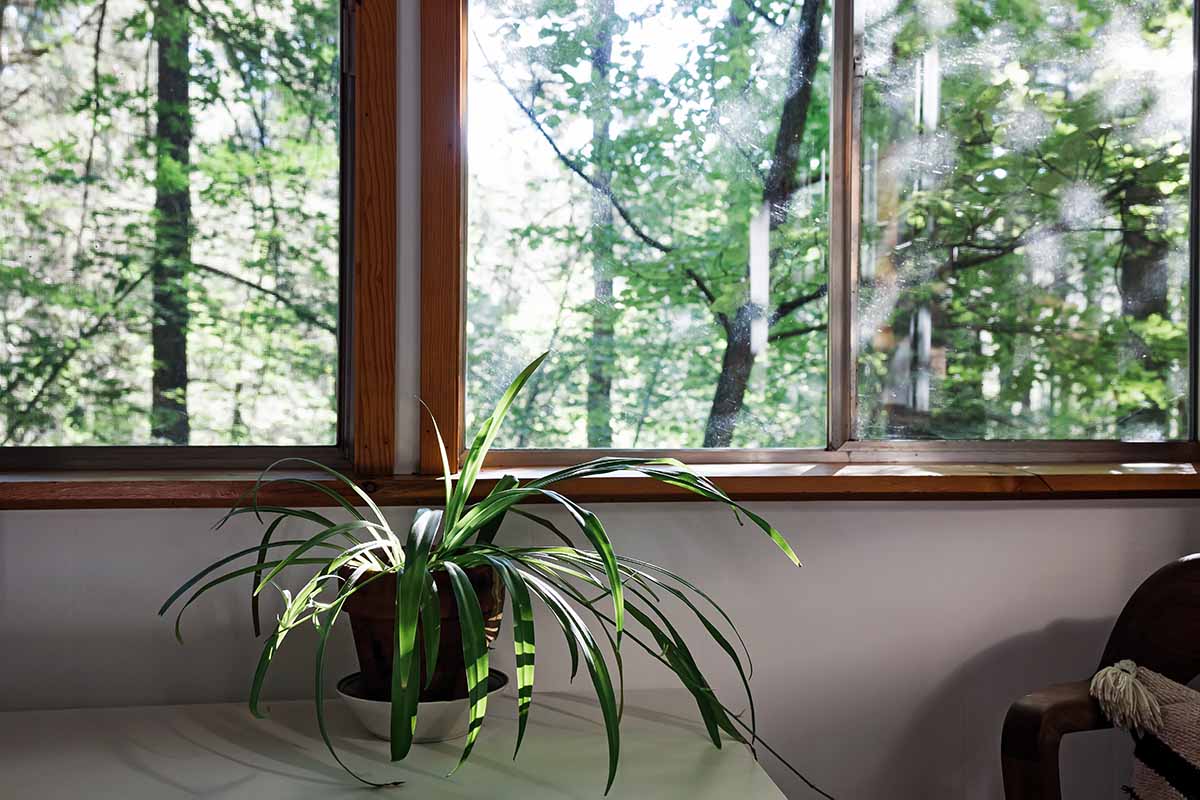
Paint a quick mental picture of your home. If you have deciduous trees in front of the windows, more sunlight will enter your home in winter than it does in summer.
However, if you have evergreen trees in front of the windows, the seasonal changes in illumination won’t be as great.
Now, let’s factor in latitude as well.
Let’s assume that my home and yours each have the same amount and type of obstructions around them, that our windows are the same size, and that it’s a clear day for both of us.
The total amount of sun entering my west-facing windows on a winter afternoon in northeast Utah will be less than that entering yours if you live somewhere further south, such as Austin, Texas.
That’s because the sun is lower in the sky during the winter in my location, and it sets further to the south than it would for someone based in Texas, thanks to the tilt of the Earth’s axis.
Likewise, I would potentially be getting more sun through my west-facing windows than someone living even further north, such as in the Pacific Northwest.
Luckily, we can put these hypothetical comparisons aside and bypass these conundrums. Here’s where our handy meters will come to the rescue, allowing us to replace our subjective assessments with objective ones.

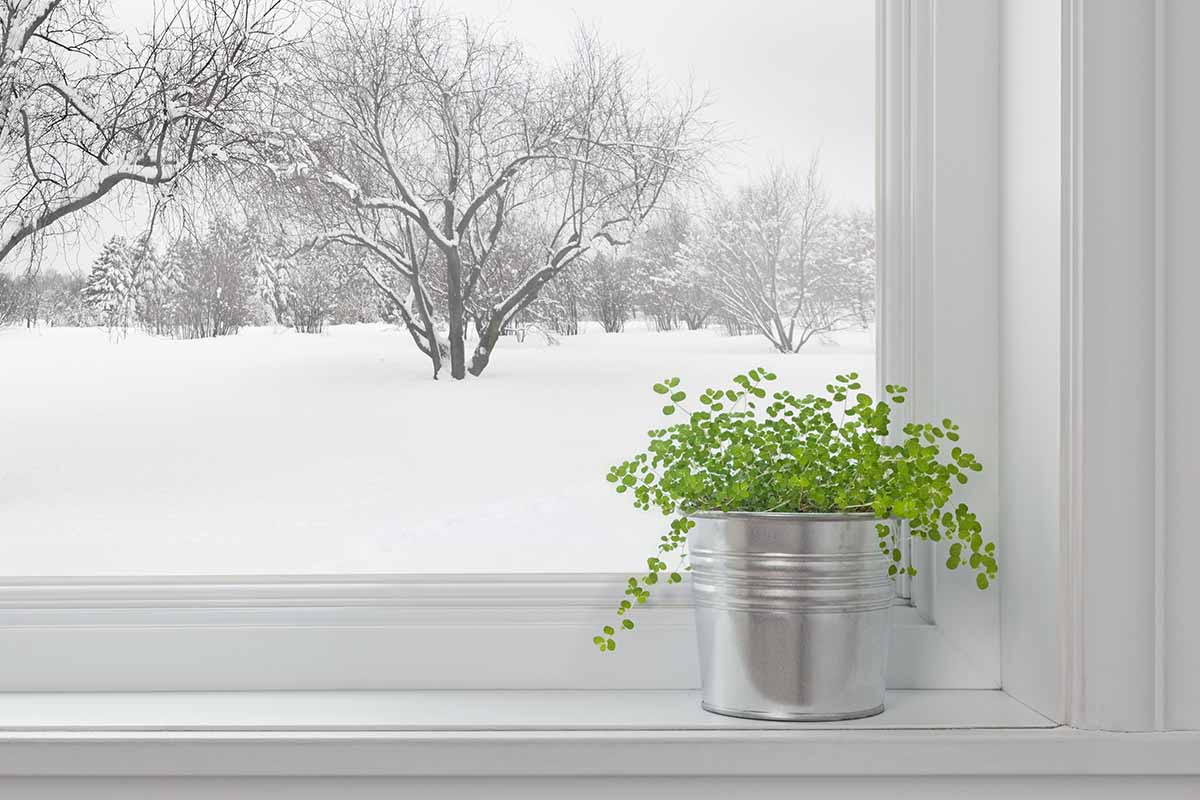
Before I started to use one of these devices, I had tried situating a series of well-selected houseplants in a corner of my home that I thought provided low light exposure.
But after I got my trusty light meter, it revealed that this corner is actually much darker than I thought. The luminosity level there was not just “low,” it was closer to “put-plant-here-and-watch-it-slowly-die” darkness.
To be honest, each plant I put in that location was sending me signals that it was unhappy, but I really wanted to situate a houseplant there, so I kept trying with different options.
Now that I know how dark it actually is, I’ll reserve that spot for displaying non-living objects rather than one of my vegetative housemates, since the area doesn’t receive enough sunlight, and it’s not the best fit for a grow lamp.
Choosing a Light Meter
Now that we have plenty of motivation to use one of these devices, let’s learn a bit more about the different options.
When choosing a light meter, you have a few different categories to consider before deciding on a specific model. Here’s what you need to know:
Analog vs. Digital Meters
Some meters are analog, meaning they don’t require batteries or electricity, while the vast majority of them are digital, and usually powered by nine-volt batteries or coin cell batteries.
Analog options are few and far between, and they are fairly basic devices they don’t come with many bells and whistles. Rather than a digital screen, they have an analog dial display and often feature knobs instead of push buttons.
Some indoor gardeners may appreciate the simplicity of analog devices, while others may find them wanting. And some of them have a limited measuring range.
Digital meters, on the other hand, offer many more features.
Some digital devices provide measurements in foot candles and lux, while the others measure PAR (photosynthetically active radiation).
On the other hand, analog light meters measure only in foot candles or lux – none of them are equipped with sensors to measure PAR.
Next, we’ll dig into the difference between these two categories and the pros and cons of each.
Lux and Foot Candle vs. PAR Meters
Once you start comparing differences between digital meters, you’ll find two main types – those that measure in foot candles and lux, and those that measure PAR – which, as a reminder, stands for photosynthetically active radiation.
Earlier in this article I said that plants need light to feed themselves. What they actually need are photons, particles of light.
Why am I telling you this?
Because the main difference between these two categories of devices is that PAR meters measure photons, and those that measure lux and foot candles don’t.
That doesn’t mean lux and foot candle devices don’t have their usefulness, but it will be helpful to understand their limitations.
Lux and Foot Candle Meters
If lux and foot candle meters don’t measure photons, what do they measure then?
These devices use a sensor, typically a silicon photodiode, to measure light as humans (not plants) perceive it, in units known as foot candles or lux.
The term “foot candle,” is a bit archaic, much like talking about the term “horsepower” for cars.
A foot candle is a unit of measure used to denote the amount of light emitted by a candle falling on a surface exactly one foot away from the light source at all points, and this is equal to one lumen per square foot. This is an imperial unit of measurement.
The metric equivalent of foot candles are “lux,” which is the amount of light emitted by one candle falling on a surface exactly one meter away at all points.
Beyond the fact that referring to candle illumination sounds a bit outdated in the modern world, the problem with these meters (when it comes to using them with plants) is that they favor green light waves rather than blue and red light waves.
That’s because the human eye is more sensitive to green light and less sensitive to red and blue light.
Again, these meters measure light as perceived by humans – you may be familiar with them as a photographer’s tool.
Plants, on the other hand, are sensitive to blue and red light waves, but they are somewhat less sensitive to green waves. For the most part, plant foliage reflects green light waves back rather than absorbing them, which is why foliage looks green.
(There are some exceptions, of course – red-leaf lettuce, for instance, reflects red waves. And many blue-tinted plants are found in desert habitats – they reflect blue waves rather than absorbing them, a boon to the plants in hot climates because those waves are hotter.)
In essence, foot candle and lux light meters aren’t as accurate with measuring blue and red waves of the visible light spectrum.
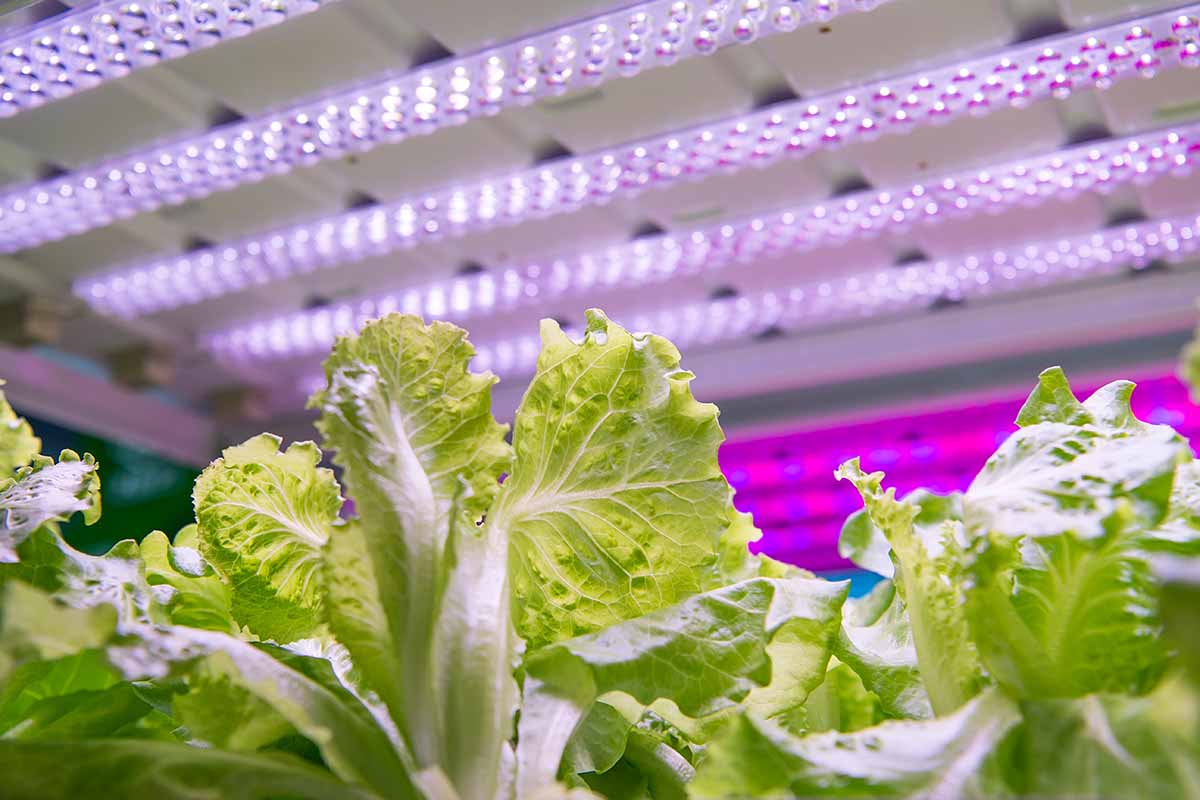
This means they lose a lot of accuracy when measuring luminosity from LED bulb. Many of today’s grow lights use white or color LED bulbs that emit blue or red waves.
Does that mean we should just throw foot candle and lux devices out the window and forget about them?
No, because they do have their advantages.
For starters, light meters that measure in lux and foot candles are budget friendly, easy to find, and there are many different models available.
These meters tend to work great for measuring natural sunlight – they just aren’t as accurate when measuring LEDs.
Another advantage is that the vast majority of public-facing horticultural sources such as houseplant cultivation books, and guides provided by university cooperative extensions, refer to luminosity requirements measured in foot candles.
With most options, you won’t have to buy either a foot candle or a lux device – most of these meters allow the user to switch back and forth between either lux or foot candles (abbreviated as “fc” or “ft-c”) like you might between Fahrenheit and Celsius on a digital thermometer.
And by the way, the conversion between the two units if you need to do it manually is roughly ten lux to one foot candle if you round down, making conversion easy.
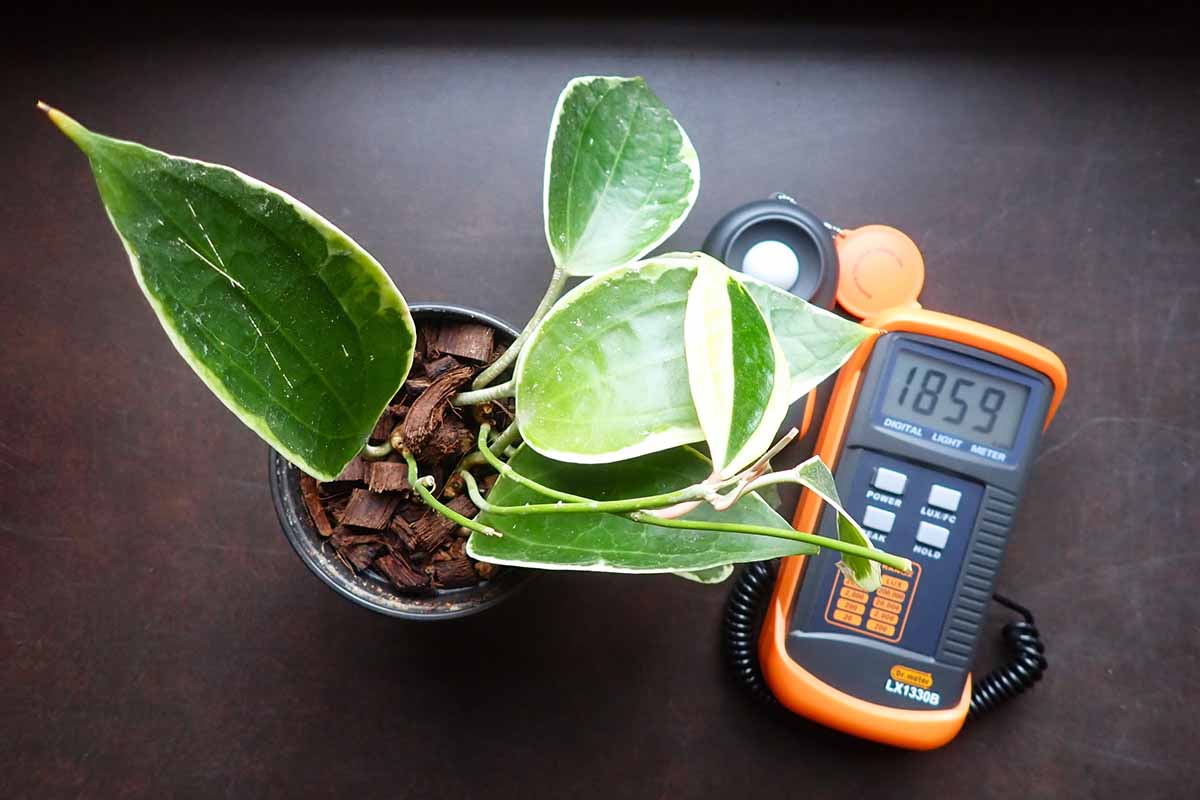
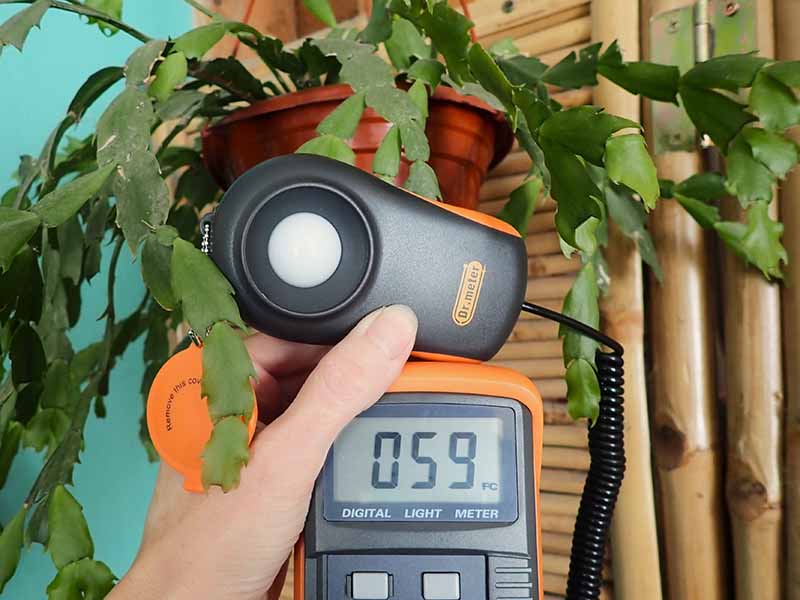
Once you’ve decided that this type of device is what you need, a great model to start with is the Dr. Meter LX1330B Digital Illuminance Meter.
This light meter measures in foot candles or lux, allowing users to toggle back and forth between the two units.
It can measure illumination in a range of 0 to 200,000 lux or 0 to 20,000 foot candles. In order to move between dim and bright sources, a range button is used – you’ll learn more about this shortly.
The LX1330B has a detached sensor wand that is connected by a coiled cord, meaning you can hold the photo sensor separate from the device, turning it at odd angles if needed, while still being able to see the readings easily.

Dr. Meter LX1330B Digital Illuminance Meter
You can find the Dr. Meter LX1330B Digital Illuminance Meter available for purchase via Amazon.
PAR Meters
We’ve seen that foot candle and lux meters are designed to measure perceived brightness, while PAR meters actually measure photons. Photosynthetically active radiation is light used for photosynthesis ranging between 400 and 700 nanometers.
Quantum PAR devices assess light conditions as usable by plants more accurately than meters that measure foot candles and lux.
That makes PAR devices with quantum sensors useful for gardeners using grow lamps in their indoor gardening setups, since these lamps often emit light waves that plants can perceive well, but humans can’t.
Photosynthetic photon flux (PPF) and photosynthetic photon flux density (PPFD) are units used to express PAR measurements. PPF is measured in micromoles per second (μmol/s) and one micromole is equal to about 602 quadrillion photons.
PPFD denotes the number of photons landing on a specific area in square meters per second (μmol/(m^2/s)).
As for potential downsides, these devices tend to be pricier than their foot candle counterparts and these units of measurement (PPF and PPFD) are not often used in public-facing horticultural domains.
They are more common and used more regularly by agricultural professionals and horticultural researchers in their work.
If you are growing crops indoors, or are using LED lamps to help illuminate your houseplants, you may want to consider a PAR meter.
One of my favorite PAR meters is the Spot On from Innoquest. This pocket-sized device has a measuring range of 0 to 6,500 micromoles per square meter per second, and is powered by a coin cell battery.
This light meter works great for taking “spot” measurements of conditions at a given time, but also has a default 24-hour mode in which it calculates a daily light integral, an average of how much luminosity is received per day.
Purchase the Spot On Quantum Par Meter from the FGI Store via Amazon.
You can learn more about these specific models and more of our favorite light meters, including analog, digital, and PAR devices in our roundup of the best light meters.
How to Use a Light Meter to Care for Houseplants
Once you have the meter and it is powered up, be sure to select the unit of measurement you want to use if the device has more than one available, as is the case with those whose displays may show either lux or foot candles.
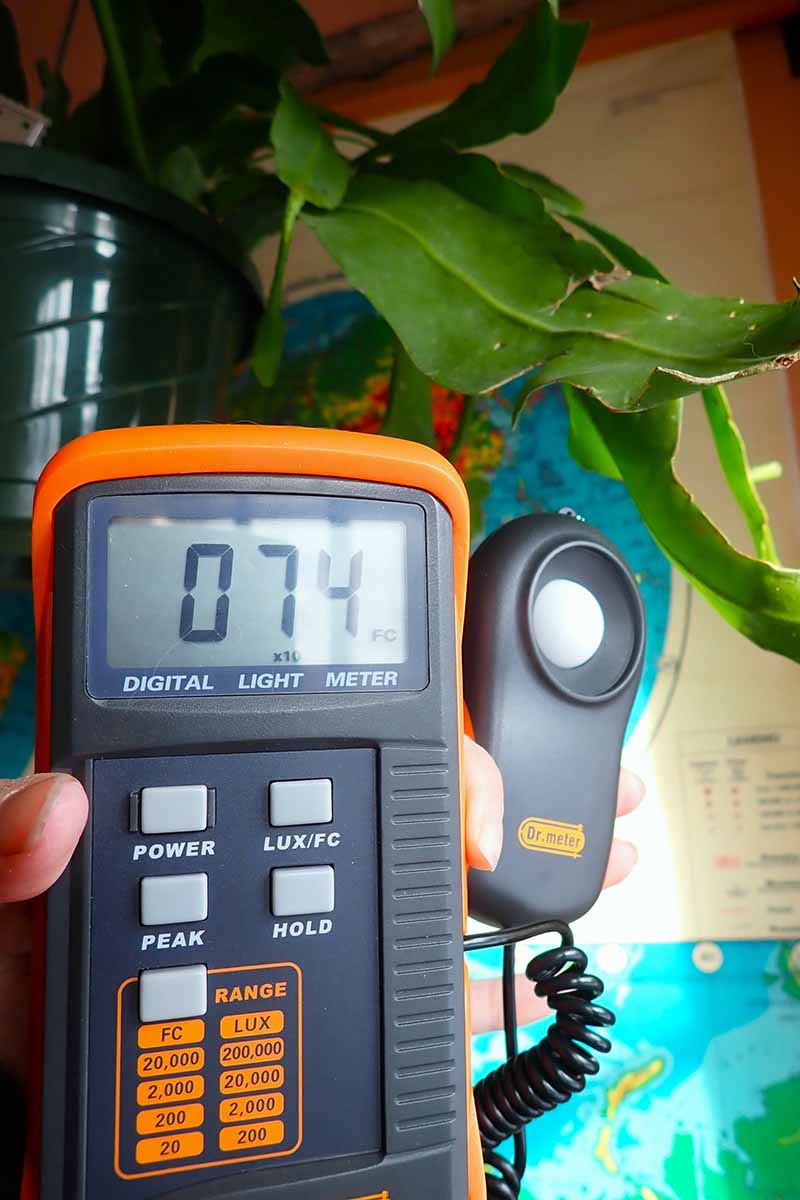
Next, choose the range if necessary. Changing the range moves the decimal point, measuring in increasing or decreasing orders of magnitude by a power of 10. If you are testing very bright conditions – near windows, for instance – you want the decimal point to move towards the right, effectively testing within a bigger range.
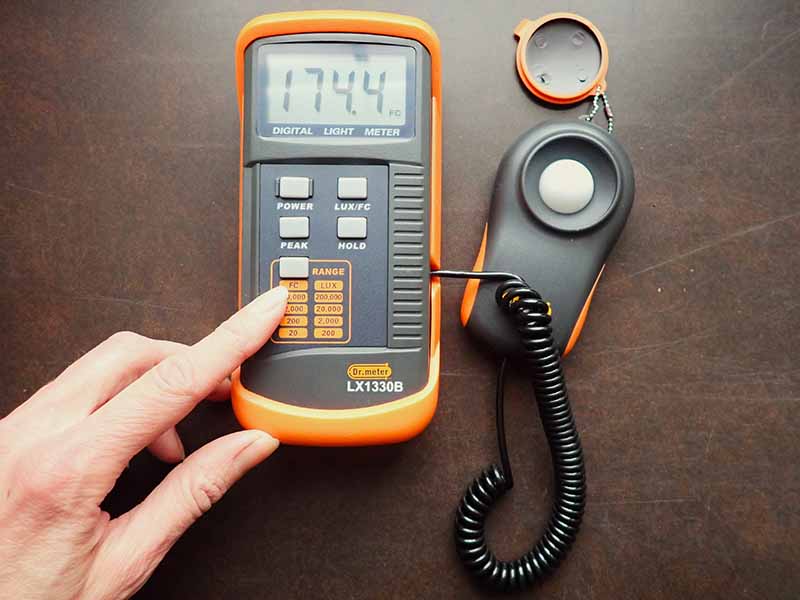
On the other hand, if you are testing dim conditions, you can select the range to be much smaller, moving the decimal point towards the left.
If the value on the display seems too low for what you are measuring, check to see which range you have selected – there may be a “x10” or a “x100” displayed below the value, meaning you need to multiply the number you see on the display by 10 or 100 to get your result.
For instance, you may be seeing “5.00” on the display, but if “x100” appears below this number, you’ll know the value is actually 500.
And if there is a cap on your sensor, make sure to remove it. Otherwise, you won’t be measuring anything at all!
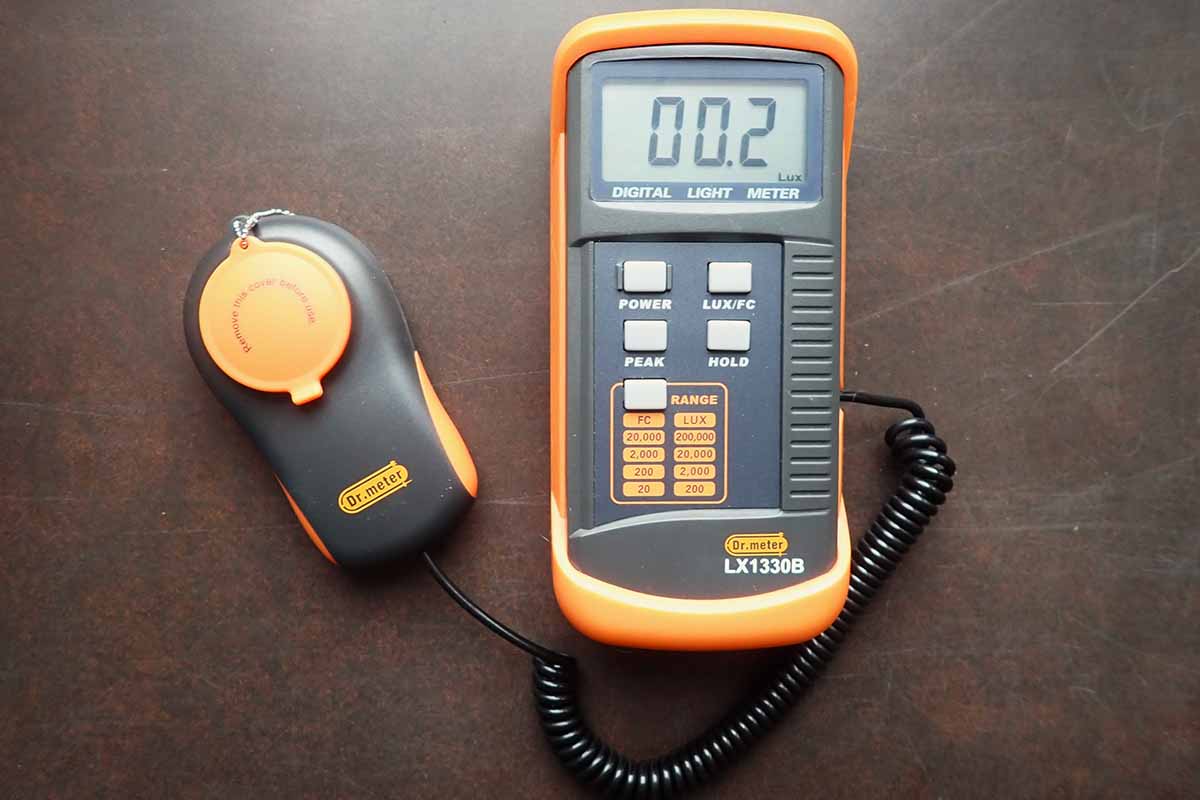
Once you have selected your desired settings and removed the sensor cap, you’re ready for action.
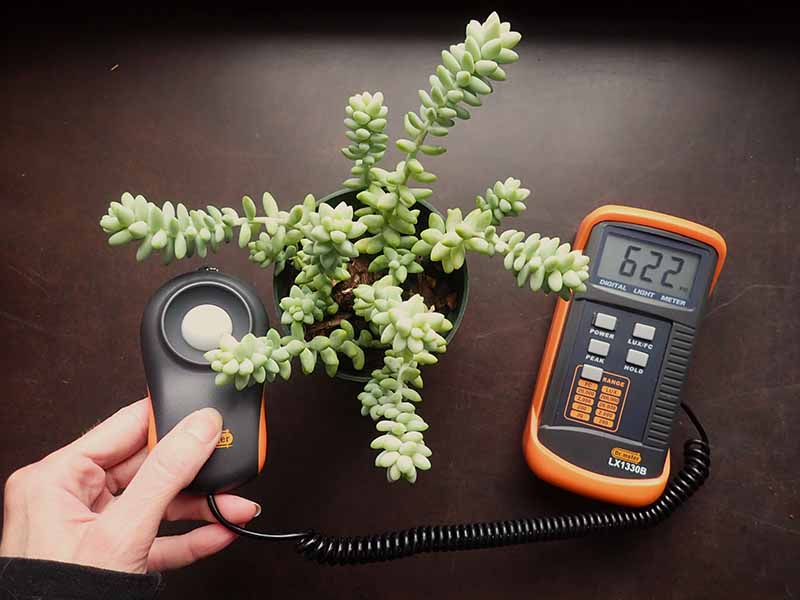
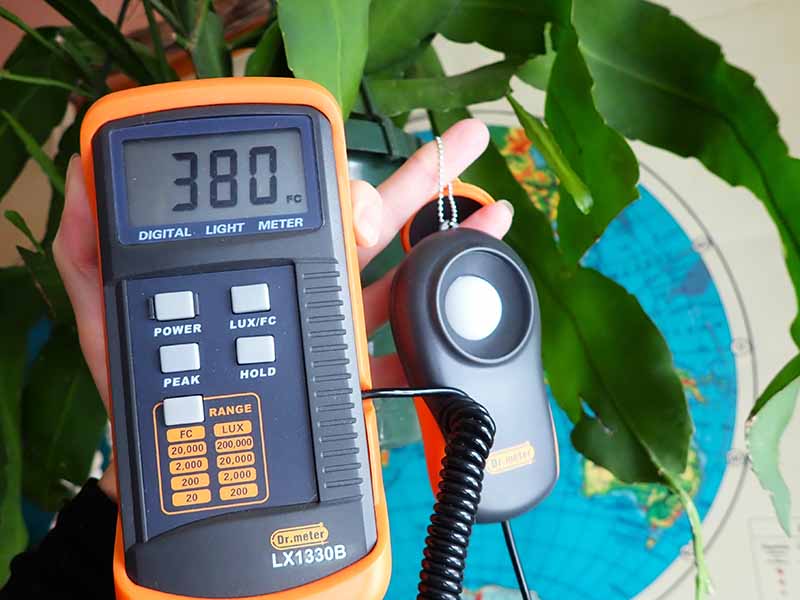
Hold the sensor close to the plant’s foliage, directed towards the window or lamp.
You’re trying to determine what the plant is receiving in terms of exposure, so you want to point the sensor towards the light source, not towards the plant.
It’s also important to remember that sunlight is dynamic, meaning it is constantly changing. The values appearing on the meter display will fluctuate, giving you an idea of how much illumination the plant is getting via natural light at any given moment.
You’ll find that the part of the plant closest to the window or lamp will display a higher reading than areas further from the window or lamp, as the light intensity decreases.
To try to get a good idea of what the whole houseplant is being exposed to, place the sensor in the middle of its canopy, but still pointed towards the source of illumination.
Also, take measurements on different days and record your observations. Cloudy and sunny conditions will provide different results.
A great way to record these values is by making notes in a gardening journal.
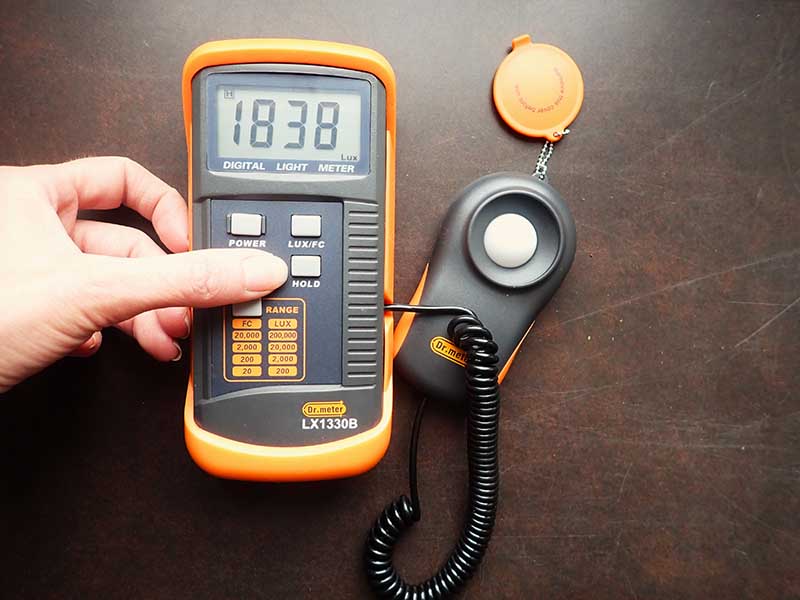
Your light meter may have a hold button – this allows you to hold the reading for a given measurement, which is useful if you want to make notes after you capture a certain value.
This button will freeze the value on the screen until you press it again.
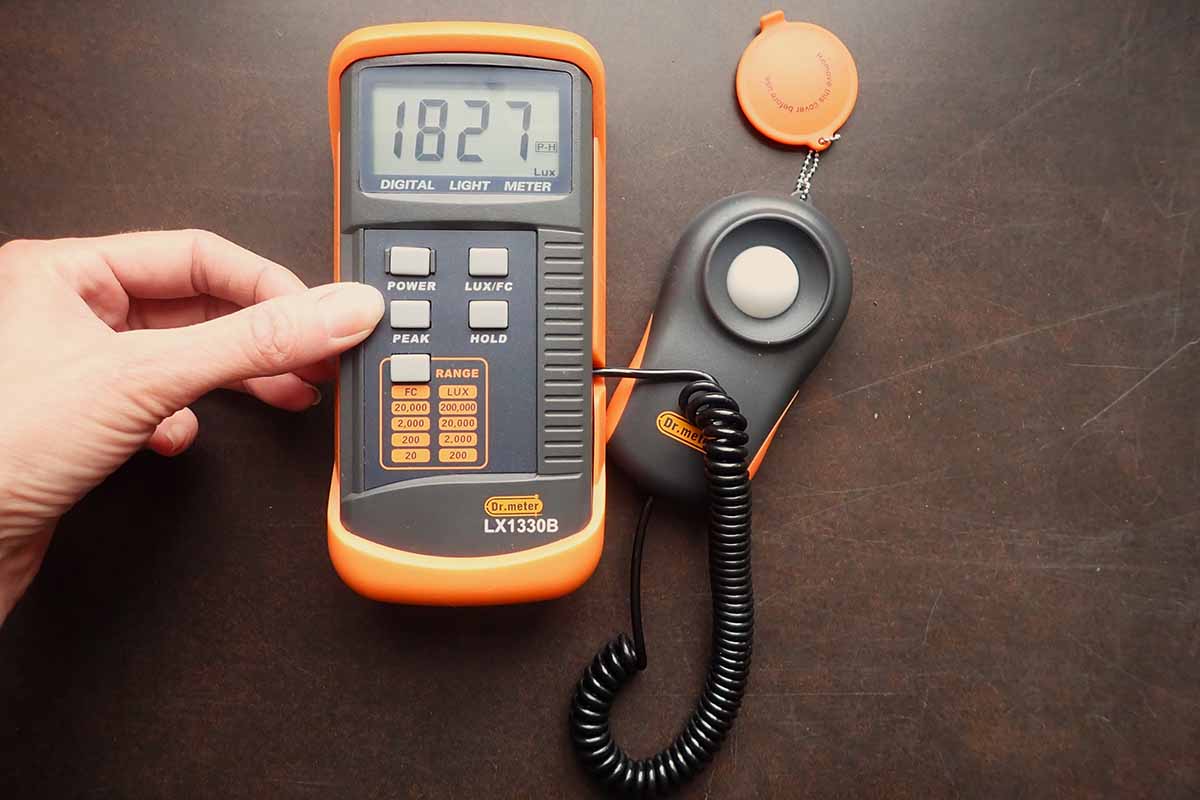
Your meter may also have a peak button.
Using the peak button will cause the value displayed on the screen to pause at the highest number read by the sensor.
Pressing the peak button again will typically unpause the sensor, and it will resume adjusting to new luminosity conditions based on changes in exposure in real time.
Be sure to also read the user manual that comes with your meter, since different models may have different functions and options.
Interpreting Results
Now that you have an idea of how to use this type of device, don’t just take one measurement and think you’re done.
Try measuring the same area at different times of day, under different weather conditions, and at different times of year.
You can then take these numbers and calculate an average.
Yes, you can geek out and get really scientific about this. You might even go so far as to take measurements every day of the year at the same time and then calculate an average from those figures. Go for it if you have the time and stamina to carry out such a project!
Or you can just take these numbers, and make an educated guess.
Is it mostly sunny in your area? Mostly cloudy? A mix of both?
If it’s mostly sunny, then the readings you noted on sunny days are going to be the ones that are more important for you, while if you are consistently getting a lot of low readings on your display, the houseplant may need to be relocated or provided extra illumination with a grow lamp.
Once you have some values noted, see if those numbers correspond to the recommended brightness conditions for your houseplant.

Opinions differ on which precise ranges of foot candles correspond to which brightness ranges for indoor houseplants, but here’s a starting point to reference, in which plants will not just survive but actually flourish:
Values between 75 and 200 fc are considered good levels for low light conditions. For these areas, reach for low-light tolerant houseplants like snake plants, grape ivy, or ZZ plants.
Values between 200 and 500 fc are considered good luminosity levels for plants requiring medium brightness. For values in this range, opt for houseplants adapted to moderate levels of light like begonias, prayer plants, or moth orchids (phalaenopsis).
With values of 500 to 1,000 fc, you are safely within the bright light houseplant category and can choose from a wide variety of houseplants such as birds of paradise, fiddle-leaf figs, and some succulents, such as jade plants.
Over 1,000 foot candles is considered very high, and in this range plants will be getting some direct sunlight, where you can grow gardenias or herbs such as basil indoors.
Keep in mind that many plants can survive in more than one brightness range, but in general, they will produce more foliage and have better overall growth with the most illumination that can be tolerated.
For instance, even though cast-iron plants and snake plants can tolerate low light, that doesn’t mean they’ll be happiest in it. (And yes, I’m speaking from experience!)
Also consider that these ranges are general recommendations – you should expect some variation among different cultivars.
Many hoyas, for instance, tolerate conditions in the low to medium range, but variegated cultivars may wither in such conditions, requiring more light than darker leaved varieties.
Other variegated plants that don’t have thick, succulent flesh may become bleached, sun scorched, or burn to a crisp in very bright light.
And if you find that you don’t have enough natural sunlight to keep your houseplant thriving, you may want to consider supplementing with a grow lamp – learn more about these nifty indoor gardening tools with our article!
Happier Houseplants with the Wave of a Wand
As we’ve seen, using a light meter with our houseplants can be like the difference between night and day for their health and happiness.
Just don’t forget – it’s not enough to just wave the wand (well, okay, the sensor, if you insist) – you may need to relocate your houseplants based on the results you’ve observed!
Are you convinced that using one of these devices will be a game changer for you and your houseplants? Are you still trying to figure out how to use yours? Are you already a convert to the magic of light meters? We want to know – give us the details in the comments section below!
And since you’re geeking out with plant gear, why not check out these other indoor gardening tools next?