Every plant lover knows that feeling of just wanting another plant – and another, and another, and another until your house basically looks like a rainforest!
Well, what if I told you that there was a simple way to add more plants to your collection at a fraction of the cost of buying them new?
We link to vendors to help you find relevant products. If you buy from one of our links, we may earn a commission.
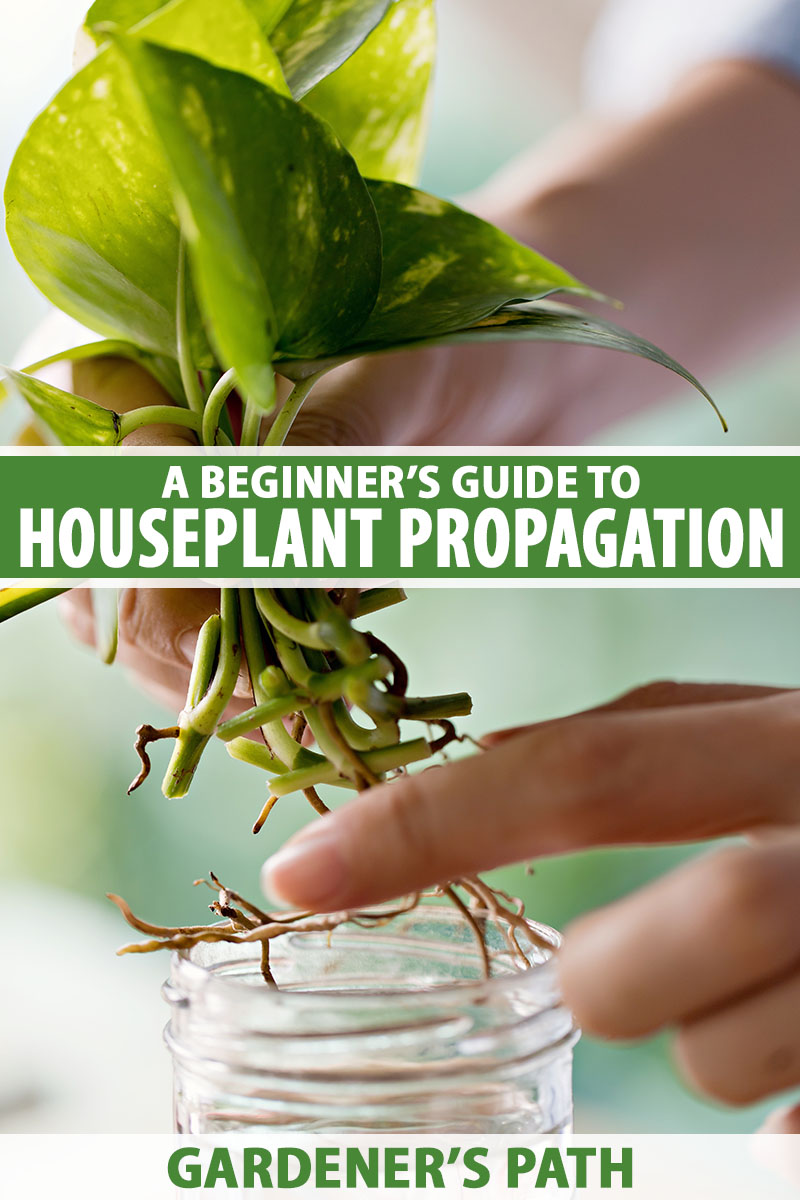
That process is called propagation, and it’s very simple to learn and do.
In this guide, we’ll go over the basics of houseplant propagation. Here’s what’s ahead:
What You’ll Learn
What Is “Propagation,” Anyway?
“Propagation” is one of those words that gets thrown around a lot by people in the plant community.
It may sound quite complicated, but it’s actually not! Propagation is just the act of taking a piece of the mother plant and tricking that piece, or cutting, into making roots and shoots.
Propagation can also refer to growing a new plant from a tiny seed, and later transplanting it to a larger pot.
Either way, if it’s successful, you will eventually add new additions to your growing plant collection.
What Do You Need in Your Propagation Toolbox?
Before you propagate via cuttings, you’ll need a few necessities:
- A floral knife or small pocket knife
- A watering can or misting bottle
- Heat mat
- A plastic bag or bowl
- Somewhere for your cutting to call home
- A tape measure or ruler
- A mother plant to take cuttings from
There are also some optional propagation supplies that you can use if you are all about gardening gadgets or want to experiment with something new:
- Commercial rooting hormone
- Grow light
If you are starting from seed, you will require:
More About the Necessities
Let’s start by breaking down the necessary tools needed for propagation. These will make your first (or latest) propagation experiment a breeze.
Floral Knife/Small Pocket Knife
Every plant contains something called vascular tissue, which is responsible for transporting water and nutrients all throughout the plant.
You never want to pinch or squish the vascular tissue of your cuttings, otherwise they won’t produce roots or shoots properly!
This is where your small knife comes in – clean cuts will prevent vascular tissues from being damaged while you propagate.
Watering Can/Misting Bottle
Newly cut propagules are especially vulnerable to disease and root rot, which is why you never want to overwater them! Overwatering can create a soggy environment that bacteria loves.
A watering can or misting bottle allows you to better control the amount of water that the propagule is receiving.
An initial mist or thorough watering is all a new cutting will need when it’s first put in the soil. Only water or mist if the growing media is completely dry.
To test if the soil/media is dry, stick your index finger into an unoccupied portion of the media. If it feels dry up to your first knuckle, then you are set to water or mist again.
Heat Mat
Most of us probably don’t have access to a greenhouse in our backyard, so heat mats provide an easy way to bring warm greenhouse conditions into your home.
Your cuttings will grow roots faster if the soil is warm, kept at about 74°F. If you are propagating from seed, a heat mat can help to speed up germination.
Most heat mats come with thermostats to help you regulate that temperature.
I would highly recommend the MARS HYDRO mat, available from Amazon.
The 48-by-20-inch dimensions are just enough for anyone who wants to experiment with propagation, and it has an adjustable thermostat.
Plastic Bag/Plastic Bowl
Plants lose water whenever the air around them is dry and hot, very similar to how you might become dehydrated after sweating.
Your cuttings are small so they cannot afford to lose a ton of water.
Putting a plastic bag or a plastic bowl over your cuttings after you’ve misted them is the quickest (and cheapest) way to create greenhouse-like humidity to keep them from losing water.
A Home for Your Cuttings
Your new cuttings will need a place to grow roots and/or shoots.
You can do this by adding them to a pot of soil or plastic cell packs, or sticking them in a wet florist’s foam. You can also put them in a vase or jar of water, but more on that in a bit!
Looking for a florist’s foam to use for your next propagation project?
Oasis brand is my favorite, and packages of six standard nine-by-four-by-three-inch bricks are available from Amazon.
Tape Measure/Ruler
Unless you want to wait forever for your plants to grow, you’ll need to give them a good starting point!
Measuring out a cutting that is three to six inches in length is a good rule of thumb when propagating. It’s better to go longer than shorter as a general rule.
A Mother Plant
The type of mother plant will determine the needs and specific technique that you will use to take cuttings for propagating.
We’ll talk about that more in later in this guide, so keep reading.
More About the Optional Tools
These are just a little something extra for your propagation experiment, to help boost your chances of success.
Commercial Rooting Hormone
This is the tool that makes you feel like a mad scientist! Rooting hormones come in a powder, liquid, or gel form, and they ultimately help your propagules grow roots faster.
When shopping for rooting hormone, look for ones that have indolebutyric acid (IBA) or naphthaleneacetic acid (NAA) on the label.
I would advise buying a powdered hormone because these are easier to handle, don’t require you to wear gloves, and the product adheres to your cuttings instantly.
Certain types of liquid hormones lose their effectiveness when exposed to light for too long (think one to two minutes!), include alcohol that can irritate your skin, and require you to submerge the tip of your cuttings for three seconds before you can put them in their new home.
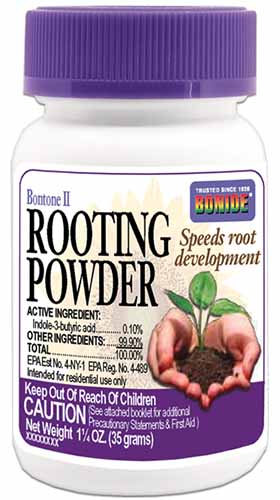
Bonide Bontone II Hormone Powder
If you are looking for rooting hormone, I would suggest Bonide Bontone II rooting powder, available from Arbico Organics, or Olivia’s Cloning Gel, a gel that’s also available from Arbico Organics.
Grow Light
If you don’t have access to indirect light or you are trying to keep your cuttings out of reach of pets or children, then a grow light is your answer.
Cuttings need enough light to perform photosynthesis but not so much that it causes them to lose water rapidly.
Grow lights are amazing because, unless they are expensive and greenhouse-grade, they won’t typically produce enough light to harm your cuttings.
The wattage of the grow light will dictate how far away the light should be from your propagules. Usually, anything that under 40 watts can be placed about six inches away from your plants.
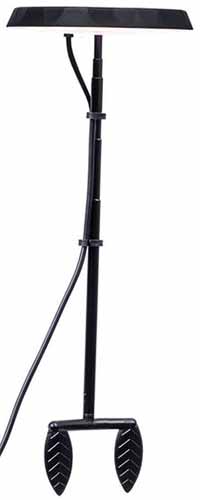
I would suggest the Stem Grow Light from AeroGarden or the Fyheart Grow Lamp that’s available from Amazon.
Both have adjustable timers and stand lengths so that you can give your plants the perfect amount of light every day!
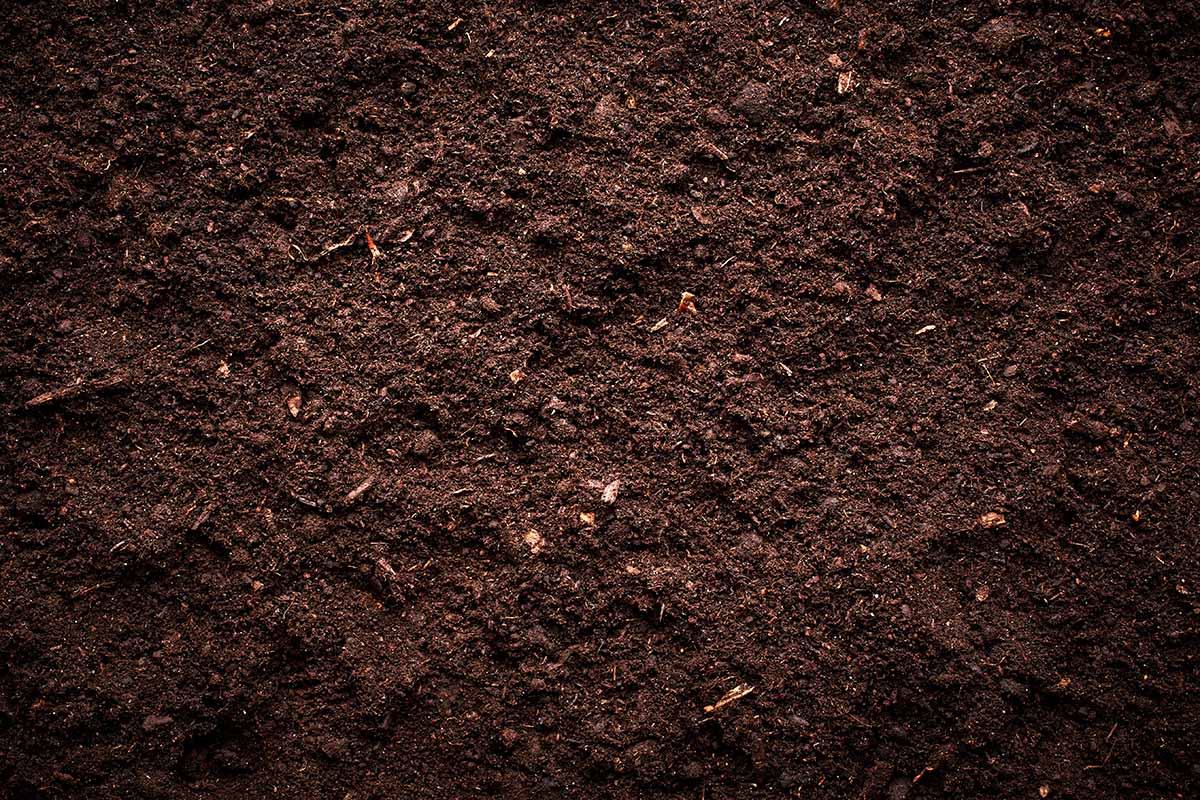
It’s All About the Media
When you hear someone talk about media, in this case, they’re not talking about the news – they’re talking about what their plants are growing in!
After taking a cutting to propagate or for starting seeds, there are two things that you want to keep in mind while deciding between types of media:
- Air/oxygen
- Water
Simple, right? Air pockets within soil or synthetic media like florist’s foam are very important for proper drainage, while water is half of what keeps the propagules alive and thriving.
Any soil mix that contains perlite or peat moss is going to be great for your new cuttings since those substances will maximize the oxygen available.
I would highly recommend this transplant mix from Gardener’s Supply Company because it contains not only peat moss and perlite, but fertilizer tailored specifically toward stimulating root growth.
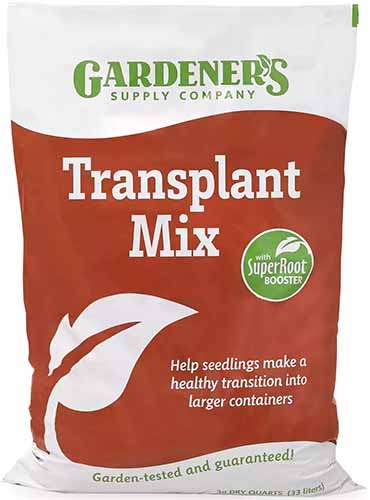
Gardener’s Supply Transplant Mix
Synthetic media like florist’s foam are also great for cuttings since they are able to hold a tremendous amount of water while still retaining a lot of air.
Unfortunately, this type of media can be expensive and ultimately your cuttings cannot live there forever, and must be put into soil once they start putting out roots or shoots.
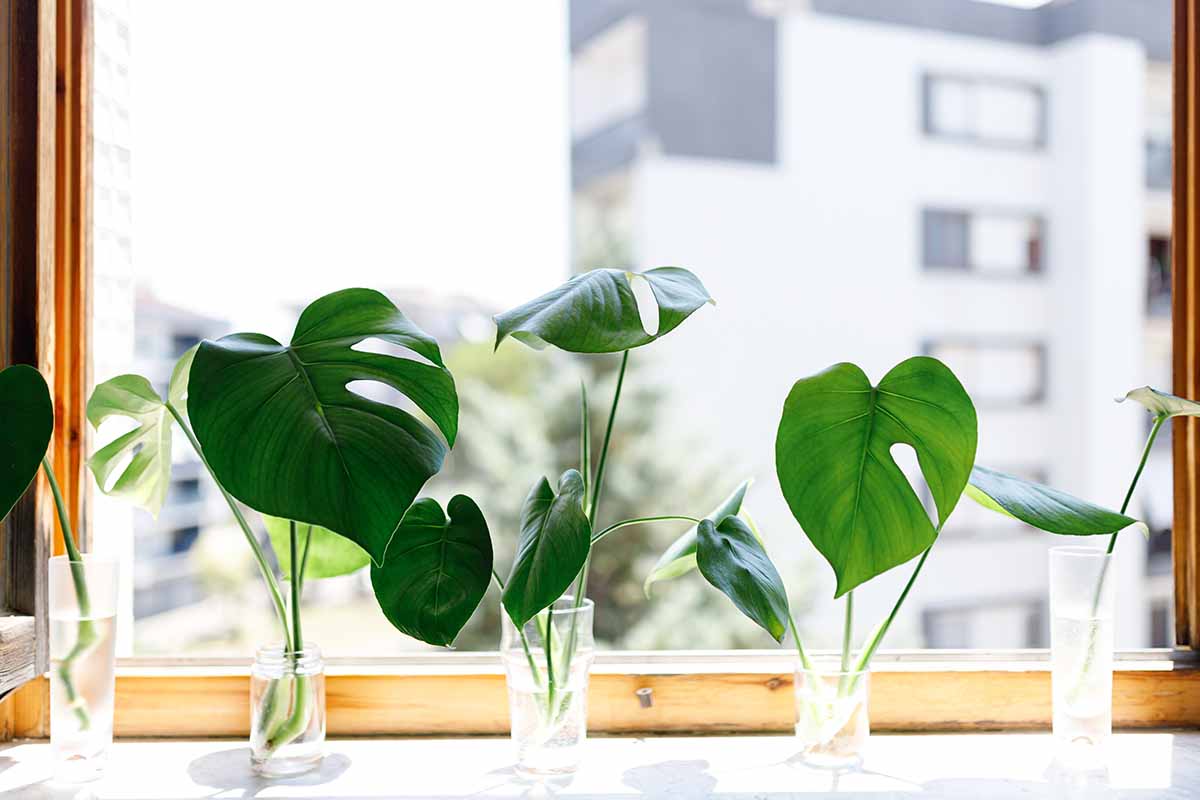
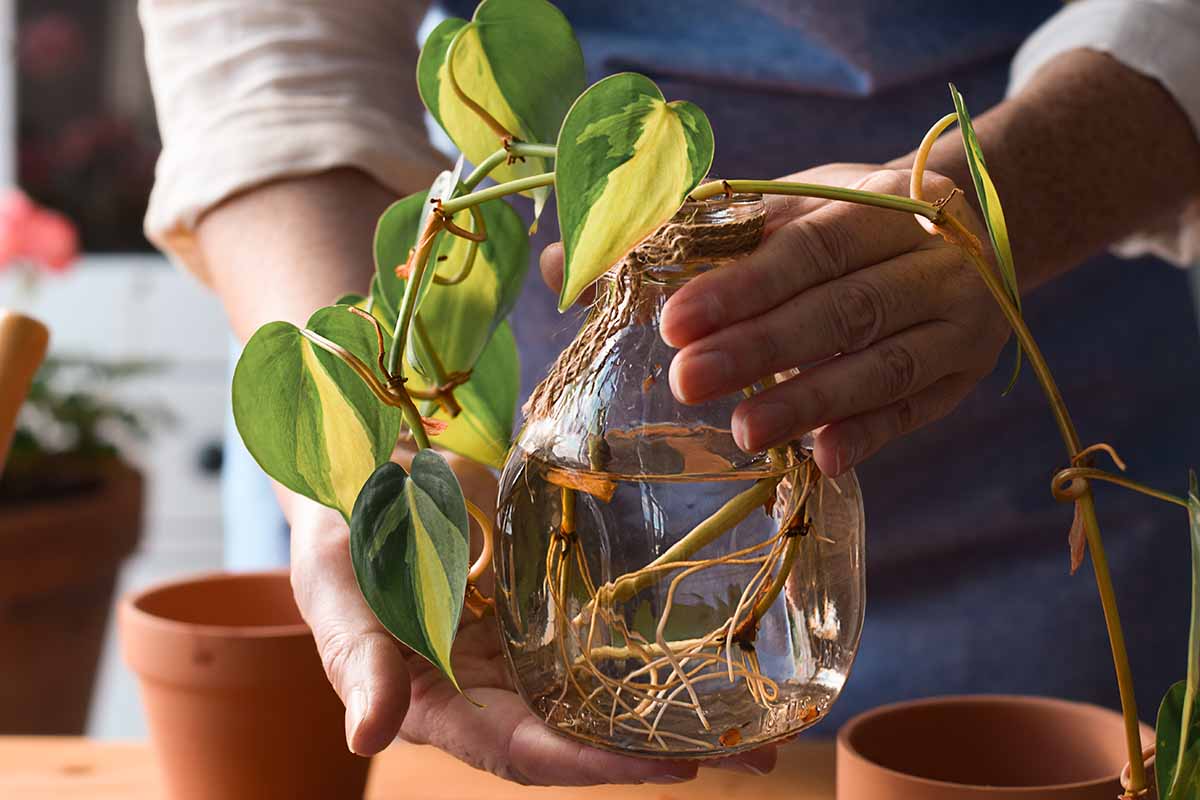
Since water is one of the requirements for successful propagation, you can absolutely plop your cuttings in a vase of clean water.
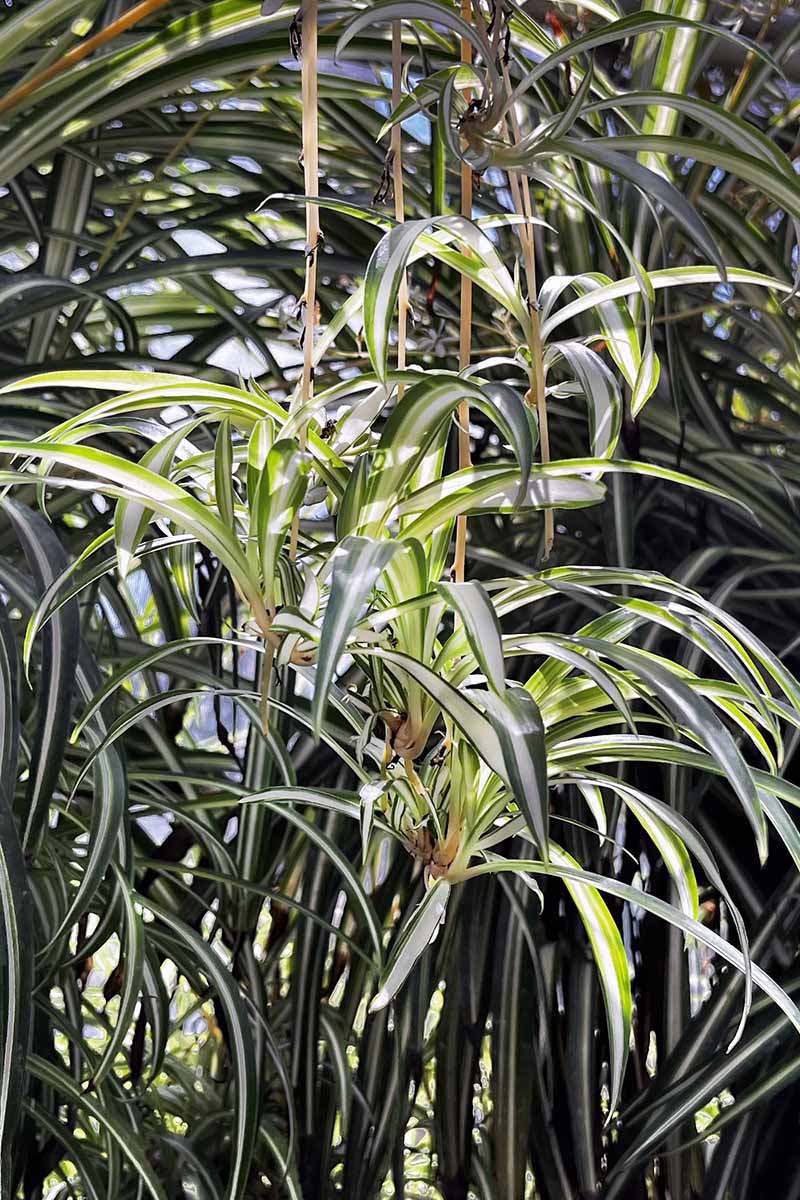
Since water loses oxygen over time, you will need to replace the water every two to three days. Some plants that do well in water include spider plants, monsteras, and ZZ plants.
Not that unless your plants are specifically aquatic specimens, they will not thrive in water their whole lives. Once the cuttings have rooted, they need to be planted in soil.
This is because water does not contain the nutrients that the plants need, which means that you have a higher likelihood for stunted growth.
You could add fertilizer to the water, but it is very easy to overfertilize. Should overfertilization occur, your plant may experience root rot or excess sodium intake that will cause the leaves to turn brown at the ends.
Propagation Techniques and Plants to Experiment With
Here’s where we get to the fun part – actually propagating your plants!
There are a few basic techniques that you can use to propagate your beloved plants, and so very many species to experiment with.
Indoor Seed Propagation
Indoor seed propagation is a great way to start producing some indoor edible plants like tomatoes, basil, and peppers, as well as ornamental houseplants like peace lilies and anthuriums.
Multipacks of plastic seed-starting cells with drainage holes in the bottom are excellent for propagating seed, and they can be placed in a solid tray to catch any excess water.
Prepare a seed-starting cell tray by over-filling it with a seed-starting potting mix. Once you have done this, tap it gently against a flat surface to let the potting mix settle.
Then, level it gently with your hand by swiping it across the top – you don’t want to compact the substrate!
You should plan to sow at least three seeds per cell in case some of them do not germinate. By paying attention to the “packed for” date on your seed packet, you can avoid low germination rates.
For example, if a seed packet says “packed for 2023,” you can expect a decline in germination rates beyond that date.
Using the tip of your finger, poke a hole in the top of your substrate. The hole should be twice the diameter of the seed.
After making a hole, place the seed inside the hole and gently cover it with vermiculite or potting mix.
Water the soil thoroughly and check daily to see if it needs to be rewatered. You can determine by sticking a toothpick or your index finger one inch deep into the substrate.
If the potting mix is dry to an inch down, then your seeds are ready to be watered again.
Place the container in a well-lit and warm environment until the seeds germinate. Again, I would suggest a heat mat to help keep the soil warm until you are ready to repot your seedlings.
Depending on the type of plant, repotting can take place when the plants are four to six weeks old.
Stem Tip Cuttings
This is a classic technique useful for propagating poinsettia, croton, basil, and pothos plants.
Prepare four-inch seedling pots by overfilling them with a substrate of your choice, tapping it three times against a flat surface, and gently swiping the excess off with your hand.
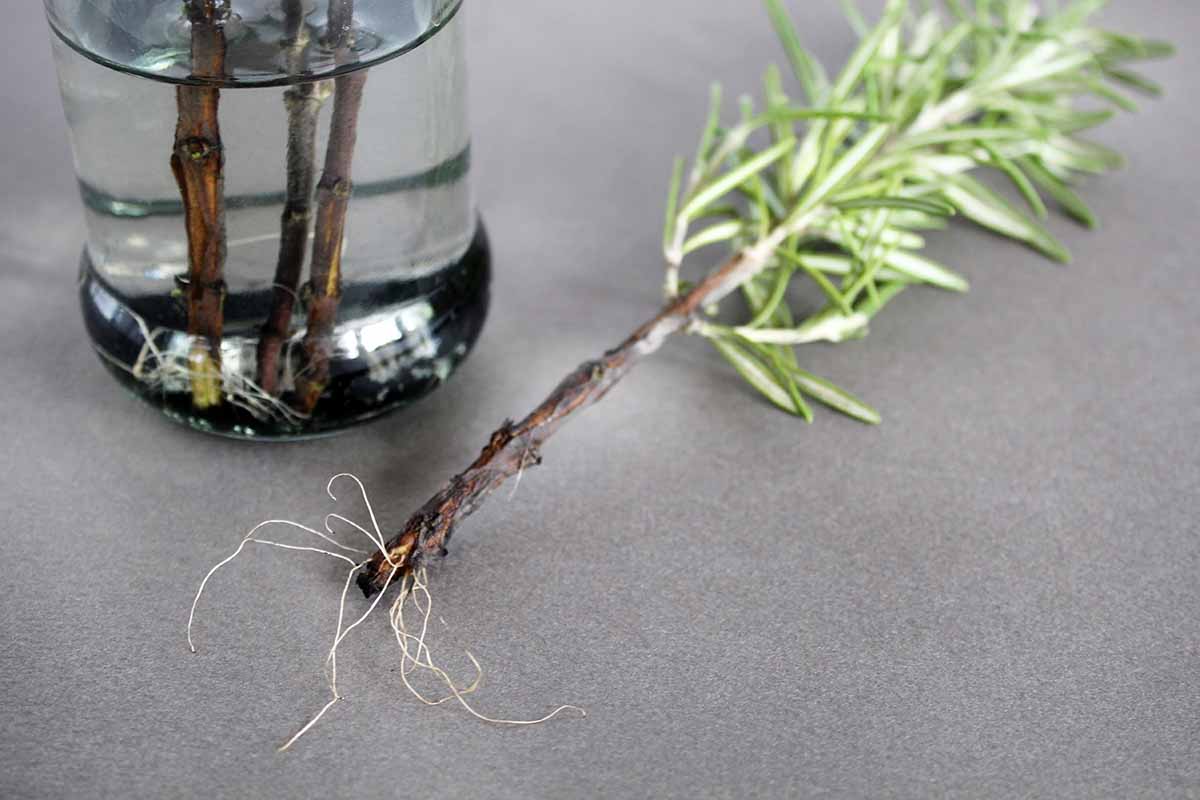
Take the mother plant and find a branch with a growing point at the end of it. Growing points may exhibit an unfurled leaf or bud-like structure at the end of a branch.
Measure out three to six inches of the branch before taking your knife and cutting it away from the mother plant.
Remove half- to one-inch of leaves along the stem of the cutting near the cut end.
If you like, take your new cutting and dip the cut end into the rooting hormone to coat it lightly. If using a liquid root hormone, make sure you wear gloves while handling it, keep the cut tip in the hormone for three seconds, and shield the hormone from light.
Stick the bare stem cut side down into your desired media. If you are using floral foam, simply stick the cut end one inch deep into the foam.
If you are using soil to propagate your cuttings, stick the cut end one inch into the soil and use your index finger and thumb to gently pinch the soil around it for stability, and water gently.
Place your container onto a heat mat in an area with indirect light that is approximately 68 to 73°F. Adjust your heat mat to be 77°F.
The heat from the mat will accelerate the time it takes for your plants to root, while the coolness of the ambient temperature will slow water loss from the plant.
If you are using a grow light, check the wattage provided on the package. If it is under 40 watts, place it six to 12 inches from your propagules to avoid scorching.
Keep the soil evenly moist, but not waterlogged. You can stick your finger into the soil and if it’s dry up to your first knuckle, it’s time to water again.
Every few weeks, you can check if your propagule has successfully rooted or not by gently tugging on the lowest part of the stem.
If it will not budge, that means it has successfully rooted and it is time to transplant it into a bigger pot. The pot should only be twice the size of the root ball.
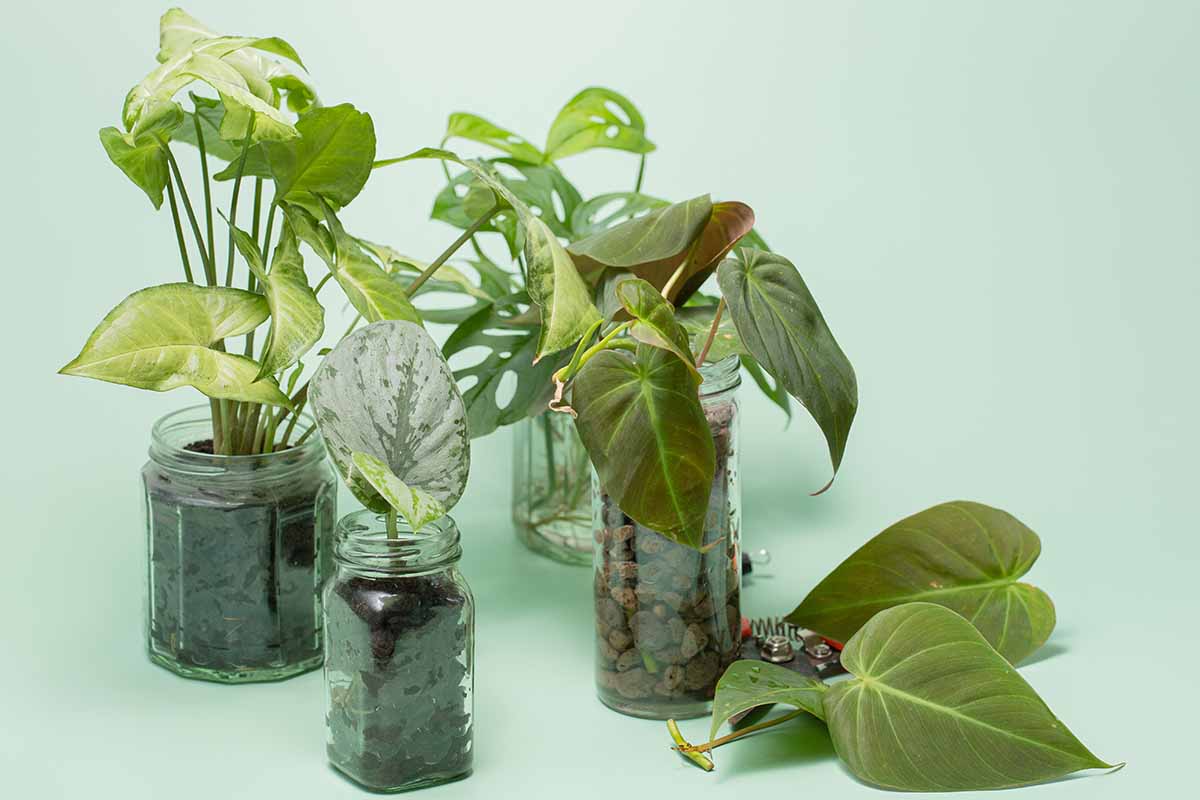
Leaf Cuttings
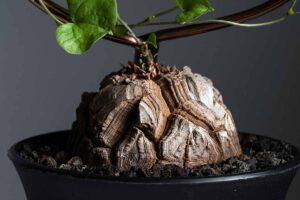
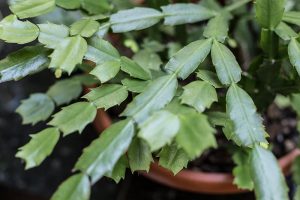
This propagation technique is a little more tricky, but it is still manageable for beginners! It’s ideal for plants like African violets and hoyas, as well as succulents such as snake plants and Christmas cacti.
Prepare a pot or cell pack by filling it with the media of your choice.
Take the mother plant and find a leaf with a long petiole. Petioles connect the leaf to the stem of the mother plant.
Using your knife, cut the petiole away from the mother plant. Make sure that the petiole is half to a quarter of an inch long and cut at an angle.
As described above, be very careful with your rooting hormone should you choose to use it, and remember that this step is optional.
Stick the leaf into the media so that the bottom is buried nearly three-quarters of an inch in the soil.
Usually, cuttings like this take a lot longer to grow – up to six months! Water thoroughly only when the media is dry.
You can tell that rooting has been successful if tiny plantlets start to shoot out beside the primary cutting.
If you planted your cutting in a cell pack, wait until the plantlets have grown in size before repotting in a pot twice the size of the individual cell pack. If you planted your cutting in a pot, then there is no need to repot unless the roots have outgrown their container.
Snake plants are a bit different… in a good way! When you take a leaf cutting from a snake plant, it’s important that you take your cutting as close to the media as possible.
You then want to cut off the old tissue (the bottom of the leaf) and the youngest tissue (the very top of the leaf). The only part that should remain is the flat, middle part of the leaf – I call it the “teenager tissue.”
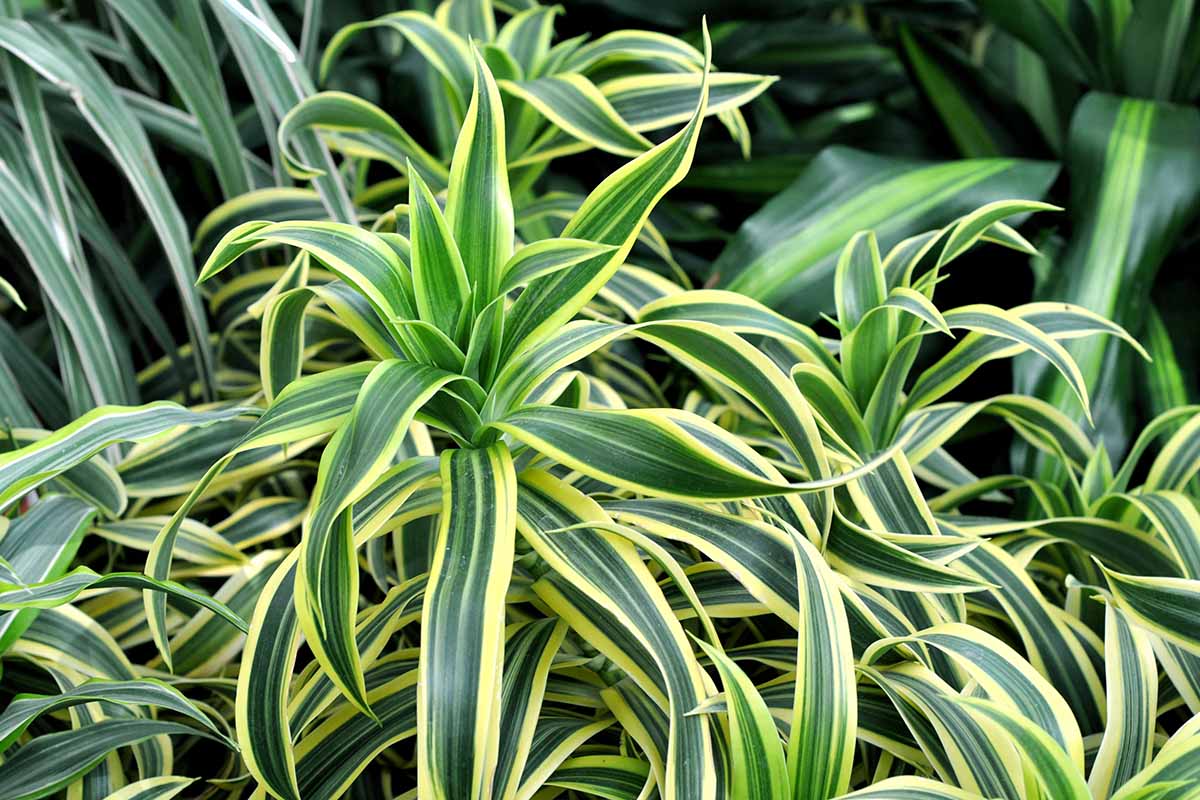
Cane Cuttings
In my opinion, this is the propagation technique that requires the most attention to detail.
You can use this on dumb cane, dracaena plants, and Chinese evergreens – basically anything with a thick stem!
Start by preparing your media of choice- I would highly recommend using a cell pack or small pot filled with potting soil. You will need one cell or container for each cutting.
Take the mother plant and pick any stem, or cane, that looks healthy, with no brown spots or damage.
Cut it above an old leaf node close to the soil. These are places where leaves used to be. They usually take the form of brown, tear-drop shaped spots on the stem.
Cut off the leaves at the top and discard, or set aside to root separately as you would a stem or leaf cutting.
Before you start cutting the stem into sections, you need to find two leaf nodes that are three to six inches apart. Cut a section starting above the first node and ending below the second node.
I like to also cut out a notch to help me remember which way was pointing upward!
Repeat this process until you have carefully cut up the entire cane.
Take your cuttings and dip the cut base of the stem into the rooting hormone, if you wish to use it.
Create a hole in the soil that is the width of your stem and one and a half inches deep.
Place your cane cutting in the hole vertically and pinch the soil around it for stability.
After you have stabilized your propagule, water thoroughly. You should only water again when the soil has dried completely.
Monitor over the next several weeks for signs of new growth by checking for sprouts coming from the cutting.
Once sprouts have emerged, you can either keep it in its existing pot until substantial growth occurs, or repot it immediately into a pot double the size of the existing roots.
Your Turn – Go Out and Try It!
Even though these propagation tips may seem daunting at first, the only thing to do is to get out there and try them!
Treat home propagation like a fun experiment – document what works and what doesn’t for each propagation technique and plant in your gardening journal.
And feel free to share your notes with us, and any questions you may have, in the comments section below!
Ready to learn more about houseplants? Take a look at these guides next: