Starting Anthurium plants from seed is the kind of gardening enterprise that provides immense satisfaction – if you have the patience.
It is undoubtedly easier to buy one of these plants when it’s fully grown and already blooming, from a reputable nursery or online source.
But those who want to save the purchase price while experiencing the marvels of nature at work may want to try propagating anthurium from seed.
We link to vendors to help you find relevant products. If you buy from one of our links, we may earn a commission.
Granted, it’s tough to find viable seeds on the open market. And to harvest them from your own plants, you’ll probably have to give Mother Nature an assist with pollination.
Even if you live in USDA Hardiness Zones 10 to 13, where these tropical plants grow as perennials outdoors, there have to be several growing in proximity to assure they’ll cross-pollinate, and even that may not work.
Without sounding too mysterious, let me say that the way these bisexual plants produce receptive stigma and pollen-producing pistils on the same spadix but not at the same time – and this complicates pollination.
It’s unlikely that just a couple, or even a few, plants would ever spontaneously form their own viable seeds.
I’ll explain more about that aspect of anthurium reproduction as we go along.
But I wanted you to know up front that the main job in starting the seeds is procuring them from the plants after successful manual pollination – you probably won’t have luck with germination if you try to order them online.
Here’s what I’ll cover:
What You’ll Learn
How Anthurium Plants Produce Seeds
Commercially-available anthurium varieties are usually propagated from tissue culture, a process beyond the scope of all but the most advanced amateur gardeners.
Instead, you can start anthurium plants from cuttings, and our guide has instructions for that. This is the easiest and speediest way to propagate at home.
In most cases, rooting anthurium from cuttings is desirable so you’ll have new starts with the same traits as the parent plant – especially if you’re growing a rare type or one valued for its dramatic foliage more than its colorful spathes.
You can learn more about anthurium varieties to grow at home in our guide.
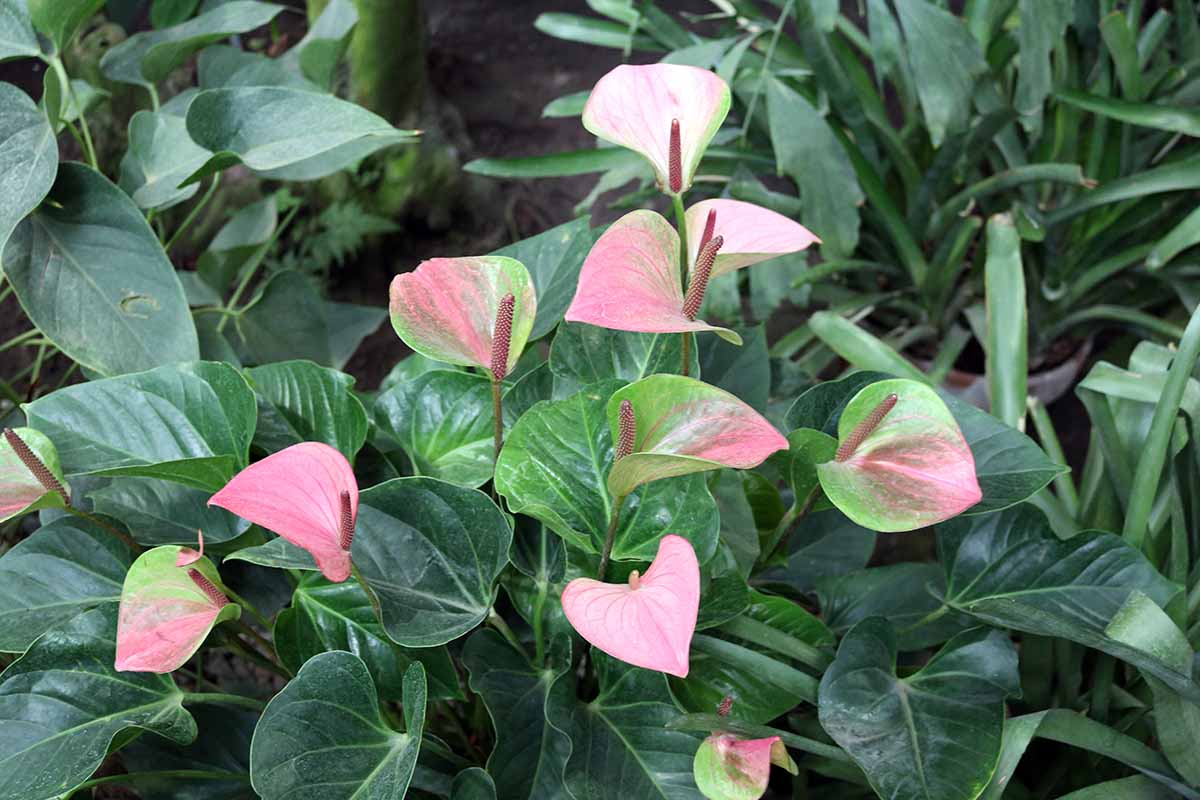
If you’re an aspiring cross-breeder or you’re growing the flamingo flower types, it might be appealing to cross-pollinate flowers from a few different plants within the same species.
You may get an interesting variation in the resulting plants propagated from seed.
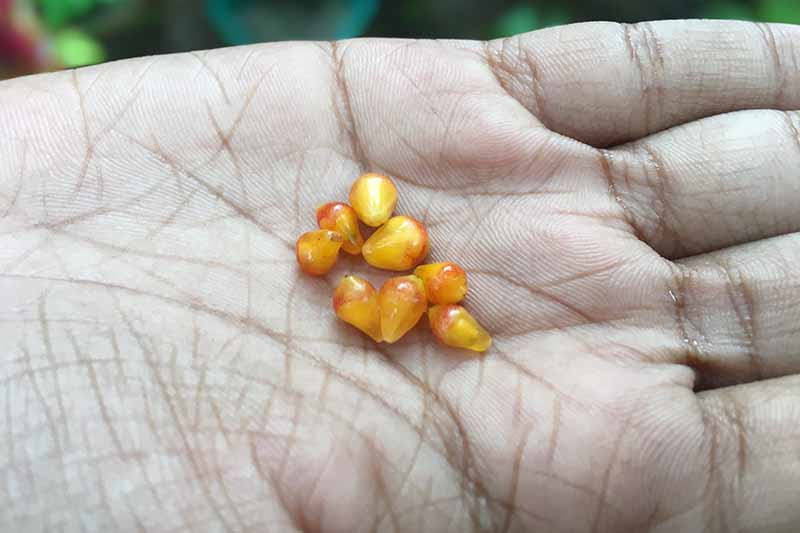
The best place to get seeds is from the fruits the pollinated plants produce, which look like tightly packed pomegranate arils. Each yields one or two seeds.
These seeds must be moist to germinate, and they’re only viable for a few days after the plants produce them.
While it may be tempting to buy seeds from an online vendor, don’t do it unless you know for sure that they’ll be kept moist and shipped quickly, reaching you a few days after they’re harvested!
Seeds sold in packets won’t usually be fresh or moist enough.
To understand how an anthurium creates viable seeds, let’s take a look at how they reproduce.
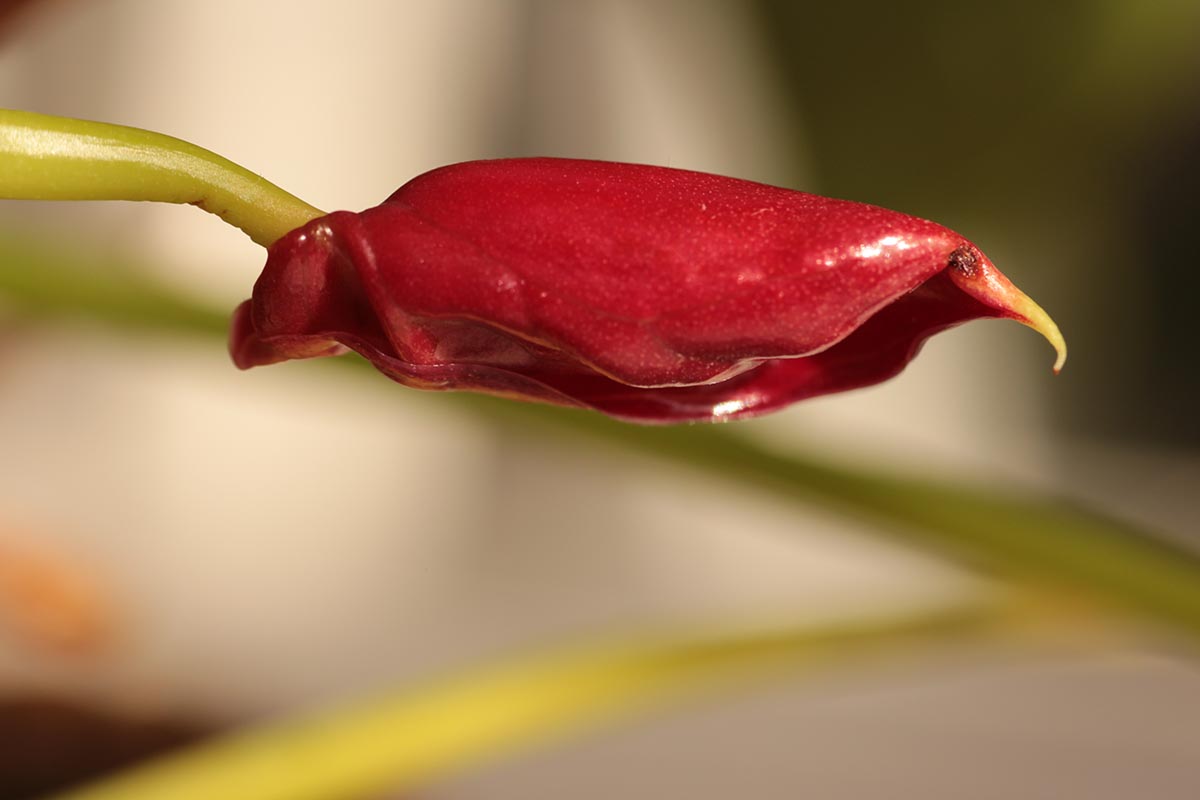
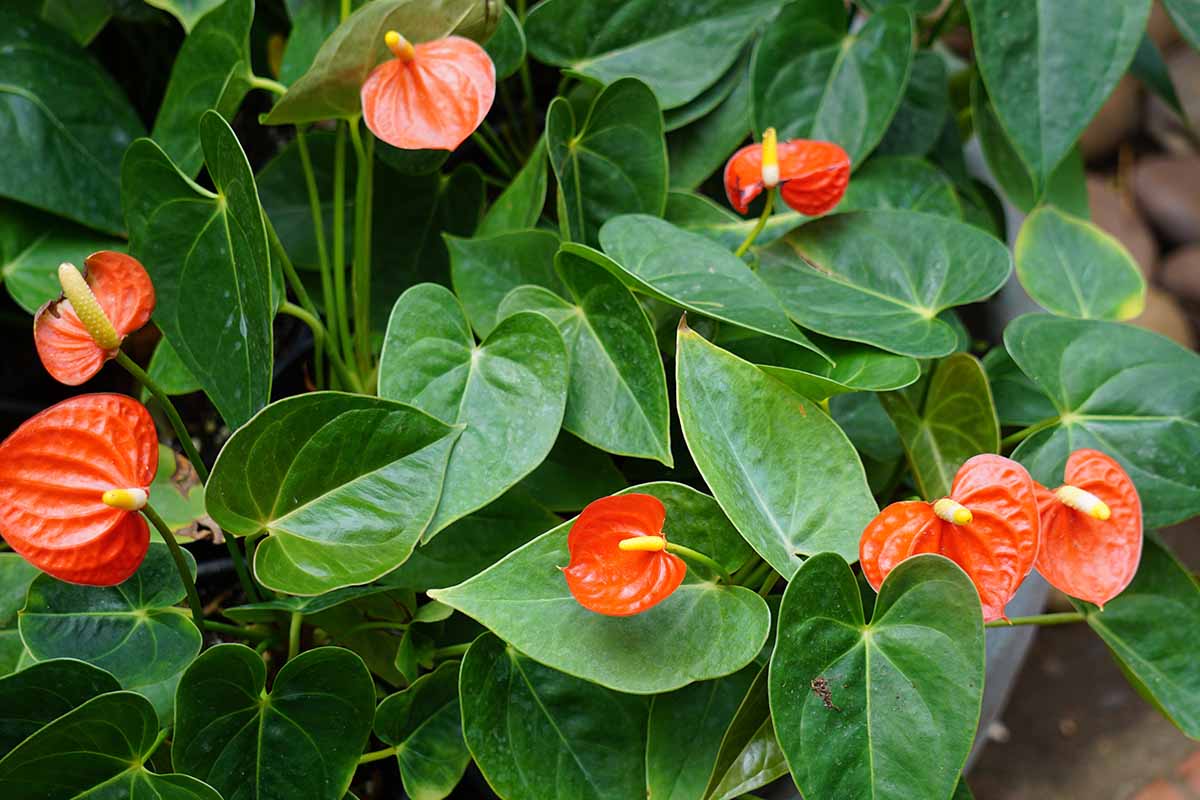
First, note that there are types of anthurium with dramatic leaves, like the velvet plant. Others, like the flamingo flower, produce colorful, modified leaf bracts called spathes.
While many people refer to the colorful spathes as anthurium flowers, they’re not true flowers with petals. The true flowers are inconspicuous and very tiny, covering a short, protuberant spadix that emerges from the center of the spathe.
These florets are “perfect,” meaning each contains both the male and female structures needed to reproduce.
But – and this may seem a little odd – the two parts are ready at different times.
Anthuriums have evolved so the female stigmas are receptive to being pollinated first, and only later do the male pistils produce pollen.
In the wild, this inability to self-pollinate strengthened the gene pool for these epiphytes, since they had to cross-pollinate with the hardiest nearby plants of the same species.
But for those who wish to harvest their own anthurium seed, this inability to self-pollinate creates a hurdle.
For successful pollination, you’ll need to intervene, acquiring pollen from florets in the male phase to transfer to receptive stigmas on other plants’ blooms.
You’ll need two or more plants that bloom within a week or two of each other, but not at the same time. This increases the odds that receptive female stigmas from one plant’s spadix will emerge at the same time when pistils from another plant are producing pollen.
Having more than one plant from the same species could also allow you to harvest pollen from one to save and use when another plant becomes receptive later.
I’d recommend tapping friends and local houseplant groups on social media to see if you can’t swap pollen for your anthuriums. This will greatly increase the odds that one set of florets will be producing pollen as another is becoming receptive.
Just remember the plants will need to be the same species to cross-pollinate with each other.
I’ll share the steps you’ll want to take in the next section of this guide.
If pollination is successful, either in the wild or after your endeavors, the flowers that have been fertilized will form little berries that contain seeds you can sow.
Hand-Pollination
We’ll have to discuss sexual anthurium reproduction a bit more if you want to help the plants form fruits you can harvest for their seeds, so here goes.
Ordinarily, the female stigmas on anthurium florets will enter their receptive stage starting with the ones at the bottom of the spadix.
The lower ones will produce the stigmatic fluid that indicates their readiness to be pollinated on the florets at the bottom, and then the florets above will start becoming receptive, ending with those in the tip of the spadix.
To manually pollinate the flowers, watch for the spathe to unfurl, revealing the spadix below. This happens a few days ahead of the stigmas being receptive to pollen.
You’ll be able to see that a floret is ready when it releases a drop of stigmatic fluid, usually in the morning.
Three to five anthers will emerge and surround that receptive stigma, which will look shiny and glisten with moisture.
This article from the University of Florida extension service includes two helpful close-up photos of receptive stigmas, to give you an idea of what you’re looking for.
The receptive female phase will last a day or more for each floret, with subsequent florets releasing stigmatic fluid with each passing day.
That’s when you’ll want to manually pollinate. But you’ll remember that this plant has not yet released pollen, so where will it come from?
You’ll have to collect it from another plant that’s already surpassed the receptive stage and moved on to the male phase of producing pollen via the florets’ pistils.
To detect a plant’s readiness to release pollen, directly after the receptive stage, look for stigmatic surfaces that have moved from glistening and shiny to becoming dry and brown. That’s a sure sign pollen is ready to be released.
Even if some or all of the florets were fertilized, they will still release pollen later.
Look for pollen to appear along the spadix, starting near the base. The same University of Florida bulletin has a photo of the pollen that could be helpful.
Since the flowers mature at different rates, the pollen may be created over the course of a couple of weeks.
If you’re lucky enough to have one set of florets that is in the receptive stage and another (likely on another plant) that has moved on to producing pollen, you can simply collect the pollen on your fingertip or the tip of a dry, light paintbrush to transfer to the surface of the receptive stigma.
Gently dab or massage the pollen into the stigma, and repeat the process each day for several days until the stigma is no longer glistening or you run out of pollen.
If there’s a lag between the time pollen was available and another plant’s florets were ready to be fertilized, you may be able to store the pollen.
You can collect it on the tip of a brush and then dust it into a small, airtight container to cover and place in the fridge for up to a week. Don’t let it come into contact with any moisture during that time though, or it will lose its potency.
Some also swear by freezing pollen, but I’d only do that if you have no other option. It might not be viable by the time you get to use it.
To freeze anthurium pollen for future use, you’d take a small glass test tube, sweep the available pollen in, and lightly cap it before storing it in the freezer.
You’ll want to use it as quickly as possible, as it’s most likely to stay potent for just a week or two, though some claim success with pollen that’s been frozen for as long as a year.
Before applying this saved pollen to stigmas that become receptive at a later date, be sure to get the tube out of the freezer a couple of hours before you need it, letting it come to room temperature slowly.
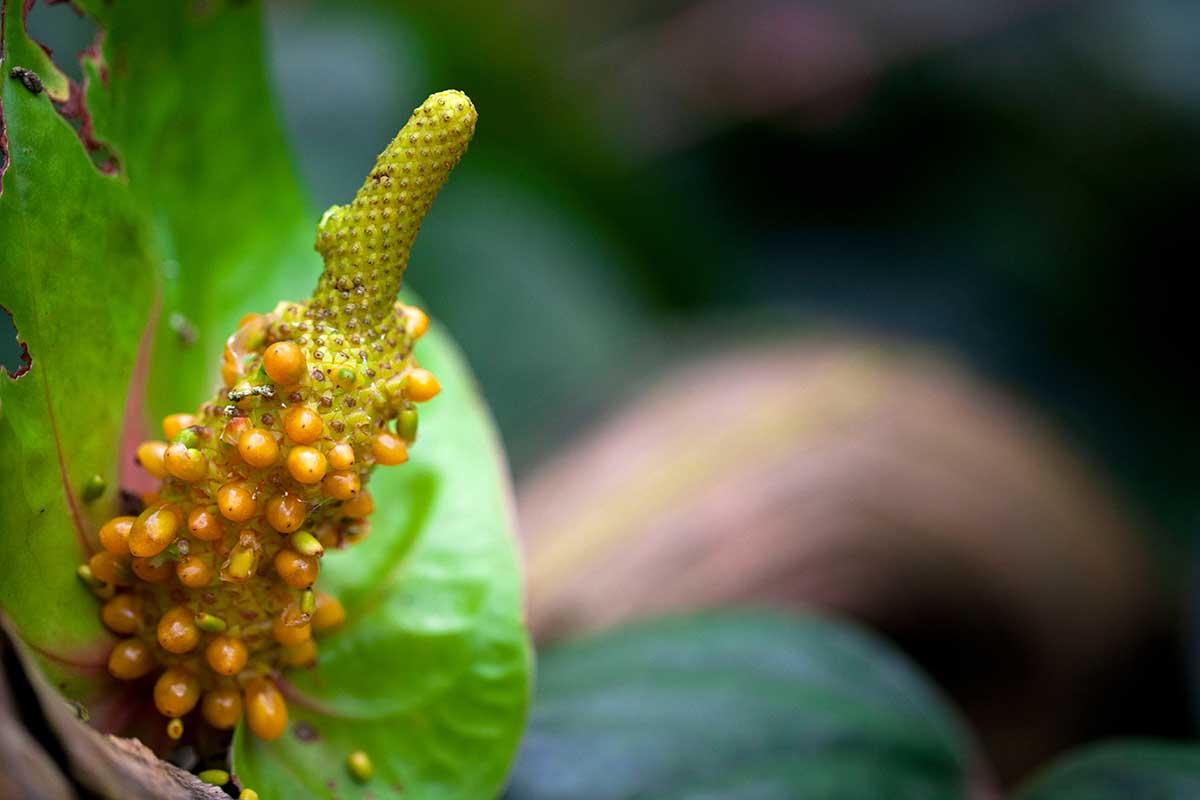
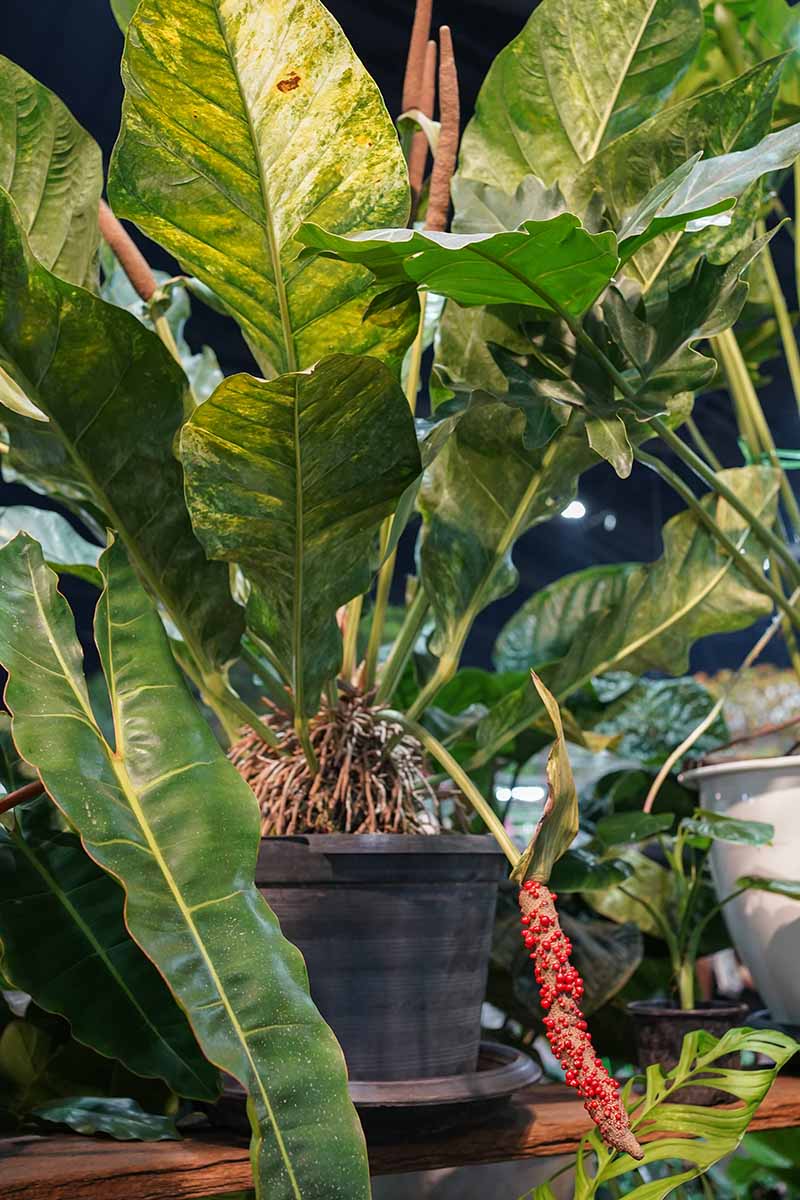
After the florets cycle through being receptive to fertilization and producing pollen, they’ll either wither and drop, or start to plump up and form fruits.
This fruit begins as a greenish bit of protective flesh, and gets a bit larger and redder before the seeds are viable. The berries are usually red, blush, or dark yellow and about the size of pomegranate arils when they’re ripe.
These berries are mature when they quit getting bigger and then begin to fall from the spadix. Each contains one or two seeds.
Act immediately to pop the berries, gently ease out the still-moist seeds, and sow them.
Instructions for that are coming right up.
Sowing Seeds
Once you have viable seeds in hand, the planting process is more typical and much like what you’d follow to propagate other ornamentals from seed.
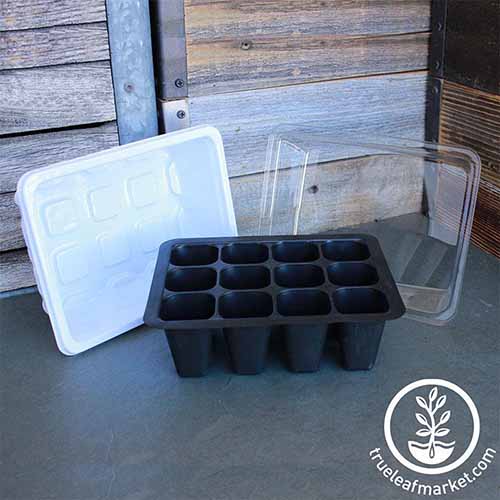
Sow these fresh anthurium seeds immediately, first moistening a couple of inches of vermiculite in a flat or shallow pot with drainage holes.
You can also use a sprouting flat with a domed lid, like this 12-cell option available from True Leaf Market.
Mix the seeds with a handful of fine-textured seed starting mix, and then press them into the vermiculite surface. Strive to place them about an inch apart.
Spray the soil surface with water as needed so it stays moist, and place the flat in a spot where the temperature is around 70°F.
To speed germination, cover the container with clear plastic wrap to hold in moisture, or use a clear dome lid.
Look for the seeds to sprout between three days and a week later.
Once they’ve germinated, remove the cover.
Caring for Seedlings
From there, place them in bright, indirect light. Continue to provide consistent moisture and the warm temperature these tropical plants will appreciate.
They’ll grow slowly and won’t be ready to move into their own individual pots until they’ve formed roots that are at least a couple of inches long and a couple of sets of true leaves.
One caution: Anthuriums grown from seed won’t develop those dramatic leaves or lovely spathes in various colors until the plants are three or even four years old.
So if you’re going to establish a dynasty of anthurium plants started from seed, you’ll want to sow new seeds at every opportunity instead of waiting to see what develops from your seed-grown plants first.
From Seed to Showy Houseplant
If you have the patience and the discipline, you may be able to start new tropical anthurium plants with the aid of only some seed starting mix, a brush for pollinating flowers, and of course, at least a couple of blooming plants to supply that precious pollen and receptive stigmas.
Are you someone who’s already succeeded with this propagation method? We’d love to have your input from the experience in the comments section below, whether you succeeded or have tips drawn from a failed experiment.
And for more information about growing anthuriums, have a read of these guides next:


Hi, I have just popped out a pod and it had 2 two seeds. I wiped off the excess pollup and put them between wet paper towel as I dont have any of the seedling mix. Anyway I will be sure to grab some tomorrow and be ready to pop some other pods. Very excited to try this method.
So cool, Chloe! Please share more when you have an update.
Newbe wanting to learn more about planting Anthiriums Seeds.
From South Africa
Thanks for reading Nelie, let us know if you have any questions!