
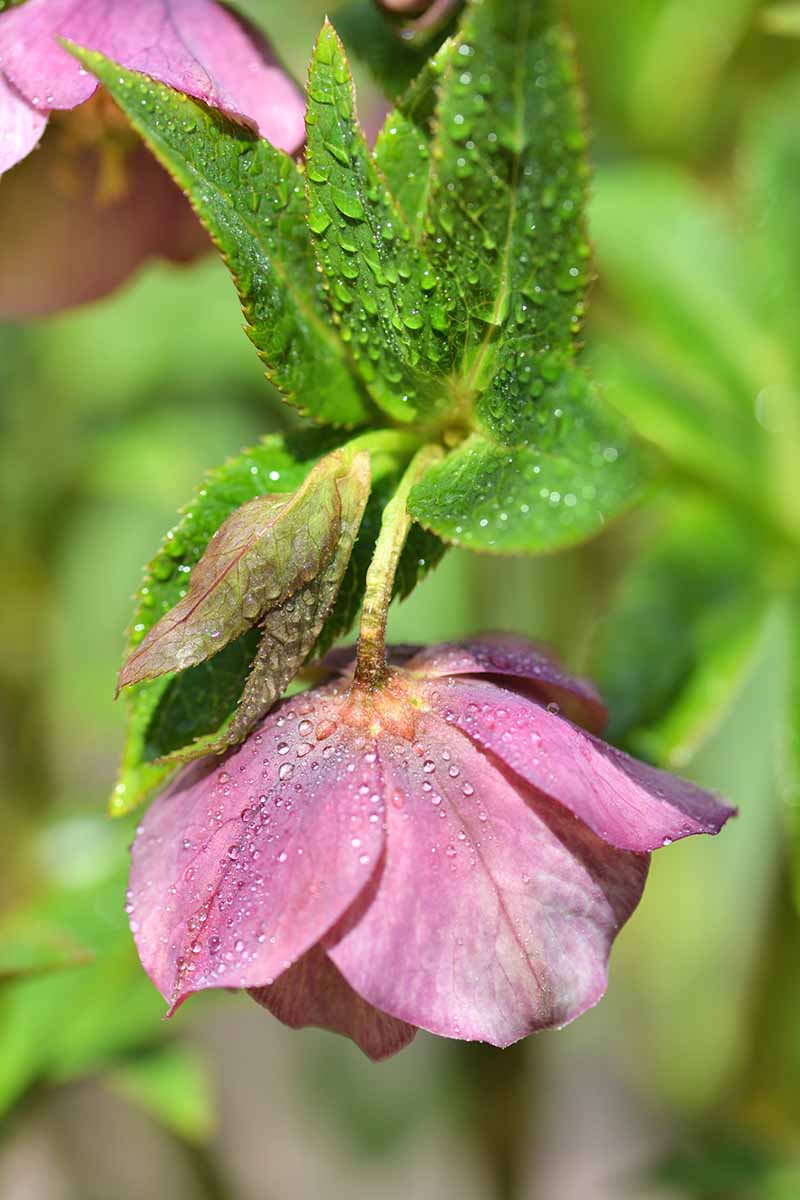
Hellebore, Helleborus spp., is a flowering perennial that blooms long before the arrival of spring. A member of the Ranunculaceae family, it’s available in colors ranging from yellow and green to red and pink, and even purple or black.
Blooms may be seen peeking through the snow as early as January in USDA Hardiness Zones 4 to 9.

We link to vendors to help you find relevant products. If you buy from one of our links, we may earn a commission.
If you already grow hardy hellebore, or are considering planting it, read on to learn how to gather seeds for the propagation of new plants.
Here’s what’s in store:
What You’ll Learn
Life Cycle of a Hellebore
The anatomy of a hellebore bloom consists of an inner flower called a “nectary” surrounded by colorful sepals.

As the days grow longer, beneficial insects find their way to the sweet nectar contained within the nodding flower heads, nourish themselves, and pollinate the flowers.
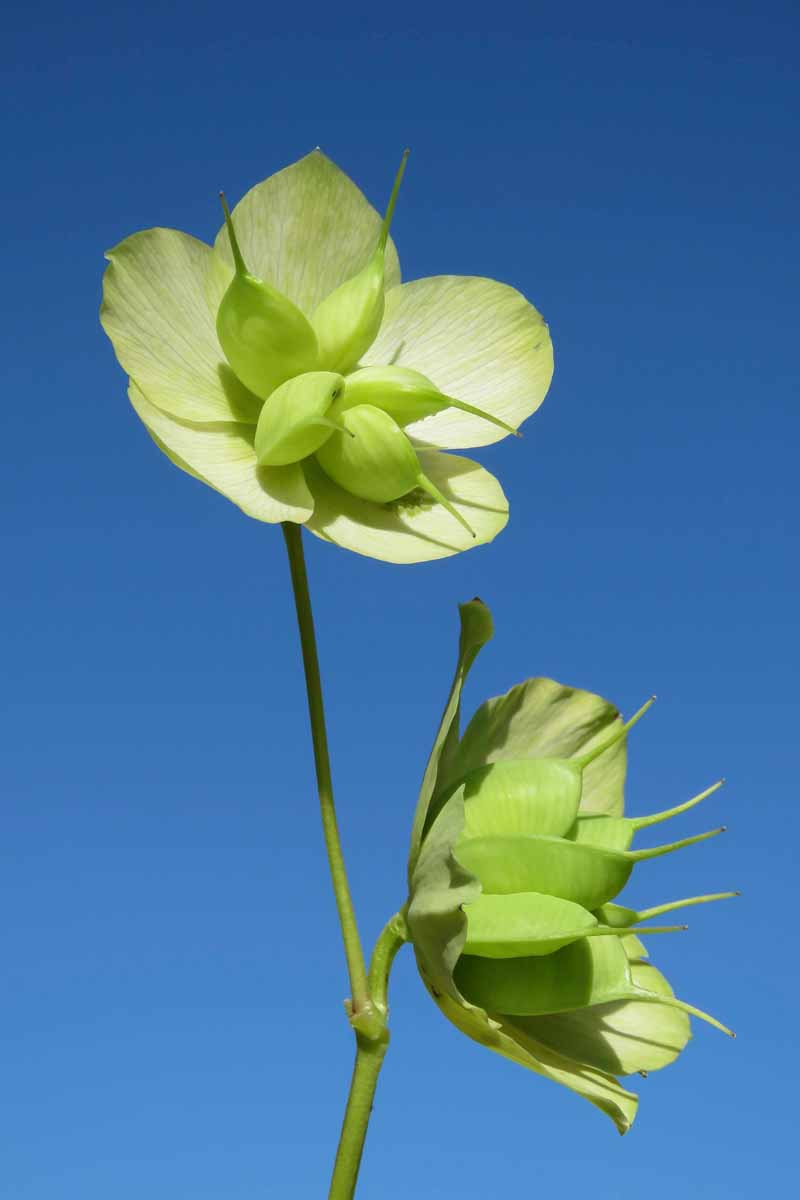
Eventually, the nectary will fall away from the fertilized flower as the seed pods form.

While the pods enlarge, the petal-like sepals fade.

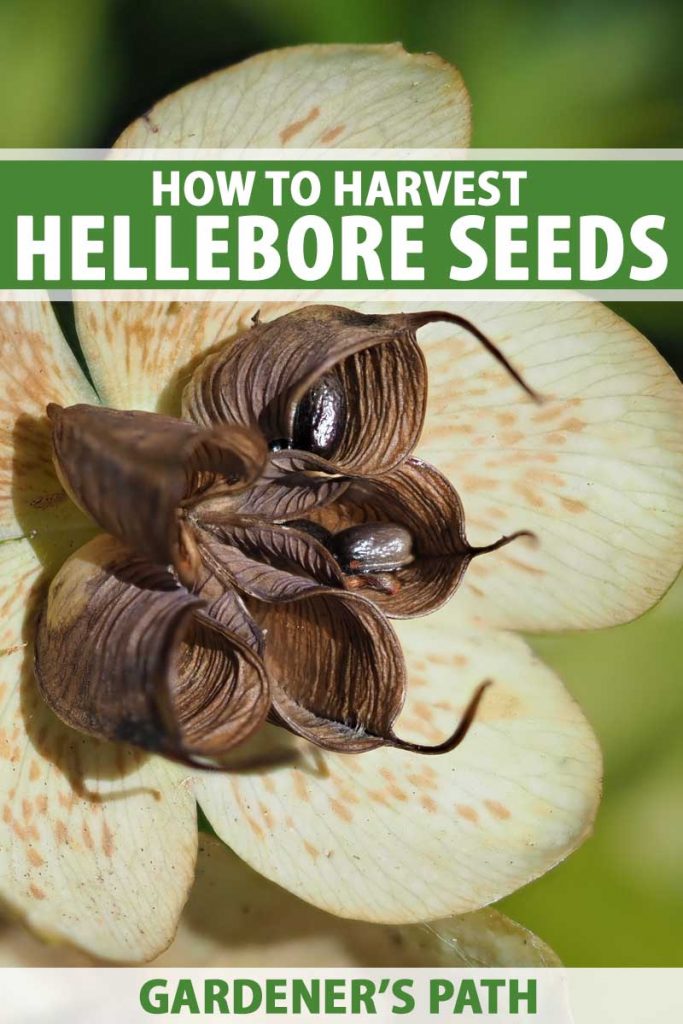
Soon, spring yields to summer and the mature pods dry out, slowly turning from green to brown. Inside, tiny black seeds ripen.
Seed Collection Methods
Left to their own devices, hellebores will self-sow, dropping seeds to germinate next winter, or be carried off by wind or wildlife to grow elsewhere. Uncollected, the dry, brown pods open and curl up, allowing their precious contents to spill out.

To harvest seeds, it’s necessary to catch them before they drop.
Once you hear the seeds rattling inside dry pods, it’s time to collect them. Here are four ways to collect and extract hellebore seeds.
A Note of Caution:
It’s best to wear gloves when handling hellebore plants. Contact with sap may cause an adverse skin reaction in sensitive people.
1. Harvest Flower Heads
The easiest way to collect seeds from your hellebore is to simply harvest the entire flower head.

To do this, use sharp pruners to snip off the flower head over a paper grocery bag or bucket.
Once you have collected all the flower heads you want, spread newspaper or a clean cloth on a table and empty them out of the bag or bucket. Use your thumb and forefinger to rub the pods until the seeds fall out.
Remove the chaff (dry plant material) and collect the seeds in an envelope, jar, or container of your choice. You can discard the chaff in the garden or on your compost pile.
2. Crumble Flower Heads
If you don’t want to cut all the flower heads off your plant, use your thumb and forefinger to rub each flower head over a paper bag or bucket, so that the seed pods fall out.
Then, spread newspaper or a clean cloth on a suitable flat surface and empty the seed pods onto it. Carefully remove the chaff and collect the seeds into an envelope, jar, or container of your choice and discard the chaff.
3. Bag Flower Heads
Placing bags over the flower heads, or even the entire plant (as described in the final method below), will prevent you from losing any of the seeds, as well as reducing the risk of the plant self-sowing in areas where you might not want it.
Make or purchase small drawstring mesh bags of fine-weave material, such as cotton or organza, that can contain seeds as small as 1/16 of an inch without letting them fall through.
Some folks like to use old stockings and string. The bags should allow air to penetrate, to inhibit rotting of the flower heads during wet weather.
Each bag should be large enough to completely cover a flower head as large as 4 inches in diameter.
Once you see the seed pods begin to form, and the sepals fading to brown, enclose each flower head in a bag and close the drawstring securely around the stem.
Check the bags every few days by jiggling them. After 1-2 weeks, depending on how early you placed the bags over the flower heads, you should hear a dry rattling noise when you shake the bags.
When a bag makes a rattling sound, snip the stem beneath it to remove the entire flower head.
Over a newspaper or clean cloth, separate the chaff from the seeds and place the collected seed into a container of your choice. Discard the chaff in the garden or compost heap.
4. Bag Entire Plants
This method is useful if you are planning to prune back your hellebores after they have finished flowering.

You’ll need to obtain some drawstring mesh bags as described above, but these will need to be approximately 20 inches tall and wide, large enough to contain entire plants. You’ll still have to ensure that the material allows for airflow, to prevent the seed heads from rotting in wet weather.
When you see the sepals fading to brown, and seed formation is evident (the seed pods may be green with hints of brown), cover each entire plant with a bag and tighten the drawstring securely around the base of the stem.
It’s best to bag them sooner rather than later, or you risk missing the point when the pods begin to crack and drop their seeds.
Gently shake each bag every couple of days to listen for the rattling that indicates that the seeds are ready.
When you can hear the dry seeds rattling, use sharp pruners to cut the plant stems to the ground beneath the bag to remove them in their entirety. Hellebores are perennials, and the plants will grow back next season.
Open the bags over newspaper or clean cloth, separate the chaff from the seeds, and place the seeds into a suitable container. Discard the chaff in the garden or compost heap.

Each of these methods has its merits and drawbacks.
The first two are the easiest, but may result in spilled seeds. However, if you do find seedlings where you don’t want them next year, you can always relocate them.

The bag techniques have the advantage of greatly reducing the risk of self-sowing. However, they are best used in dry conditions. Prolonged wet weather may cause the seed inside the bag to become saturated and rot.
Bags are sometimes used by breeders (home gardeners included) who wish to manually pollinate plants to protect them from contact with nature’s pollinators.
A drawback of the bag methods is that you may inadvertently gather some unripe seed.
While seed ripened on the plant has the best chances of viability, unripe seed – pods that don’t rattle and show no cracks – may be laid out to finish drying in a single layer on newspaper or a clean cloth in a dry, airy location.
Another disadvantage is the tedious work involved in bagging flower heads or entire plants.
Try whichever method or methods you prefer. A little experimentation should reveal what works best for you in your garden!
Once collected, you’ll need to sow your seeds immediately, at a depth of 1/3 to 1/2 inch. The longer you keep them, the greater the chance that they won’t germinate.
Hellebore seed does not save well, and will require cold stratification before sowing if not sown immediately after harvest.
Will They Grow True?
There are approximately 20 known species of hellebore.
One species, a particularly sturdy variety known as H. orientalis, has been repeatedly crossed with the others to produce colorful hybrids known collectively as Helleborus x hybridus. They are widely available.

The seeds of a hybrid do not replicate the features of the plant from which they came. This is because the plant was a cross between two or more varieties, and therefore not a true species.
What does this mean to the home gardener?
The seed you collect from your plants may produce new plants in any shade from white to deep purple, almost black.
In addition, it’s likely that not all of the seeds will germinate. This genus is fraught with viability challenges.
It’s not unusual for some seeds to mature to a non-viable state. Others may be inadvertently harvested too soon or sown too late, threatening the potential to germinate. And there are always some that end up being consumed by wildlife.
So, why collect hellebore seeds, if the colors are “potluck” and the chances of successful germination are on the low side?
Because you will face the same uncertainties if you buy seeds, which are often rather pricey.
Are there other ways to propagate?
Yes. You can start with a mature nursery plant.
Choices may be categorized by cultivar name, with the color known. They may be broadly grouped as Helleborus x hybridus, indicating that assorted colors may present themselves. Or, they may be generically labeled by one of their common names: winter, Lenten, or Christmas rose.
Allow your plant a year or two to become established, and then divide it as you would other perennials. The advantage of dividing is that you will have an exact “clone” of the parent plant, and you can also save seeds to try “potluck” plantings elsewhere.
Learn how to divide and transplant hellebores with this guide.
The disadvantage again here is that positively identified nursery-raised hellebore cultivars are pricey.
Also note that while other plants may be started from stem or leaf cuttings, hellebores don’t grow this way. A whole section of the plant needs to be dug up, roots and all, and the rhizome is then divided.
Learn more about propagating hellebore plants here.
The Art and Science of Helleborus
Hellebore is an amusing plant to have in the garden, because when sown from seed, you never know what colors will appear.
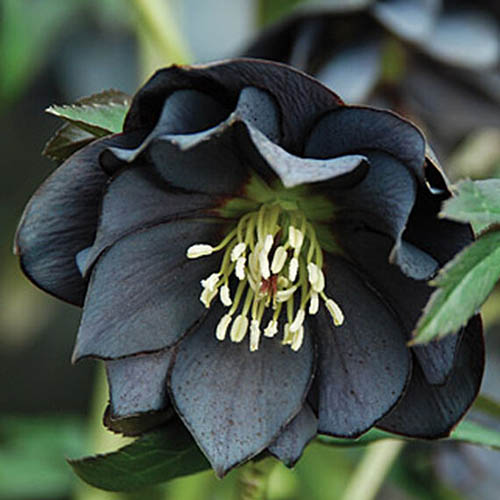
And when you buy rare cultivars like ‘Onyx Odyssey,’ available from Burpee, you may be approached by the local garden club and asked to share sought-after “divisions” with other hellebore aficionados.

In addition to propagating by seed and division, the fascinating Helleborus genus may also be propagated with tissue cultures, a process called “micropropagation.” Imagine the possibilities in a laboratory setting!
Harvest the seeds of your hellebore this year, and multiply the beauty in your gardens simply and affordably. If you don’t have a plant yet, purchase one or beg a division from a friend, and join in the fun!
We enjoy hearing from our readers. Please share your experiences with hellebores in the comments section below.
And if you’re thinking about adding hellebore flowers to your garden, you’ll need these guides:

My green-cream hellebore gives my great joy as it blooms in winter here in BC when nothing else is happening in the garden. It is thriving so I looked up propagation and, found your article VERY helpful. Thank you so much for your concise and thoughtful information.
Hi Helen –
We”re so glad you found the article helpful. Happy gardening!
Very interesting and helpful, thank you !
Hi Amélie –
You’re welcome! We’re happy you’ve come to Gardener’s Path.
Thank you, Nan! I just bought a Helleborus Lenten Rose in Calhoun, Georgia (north Georgia). I will try collecting the seeds per your write-up here and planting more. Very interesting !!! God bless 🙂