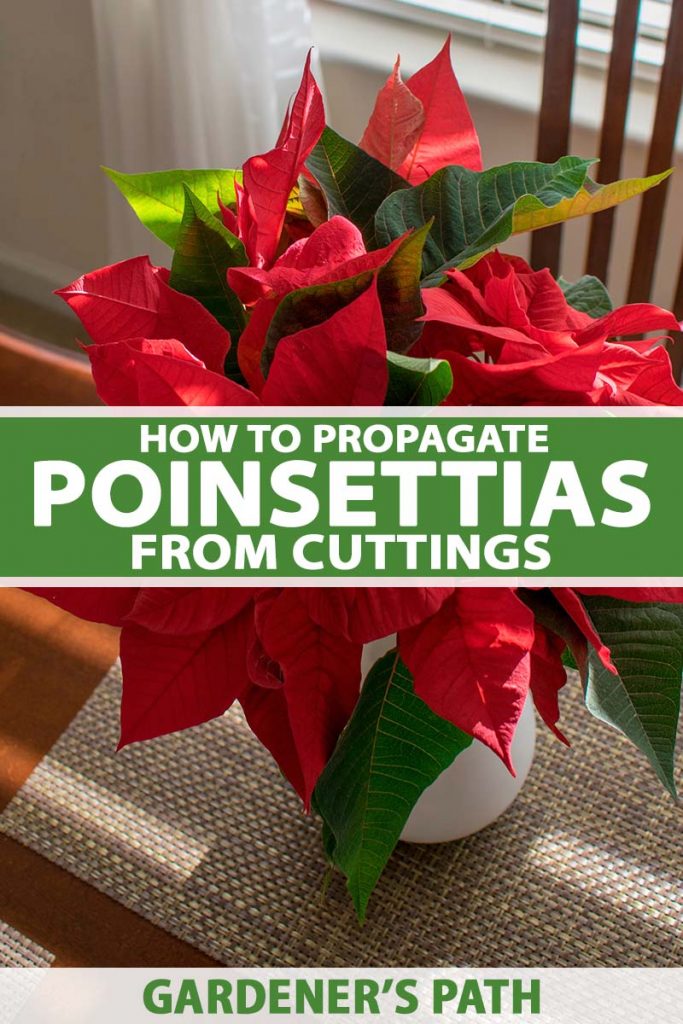
Do you ever wish you could grow your very own poinsettias for the holidays? Good news: you can!
Christmas flowers, as these plants are also known, are usually propagated from cuttings, and this is the method I’m going to share with you today.
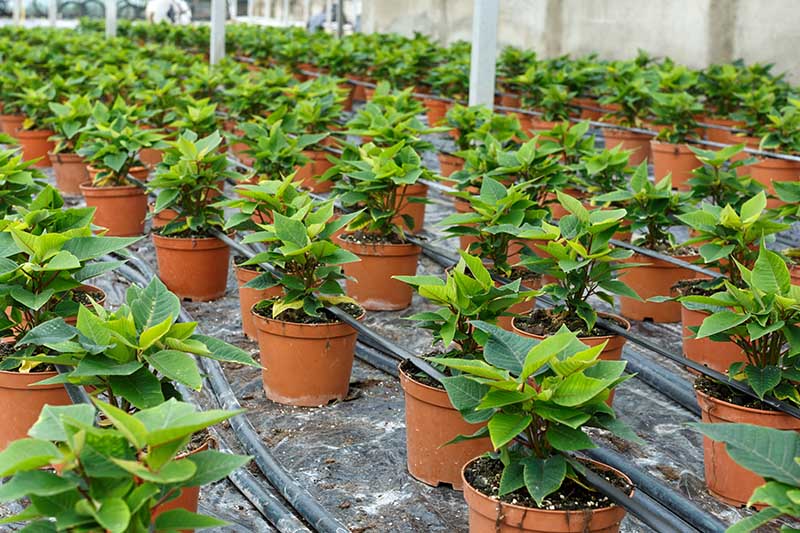
Even professional nurseries grow these winter-blooming plants from cuttings, which ensures that newly propagated specimens produce clones of the parent plants.

We link to vendors to help you find relevant products. If you buy from one of our links, we may earn a commission.
However, a word of warning: this particular home gardening challenge is probably more suited for those with an established green thumb, as it can be a little bit tricky.
Now that you’ve been forewarned that growing these holiday plants isn’t without its challenges, drawing on some tips from professional poinsettia growers, I’m going to provide you with a step by step guide so that your propagation project can be met with success.
Here’s a preview:
What You’ll Learn
Wait for New Growth
To grow poinsettias from cuttings you’ll need to start with a live plant and wait until spring or summer.
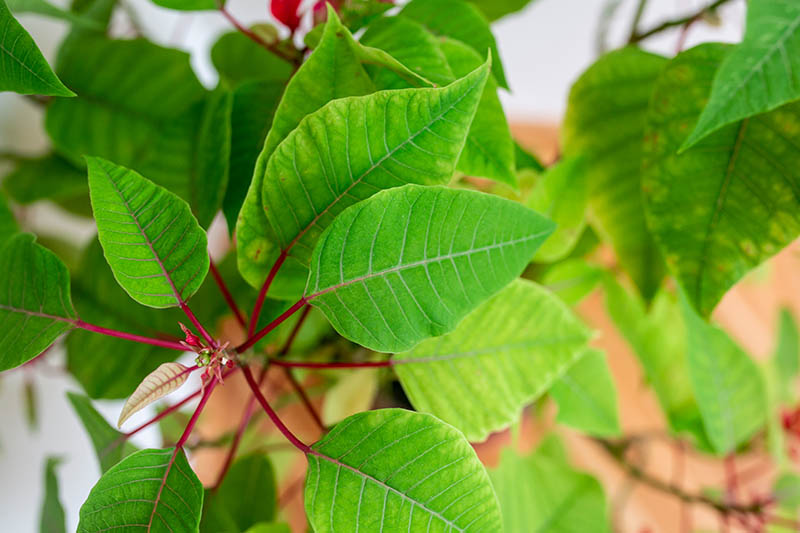
According to Curtis W. Smith, Ph.D., and Extension Horticulture Specialist at New Mexico State University’s Cooperative Extension Service, it’s best to take cuttings from new, active growth.
That means that if you find yourself wanting to start this project in the middle of winter, you can try it, but your chances of success are going to be lower.
Gather Your Materials
Before you get started, you’ll want to gather all your materials, to make sure that you have everything you require before you make that first cut.
Here’s what you’ll need:
- A poinsettia plant with active, green growth.
- A sterilized, sharp pair of pruners or scissors.
- Sterilized growing containers, such as small nursery pots, plastic cups, or a seed starting flat.
- Growing medium, such as coconut coir, potting soil, or a mixture of vermiculite and perlite.
- A humidity dome or transparent plastic bag to cover the pot.
- A mister or spray bottle.
- Four- or six-inch pots for potting up rooted cuttings.
- Gardening or rubber gloves (optional).
- Rooting hormone (optional).
I will explain what you’ll be doing with each of these items as I guide you through the seven steps. It will help to read through the entire process before you get started.
Propagate Poinsettias in 7 Steps
Now that you have waited until the ideal moment and gathered your materials, it’s time to get propagating! Ready? Let’s go!
1. Protect Your Skin and Eyes
Before you get started, you may want to slip on a pair of gardening gloves or rubber dish gloves. The white sap that is released from poinsettias when they are cut or broken can be highly irritating – particularly if you have a latex allergy.
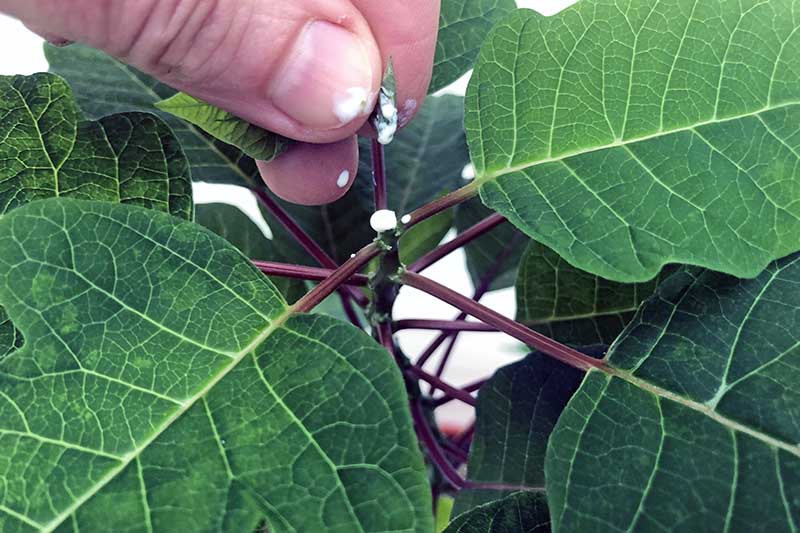
Take special care not to get the sap in your eyes – whether you have a latex allergy or not. You may even want to wear protective goggles, just as an extra safety precaution.
Alright, now that the safety discussion is out of the way, let’s get down to business.
2. Choose Your Containers
Next, you’ll want to prepare your containers so that they are ready to receive your cuttings.
These containers are going to be temporary, used only for about the first four weeks of the cutting’s life, so they don’t need to be too big.
One option is to start your baby poinsettias in seed starting flats, such as these trays from SOLIGT, available via Amazon.

Growing Tray with Humidity Dome
They come with humidity domes, which are handy for keeping your cuttings nice and humid once they are in place.
Alternatively, you can start them in small nursery pots or even in small plastic cups. If you’re reusing nursery pots, just be sure to sterilize them first.
3. Add Growing Medium
Commercial poinsettia growers start their poinsettia cuttings in floral foam or peat moss.
Since the cuttings can grow in foam, that tells you that they don’t need to be in moist soil – in fact, they don’t need to be started in soil at all.
Instead of using either floral foam or sphagnum peat moss, neither of which are very earth-friendly options, I recommend using a sterile seed starting mix or coconut coir.
Coconut coir is a more environmentally sound alternative to sphagnum peat moss.
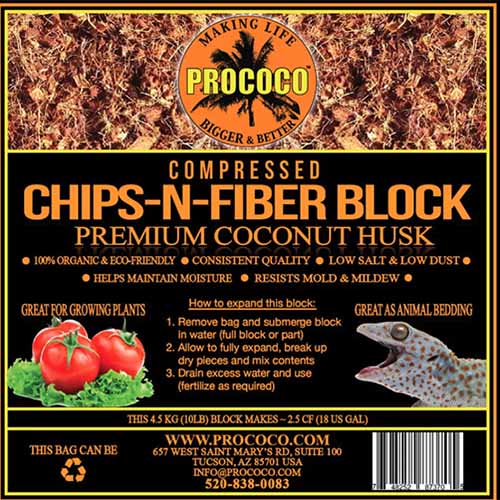
Prococo Compressed Chips-N-Fiber
Arbico Organics sells an excellent coconut coir product from Prococo called Chips-N-Fiber that’s free from bacteria and fungi, ideal for your new plants. It’s also compressed, so it takes up less space in storage.
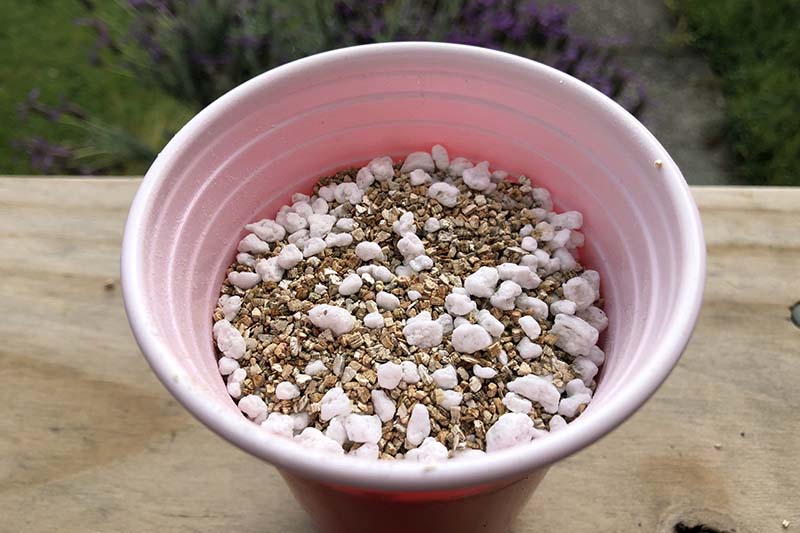
Alternatively, you can use a mixture of vermiculite and perlite.
If you are using a seed starting flat such as the one mentioned above, you can pour your growing medium directly into the flat.
You’ll need your potting medium to be at least two to three inches deep in your chosen container, depending on the length of your cuttings.
Don’t wet the potting medium down. Your baby Christmas flowers are going to obtain the water they need through their leaves until their roots are established – not through the soil. I will cover that in more detail below.
Go ahead and poke holes into the potting mixture where you intend to place your cutting. You can do this with your finger, a pencil, or a chopstick.
4. Take Cuttings
Now that your containers are prepped with your preferred medium, it’s time to take some cuttings from your plant.
Using your sterilized pruners or scissors, cut off a three to four-inch section of stem from one of the branches.
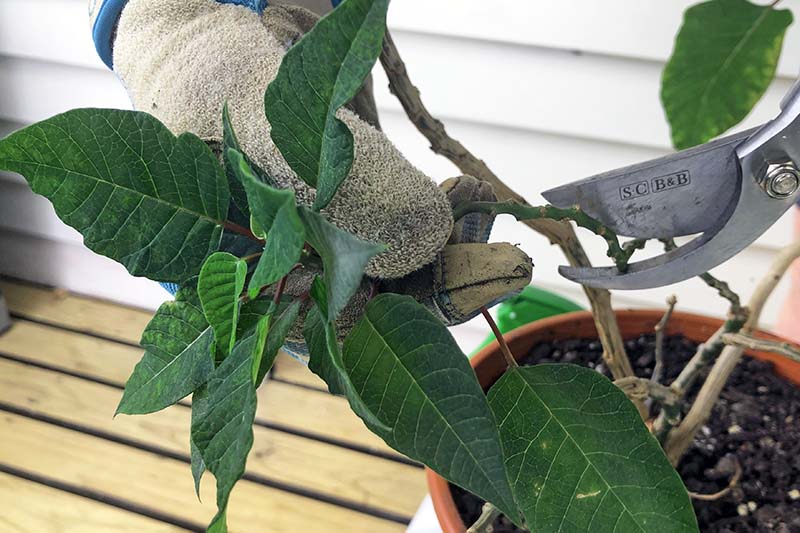
You may also be able to simply pinch off a cutting with your fingers if you prefer, but as mentioned, be careful of the sap.
Next, pinch or cut off the lower leaves of the cutting. This will help roots form from the leaf nodes, in addition to growing from the bottom of the stem.
Leave at least two or three leaves on the top of the cutting so that it can take in the moisture it needs through the foliage.
5. Apply Rooting Hormone
This part is optional. If you’d like to go the extra mile in encouraging your cuttings to grow new roots, you can use a rooting hormone.
Dip the bottom of the cutting in the powder or gel and make sure that the product covers the bottom of the stem and the lower leaf nodes.
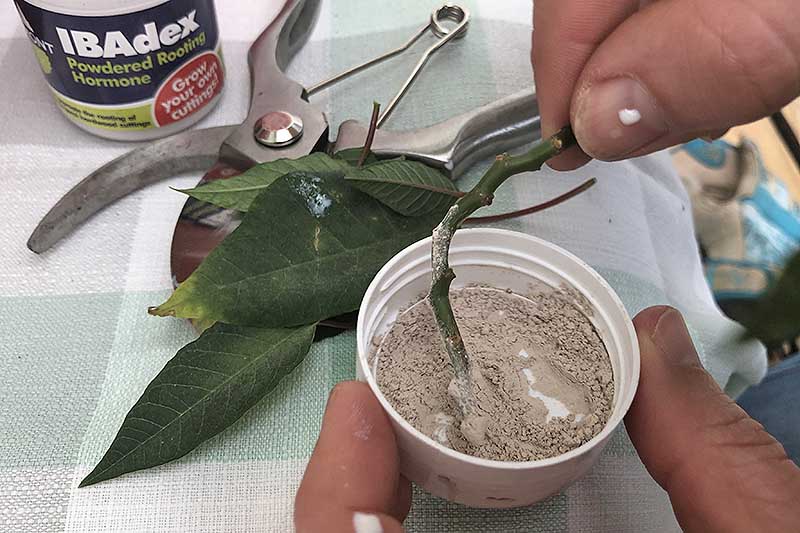
A tip for this process: instead of sticking the stem directly into the jar of gel or powder, you can pour out a small amount onto a piece of scrap paper, and dip the stem into this smaller amount of rooting hormone.
This may help keep your rooting product viable for longer.
After applying rooting hormone, insert the cutting into the hole you made in the growing medium, making sure the bare leaf nodes go all the way into the medium.
The pre-poked holes will help ensure you don’t rub off the rooting hormone from the stem as you insert it into the soil or coir.
If you need a recommendation for a rooting hormone, I suggest Olivia’s Cloning Gel. I like it because it’s a gel rather than a powder, so you don’t have to worry about breathing it in.
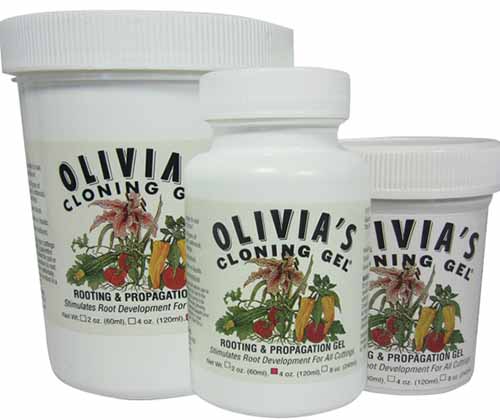
Olivia’s Cloning Gel is available in two-, four-, or eight-ounce bottles from Arbico Organics.
6. Place in a Bright, Humid Location
Now that you have taken all your cuttings and inserted them into your growing medium, it’s time to mist them.
Spray the leaves of your new plants with a mister or spray bottle.
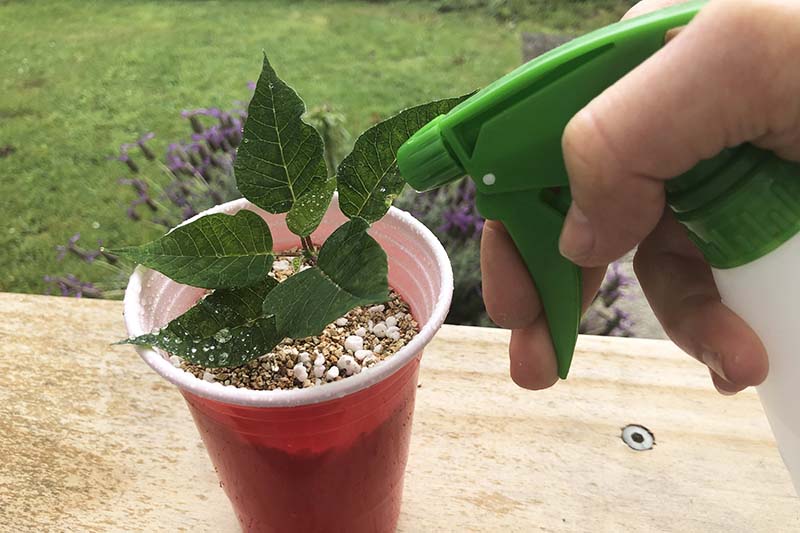
A plastic spray bottle will do, as long as it never contained chemicals or cleaning products.
But if you want something a bit more decorative to dedicate solely to plant care, you might enjoy tending your baby poinsettias with the help of a glass spray bottle.
A note on water – the quality of your water may affect whether your young plants live or die. Many plants are sensitive to contaminants that persist in municipal water and they can also be affected by bacteria and minerals in well water as well.
To tend my indoor plants, I always use filtered water.
Poinsettia cuttings will root most successfully in conditions with very high humidity, between 90 and 100 percent.
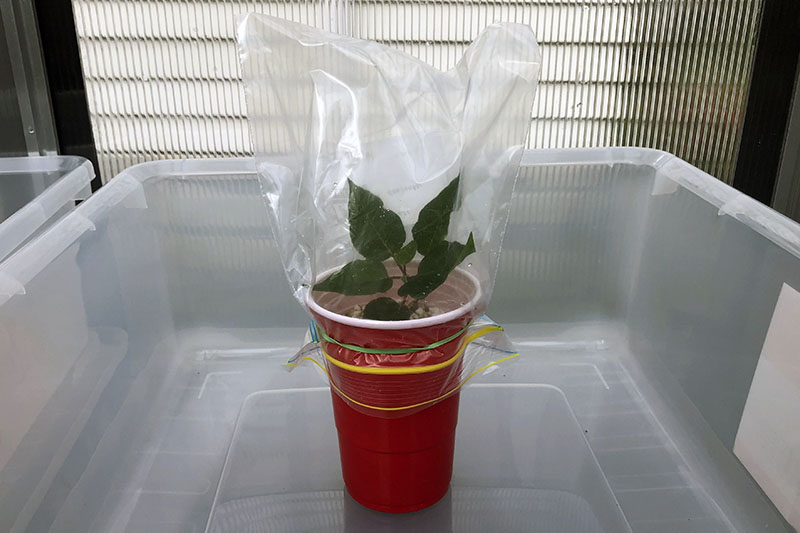
To give your babies the high humidity they need, place them in your greenhouse, if you have one, or keep them covered with a humidity dome.
If you have started your cuttings in small nursery pots or plastic cups, you can create your own mini humidity domes with transparent plastic bags.
Place your plant babies in an area where they will receive bright indirect light, but not direct sunlight. If your home is too dark, a grow light will help.
Mist your young poinsettias daily, but don’t water the growing medium, at this point the poinsettias-to-be are getting the moisture they need through their leaves – they don’t have any roots yet.
Alright, so far, this sounds pretty easy right? Here’s the tricky part.
Although poinsettia cuttings need high humidity to grow, high humidity also puts these plants at a higher risk for some of the bacterial and fungal diseases they are prone to.
Some professional poinsettia growers solve this dilemma by keeping some fans going on low at all times (which can also help strengthen the branches).
If you’re gardening in a greenhouse it may be easy for you to keep these plants in a high-humidity environment while also keeping them well-ventilated.
In a home interior, providing both high humidity and adequate ventilation can be a bit trickier.
I recommend taking more cuttings than you need in case not all of them make it.
If you are growing more than one, it’s also a good idea to space your young plants out from each other to help with air circulation, and to prevent the spread of disease if one of them succumbs to a bacterial or fungal infection.
And if you do have a fan you can use on a very low setting, that will also help with air circulation.
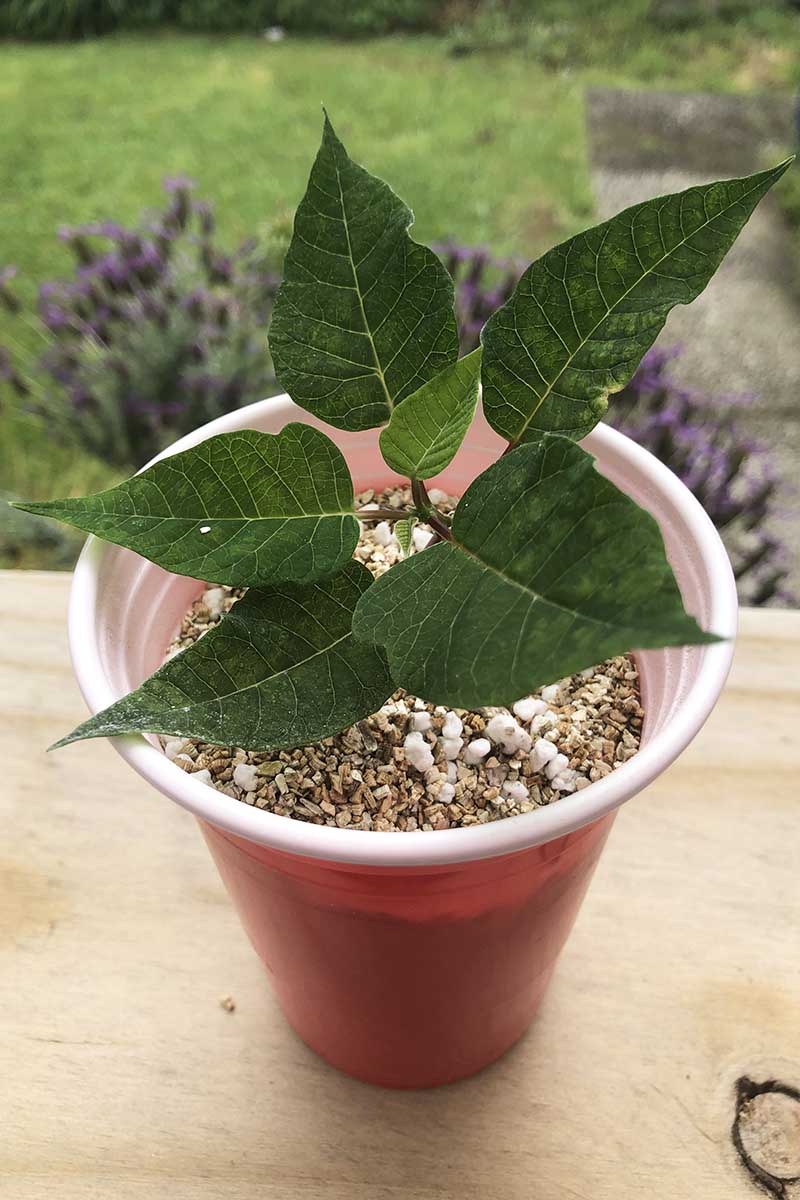
If all goes well, your baby poinsettias will prosper and begin producing new leaves. It takes about ten to fourteen days for poinsettia cuttings to grow roots.
7. Pot Your Rooted Cuttings
After about four weeks, your young plants should be growing roots and be ready to transplant into pots. When transplanting, make sure to use well-draining potting soil and pots with drainage holes – Christmas flowers do not like to have wet feet.
For a full-looking plant you can space out three cuttings in one seven- to eight-inch pot, or you can place a single one in the center of a four-inch pot.
After transplanting, you can begin to water your plants normally.
Water deeply enough so that it runs through the drainage holes in the bottom of the pot. The surface of the soil should be dry to the touch in between waterings.
And if your climate is warm enough, with temperatures maintained above 50°F, you can place your poinsettias outside in partial shade.
When left to their own devices, poinsettias grow into large, leggy plants.
If you want your plant to have a bushier look, when the rooted cuttings are about six weeks old, pinch the shoot tip back to promote branching.
Let me explain:
When you took your cutting it was a straight length of stem with a few leaves attached.
Look at your rooted cutting. It should have a growing tip, and below that a couple of larger leaves.
Pinch off just the growing tip that grows straight up from the stem – the top half an inch or so of growth.
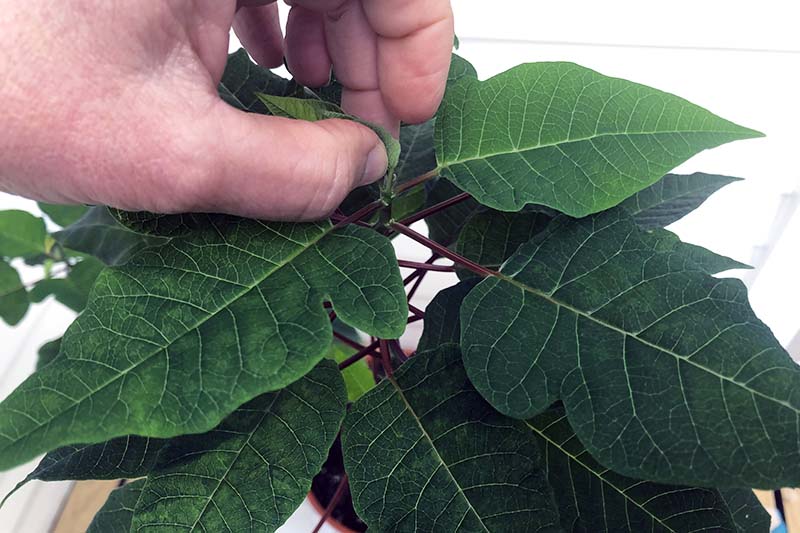
Pinching the growing tip back will encourage the plant to send out new shoots at the next leaf nodes. So you remove one shoot, but you get two in exchange. The more shoots it grows, the more flowers and color your plant will eventually have.
You’ll want to do this by early September to be on track for end of the year holiday color.
Speaking of color, to encourage your plant to produce the bright colors poinsettias are known and loved for, you’ll need to expose it to a period of long nights.
Poinsettias are photoperiodic plants – they only flower after being exposed to long, pitch black nights.
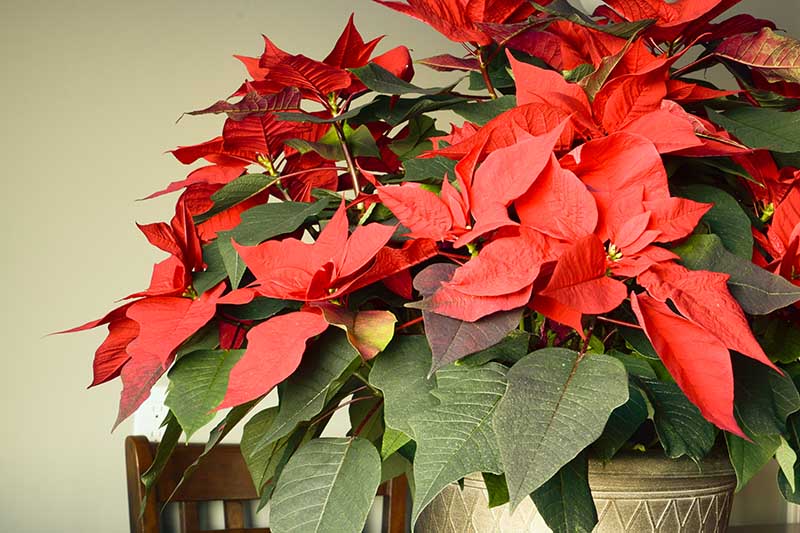
Creating these conditions may be a rather high maintenance process, but it’s certainly worth it when you can look with pride at the gorgeous color on your homegrown Christmas flower.
You can learn more about how to encourage these plants to bloom year after year in our article on keeping your poinsettia after the holidays.
Grow Your Own Holiday Joy
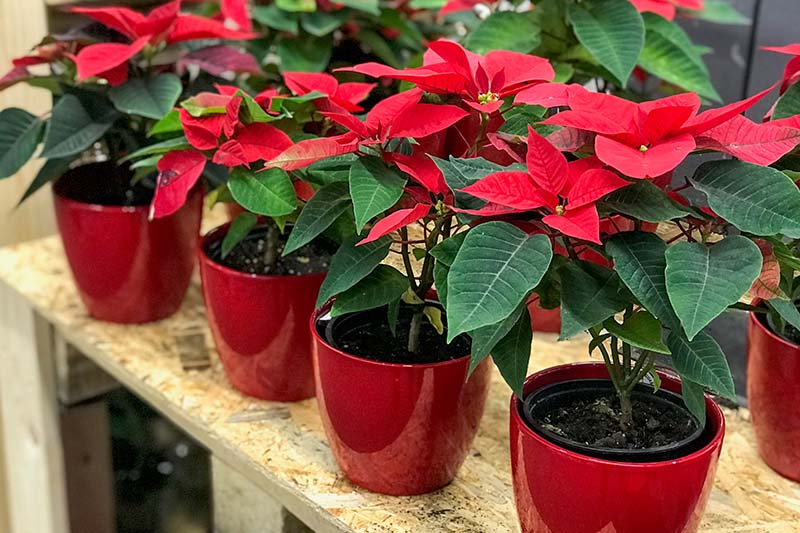
There you go, the seven steps to growing your own poinsettias at home.
If you follow these steps, and have a little luck, you will be graced with a home full of homegrown poinsettias this holiday season.
What do you think, gardener, are you ready to give it a go? Have you ever tried propagating poinsettias on your own? Let us know about your experience in the comments and feel free to share a picture!
And if you’re interested in learning more about poinsettias make sure to check out some of our other articles about these winter blooming plants:
- 35 Favorite Poinsettia Cultivars for Your Home
- How Cold Hardy Are Poinsettia Plants?
- Poinsettias with Shriveled and Dry Leaves: Causes and Solutions
Photos by Clare Groom © Ask the Experts, LLC. ALL RIGHTS RESERVED. See our TOS for more details. Product photos via NIUTA, Olivia’s Cloning Gel, Prococo, and SOLIGT. Uncredited photos: Shutterstock.
Interesado en producir polesentia
Very interesting, must try… My place is hot ‘n’ humid, say 34 degrees Centigrade now in July, may go a little hotter in August, so what will be a good time to do the cutting of poinsettias for propagation?
Hi Sarah,
The most important thing seems to be that the mother plant is actively growing. If your poinsettia plant is currently putting on new, green growth, I think it would be worth a try to start some cuttings now, especially if you have several more months of hot or warm weather.
Hope this helps!
Cuttings should be taken in March/April after you cut them from their mother plant to 4-6 inches in a small cleaned pot with peat mixed with perlite. Leave 2-3 leaves on top of the cuttings. Water with lukewarm water and put a clear plastic bag over them. Take the bag of for an hour each day, then put the bag back on. Rooting takes about 10-14 days. After 4 weeks the poinsettia cuttings should be ready to pot into 3- to 4-inch pots. Make sure there’s enough holes in the bottom and put few small stones in the bottom to… Read more »
I would like have more knowledge about poinsettia plant
You can find our full selection of articles here, or search for “poinsettia”!
Thank you so very much for your most informative information . I am a 74 y/o Aussie guy that knows nothing about plants . having said that I am very keen to give it a go .
Growing up as a child i was surrounded by poinsettia plants for I believe that my dear old mum had a green thumb .
I am now retired and spend my time around my yard and lawn and entertaining my youngest two grandchildren ( my soon to be helpers ) in grandads venture .
Wish me luck .
Tony Freidman
Queensland
Australia
Tony, thanks for taking time to leave a comment – it’s great to hear how this article is going to help you. What a lovely memory, being surrounded by poinsettias as a child! Your retirement also sounds grand and I love your plan for growing poinsettias. Do let us know if you run into any snags along the way! Best of luck! – Kristina
My son had brought me a poinsettia for Thanksgiving. While in the car one of the branches broke off. Should I try and repot it?
Hi Vickie,
While propagating poinsettias tends to be more successful in spring and summer, it’s always worth a try! I highly recommend you try using a rooting hormone or cloning gel however to propagate the broken branch. This is the one I prefer: Olivia’s cloning gel. You can find it for purchase at Arbico Organics in a wide range of container sizes.
Good luck, let us know how it goes!
Is this for the Southern hemisphere
Hi Karl,
This article was written with Northern Hemisphere readers in mind. However, the references to seasons still hold true if you are interesting in getting these plants to flower in winter, their natural bloom time.
Hope this helps!
Thank you for this “how to propagate ” My cuttings have rooted and have new leaves/ new growth so I took out the bag dome to expose them out of the dome/ bag. They were inside my patio, bright but shaded. After an hour they started to wilt. I got scared and put back the dome bag. Please advise
Hi Mary Jane, It sounds like your rooted cuttings had a bit of a shock when you tried to transition them – good idea to put the dome back on! One thing you could do is to lift the dome an inch or so, so that it lets some of the outer air in, but not all at once. If possible, you can gradually increase the “gap” over a few days. You could try propping it up with something small. I’m not sure exactly what your set up is, so it’s hard to advise exactly how to do this, but… Read more »
Kristina,
thanks for all the info you have shared on Poinsettias. My sister, has Schnepf Farms in Queen Creek AZ, and she wants to get started in Poinsettias asap… she has 2ea, 100′ greenhouses and a grower that is trained in cultivating from clippings and so on…. do you know where we can get good clippings in a good variety of cultivars? she will probably focus on reds and maybe some variegated she will use them to decorate her farm during the Christmas lights season and also sell them from their store….
Can you give us any help and direction?
Hi Darrel,
Thanks for posting your question here. What you are looking for is commercial growing advice, so I would recommend you reach our to your local extension office. They would likely be knowledgable about other similar projects in your area and might be able to answer your question. If not, you might try reaching out to the North Carolina State University extension program, as they do a lot of work with poinsettias. Best of luck to you and your sister!
I live in a tropical climate and I have a full poinsettia tree! Can I take a larger new growth coming from mid section where it was previously pruned?
Hi there! I’ll try not to be too jealous of your poinsettia tree. Yes, that should work fine, and I bet the cutting will be happy to grow as a new plant in your lovely climate.
Happy propagating!