
If you want to keep your plants alive, there are a few things you have to do: give them light, feed them now and then, and – of course – water them.
Watering seems pretty straightforward to me. You fill a jug or can, bring it over to your plant, and dump the liquid in, right? Not much room to run into trouble.
But despite that, I’ve managed to find trouble so many times, and I can pretty much guarantee that you have as well.

Fortunately there’s a different way, and it can help take the guesswork out of figuring out how much to provide. That means healthier, happier plants.
Plus, it can protect your floors and shelves (and books!) from overzealous watering.
Up ahead, here’s what we’ll discuss to help you figure out the art of bottom watering.
What You’ll Learn
What Is Bottom Watering?
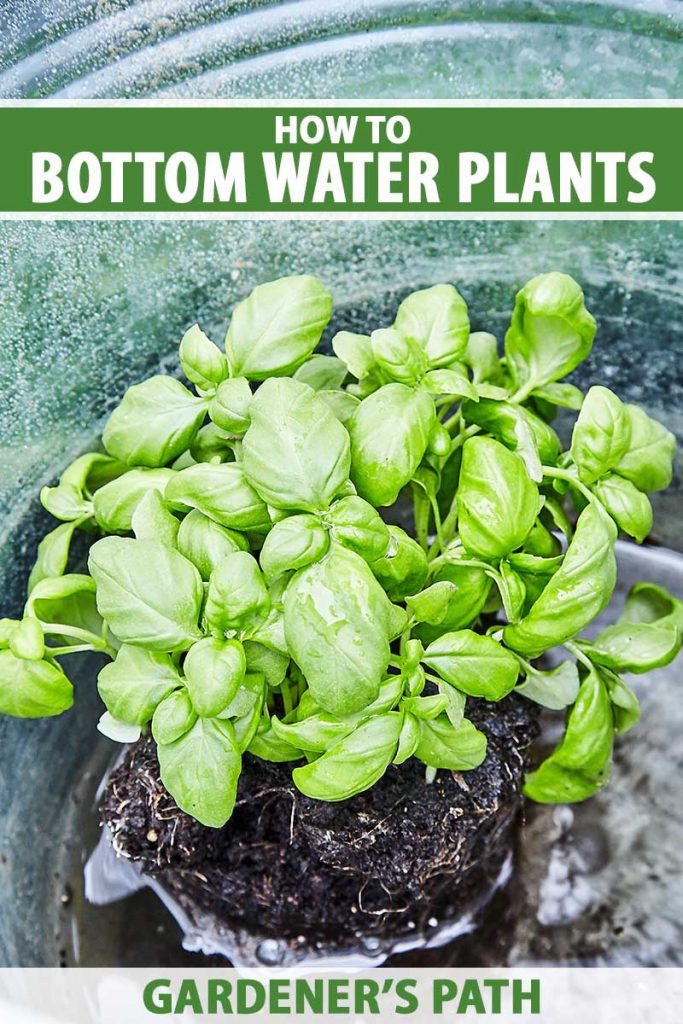
To put it simply, bottom watering (sometimes called reverse watering) is giving your plant’s roots hydration from the bottom up.
Instead of dumping liquid onto the top of the soil of your container plants, you allow the soil to soak it up into its roots from the drainage holes in the bottom of the pot.

This isn’t the same thing as wick watering. That’s when you use a central container like a bucket to slowly wick moisture via ropes into nearby containers.
It’s a super handy skill to have in your back pocket if you travel a lot, but not what we’ll be covering here.
Why Use This Technique?
I warped my hardwood floors when I spilled an entire watering can once.
But beyond architectural disasters, I’ve also managed to drown my plants, and to chronically underwater them.

And don’t tell me you haven’t overwatered to the point where the drainage plate overflows and you’re frantically trying to find a towel before it runs everywhere… just me? I don’t think so!
Let’s not even discuss the time I decided it was a brilliant idea to put a bunch of houseplants on my wire shelves above a collection of leather bound books…
Okay, so it’s pretty straightforward to understand, but why would you want to water from the bottom? Doesn’t pouring it on the top work perfectly well?
Yes, there is nothing wrong with top watering (aside from occasional mishaps), but there are times when it isn’t ideal. For instance, some plants suffer if they have moisture on their leaves.
It’s hard to avoid splashes and mistakes altogether, even when you’re careful.
If you have hard water, you can also get unsightly rings or spots on the foliage, or your window sills. And, of course, there’s the aforementioned possibility for spillage.
Watering from the top can also encourage certain fungi and pests to move in, because the surface of the soil stays more moist, while the bottom method allows the surface of the soil to dry out first.
Top watering can also hasten the compaction of potting soil, which isn’t good for roots. Bottom watering encourages plants to develop deeper roots as they stretch down to access the moisture.
Finally, if you have soil that has stopped absorbing liquid that is poured onto it, what is known as “hydrophobic soil,” bottom watering can help rehydrate the soil, and help the moisture to reach the roots of your plant.
If your soil has dried out and shrunken to the point where it has pulled away from the sides of the container, causing the liquid to run down the sides and out the drainage holes rather than through the potting medium, bottom watering allows the soil to soak it up instead.
How to Bottom Water
If you want to use this technique, there are two main requirements:
The first is to ensure that the pot is small enough that you can lift and carry it.
If you can just barely manage moving the plant around when it is dry, don’t forget that it will become heavier once the soil is saturated.
If you’re dealing with a hefty plant and planter, it’s best to leave it in place and use a jug or can instead.
The second requirement is that the container needs to have drainage holes in the bottom.
Some containers that you might buy at the store look like they have a single pot with no catchment plate or tray, or two pieces that are attached.
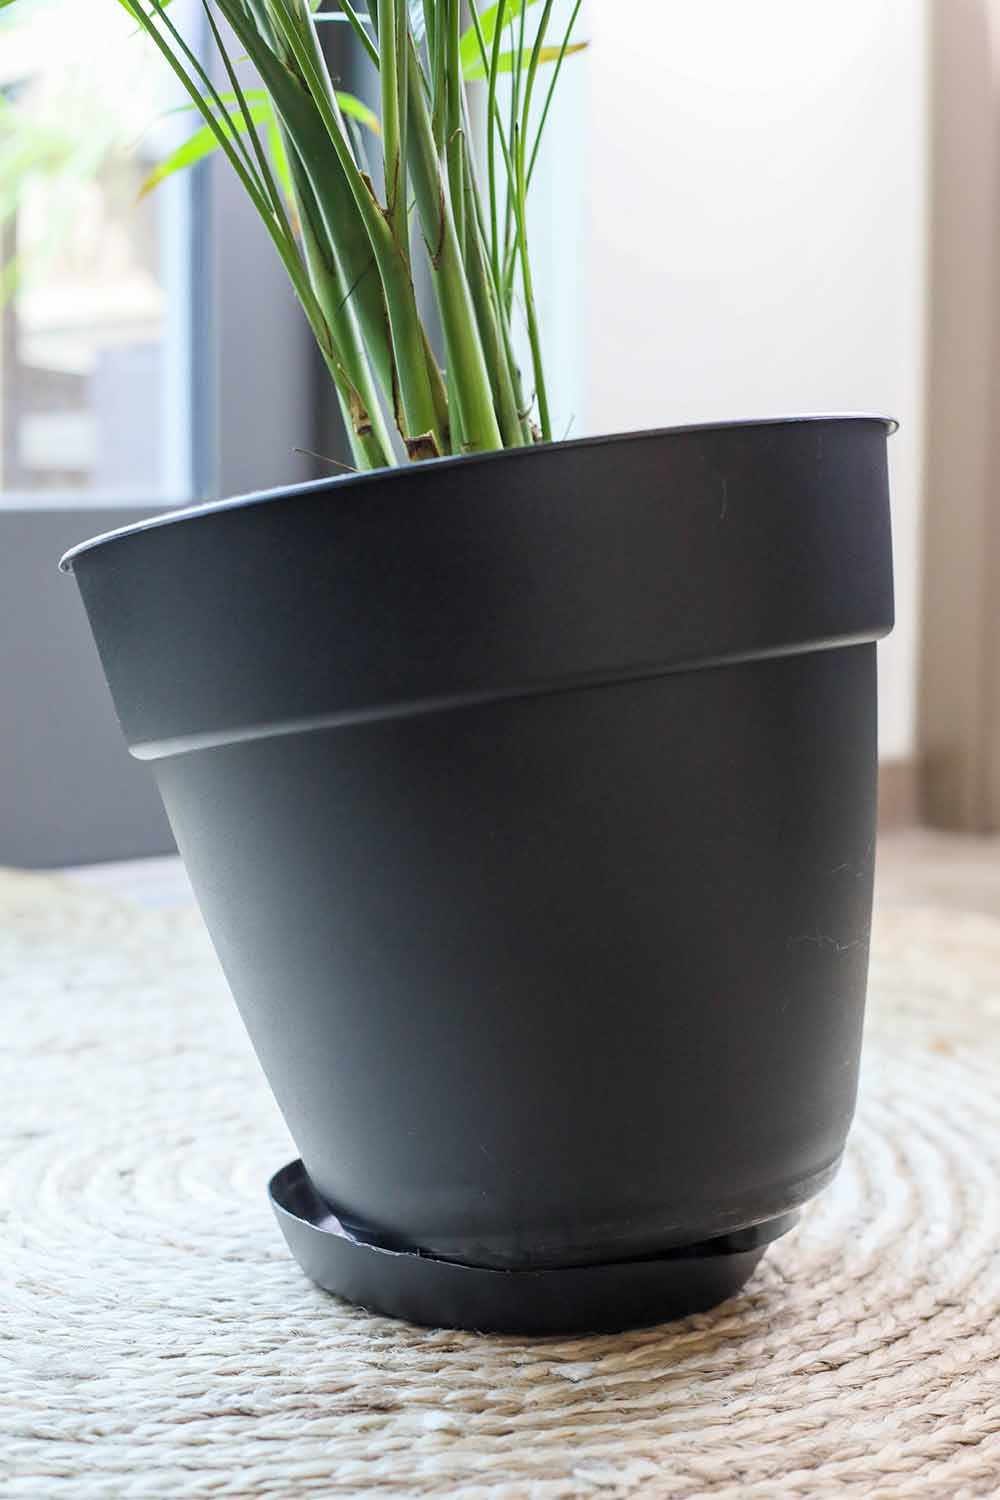
But you might be mistaken – I had to pry this container from its tray, so be sure to check your container!
Regardless, you need to separate the plant pot from the tray before you stick it in the liquid.
This can’t be done with cachepots, which offer no drainage, or planters with drainage trays that are permanently attached.
Before you start, check to make sure your plant needs more moisture. Stick a finger into the soil or use a moisture meter to determine the soil’s moisture level.
You can water in a bathtub or sink, or in a large bucket or similar container. So long as it is big enough to fit your plant container, it can do the job.

For smaller plants, I like to use a small washtub.
A sink is perfect if you want to do several medium-sized plants at a time.
I reserve the bathtub for my larger plants, or if I want to do my whole collection of houseplants all at once.
It’s fairly wasteful to fill an entire tub for a single small plant, after all.
To begin, fill the container or tub with lukewarm water.

Distilled or filtered is best if you live in an area where the municipal water is treated with chlorine or fluoride.
Fill it with enough that it will cover the base of your container by at least an inch.

If you add fertilizer, do it now.
If you have some sort of drainage material in the bottom of your container such as rocks or broken pottery, the water needs to come above that material by at least an inch.
Place the container in the water and let it sit for about 15 minutes so that the soil can soak up all the moisture it needs. Larger containers need to sit for a bit longer, and smaller containers for bit less time.
Keep an eye on things. If the soil soaks up all of it during those 15 minutes, add more. The surface of the soil should feel moist to the touch.
Sandy soil or potting soil with lots of perlite mixed in will take longer to soak it up.
Keep in mind that terra cotta pots soak up the water along with the soil, so they’ll need extra.
Drain or dump out any excess, and let the plant sit for 10 minutes or so to drain.
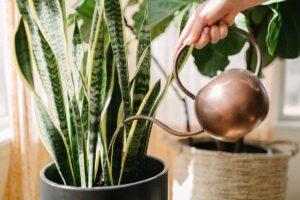
Every four or six weeks, it is important to water your plant from the top instead, in order to flush out any minerals or salts that have built up in the soil.
Just provide water until it runs out the drainage holes. That’s the main drawback to the bottom method: minerals can build up, because they aren’t being flushed out.
Get Your Bottom Water On
Bottom watering is such an elegant solution for clumsy folks (like myself!), but it’s a smart option even for you more careful waterers out there.
Beyond reducing the chances that you’ll spill all over the place, it can have a positive effect on the health of your plants.
Give it a try, and then let us know if you prefer the top or bottom technique.
Enjoying this houseplant hack? We have lots more how-to guides for you here:


Hi Kristine, great article, thank you. I tried this with my chillies, but even after half an hour the top does not get moist. I use perlite, so do you think I need to let them stand in water longer?
You could certainly leave them in the water a bit longer and see if that does the job. I would also stick a finger into the soil and if it feels saturated at all, I’d remove them and not worry about allowing the water to reach the top of the soil.