You know how snake plants are super forgiving and simple to care for?
They’re just as easy to propagate. And where one snake plant is good, more are better!

We link to vendors to help you find relevant products. If you buy from one of our links, we may earn a commission.
If you have an existing specimen and you want to make a few babies, there are several easy ways to go about it.
You don’t need much more than a pair of scissors and a glass of water. But there are a few tricks you should know to ensure success.
In this guide, we’ll go over the different ways you can propagate snake plants with excellent results. Here’s what’s coming up:
Snake Plant Propagation Methods
Snake plants were once classified in the genus Sansevieria, but they were recently moved to the Dracaena genus.
I know. We all just figured out how to spell and pronounce the name and now we have to learn another one?!
Maybe we can refer to them instead as the artists formerly known as sansevieria (AFKS)?

Names aside, what matters is that we want more of these tough, reliable houseplants. Right?
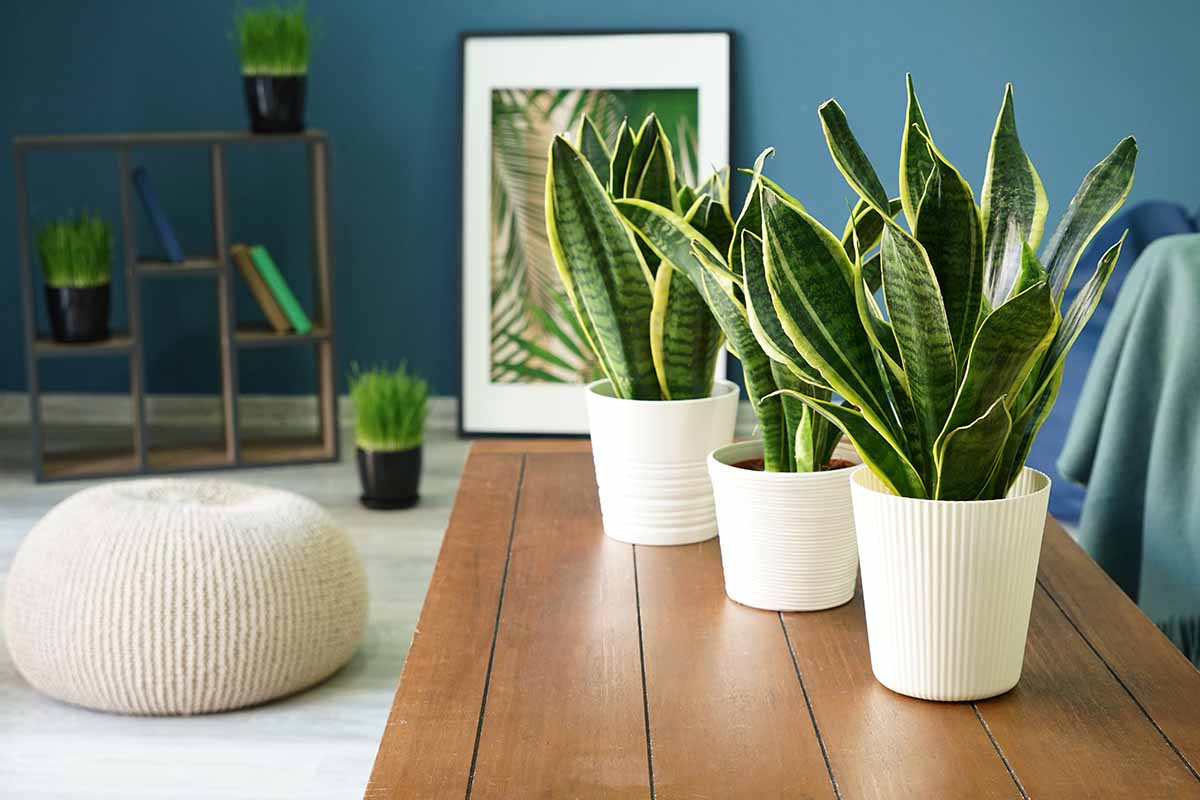
Be aware that if you have a snake plant with yellow variegation or stripes on the leaves, you can’t propagate it by taking cuttings and expect to see that yellow growth appear consistently in your new starts.
These types of snake plants are chimeras and can only be propagated to grow in the same color pattern by dividing rhizomes. Stick with that method for best results.
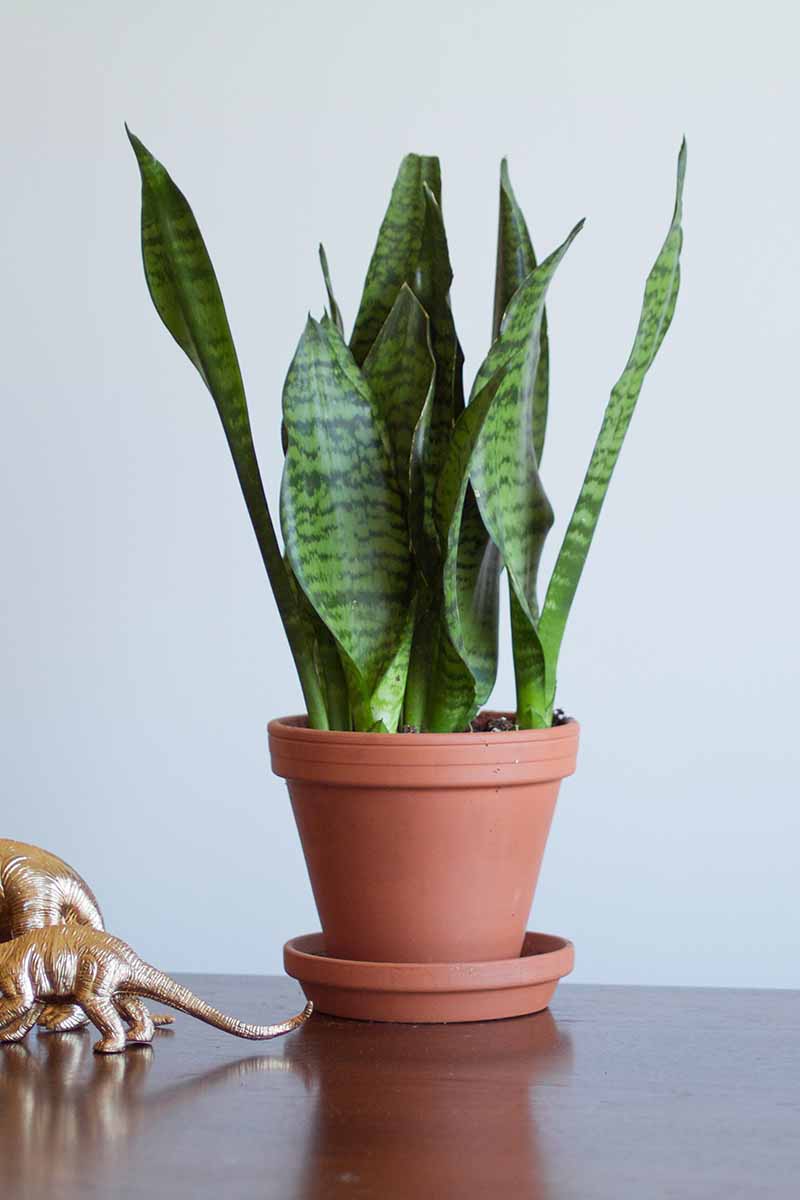
Also, snake plants always do best in a small pot. The larger the pot is, the more likely you are to overwater the overabundance of soil accidentally, causing the roots to rot.
Finally, remember that snake plants are so. freakin’. slow. to propagate.
You didn’t do anything wrong, and you haven’t entered some crazy time warp. They’re just slow – but they are reliable. Think of them as the turtles of the houseplant world.
Now, let’s get to propagating!
Rooting Cuttings in Water
There is some debate about whether we should propagate plants in water at all, since the roots that form in water tend to be less prepared for life in soil.
When it comes to snake plants, I think the argument against it is worth ignoring. I’ve yet to have one fail when I transitioned it from water to soil.
That’s not the case with other plants that tend to be more sensitive, but it seems to work just fine with these.
Really, the hardest part of the whole process is that you will have to be patient. Really!
Look for a leaf that isn’t brand new, but one that’s not too old either. You want something at least nine inches long, and it should be a touch lighter in color than the fully mature leaves.
Slice it off close to the base using a clean, sharp knife or pair of clippers.
You can then trim up the leaf further into three-inch sections or propagate the leaf whole for a single plant.
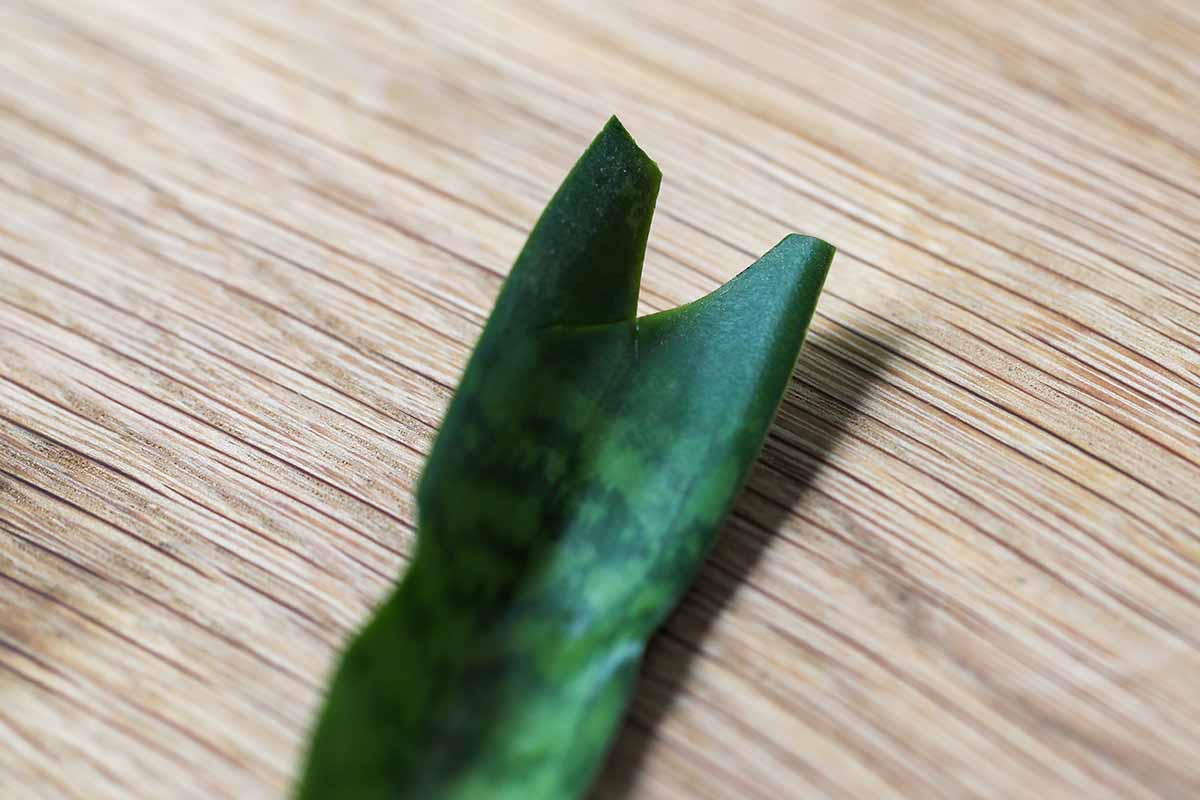
Make a little triangle cutout in the center of each cutting at the base. We do this so the flat bottom of the cutting doesn’t seal onto the base of the jar when it’s submerged in water.
If you cut a leaf into several sections, make sure you’re cutting a notch into the correct end, to make sure you’re putting the end that should be oriented downwards in the water! If you put the cutting in upside-down, it won’t grow roots.
Direction of growth is important here, so trim leaves into sections carefully, lay them out as you cut so you don’t get the orientation mixed up, and cut your notches accordingly.
Let the cuts callus over by placing the pieces on a paper towel to dry for a day, out of direct sunlight.
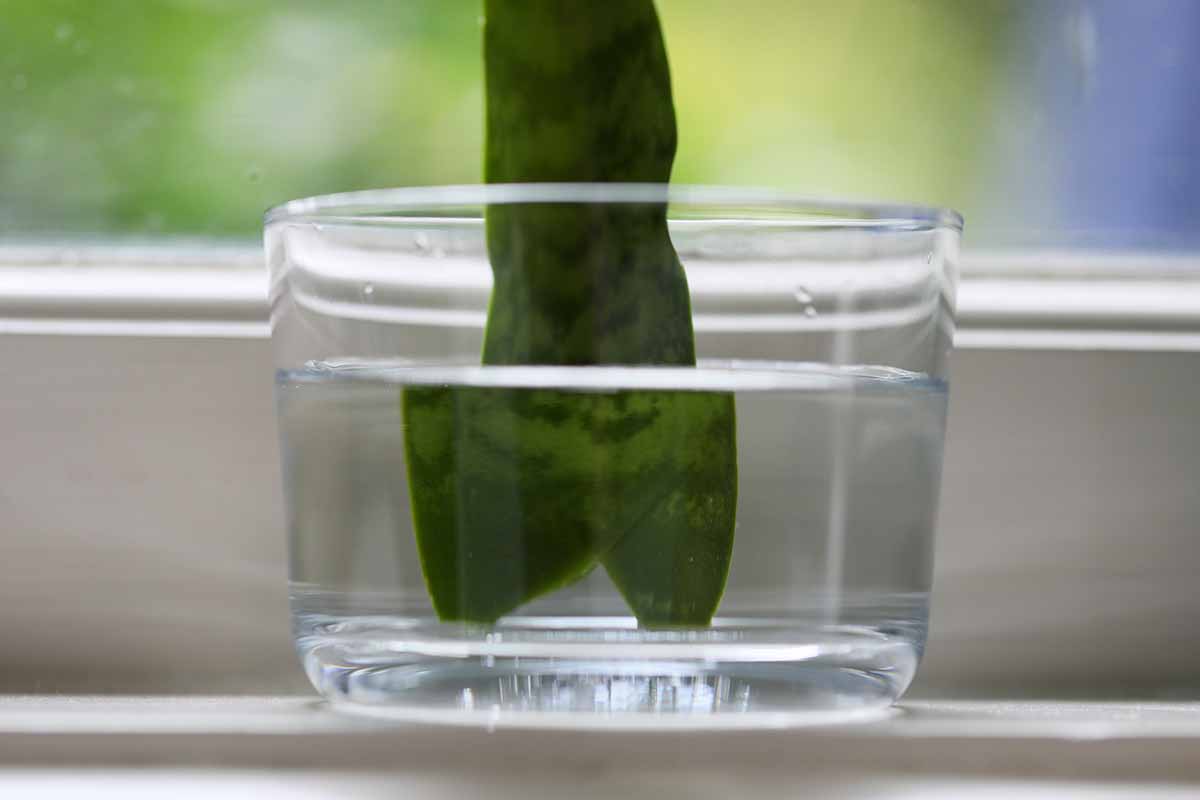
Next, we’re going to submerge the bottom end with the notch cut out in water. It should cover the end by about an inch. You could use a small jar for this, or a juice glass.
Place the container in a spot that receives bright, indirect light. You don’t want to put it in a dark corner, and you don’t want direct light exposure.
Change the water frequently. Avoiding rot is going to be your biggest challenge, so dumping it out and adding more once a day is excellent. But you can usually get away with changing it every two or three days if you forget.
If you wait any longer than that, you run the risk of bacteria or fungi entering the water and killing the developing cells.
I pull my cuttings out every few days and rub my fingers across the part that has been underwater. If it feels slimy, I give them a good rinse – and resolve to change the water more often!
Now it’s time to re-start binge-watching your favorite series because you have a few weeks of waiting on your hands.
If you’re lucky, you might see roots start to develop in about two weeks, but a period of a month or longer is more likely.
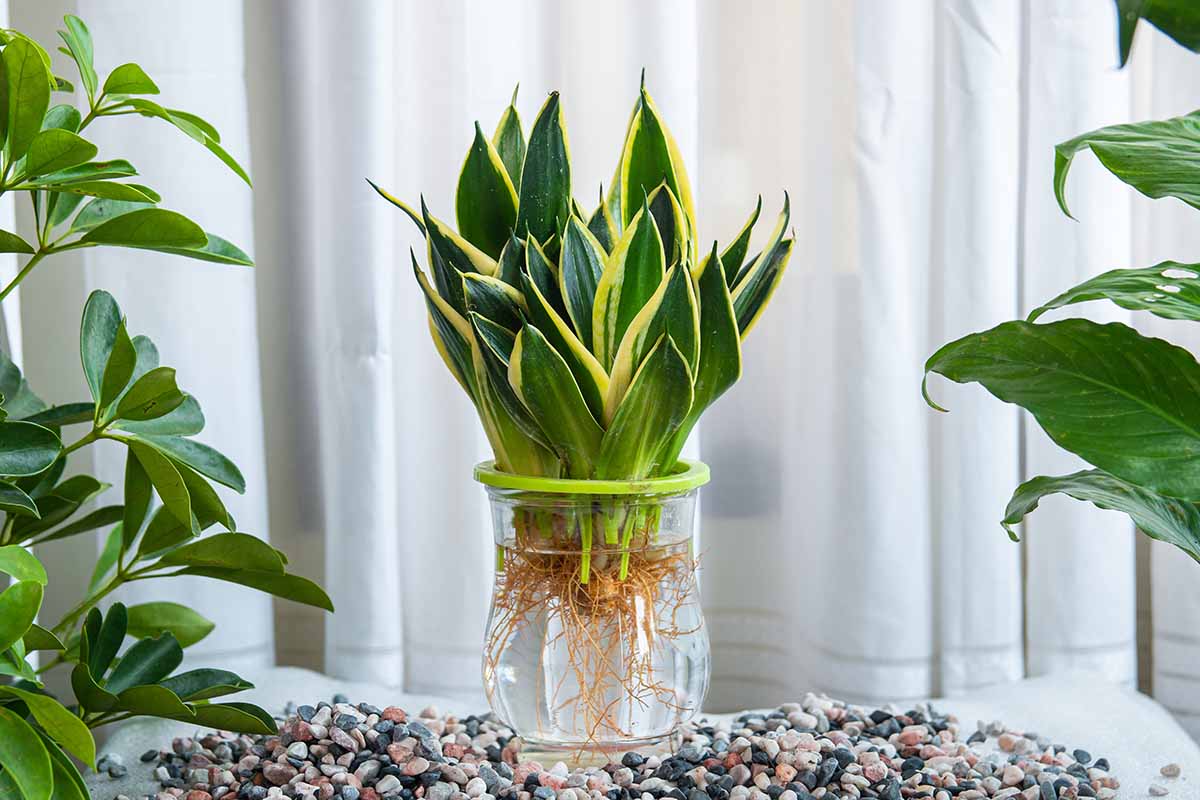
Once you see lots of roots, and ideally, a few pups forming, you can transplant the cutting into some soil.
A free-draining mix for succulents and cacti is great for this, and make sure you don’t choose a pot that’s overly large.
Rooting Cuttings in Soil
Maybe you’d rather skip the water altogether?
The process for propagating mother-in-law’s tongue cuttings in soil is extremely similar to propagating in water. So, you’re halfway there at this point, in terms of understanding what to do.
Cut a young leaf that is at least nine inches long off at the base. You can further divide the cutting into three-inch sections or leave it as it is.
Set the cuttings aside on a paper or kitchen towel for a day or so to heal over.
While that’s happening, prepare your chosen container by filling it up with potting soil. A four-inch pot with a drainage hole in the bottom should be about right.
Place the cutting cut side down into the soil and bury it by half an inch or so.
Longer cuttings might need propping up until they form new roots and can stand on their own – a chopstick is great for this.
Water the soil lightly so it’s slightly damp and place the pot in bright, indirect light.
No direct sun, remember!?
Mist the cutting a few times a day and keep the soil on the dry end of moist, adding water sparingly as needed.
Once again, this process will take a few weeks. But eventually, you’ll start to see little pups popping up. You did it! Now, just raise them as you would any other snake plant.
Dividing Rhizomes
Looking for a quicker way to see results? Give dividing a try!
Remove your snake plant from its pot and brush away as much of the soil as you can. You’ll be left with a bunch of roots.
Some will be thin and spindly, like typical feeder roots in other plants, and some will be thicker like narrow potatoes. These thicker bits are the rhizomes. And each one can make a new plant.
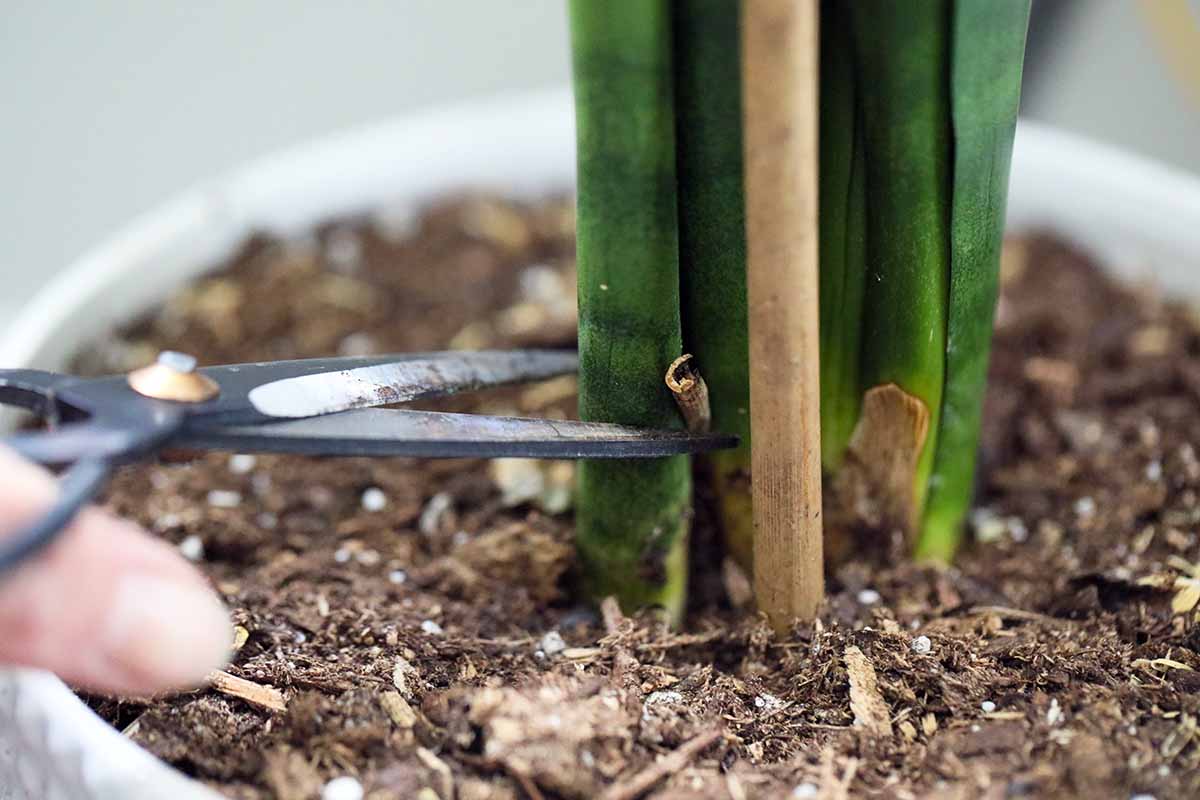
Use a clean pair of scissors to cut away a rhizome with as many of the lateral roots kept intact as you can. Each rhizome division also needs to have a leaf attached.
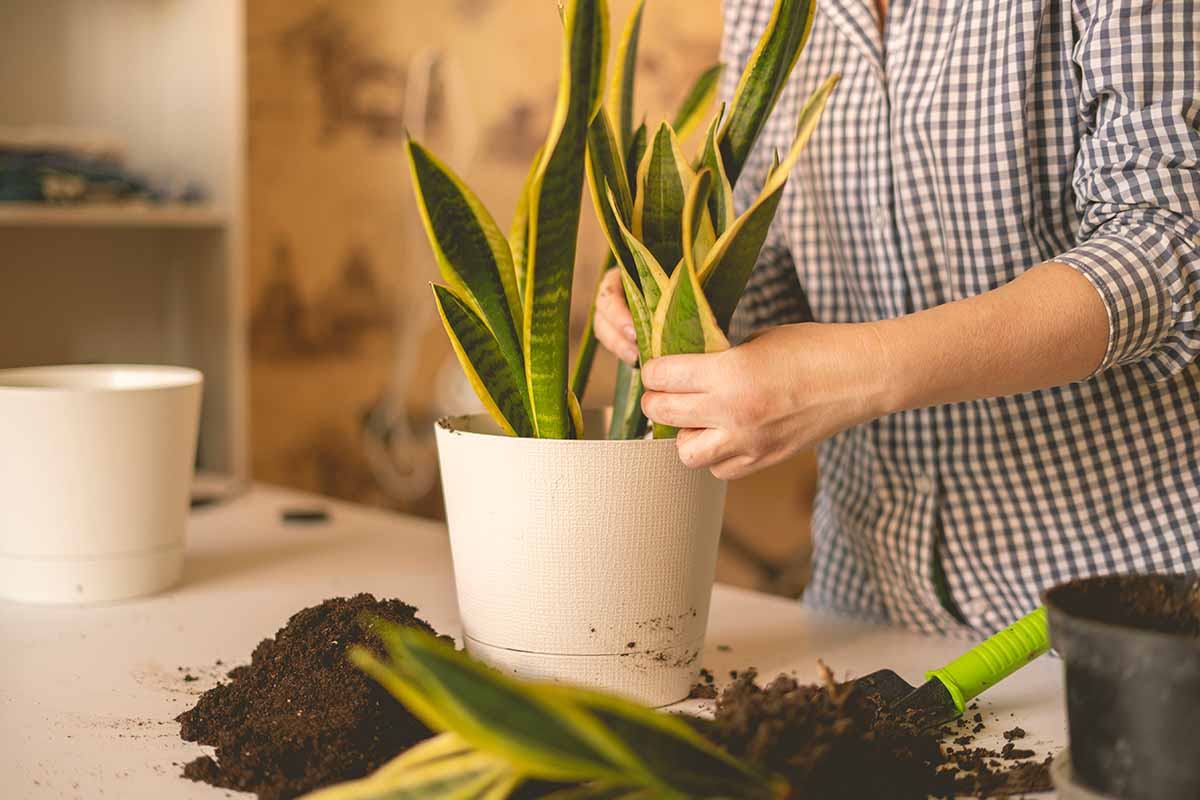
Once you cut away your piece, you can put it in a container filled with a standard potting soil, or a free-draining cactus and succulent mix.
Remember that snake plants like to be in a small pot. Since you’re starting with just a single rhizome, you’ll want a tiny pot for this. Something taller than it is wide can help to prevent tipping if the attached leaves are tall.
You don’t have to stick to using just one rhizome per division. Feel free to divide the specimen into bigger chunks if you want and select your container accordingly.
I had a snake plant with a section that just wanted to fall over. I tried everything, including repotting it a bit deeper, leaning it against a wall, and providing a bamboo stake. Finally, I decided that the wobbly section just wanted to be its own plant and I divided it. Sound familiar?
Now, both the original and the offshoot are as happy as can be!
You don’t have to wait for your sansevieria (ahem) to give you the signal like mine did. You can divide anytime it has more than a fistful of leaves.
Take the entire plant out of the pot and place it on a tarp or the floor, lined with a few sheets of newspaper.
Brush away as much of the soil as you can and assess the rhizome situation. You should be able to see distinct, separate chunks.
Use a knife to carefully cut the plant roughly in half, with sections of rhizome attached to leaves.
Plant each section in its own container, water lightly, and move back to a suitable location with indirect sunlight.
Bring On the Snakes!
Did you ever think you’d be hoping for more and more snakes in your house? With a little luck – and you hardly need it – you’ll be surrounded by more than you know what to do with soon.
Well, not that soon. Remember, the biggest challenge with propagating snake plants is being patient!
Which method are you going to try? Do you plan to take cuttings? Are you going to divide an existing specimen? Let us know how it goes and drop us a line in the comments section below if you run into any issues!
If you’re looking for more useful information about the distinctive plant known as mother-in-law’s tongue, these guides should come in handy: