Astilbe is an herbaceous perennial for gardeners in USDA Hardiness Zones 4 to 8 that grows from thick, tuberous roots called rhizomes.
It thrives in shady areas of the garden where the soil is slightly acidic, organically rich, moist, and well-draining.
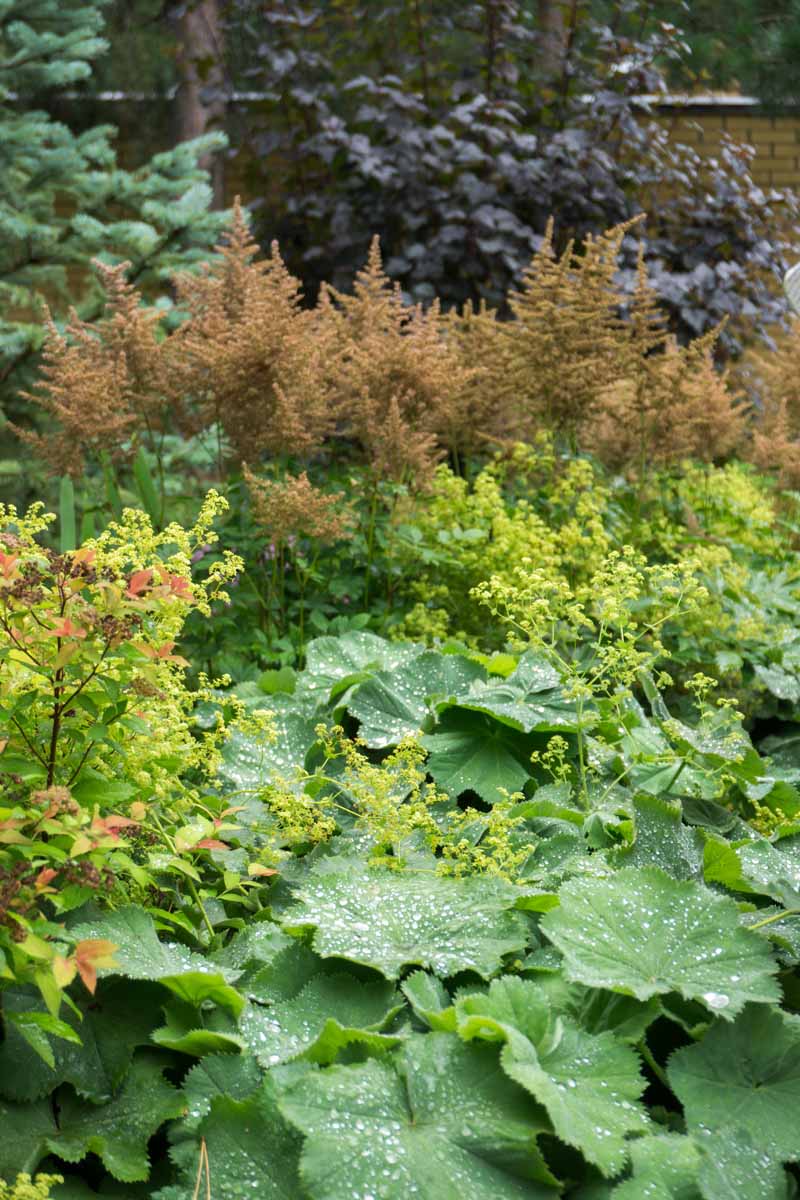
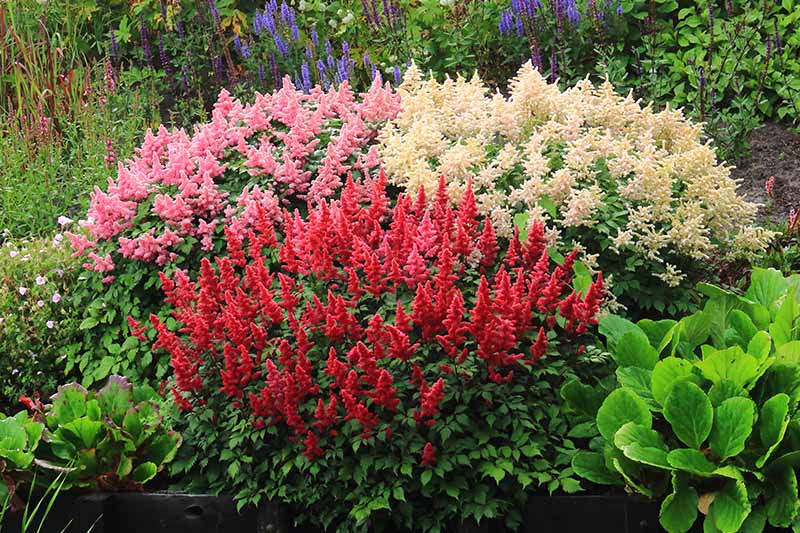
The feathery, plume-like flowers add rich color to the late summer garden in vibrant shades of pink, red, purple, and white.
The flowers add vertical interest as well, rising above basal mounds of deeply serrated, fern-like foliage at heights that range from about six inches to over three feet, depending on the variety.
We link to vendors to help you find relevant products. If you buy from one of our links, we may earn a commission.
Our guide to growing astilbe covers everything you need to know to cultivate this attractive ornamental flower in your garden.
In this article, I’ll cover five steps you can take at season’s end to promote the healthy return of your astilbe plants each year.
What You’ll Learn
This is easy. Let’s get started!
Winding Down
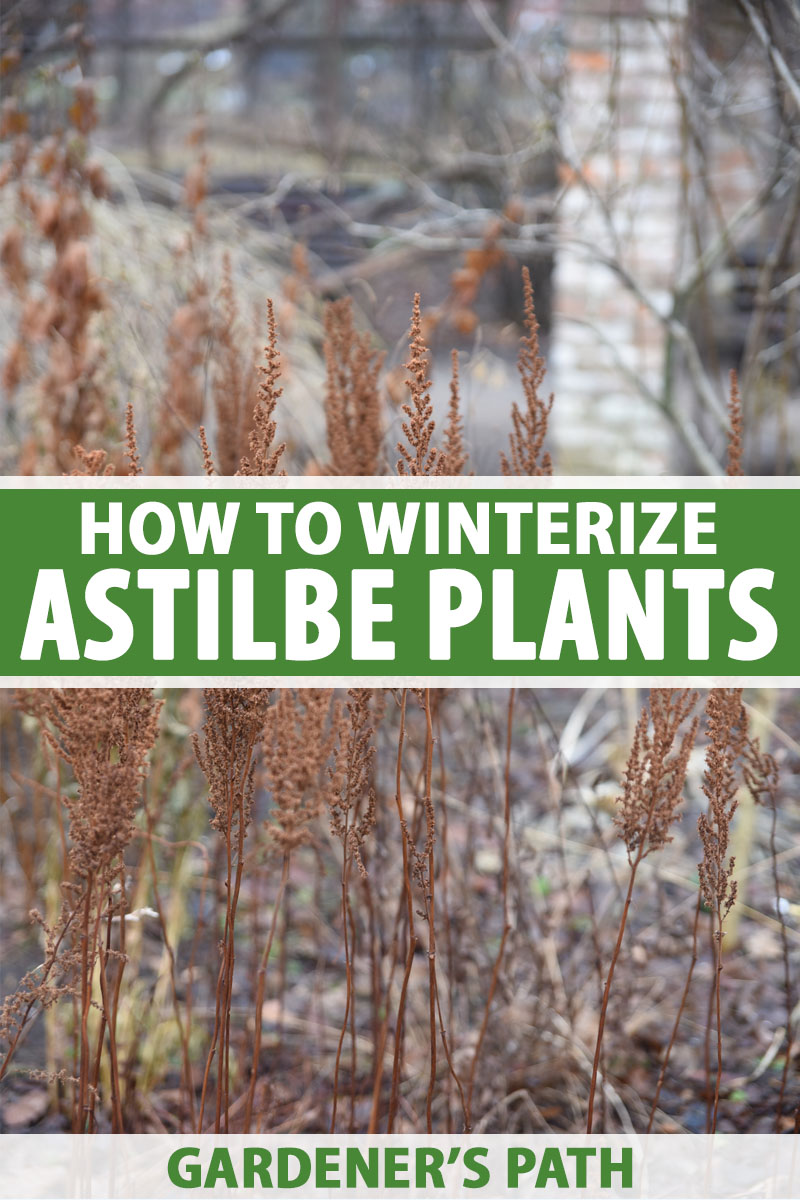
As astilbe flowers gradually fade, their spiky blossoms remain attractive, drawing the eye upward, above the bronzing basal foliage of autumn.
Even when they are completely brown and dry, they add depth and texture to the fall garden.
Not only are the flowers still pleasant to look at as the growing season draws to a close, their seeds provide valuable late-season nourishment for foraging wildlife.
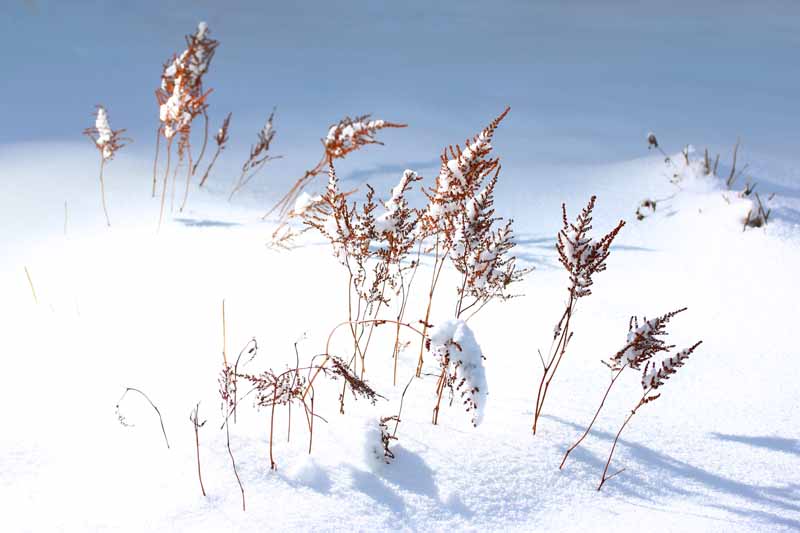
And when they remain in place through the winter, their fragile forms look like fairies dancing on the snow.

However, while their skeletal remains may provide interest in the winter garden, there are better ways to take care of your plants at season’s end than to just let them stand in place.
Let’s learn about them now.
Astilbe Winter Care
While astilbe is a cold-hardy perennial, an especially harsh winter may challenge its survival skills, especially if the plant is not in the best of health.
To give it every opportunity to return with vigor each spring, you’ll want to provide support with these five proactive steps: divide, cut back, water, fertilize, and mulch.
Let’s learn how easy they are!
1. Divide and Transplant
The first consideration as the growing season draws to a close is whether or not you need to divide your plants.
Those with three to four years of growth that have become quite large are good candidates.
Our guide to propagating astilbe by division has all the details, but here are the basics:
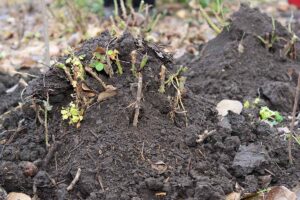
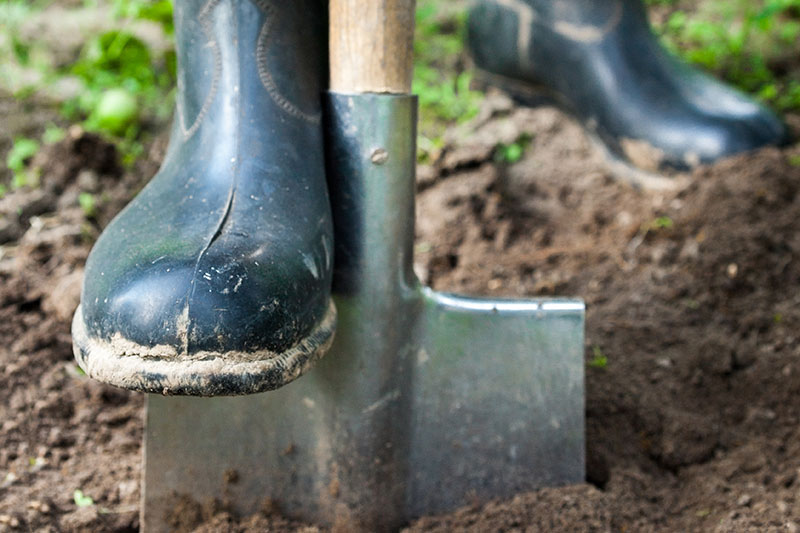
After a plant finishes blooming, four to six weeks before average first frost date, dig around and under it with a long-handled shovel.
Use your foot to push the shovel to its full depth about six inches away from the mound of foliage, to avoid injuring the rhizomes below.
You’ll need to dig down 10 to 12 inches deep, then lift the mound of earth out, roots and all, and place it on the ground.
Use your hands to gently tease the roots apart, dividing the large clump into multiple separate rhizomes, each with foliage attached.
After digging up your plant and separating it into multiple rhizomes, you can replant the main portion in its original location. You may also relocate it as desired, perhaps to a place in the garden that gets more shade or has better drainage.
You can plant the divisions in new locations at a distance of one to three feet apart, depending upon the mature dimensions of your particular variety.
Alternatively, you may pot up the divided portions in containers full of potting medium to store over the winter months.
If you choose to pot them up, store them in a cool, dark place with screening over them to prevent rodent damage.
Keep the soil moist, but not soggy, throughout the winter months.
Transplant the divisions to the garden in early spring after the danger of frost has passed.
2. Label and Cut Back
Whether or not you choose to divide your plants, you’ll need to cut them back for their winter dormancy.
As the flowers begin to fade in the fall, and before you cut them back to tiny stems, be sure to mark their locations.
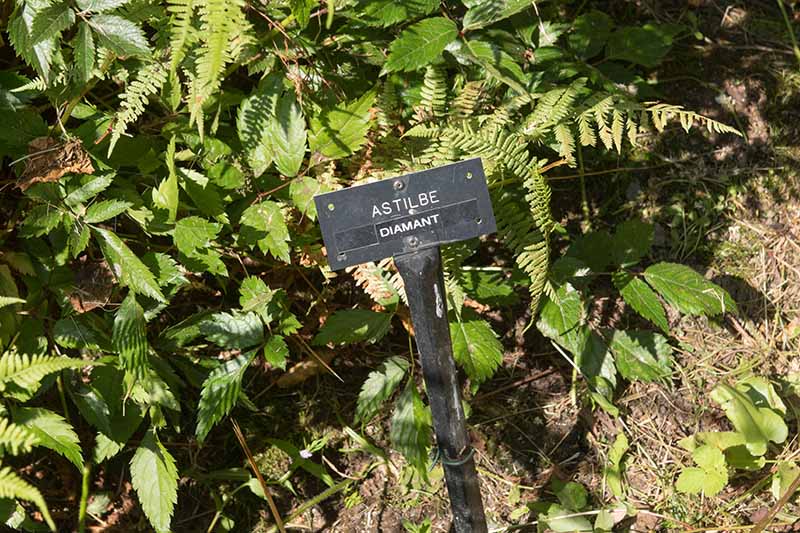
I would be ashamed to tell you the number of times I have accidentally dug up perennials or planted on top of bulbs because I had forgotten they were there.
You don’t have to be fancy – popsicle sticks and a waterproof marking pen will do the job.
Next spring, when new shoots are coming up all over the place, you’ll be glad you did!
After blooming is finished, use clean, sharp pruners to cut every stem back to a height of about three inches.
Use the dry flower stalks in decorative arrangements, or discard them on the compost heap. Do not leave the debris in the garden.
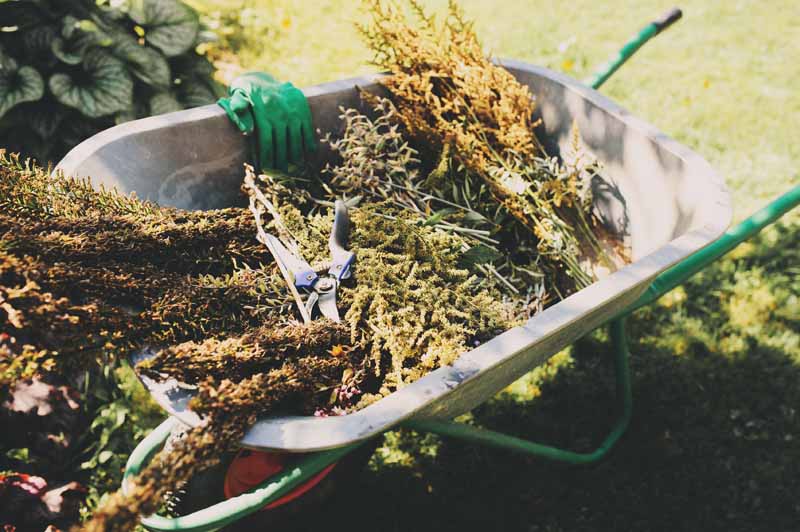
While leaving dry stalks in place for winter interest may seem appealing, decaying plant material invites disease and rodents that may cause root damage.
In addition, stems that are battered by wind or heavy precipitation may result in damage to the roots below.
3. Water
Keep the soil moist around new divisions to help them to establish strong roots before the first frost and the onset of winter dormancy.
Water all other astilbe plants at least once a week, in the absence of rain, until the first frost. Just because the growing season is finished doesn’t mean it’s time to stop the water supply for this moisture-loving plant.
In addition, the experts at the Colorado State University Extension recommend watering perennials during dry winters to prevent root damage.
You may give your astilbe an occasional drink when the ground is free of snow and the air and soil temperatures are at least 40°F.
Plant tissue that contains moisture is less likely to suffer damage during cold weather, and wet soil holds more heat than dry.
4. Fertilize
Perennial astilbe plants crave phosphorus, and they benefit from spring and fall fertilizer applications.
Learn the first average frost date for your region, and apply a slow-release 5-10-5 (NPK) product, per package instructions, in late fall, while the ground is still soft. You want to fertilize late enough that warm temperatures don’t stimulate new growth before winter.
Well-nourished plants are better equipped to survive the winter.
Find more fertilizing tips here.
5. Mulch
Another way to boost the health of your astilbe during the coldest months is to apply a two-inch layer of mulch.
This blanket of organic matter protects the plant’s crown, the place where the foliage meets the roots.

The best time to apply mulch is after the ground has frozen, to avoid potential root damage from burrowing rodents or warm-weather moisture buildup.
Excellent choices are compost, chopped up leaves, or humus that gradually decay over time, feeding and insulating roots, improving drainage, and aiding in moisture retention.
In early spring, before the new shoots appear, remove the old mulch, toss it onto the compost heap, and add a fresh layer of organic material.
An Ounce of Prevention
Now that you know what prepping plants for cold endurance entails, you may be debating whether or not it’s worth the time and effort.
After all, they’re wired to survive, right?
I look at it this way. Winterizing astilbe is like buying insurance. It can’t hurt, and adds value in the long run.
Since healthy perennials have the best chance of survival, a bit of winter care can contribute to their triumphant return each spring.
Add these steps to your garden planner today, and grow your best astilbe flowers yet.
Are you growing astilbe in your garden? Do you have any winter care tips to share? Let us know in the comments below!
And for more information about winter gardening, check out these guides next:
- 11 Things to Do in the Garden before Winter
- How to Lift Caladiums for Winter Storage
- 11 Winter Lawn Care Essentials
© Ask the Experts, LLC. ALL RIGHTS RESERVED. See our TOS for more details. Uncredited photos: Shutterstock.