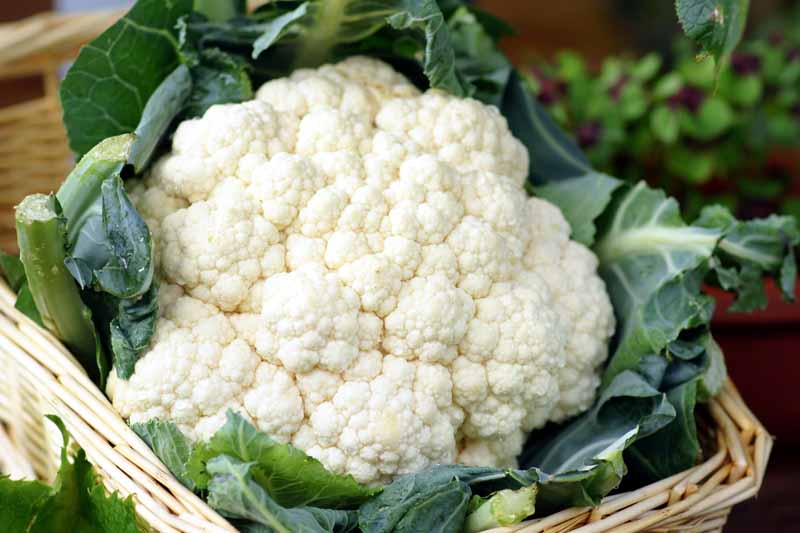
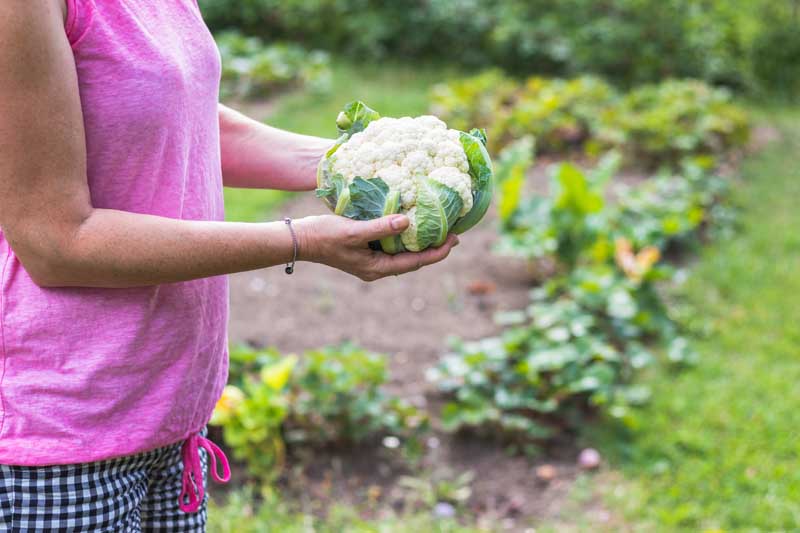
Heaven is a bite of fresh cauliflower, straight from the garden.
I have always loved this cruciferous veggie best when it’s eaten raw, or blended into a base for soup or vegan pasta sauce.
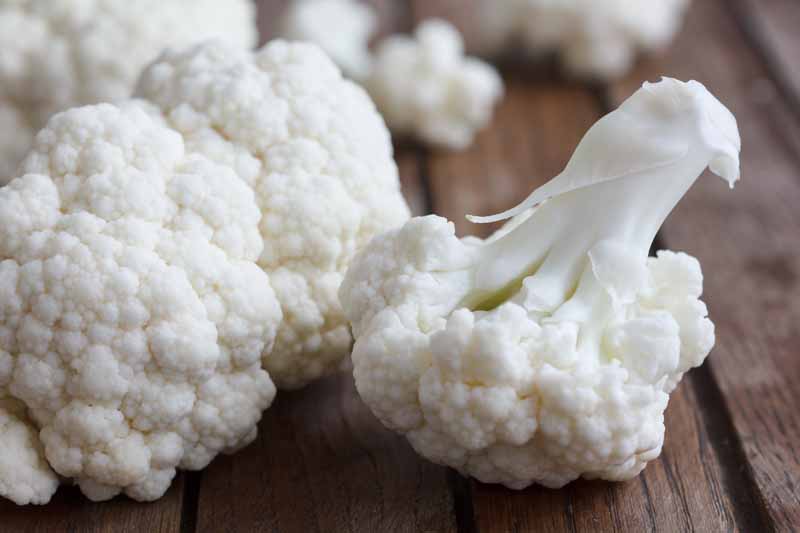
As in the case of its close relative, broccoli, a head of cauliflower (Brassica oleracea var. botrytis) is made up of tons of tiny, unopened flower buds.
Most of us are familiar with white florets, but you can find purple, orange, and green cultivars as well. These varieties have the same deliciously smooth, nutty taste that the white ones have, and they’re all harvested in the same way.
We link to vendors to help you find relevant products. If you buy from one of our links, we may earn a commission.
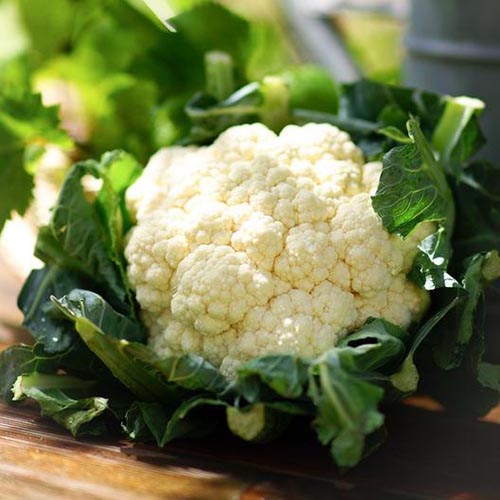
While most people know they can eat the unopened buds, or curds, they might be surprised to find out that the leaves and stalks are edible, too.
This plant takes up a lot of space in your garden, but every part of it is available to eat.
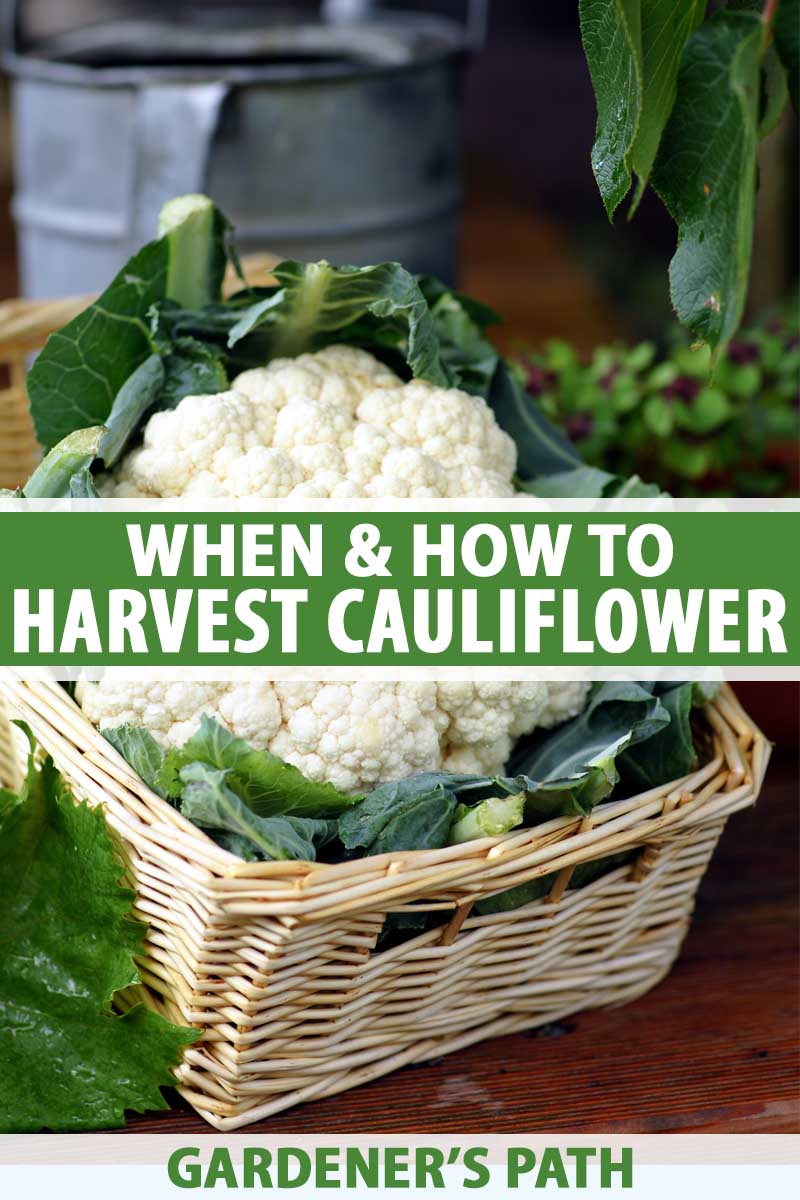
Pretty beautiful, don’t you think? But only if you know how and when to harvest the heads, stalks, and leaves.
Read on to discover how!
Here’s what I’ll cover:
What You’ll Learn
When to Harvest Cauliflower
It can take anywhere from 85 to 130 days from the date of germination for your brassicas to be ready for harvest, so make sure you mark that date down in your gardening notebook.
The length of time, of course, varies according to which cultivar you’re growing, your location, and the growing conditions of the season.
But in general, you can expect heads to be ready for harvest around three to five months after the seeds germinated.
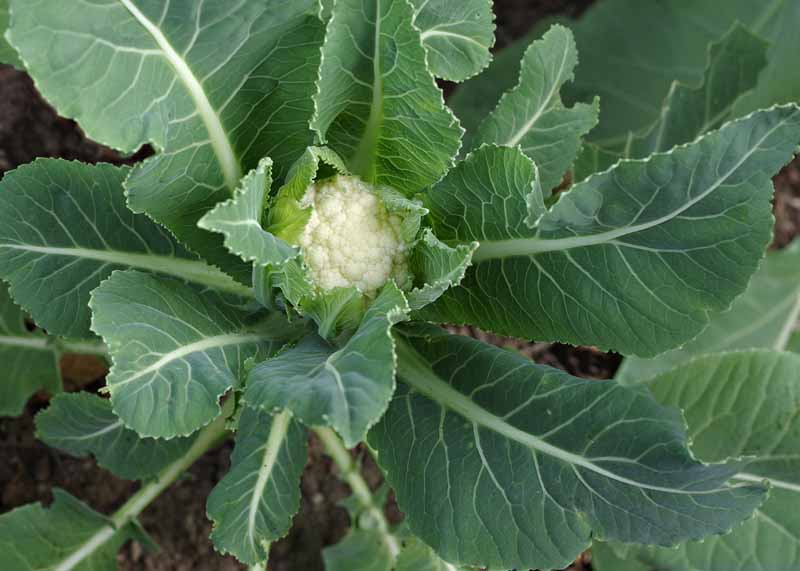
Keep your eye on the size of the flower head. When it’s about three inches across, you’ll probably need to blanch the heads by tying the leaves above them to protect them from direct sunlight.
Blanching helps preserve the color and flavor of the vegetable, as too much sun can cause it to turn yellow or brown, and taste bitter.
If you are growing a self-blanching cultivar like ‘Snowball Self-Blanching,’ however, the leaves will naturally curl inward over the top of the head as the weather cools down.
Find out everything you need to know about blanching cauliflower in our guide.
Signs of Readiness
The last thing you want is for your plants to bolt. Unlike broccoli, which still tastes alright after it blooms, cauliflower flowers are bitter.
So what are the visible signs that it’s ready to harvest?
Head size is one major indicator. Pay attention to the expected mature head size for whatever cultivar you’re growing, and make sure you have a ruler or tape measure handy.
As the head develops, check its size every few days.
Some cultivars reach around six inches in diameter, as is the case with ‘Snowball Y Improved,’ which you can find online at Eden Brothers.
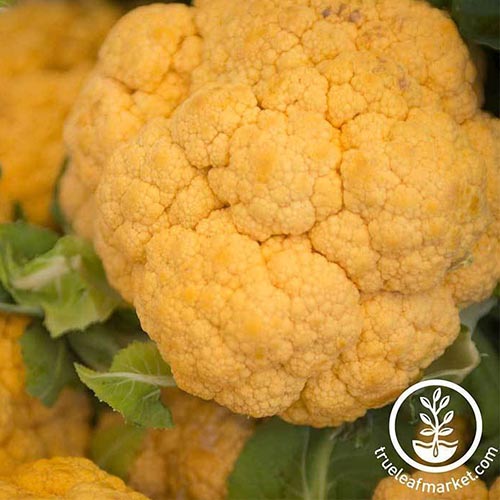
Others run anywhere from four to seven inches across, like the orange, beta-carotene-rich ‘Cheddar Hybrid,’ available at True Leaf Market.
Knowing how large the head should grow to be can help you decide when it’s harvest time.
In addition, the curds should be smooth and tight. If your plants have loose or deformed heads, check out our article, 11 Reasons Why Your Cauliflower May Not Form Heads, for help.
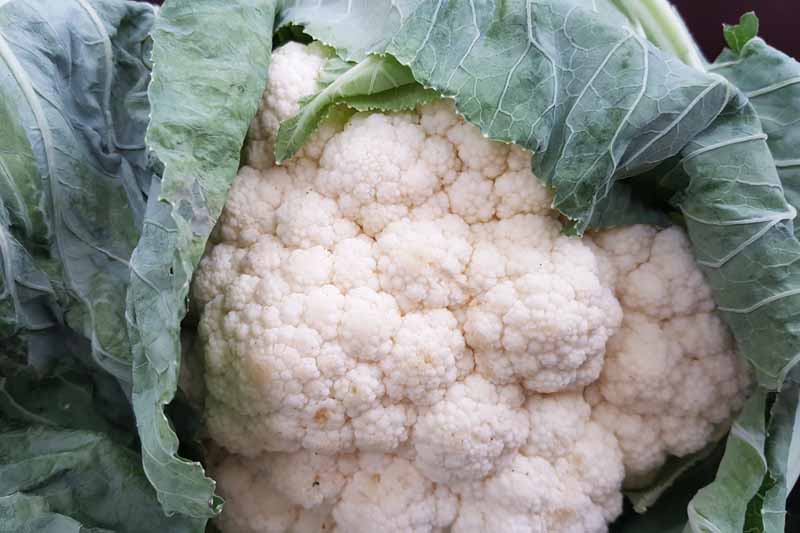
And if the curds appear to have a rough texture, this indicates that they’re beginning to blossom and should be harvested right away, no matter the size.
Harvesting and Preserving
Harvesting is quick and easy. All you need is a sharp kitchen knife!
Firmly grasp the stalk about two to three inches below the head and cut it off cleanly.
That’s all there is to it!
Unlike broccoli, this brassica doesn’t tend to grow side shoots, so now’s a great time to harvest the leaves as well by cutting them away from the central stalk.
Bring the leaves and stalk inside, store them in a plastic bag in the fridge, and consume within three to five days.
You’ll want to wipe away any debris from the head and avoid washing it or removing any leaves that are still attached. Wrap it in a damp paper towel and store it in a zip-top bag with a hole or two cut into it for airflow.
Place it in the crisper drawer of your refrigerator, and it’ll keep for up to two weeks.
Cauliflower is also one of those convenient vegetables that freezes admirably.
To prepare it for freezing, wash each head thoroughly and cut it into quarters. Tease all the florets apart.
Bring a large pot of water to boil and drop the florets inside to blanch for just 60 seconds. Transfer the florets to an ice bath until they’ve cooled off, then drain them in a colander or on paper towels. Use a towel to remove any excess moisture.
Spread the dried florets in a single layer on a baking sheet and freeze for two hours, then place them in labeled freezer bags and store for up to one year.
By flash-boiling them (aka blanching, of a different variety than what you would do out in the garden), you preserve their texture and flavor for any future soups or even smoothies you want to toss them into.
And yes, it tastes amazing in a smoothie. Its sister, broccoli, does not. I learned that the (very) hard way.
Recipe Ideas
Cauliflower is an excellent rice substitute for those of us who aim to reduce the amount of carbs we eat.
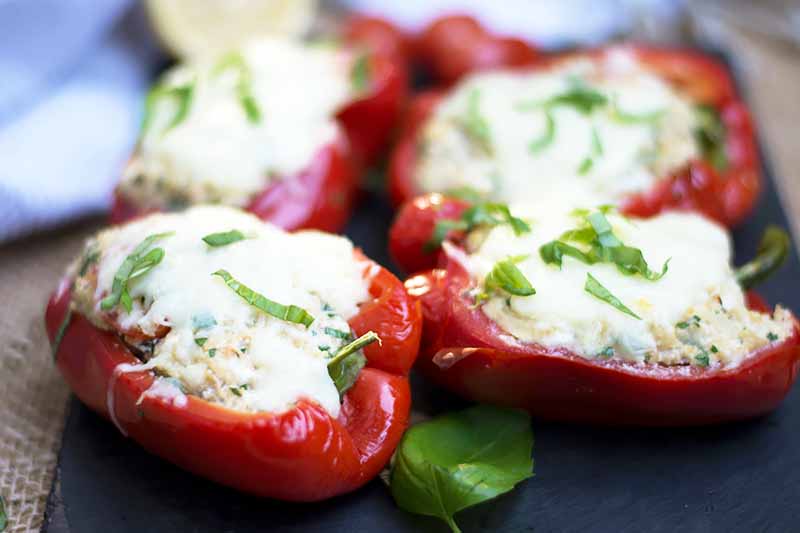
One of my low-carb staples is this recipe for creamy riced cauliflower stuffed peppers from our sister site, Foodal. My non-low-carb-eating husband loves it, too!
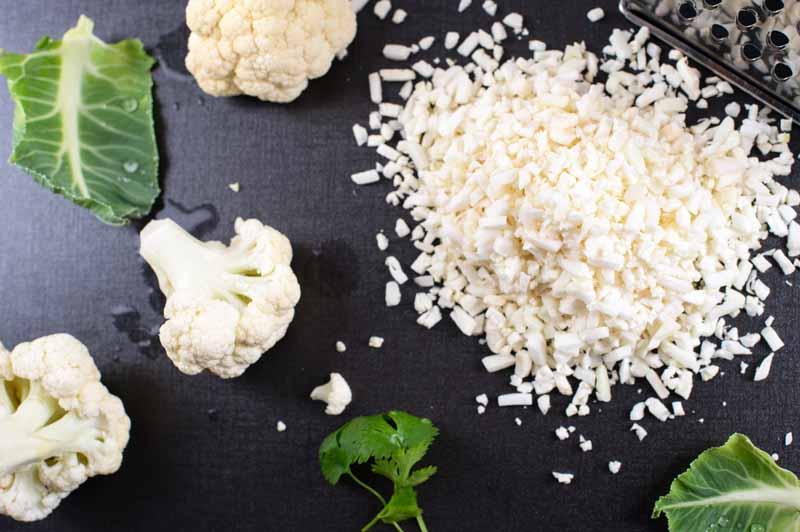
It’s really easy to “rice” fresh homegrown cauliflower. All you have to do is grate it, like cheese, or whiz it in a food processor until it’s transformed into small crumbles.
I grate mine by hand, and it’s surprisingly easy to do.

A favorite for my cheat days is these roasted cauliflower enchiladas with poblano cream sauce, also from Foodal.
Utterly delicious and worth every sweet, sweet carb.
And of course, sneak it into your kids’ smoothies, like I do, for a dose of nutritious yet inoffensive-tasting vegetables. Or make it into a low-carb pizza crust using this recipe from Foodal.

Honestly, the opportunities to use your homegrown crop are practically endless. Even though I love broccoli, I think cauliflower might be my favorite of the two brassicas simply because of its versatility.
And don’t forget to toss the leaves and stalks into your next salad! The leaves also taste lovely roasted with olive oil and garlic.
A Caul-inary Delight
It’s a fantastic time to grow this oft-forgotten brassica.
A couple years ago, I doubt I’d have ever been able to find riced cauliflower at the store. Now, it’s everywhere. But fresh, garden-grown riced cauliflower tastes infinitely better, if you ask me.
Have you ever grown and harvested your own cauliflower? What’s your favorite way to eat it? Share your tips, tricks, and questions with us in the comments section below!
And remember to check out these articles on growing cauliflower next:
- How to Grow Cauliflower, a Challenging Cool-Weather Crop
- How to Grow Cauliflower in Containers
- How to Identify and Treat Common Cauliflower Diseases
Photos by Katherine and Eddie D’Costa and Kellie McGrane © Ask the Experts, LLC. ALL RIGHTS RESERVED. See our TOS for more details. Product photos via Eden Brothers and True Leaf Market. Uncredited photos: Shutterstock.