Who doesn’t love herbs? They’re fun and easy to grow, delicious to cook with, and they offer amazing levels of antioxidants for good health and well-being.
And they’re also among some of the earliest perennials to make an appearance in the spring garden.
Some, like chives and garlic, will even push up tender new growth through the last layers of winter snow!
We link to vendors to help you find relevant products. If you buy from one of our links, we may earn a commission.
To ensure a bountiful and steady supply of fresh seasonings, in this article we’re looking at the best spring care tips for your herb garden.
We’ll cover how to top-dress early arrivals, revitalize compact growth, divide potted and garden growers, location, fertilizer and water requirements, how to propagate new plants, and mulching.
Let’s dig in! Here’s what’s ahead:
Spring Care Tips for the Herb Garden
Top-Dress the Early Arrivals
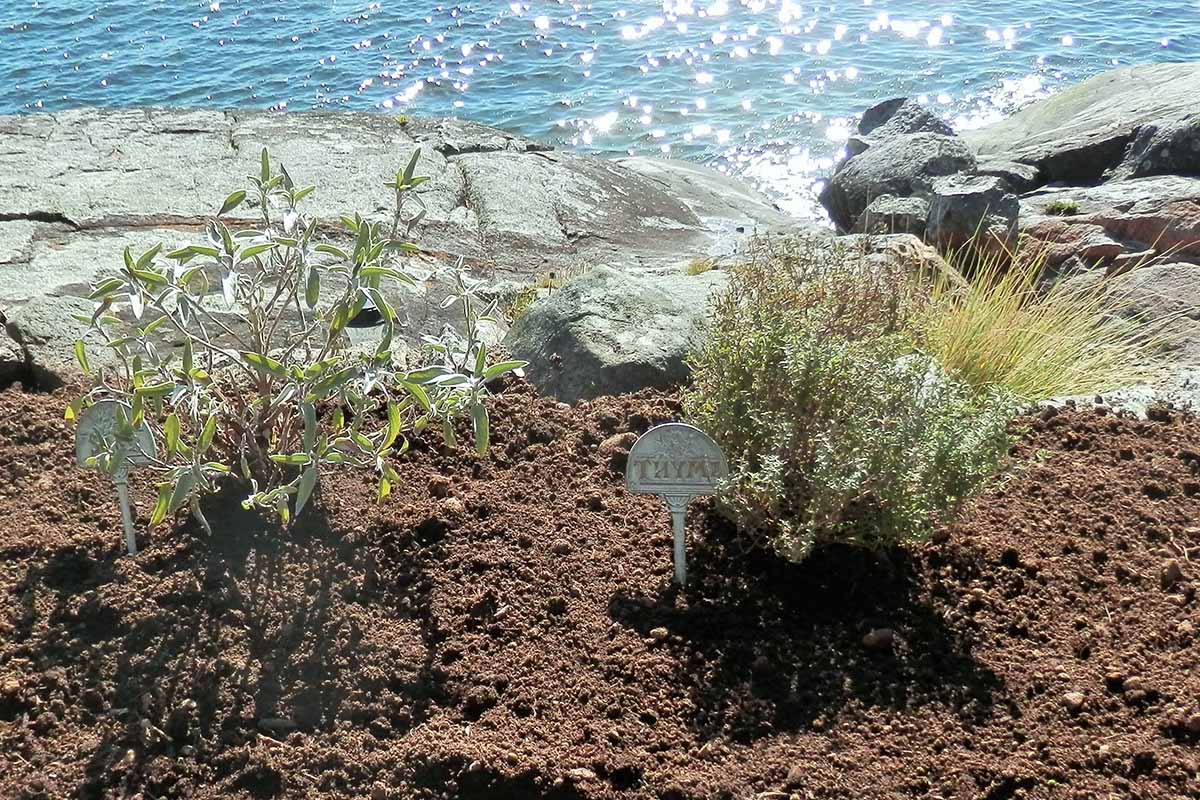
It’s not unusual for fall-planted garlic and chives to make an appearance in late winter, followed closely by tarragon and oregano.
However, their out-of-season emergence doesn’t necessarily mean the cold winter weather has finished.
To protect and nourish these brave little stalks, a top-dressing of organic material, such as well-rotted manure or compost, is called for.
The nutrients will release slowly down to the roots, and a collar of mulch will protect tender greenery from freezing temperatures.
Before applying, fluff the mulch with your garden fork to reduce its weight and create tiny air pockets – which help to insulate against the cold.
Apply a couple of inches directly to the soil surface to cover emerging growth and carefully encircle any taller stalks.
Cozy and well fed, your early arrivals will burst with growth when warm temperatures do arrive.
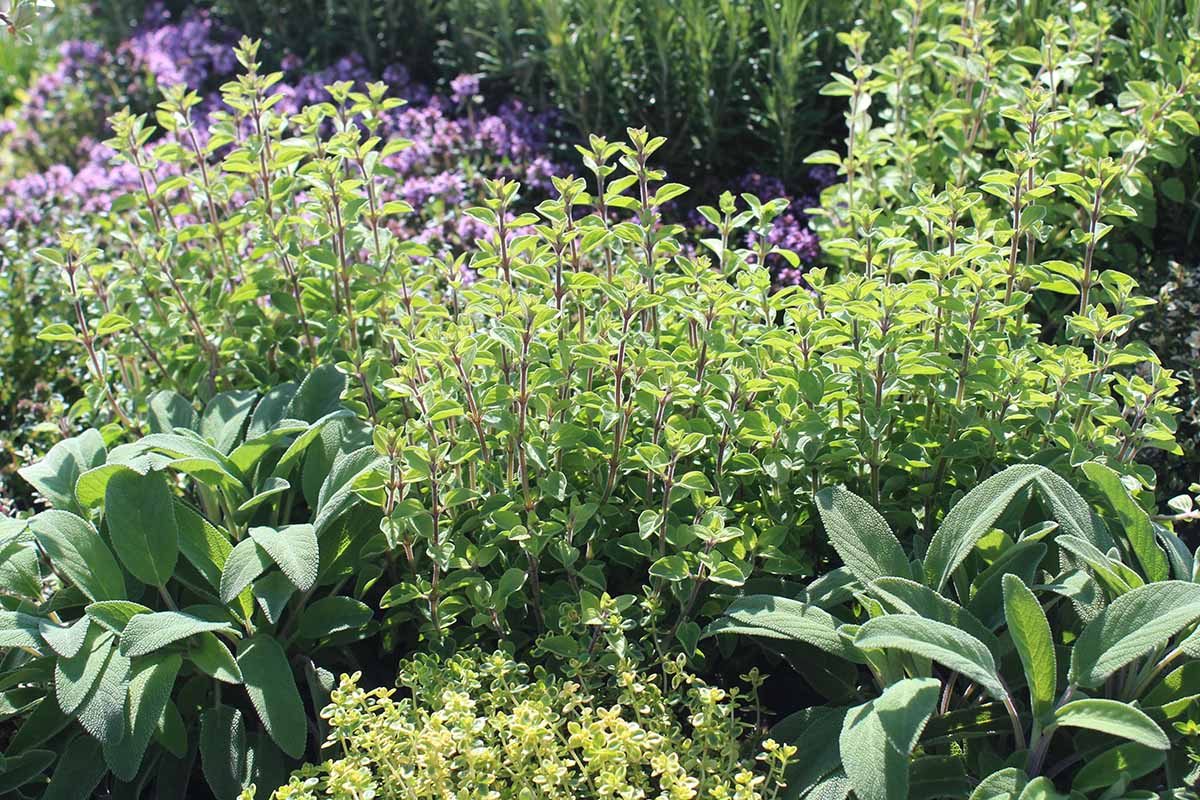
Clean Up and Revitalize
If you like to leave seed heads in place for the birds to enjoy over the winter, they’ll need to be removed before new growth arrives.
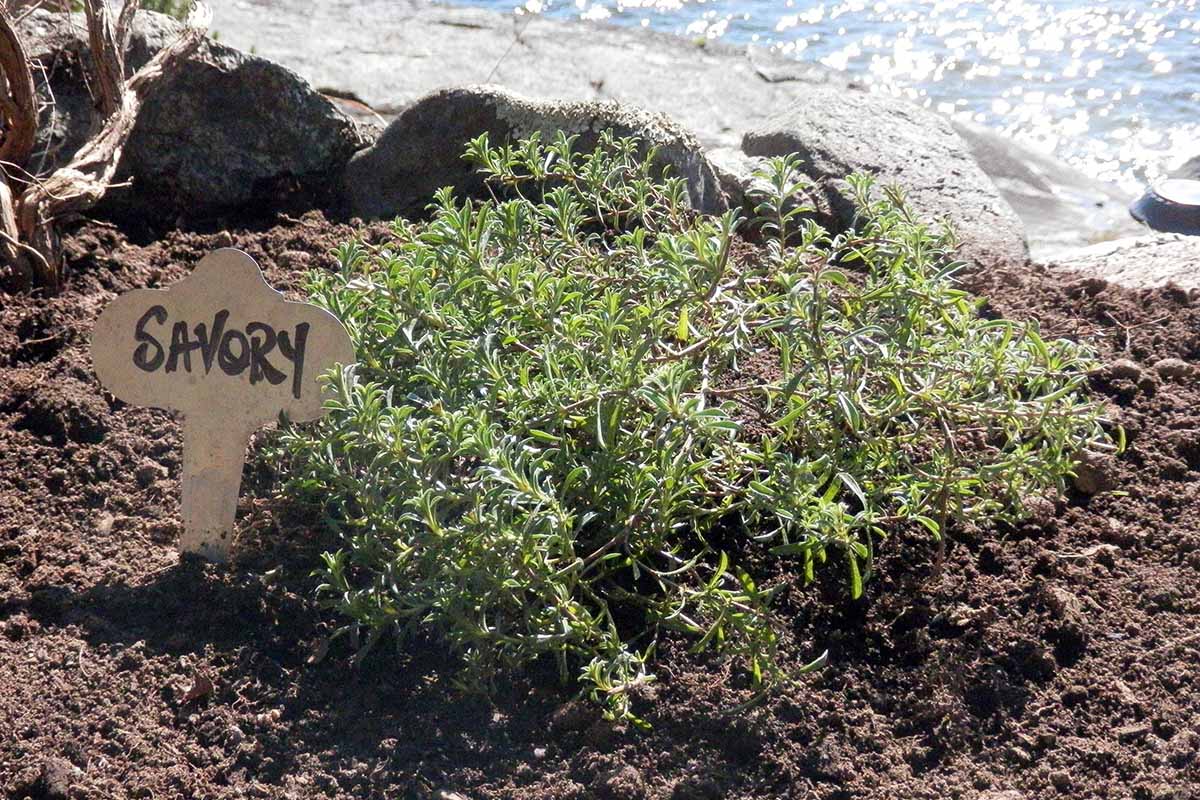
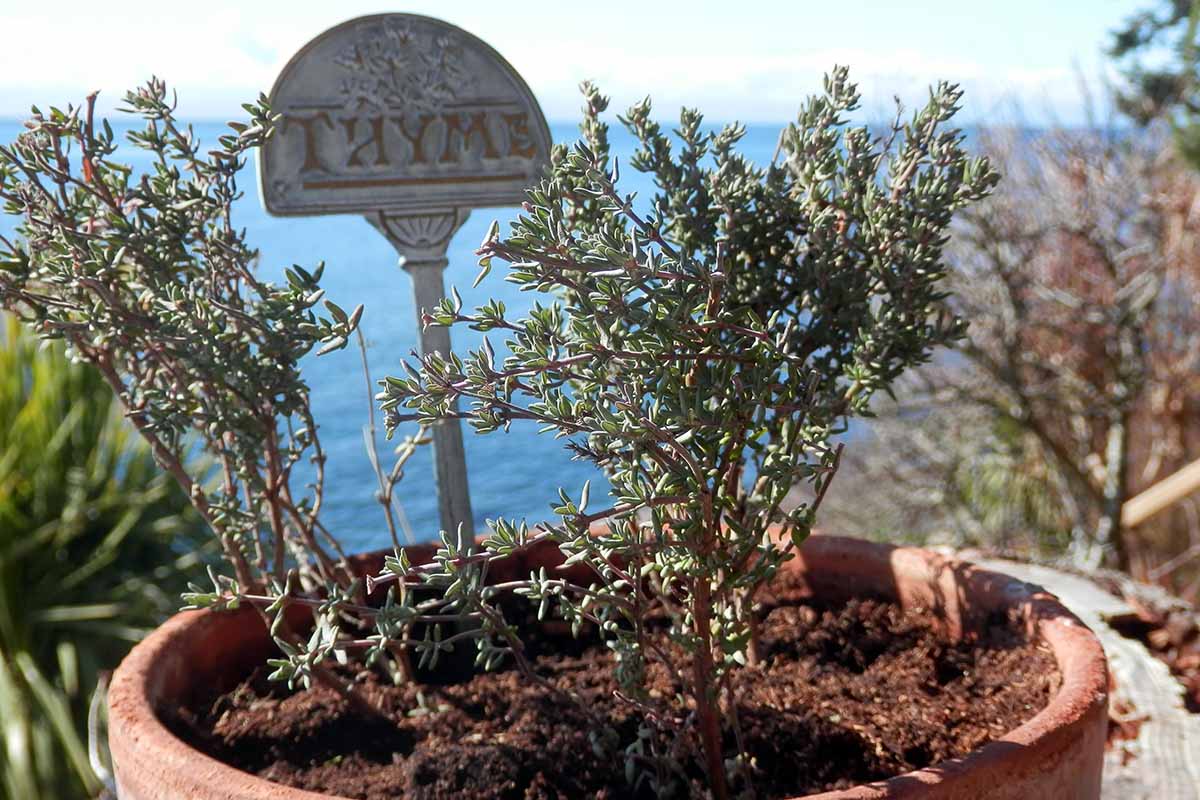
Cut back, pull out, or break off any remaining stalks of chamomile, dill, lemon balm, mint, oregano, parsley, culinary sage, savory, tansy, thyme, and yarrow.
At the same time, clean away any winter mulches, and loosen the top layer of soil with your garden fork.
Now’s also the time to rejuvenate any plants that have become lanky, like lavender, sage, or southernwood.
After a few years of growth in the garden, some woody herbs tend to become leggy, with new growth at the tops of tall, bare stems.
To restore a compact form and encourage fuller growth, cut back by about one-third, or to just above the lowest green leaves, or to four to six inches from the ground – depending on the size and growth habit of the particular plant.
Check our Guides to Pruning, Weeding, and Maintenance for more specific information on particular plants.
This can seem harsh, but herbs are a tough lot and this is the best way to revitalize their growth and appearance.
Once cleaning and pruning has been done, clear the soil of any debris. Loosen the top layer gently with a fork, and top-dress with an inch or two of compost or well-rotted manure.
Divide and Repot
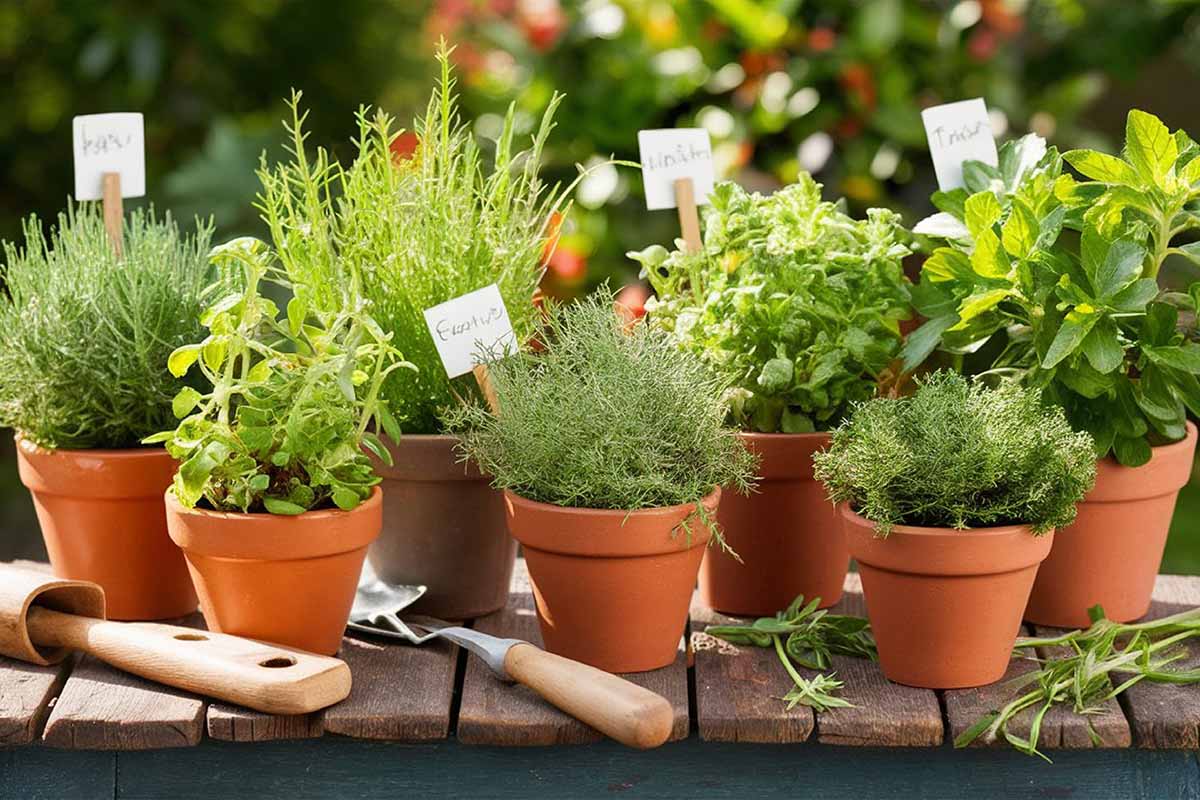
Many herbs do very nicely in pots, making them ideal for a container garden close to the kitchen.
However, container-grown seasonings can quickly become root-bound after a year or two, and will need to be divided and repotted.
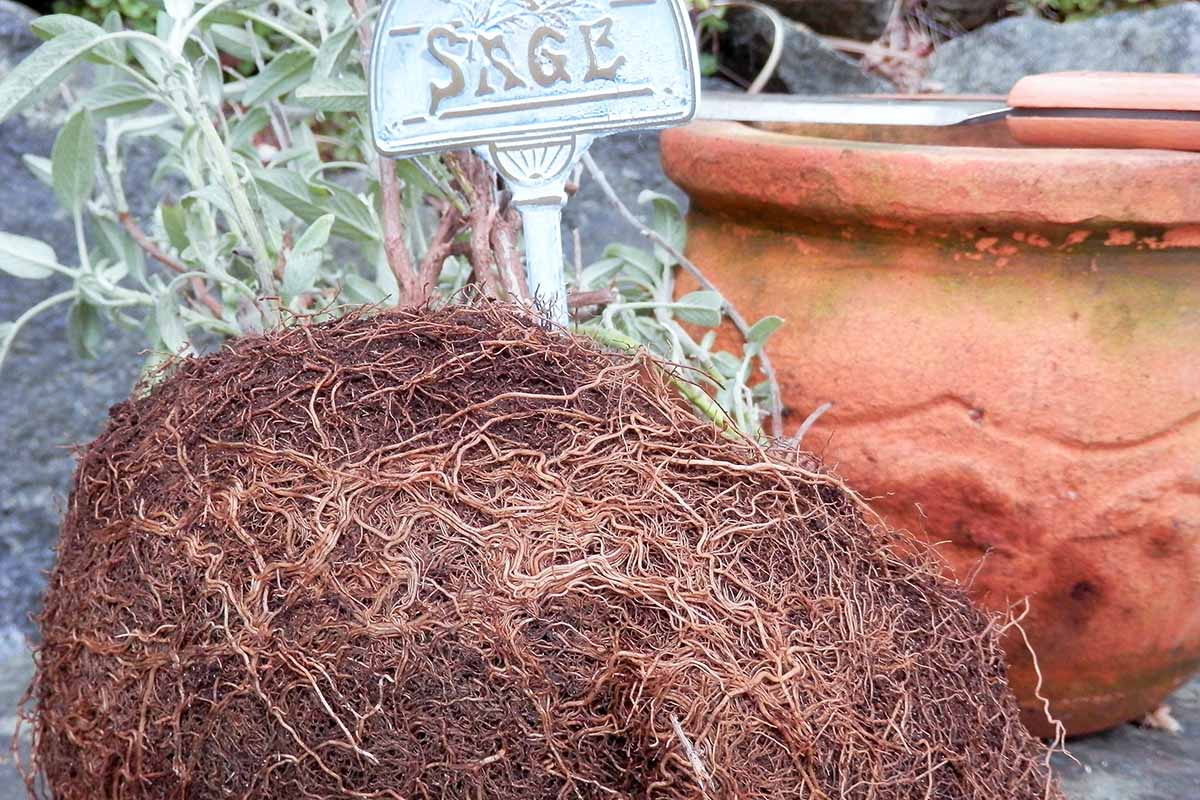
Remove any root bound plants from their containers and cut away the lower quarter of the root mass.
If the roots are really packed, you may also want to cut away an inch or so around the outside.
Do this with a clean and sharp tool with a serrated edge, such as a folding garden saw or hori hori.
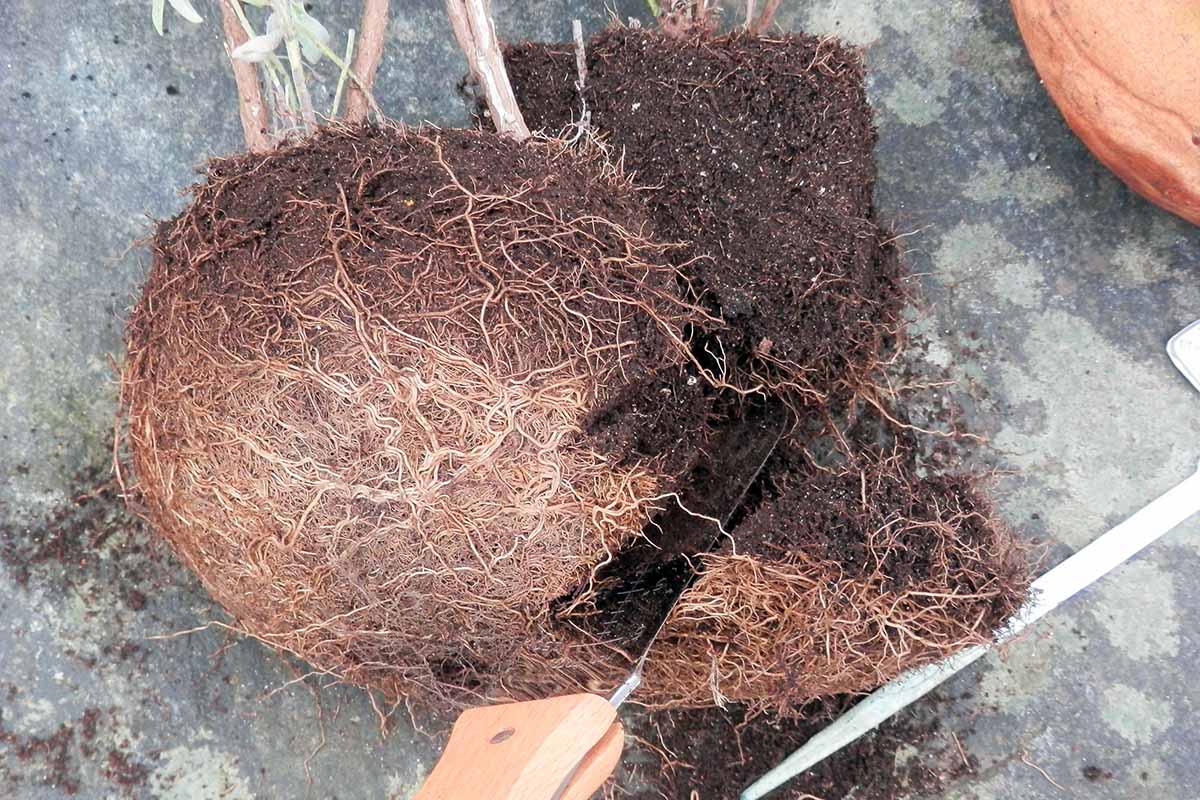
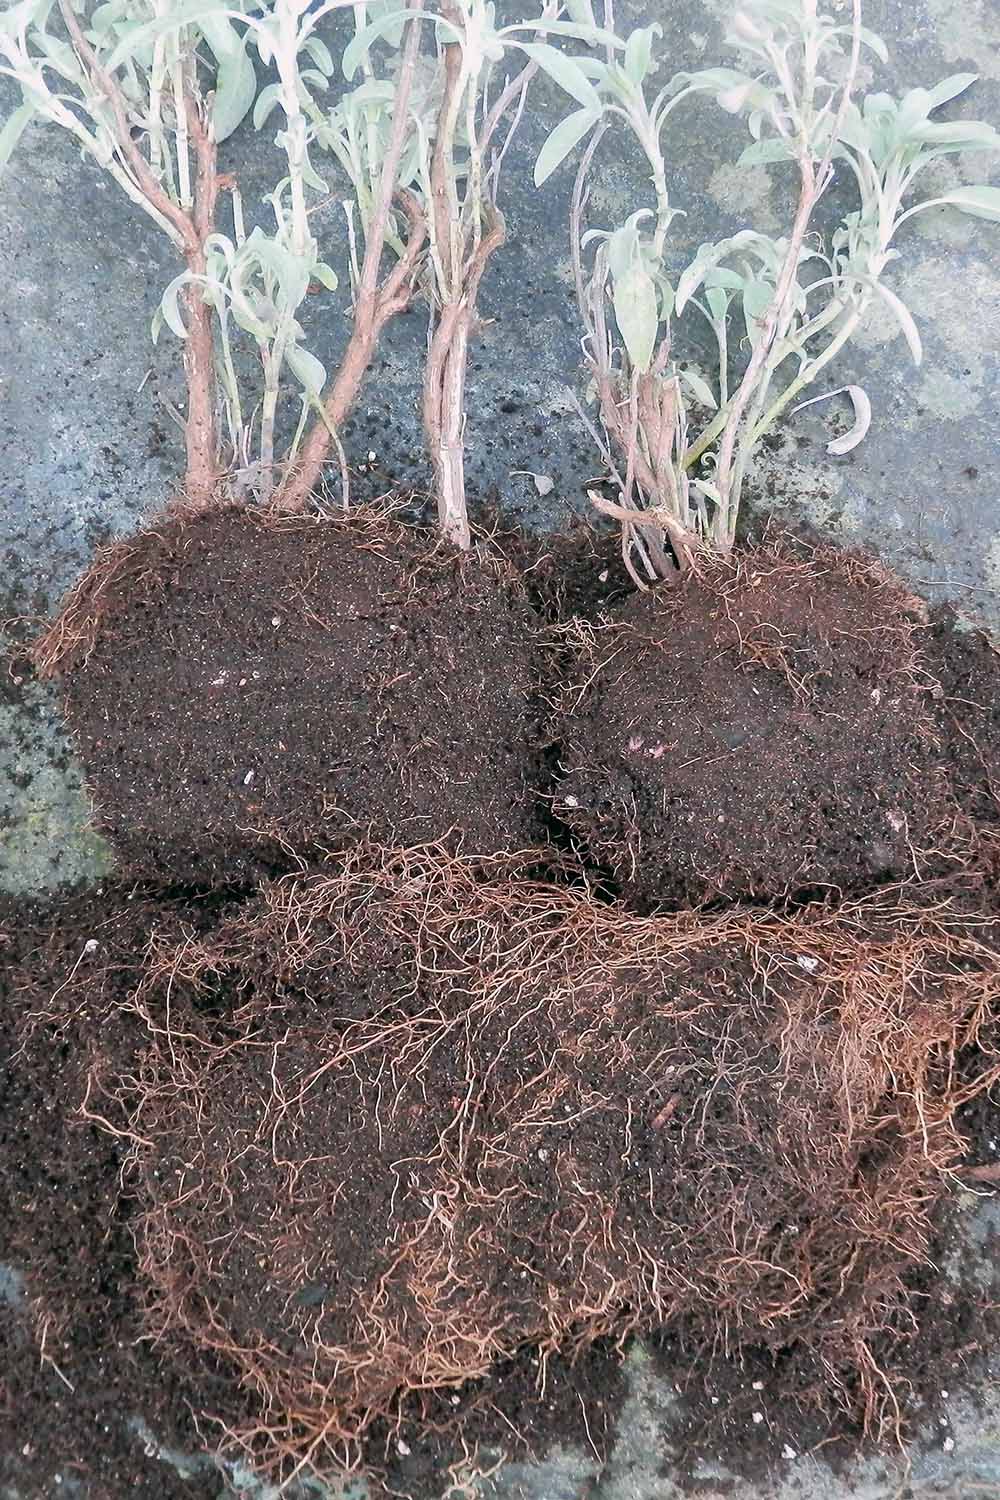
An alternative to cutting away the outer root layer is to divide the root mass into halves, thirds, or quarters.
This works for any herbs that form clumps – like chives – or that spread via runners, such as mint, oregano, tarragon, or thyme.
However, for plants with a taproot or primary root system – like lavender, parsley, rosemary, or sage – division by stem cuttings or seeds is the best method of propagation (more on that below).
Once the root ball has been trimmed or divided, it can go back into a pot.
First, ensure there’s adequate drainage material.
Then add about one-third of fresh soil that’s been amended with rotted compost, worm castings, or manure, and some moisture-retaining material such as perlite or peat moss.
You can get the soil formula from this article on keeping your containers looking their best.
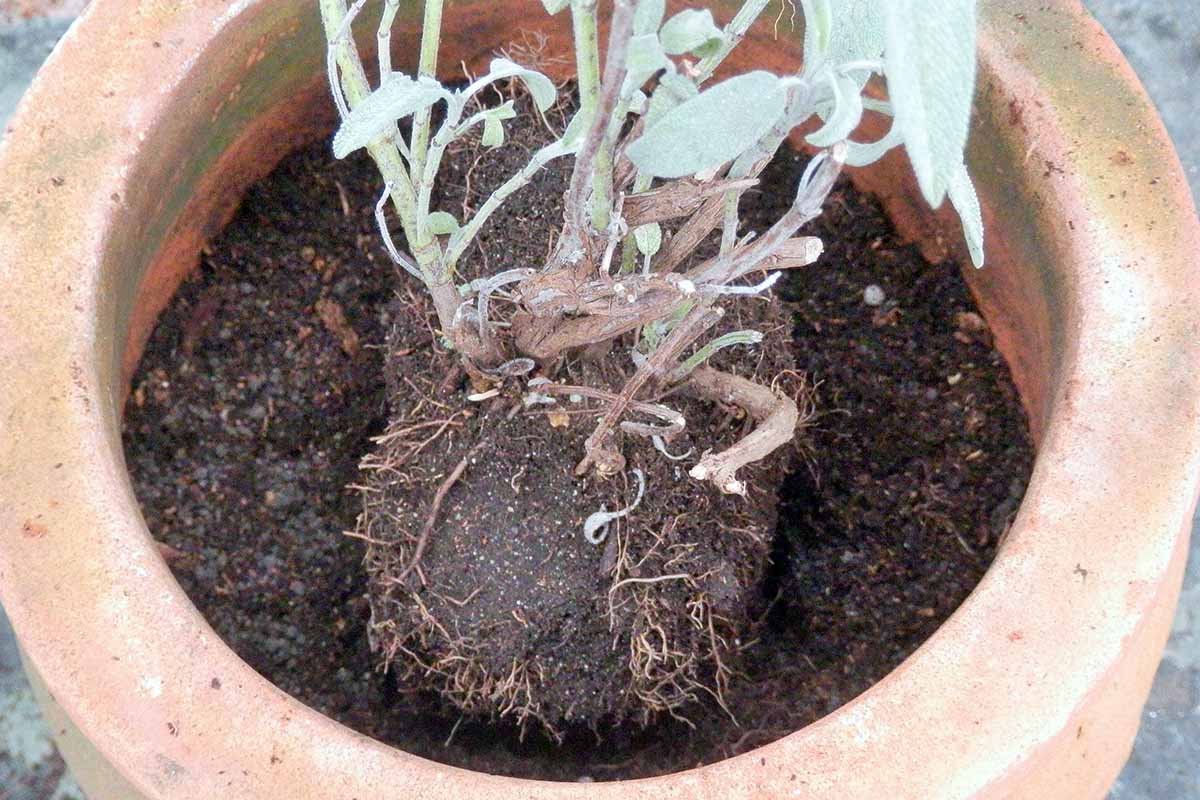
Add a bit of bone meal to encourage root growth, set the roots in place, and top up with more fresh soil. Firm the soil gently but don’t pack it down, and settle it in place with a drink of water.
Ground Planting
Container-grown herbs that have become root-bound can also be planted in the garden after the last frost.
To plant in the garden, dig a hole twice as wide but no deeper than the pot it came from.
Mix in some fresh amended soil, add some bone meal, loosen or trim any circling roots, and plant as described above.
If you’ve created too many divisions for your garden space, pot up the excess in containers and give them away.
They make great gifts for friends, family, and neighbors, or as a donation to spring plant sales.
If you still have too many, put them out by the curb with a “Free Herbs” sign and they’ll disappear in a blink!
Location, Location, Location
Checking individual sun and temperature requirements for specific varieties is the best way to determine location.
But as a general rule of thumb, think Mediterranean. Most kitchen herbs enjoy plenty of sunshine and warm temperatures in well-drained, somewhat rocky or sandy soil.

Most leafy types, both perennial and annual, will do best with full morning sun and some afternoon shade.
An afternoon break from the heat helps to prevent leaf scorch and early bolting to seed.
There are exceptions, of course. Cilantro does best in the cooler days of spring and autumn, while basil likes the summer heat. Always check individual requirements if you’re unsure.
Herbs with needle-like or thick leaves – such as lavender, rosemary, and sage – can handle full sun all day.
In the garden, amend any thick or heavy soil with builders’ sand or finely calibrated pebbles to ensure adequate drainage – herbs will sulk and underperform if their roots are allowed to stand in soggy, waterlogged soil.
Fertilizers and Watering
These flavorful plants will produce the highest levels of essential oils, which produce their distinctive flavors and fragrances, when they are somewhat under-fertilized.
High levels of nutrients, especially nitrogen, will generate plenty of leafy growth. But this is at the cost of taste and aroma.
An organic fertilizer such as well-rotted manure or compost dug into the soil in spring, along with the occasional application of fish fertilizer, works well for herbs.
A time-release fertilizer that doesn’t flood the roots all at once with an excess of nutrients can be used as well.
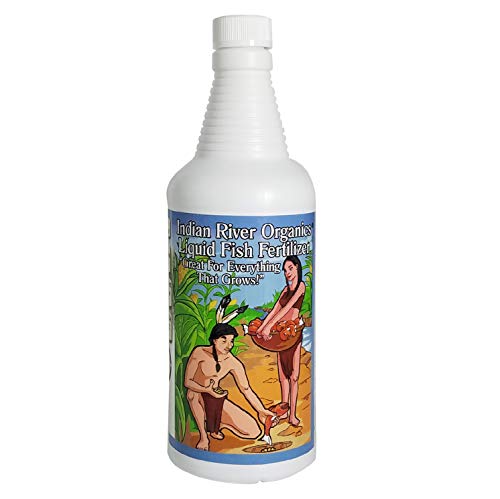
Indian River Fish Fertilizer available on Amazon
The exception to this is container-grown plants.
As potted roots can’t spread out to find nutrients, a fish fertilizer or water-soluble fertilizer solution diluted to about half-strength and applied every two or three weeks will supply the food they need.
Many varieties also prefer to be slightly under-watered for the same reason – lower amounts of fertilizer and water mean greater flavor and fragrance.
But some common herbs such as red bergamot, chervil, lemon balm, meadowsweet, sweet grass, watercress, and water mint do prefer moist soil. Again, check individual requirements to be sure.
Don’t allow any potted herbs to get too dry. Water when the top few inches of soil are dry, and just until water emerges from the drainage holes.
Propagation
Woody types – such as bay laurel, lavender, sage, and southernwood – may be propagated easily from stem cuttings.
Semi-woody herbs – such as mint, oregano, thyme, savory, and yarrow – are best propagated by root division as described above.

Leafy and annual herbs – like basil, cilantro, and parsley – are easiest to propagate by sowing seeds.
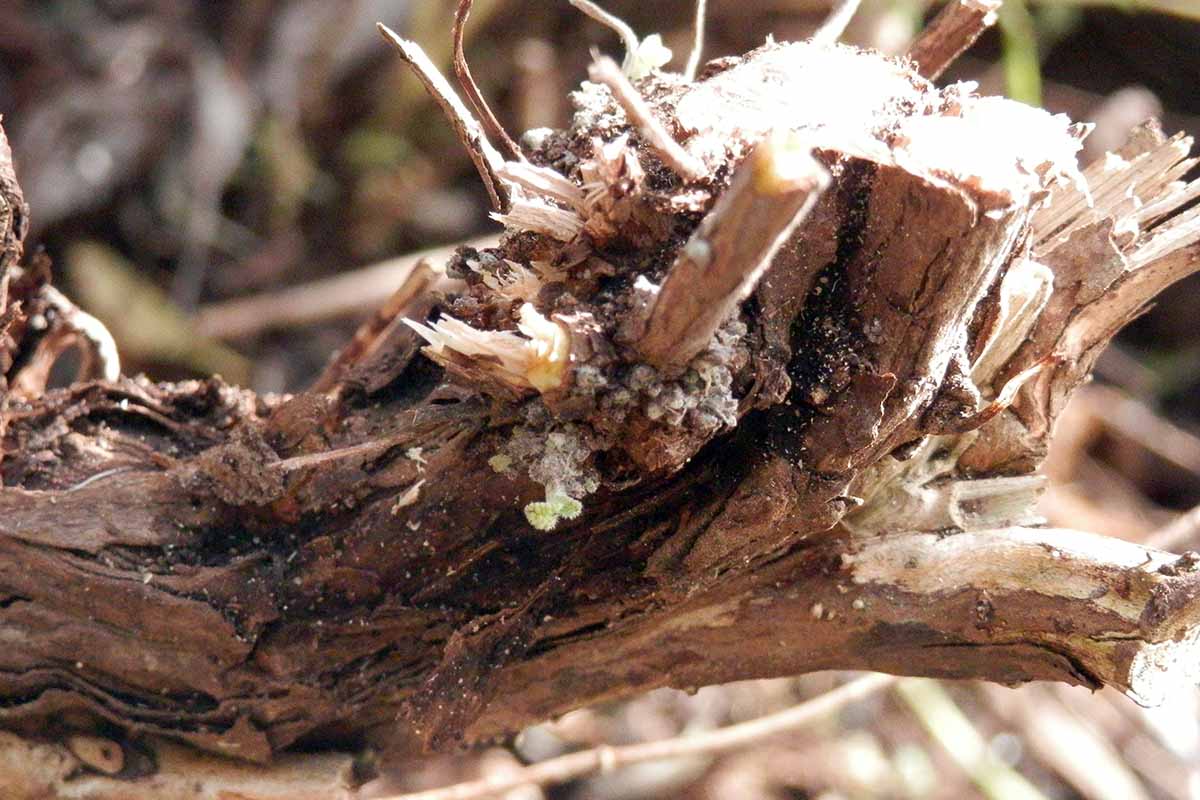
For spring stem cuttings, take material from last season’s growth in the upper part of the plant. Cuttings should be taken in the morning while the plant stems are still fully turgid.
Choose healthy plant material free of any flowers or flower buds, and remove any greenery from the lower third to the lower half of the stem.
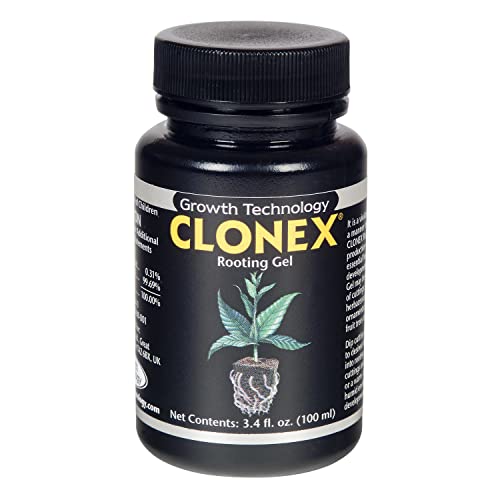
HydroDynamics Clonex Rooting Gel
Gently wound the lower stem with a few light nicks or scrapes to reveal the inner green wood, then dip the stem in a rooting compound such as this one from Amazon.
Place the stem in a small pot with a light-bodied rooting mix, then seal in a plastic bag or cover with a bottomless milk jug – high humidity is needed to prevent moisture loss in the new cuttings.
The rooting mix should be low in nutrients, with plenty of aeration. A good combination is one-third coarse sand, one-third peat, and one-third perlite.
Place indoors or in a greenhouse in a warm spot with bright light, but out of direct sunlight.
Leave for several weeks until well rooted, with strong, new growth emerging. Water moderately, and only when needed.

But maybe you’re more of a lazy gardener…
A less fussy option is to take twice as many cuttings as you want plants, then pot as above.
Place in a sheltered spot in the garden in dappled light, and where it will get regular water from an automated sprinkler or by hand watering.
Then forget about them until autumn when they can be planted in the garden.
The success rate is lower with this method, which is why more cuttings are taken. But they don’t require as much attention either.
For direct sowing of seeds for seasonings such as cilantro and parsley, prepare the soil by digging in compost or other organic matter to a depth of about 18 inches.
When all danger of frost has passed, scatter seeds and cover with one-quarter inch of soil. Water gently but abundantly, and begin to fertilize when they’re four to six inches high.
Mulching
Adding mulch to your herb patch helps to retain moisture when it’s hot outside, and keeps weeds down as well.
After grooming, weeding, and aerating the soil, lay on a two-inch layer of mulch, leaving the crown area of your plants clear.
Natural materials like bark mulch, wood chips, cocoa bean hulls, shredded leaves, and straw are all suitable. Replace as they begin to decompose.
Get the basics of mulching here.
Tying A Ribbon ‘Round It All
Wonderfully easy and rewarding to grow, an herb garden will provide you with a continuous supply of kitchen seasonings, teas, tinctures, and fragrant posies – and they provide an important habitat for bees and butterflies, too!
One of nature’s more prolific gifts, they give and give and give some more.
And with only a minimum of care and attention, these garden gems will thrive and flourish – plenty of sunshine, light amounts of nutrients and water, and space to grow is about all they need.
For more springtime gardening tips, don’t forget to check out our handy checklist.
Are you growing herbs in your garden? Let us know in the comments section below!
And be sure to check out some of our other herb growing guides such as:
- How to Start Your Own Herb Garden
- Tips for Growing an Abundant Edible Herb Garden
- 9 Fast-Growing Vegetables and Herbs to Pep Up Your Pantry Menu
- Fancy Tropical Herbs for Your Garden
What about you readers – any tips or questions about the herb garden you’d like to share? Let us know in the comments below!