
Starting flowers, herbs, and vegetables indoors from seed is a great way to try some unique varieties.
For many of us, growing season opens with a long-awaited visit to a local garden center, to elbow our way through the crowd to a seasonal array of peppers and tomatoes, basil and parsley, impatiens and marigolds.
This is where we stock up on annual plants that will provide us with a season’s worth of blossoms and bounty.
This year, why not take a different approach?

We link to vendors to help you find relevant products. If you buy from one of our links, we may earn a commission.
Instead of waiting for the ground to warm up enough to plunk established plants into the soil, use the winter months to browse seed catalogs for your climate zone, order an interesting assortment, and start plants indoors, from scratch.
When was the last time you paged through seed catalogs, either in hand or online?
They’re chock full of robust, glistening vegetables in every color of the rainbow; multiple varieties of your favorite herbs, and flowers you never dreamed existed.
Why limit yourself to garden center fare, when seeds for amazing varieties like “Berkeley Tie-Dye Green” tomatoes are a mere call or click away?
Green Thumbs Up
With seeds that excite you, you’re on your way to cultivating the best blooms and produce you’ve ever had!
Below you’ll find a list of supplies, and instructions for making your own mat watering system. This is a nifty method for setting your plants up to water themselves.
By placing containers full of seedlings on a mat saturated with water, they may drink as much as they like through the drainage holes in the containers. All you need to do is keep the mat wet.
And, if you don’t want to make one, you can buy a Self Watering Seed Starting Tray with Capillary Mat, available via Amazon.
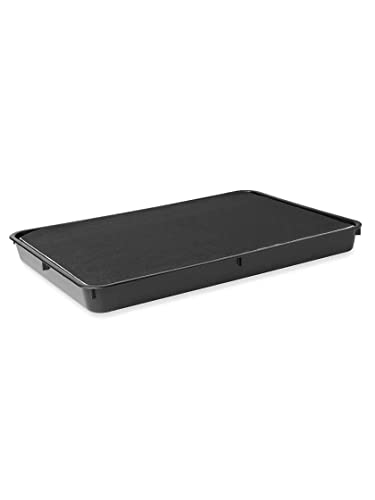
Self Watering Seed Starting Tray available via Amazon
Alternatively, you may choose to bypass the mat watering system altogether and opt to mist each seedling individually.
With that in mind, it’s on to the supplies list!
Here’s what you will need:
- Baking pans
- Bowls
- Magnifying glass
- Markers
- Misting spray bottle
- Nail file
- Newspaper
- Paper pulp egg cartons or cell trays
- Plastic wrap
- Potting medium
- Scissors
- Seeds
- Tablespoon
- Tape
- Terra cotta pots
- Tweezers
- Water
Let’s talk a little about each item and what it’s for:
Baking Pans
You’ll need some old aluminum or glass baking pans, or disposable aluminum baking pans, with one- or two-inch sides. These go under the egg cartons and cell trays as part of a mat watering system, or as drip pans for misted plants.
Bowls
Have a couple of small, clean, prep-type bowls on hand.
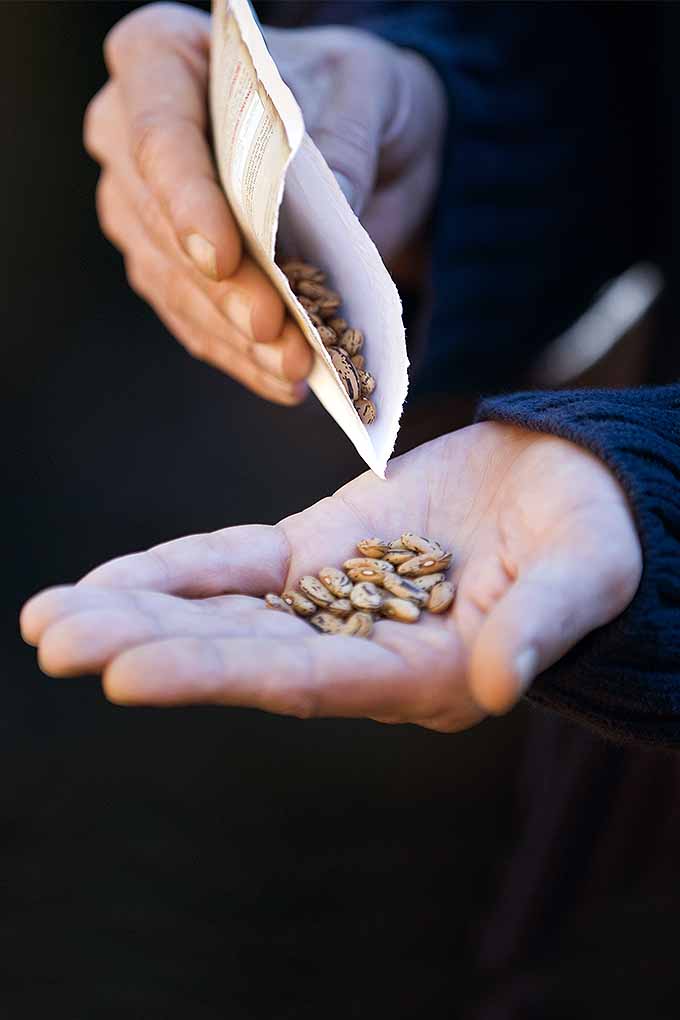
It’s helpful to pour seeds from a packet into a small bowl, so they don’t scatter.
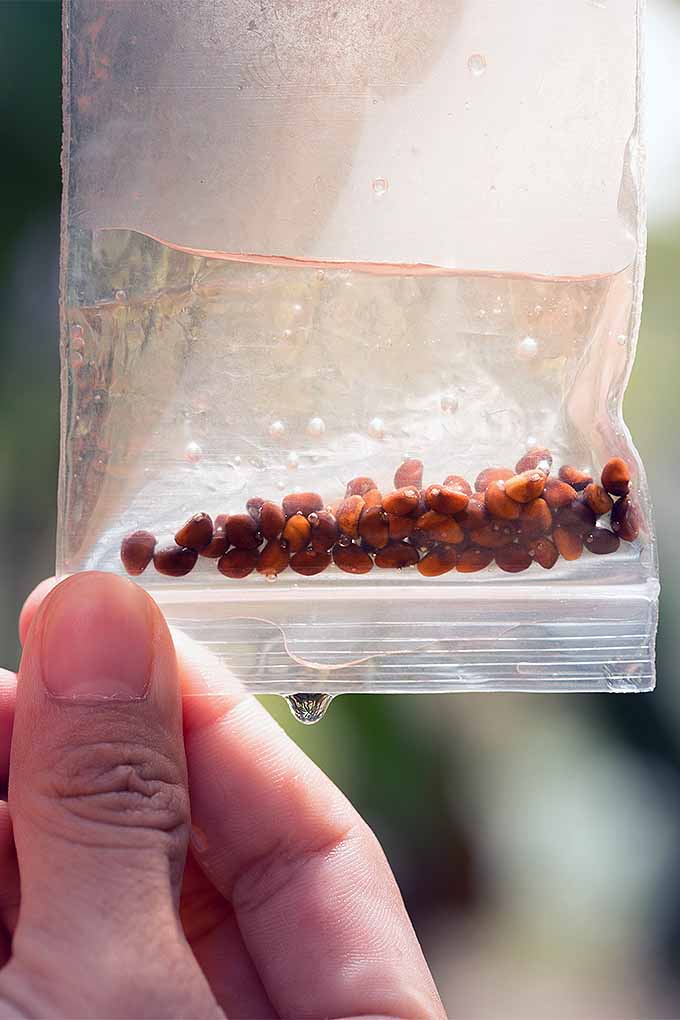
Also, some seeds require soaking prior to planting. This opens the seed coats for germination, and may be done in a small bowl per seed packet instructions.
Magnifying Glass
This is a great tool for seeing and separating teeny-weeny seeds
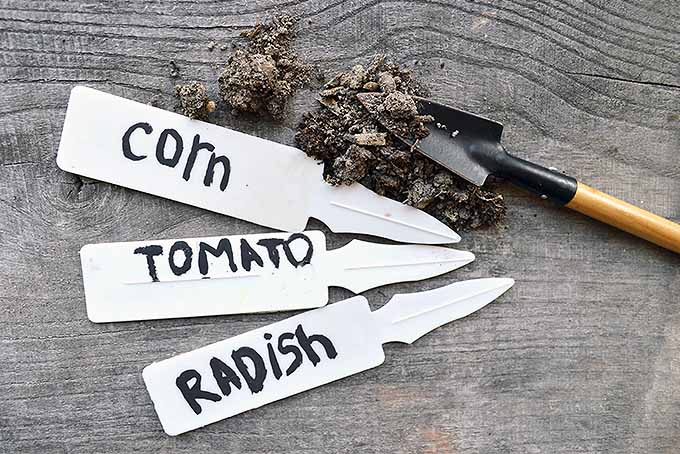
Markers
Use a marker to write plant names on pieces of masking tape. Place a tape label on the side of each baking pan to identify its contents.
Misting Spray Bottle
Use a clean spray bottle to mist soil directly, or to keep newspaper saturated in your mat watering system.
Nail File
If your seed packet says to “scarify,” or rough up the seed coats, you may do this with a metal nail file that you have sterilized with an alcohol swab.
Simply rub the file gently across each seed a couple of times to break its coat.
Newspaper
To create a mat watering system, you’ll need to cut newspaper and stack it in your baking pans.
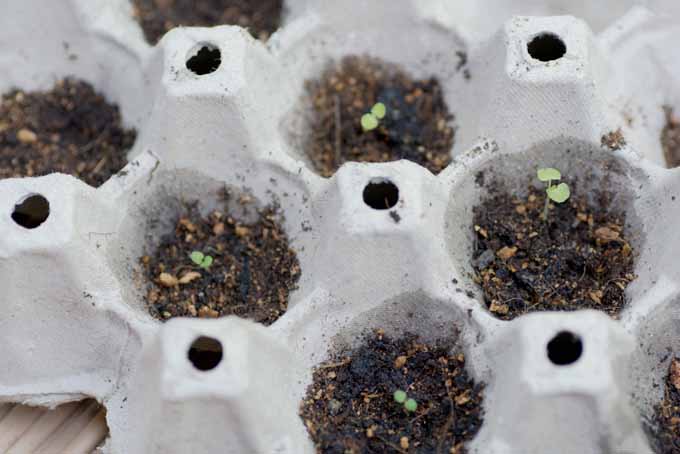
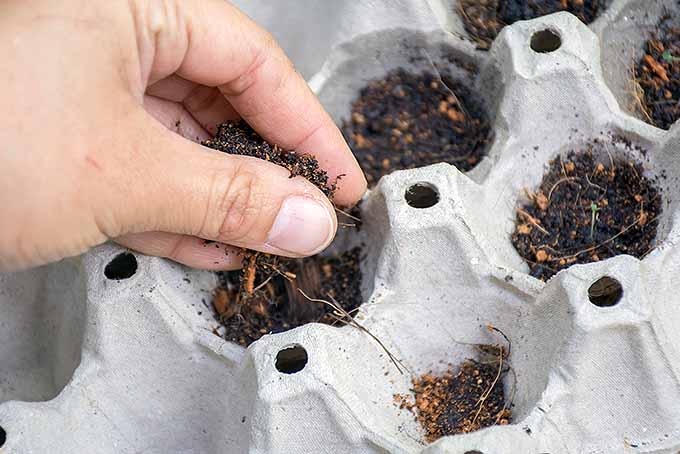
Paper Pulp Egg Cartons or Cell Trays
The best containers for starting seeds are biodegradable ones made of paper pulp that break down harmlessly in soil, and have individual sections – or cells – to accommodate one seed in each.
If you use egg cartons like I do, be sure they are clean. Discard any with broken egg residue on them.
Pins
You’ll need an ordinary straight pin to poke tiny holes in the plastic wrap that will be used to form a greenhouse during germination.
Plastic Wrap
Have a roll of clear kitchen plastic wrap ready to cover freshly planted seeds. This creates a greenhouse effect that promotes germination.
Potting Medium
You may purchase potting soil, or an organic seed starter that has been formulated specifically for this purpose. I like this one from Espoma, available on Amazon.
This is generally a sterile mixture that minimizes the risk of bacterial contamination and provides beneficial organic matter like humus, peat moss, perlite, and mycorrhizal fungi to promote root growth. It may or may not contain fertilizer.

Espoma Organic Seed Starter Premium Potting Mix
Why not use regular garden soil?
Soil contains organisms that may pose a threat to germination. In nature, some seeds fall on good soil, and others don’t. You want all good soil – with the ominous organisms removed.
(Note that some people sterilize garden soil. This may be done using the sun’s rays, or by cooking – a stinky process. Both are beyond the scope of this article.)
Scissors
You’ll need a sharp pair of scissors that can cut cardboard, to separate individual cells for planting outdoors.
You’ll also need a pair of sewing or cuticle scissors.
Some seed packets say to make a small cut in seeds before planting, to promote germination. Do this with your small scissors.
They will also serve you well when it comes time to thin seedlings. Snipping instead of uprooting seedlings means no disruption to the roots of neighboring sprouts.
Seeds
Be sure to purchase seeds from a reputable grower that have been harvested and packed for the upcoming season.
Annual seeds may be classified in one of three ways: hardy, semi- or half-hardy, or tender.
Hardy annuals can endure a fair amount of frost; some survive winter and grow again the following spring. Semi-hardy varieties may tolerate light frost. Tender plants are too fragile to survive any frost.
Each may be started indoors and later transplanted to the garden per seed packet instructions.
Tablespoon
I find that the delicate work of filling cells with soil is much easier with a tablespoon than with a garden trowel. I recommend sanitizing your spoon with an alcohol swab prior to use.
Tape
Waterproof tape may be needed to secure the plastic wrap underneath the baking pans when making greenhouses. First aid tape or duct tape work fine. You may also use masking tape to label containers.
Terra cotta Pots
Terra cotta pots are good to have on hand. Sanitize them with a 10% bleach solution and rinse well prior to use.
They’re useful when it’s still too cold for outdoor planting and you want to give seedlings more room to grow.
Toothpicks
Toothpicks are perfect for holding up the plastic wrap during the germination phase, so it doesn’t press against the soil and cause moisture buildup, or restrict airflow.
Tweezers
Tweezers are used to pick up the tiniest of seeds with ease. Sanitize them with an alcohol swab, rinse, and dry before use.
Water
Germination begins when a seed becomes moist, and must stay moist throughout its growth process.
You can mist the soil with a spray bottle, or you can make a mat watering system.
How to Make a Mat Watering System
A mat watering system is one of the best ways to ensure that your plants never go dry. Here’s how to make one:
1. Line an old one- or two-inch tall baking pan with newspaper that has been cut to fit. Use enough sheets to fill the pan to the top.
2. Dampen the newspaper with water to the point of saturation.
3. Place your planted egg cartons on top of the wet newspaper. They will absorb water as needed.
4. Remember to mist or saturate the newspaper daily.
Congrats! You’re really doing this. You’ve got seeds and supplies, and you know how to make a mat watering system.
That’s two thumbs up!
Now let’s get into the seed packets.
Ready or Not
Seeds come in a range of shapes and sizes.
Some, like lobelia, are so small and light, you don’t dare sneeze while you’re trying to separate them under a magnifying glass.
Others are many times larger, like those of the lima bean, a seed that we consume as a vegetable.
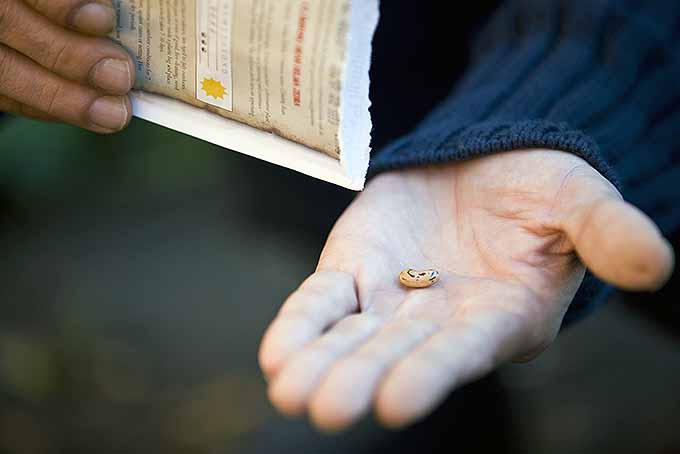
Many seeds are ready to plant right out of the packet. As we noted in the supplies section, others need to be chilled, soaked, or scarified before planting to replicate what would have happened to them in nature, had they not been harvested for sale.
When a plant scatters seeds, they tumble about in all kinds of weather, roughing up their outer coatings, and preparing to take in air, water, and nutrients when they sprout in the spring.
Gardeners must do what Mother Nature would have done, to enable the seeds to open and grow.
Be sure to read seed packets thoroughly, and don’t skip chilling, soaking, or scarring, if required.
And now it’s time to plant some seeds!
How to Start Seeds Indoors
With all of your supplies assembled, you’re ready to go.
Here’s what to do:
1. Drainage
Poke several drainage holes in the bottom of each cell of your egg cartons.
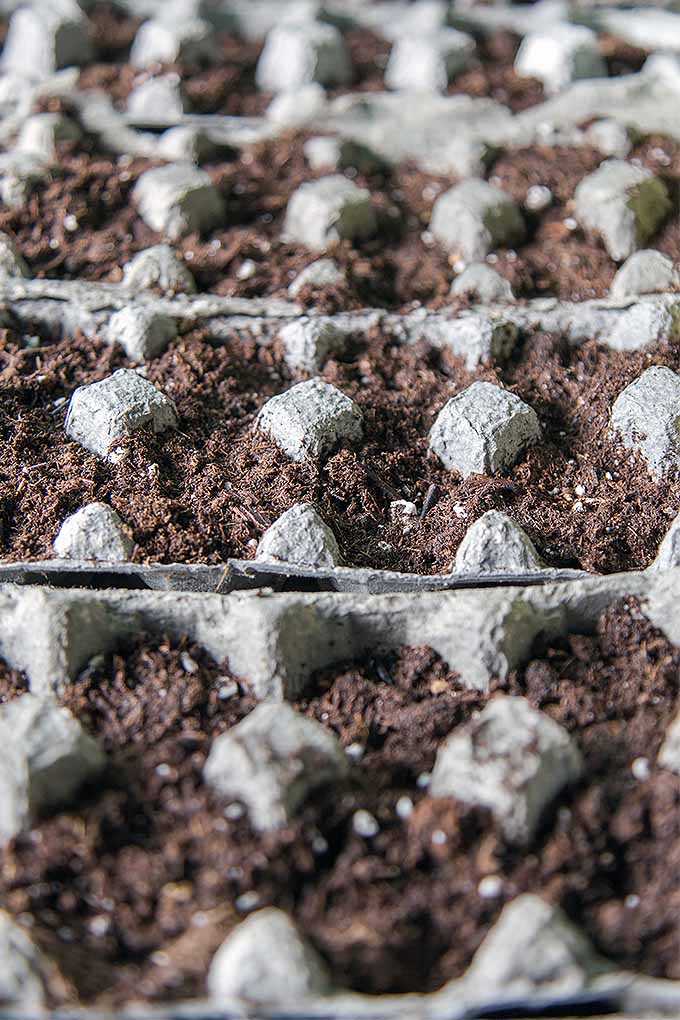
2. Fill Cells
Fill each cell three-fourths full of potting medium.
Place a toothpick in the center of each cell.
3. Prepare Mat System
If you are making a mat watering system, stack sheets of newspaper in your baking pans and thoroughly dampen the newspaper.
Place your egg cartons on top. One baking sheet may be able to hold multiple egg cartons.
If you have purchased a capillary mat product, prepare it per manufacturer’s directions.
If you’re going to skip the mat system and use a water bottle mister, simply place your egg cartons on top of baking pans that will serve as drip pans.
4. Plant Seeds
Sow one type of seed per baking pan so watering requirements will be the same for all. Use your tape and marker to label each tray’s contents.
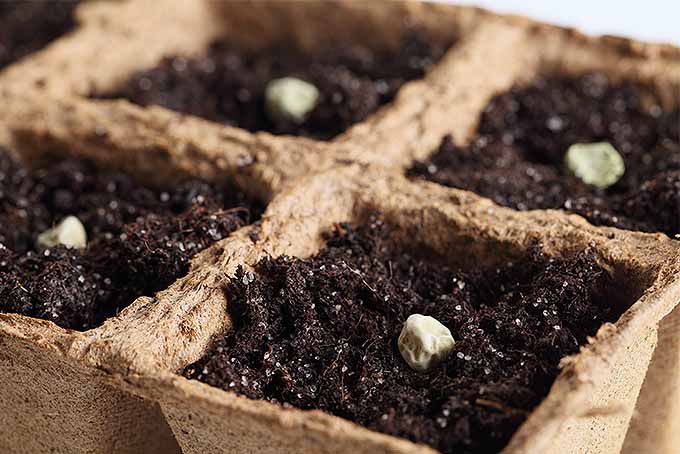
Sow seeds as follows:
For tiny seeds, mist the soil lightly. Use a magnifying glass, and tweezers if necessary, to place two or three seeds in each cell. Do not cover with soil.
For seeds large enough to measure with a standard ruler, plant at a depth equal to the size of the seed, and cover lightly with soil. Planting too deeply may deprive the seeds of oxygen, and they will not germinate.
5. Make a Greenhouse
Start by cutting a piece of plastic wrap the length of each baking pan. (Cut two to cover wide baking pans, and overlap them.)
Use your straight pin to poke about 10 tiny holes in the plastic at random.
Lay the plastic wrap gently on top of the toothpicks to form a greenhouse. Tuck the ends and sides of the plastic firmly underneath each baking pan, taping as needed.
Place it in a bright location out of direct sunlight.
6. Record and Observe
Save your seed packets and start a gardening journal. Note the planting date, and approximately how many days until maturity per package instructions.
As plants grow, write down when they bud, bloom, and bear fruit.
7. Monitor Moisture
If you are using the mat watering system, keep the newspaper saturated.
If you’re using a spray bottle to mist, make sure to keep the soil moist by misting it regularly.
8. Acclimate Sprouts
Once seeds germinate, or sprout, lift the edges of the plastic wrap – but do not remove it for two days.
Allow time for acclimation to the cooler air outside the greenhouse.
9. Move into the Sun
After two days, remove the plastic wrap completely.
Place the baking pans in direct sunlight, away from drafty places like exit doors.
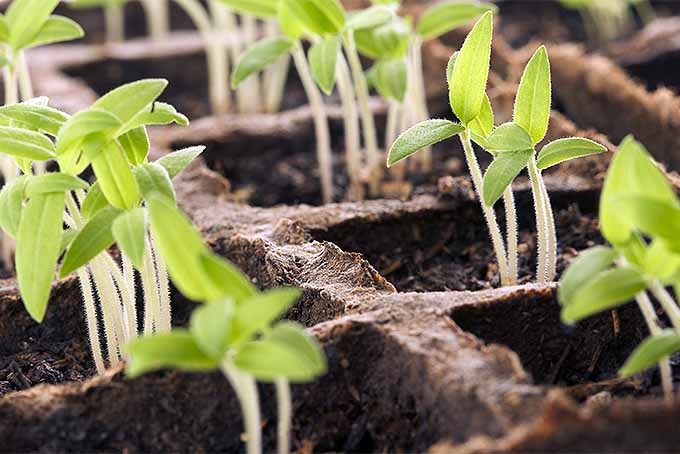
10. Rearrange and Fertilize
Turn the baking pans periodically to prevent sprouts from leaning toward the sun.
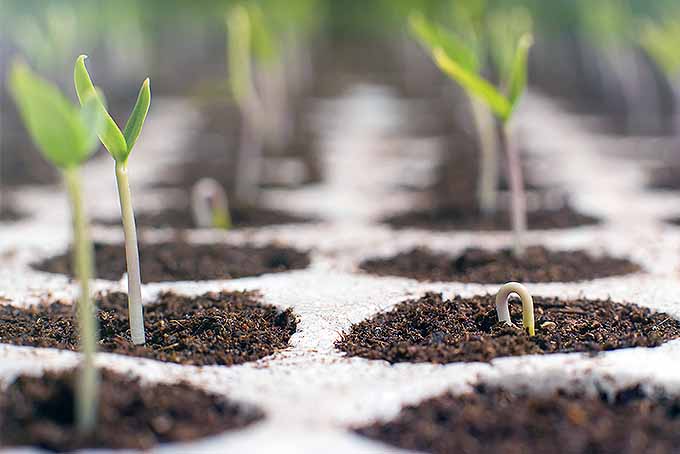
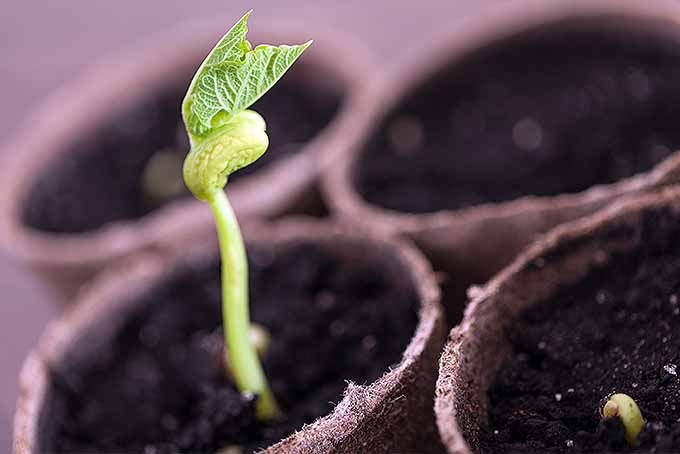
Once seeds have germinated, “cotyledons” or seed leaves will soon appear. Above these, the first true leaves will follow.
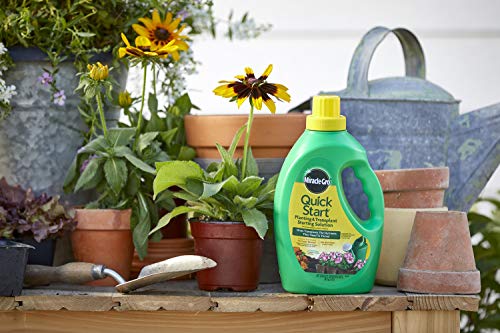
Miracle-Gro Quick Start Planting and Transplanting Starting Solution
If your potting medium does not already contain fertilizer, now is the time to apply a liquid plant food like Miracle-Gro Starter Plant Fertilizer, available via Amazon per manufacturer’s instructions.
Only the Fittest
It’s best to plant more seeds than you really want because it’s rare that all of them will thrive.
A few seeds may simply fail to germinate, never sprouting at all.
Some may grow to the seedling stage, only to succumb to a condition called “damping off,” which makes them to fall over and die.
The best methods for prevention are not overwatering, and using sanitary soil and supplies.
Others may grow spindly and weak, while their neighbors grow tall and strong. This is where you’ve got to get tough.
Ideally, seedlings need an inch of space all to themselves. If you have planted several tiny seeds in one cell, use your tiny scissors to snip away the weaklings at the soil level. This leaves roots intact and neighbors undisturbed.
The healthiest of your seedlings are now ready for the next step – transplanting.
Gearing Up for the Transition: Transplanting
If it’s still cold outside, you may transplant your seedlings, cells and all, into pots.
Use your scissors to separate individual plant cells, and plant each, in its entirety, in a terra cotta pot that has been filled to one inch below the top with potting medium. Plant so that the cell’s soil surface is even with the pot’s soil surface.
Continue to provide ample sunlight, keep the soil moist with a mister, and rotate the pot to prevent leaning.
Proceed to the next phase, “hardening off,” when the weather is appropriately warm.
If the weather has warmed sufficiently per your seed package instructions, you do not have to transplant your seedlings into pots. Instead, you may go directly to the next step, “hardening off.”
Acclimating to the Outdoors: Hardening Off
Hardening off your seedlings means giving them time to acclimate to the environment outdoors.
Because they were grown inside, your young plants are in a tender state, unaccustomed to climate conditions like fluctuating temperatures, wind, and rain.
To help them adjust, place your terra cotta pots or baking pans outside in a sheltered, sunny spot for a few hours a day. Do this for at least three days.
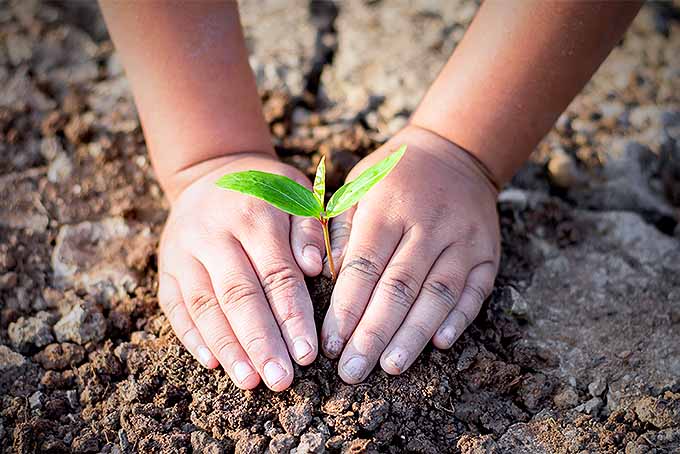
Then, transplant your new plants to the garden beds you have prepared for them.
And Sow it Goes
Planting couldn’t be easier. Here’s how:
1. Prepare the most robust, well-draining garden bed you can, with beneficial amendments like leaf mulch and compost.
2. For each cell you’re going to plant, make a hole equal to the depth of the cell, and space per seed package instructions.
3. If your seedling cells are in terra cotta pots, dislodge the cells and plant them, in their entirety, in the prepared holes. Tamp the soil down and mist lightly.
4. If your seedling cells are still attached and on baking pans, cut the cells apart and plant them accordingly, tamp the soil down, and mist lightly.
5. Continue to water and feed your beautiful new plants per package instructions.
And there you have it!
Tech it Up a Notch
There are all kinds of fun gadgets you may purchase to make seed sowing even easier, like the self-watering seed starting tray with capillary mat described above.
If you fall in love with the notion of growing annuals from seed, you may want to increase your propagation rate with an additional nifty product: a hand-held mini soil blocker that renders egg cartons and cell trays unnecessary, this this one from Ladbrooke, available via Amazon.
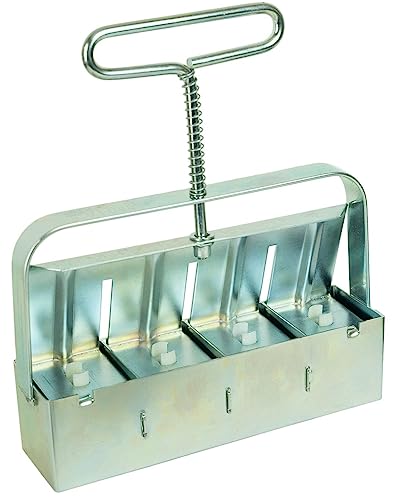
Ladbrooke Hand-Held Mini Soil Blocker available on Amazon
You simply load it with potting medium and press the handle, to create individual soil blocks with depressions in the top for seeds. Then set the soil blocks on a mat watering system, or mist them as needed.
My advice, as always, is to get the hang of the basics first. Then let your imagination run wild!
Embrace the Possibilities
There’s an awesome variety of seeds available today. If you’ve never grown blue potatoes or purple string beans, now’s the time to step out of your comfort zone and cultivate some fun!
Did you know that you can get rare heirloom varieties with scents and flavors that hark back to pioneer days?
Browse a seed catalog today to pick out flowers, herbs, and vegetables for the best growing season you’ve ever had.

What are you waiting for? It’s time to get those seeds started. Happy gardening!
Have you ever started seeds indoors? Did you successfully transplant them to the garden? Tell us your tips and tricks in the comments section below.
And if you enjoyed this guide, some of our others may be helpful:
- The Benefits of Using Soil Inoculants and Microbes in the Garden
- Vegetable Seeds: Which to Sow Outdoors vs. Indoors?
- What Is a Survival Garden? Tips to Grow Your Own
- Insects Chewed Holes in my Homegrown Greens! Are They Safe to Eat?
Photo credit: Shutterstock, Ladbrooke, Gardener’s Supply Company, Miracle-Gro, Espoma, and Plantation.
Love your article guide! Thank you!
I’m in zone 6a. Our last frost was about a week ago. Is it too late in the season to start seeds indoors? Could the seeds be directly sowed into the ground soil?
What type of seeds do you want to start, Charles? Timing depends in large part on how long your local growing season is, and how long a particular species or cultivar will take to reach maturity. Zone 6a has a medium length growing season, so I would advise against planting anything at this point that takes 100 days or more to reach maturity. You may do well with “early” or short season varieties of certain edible annuals, as long as you can provide some shade and adequate irrigation during the heat of the summer. See our guide to starting seeds… Read more »
Thank you Nan. I don’t have a garden but I have pots in my yard. I usually but a few annuals at the Garden Centre each year. Next year I shall try raising my own seeds.
hello, do you merely cut up the egg carton , and plant the individual “egg” cartons with seeding, in pots, or, do you take the seedlings out?
Hi Mary –
Provided the carton is cardboard and not polystyrene, it will biodegrade in wet soil or potting medium, so you can just cut the cells apart and plant them.
Thanks for this. Why not just plant directly into bigger starter pots? I’m thinking of the 4” coir or cow pots.
Hello Jldt –
Great question!
We use tiny containers because they dry out quicker than large ones. Keeping seedlings in pots that stay wet too long makes them susceptible to “damping off,” a condition that favors wet conditions and causes seedling death. As the seedlings grow and can handle longer saturation, they are either transplanted to larger pots or the garden.
I’m in zone 4, keep our house at about 68 degrees. Do I need to purchase some plant heat lamps for starting seedlings?
Hello Annita Weber. That temperature should be fine for the air when you start seeds. You may need a heat mat to provide bottom heat for certain seeds to germinate, however. I’m thinking mostly of tomatoes, hot peppers, and certain annual flowers. Some seeds germinate just fine at room temperature, but others need that extra bottom heat. Good luck and let us know how it goes!
I want my 1st grade students to plant flower seeds, probably marigolds. Other teachers are planting seeds directly into soil in plastic cups. Will they grow starting them that way? Thanks.
Hello Kim Lang. That sounds like a wonderful project! Marigold seeds will grow just fine in the soil in plastic cups, as long as you take care to keep the soil moist but not waterlogged and plant them at the depth of 1/4 inch. Also, they’ll need a bright window or supplemental light from the time they germinate until they go home with the students to be planted outside. I hope you and your students have big fun!
Thank you so much!!!