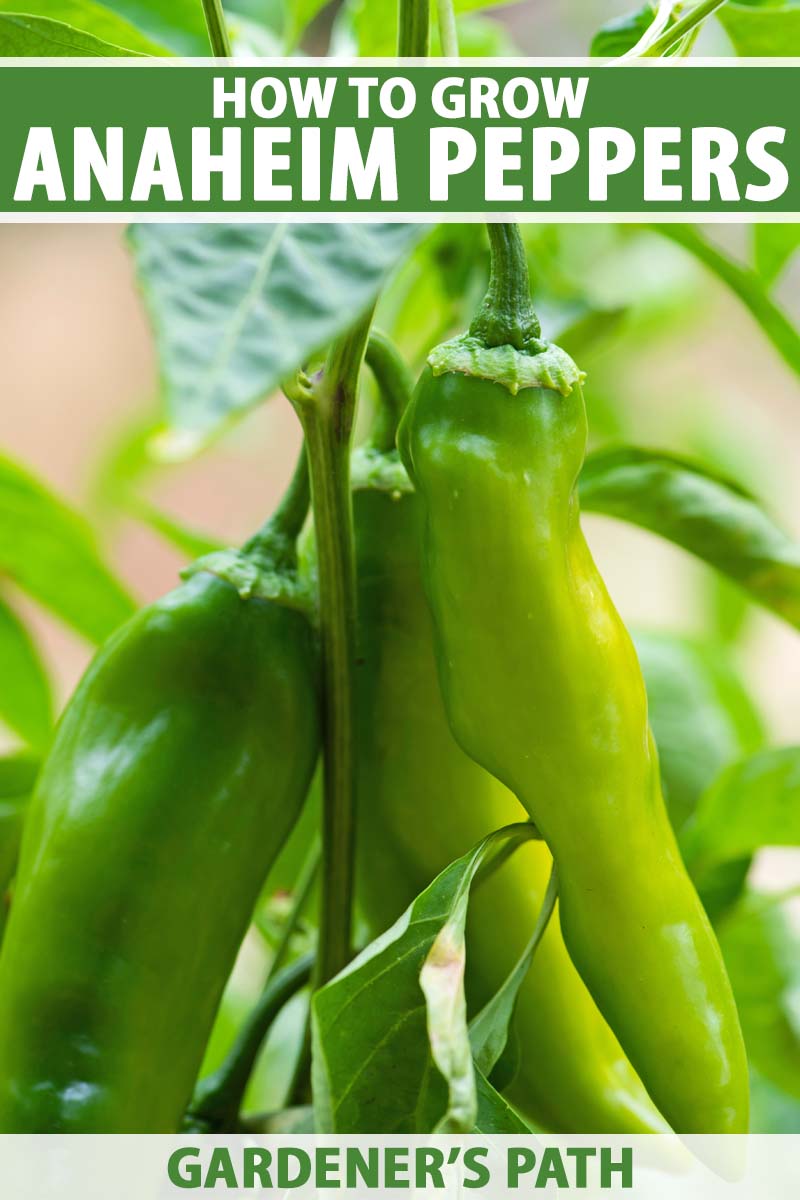
Capsicum annuum ‘Anaheim’
If you want a pepper that has just a bit of zing but not so much that it overwhelms your dishes, Anaheims might be the perfect thing.
Also known as California chilies or Magdalenas, they’re large enough that you can easily stuff them, flavorful enough to stand up to other ingredients when sliced and served with fajitas or chopped and added to salsa, and fleshy enough for roasting and canning.
We link to vendors to help you find relevant products. If you buy from one of our links, we may earn a commission.
In other words, these are do-it-all peppers. And because they aren’t too hot, your spice-adverse mom can enjoy the same chile relleno dish that your pepper-loving cousin relishes.
Anaheims are fabulous fresh out of the garden, and this guide aims to help you in that endeavor.
Here’s what we’ll be covering up ahead:
What You’ll Learn
Ready to add a bit of zing tour garden? Let’s go!
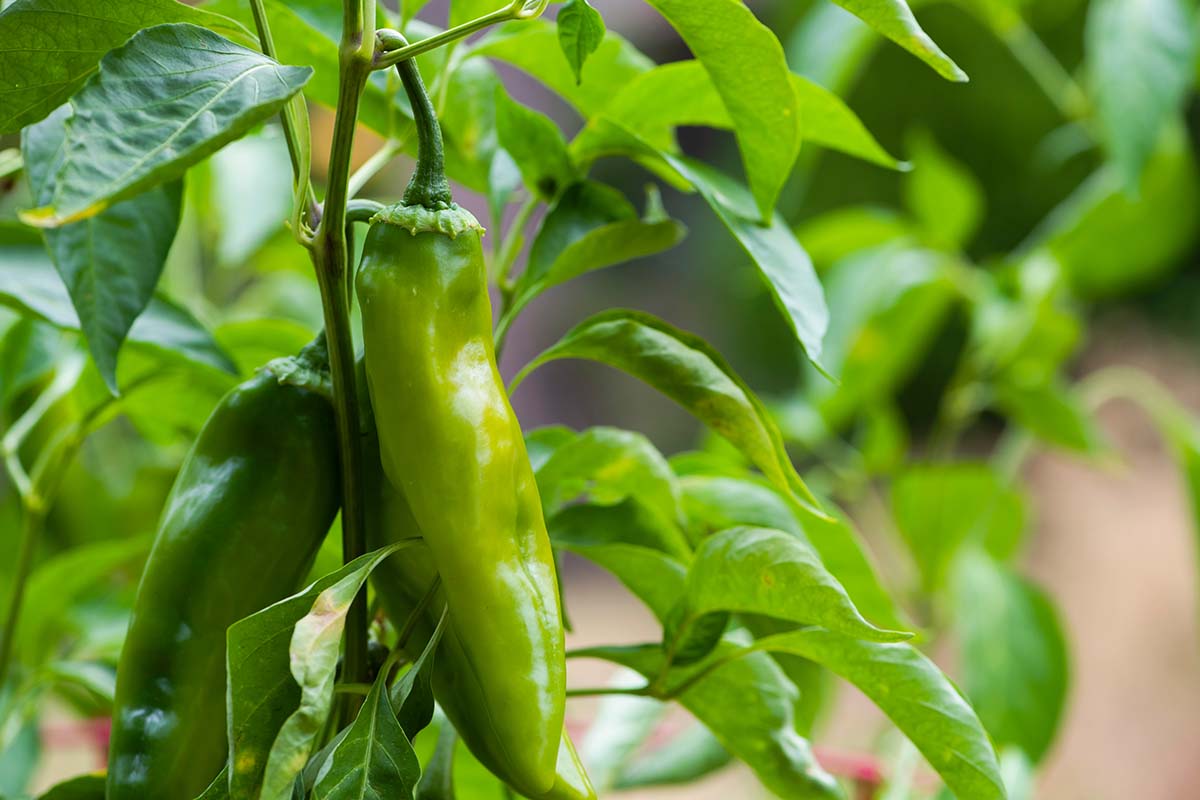
What Are Anaheim Peppers?
Anaheim peppers are part of the Capsicum genus, and specifically belong to the New Mexico cultivar group of chiles. This group also includes Hatch chilies, which are similar.
Anaheims aren’t hot hot. But they aren’t mild like sweet bell peppers, either. They have just a little bit of heat.
On the Scoville Heat Unit (SHU) scale, which measures the concentration of capsaicin in a pepper, they’re between 500 and 2,500. That’s below the heat of a jalapeno and above a poblano pepper.
Let’s clarify a few terms before we get into the weeds.
We’ll call Anaheims “peppers” in this guide, but botanically they’re chilies. The term “pepper” technically applies to plants in the Piper genus, while “chili” refers to plants in the Capsicum genus.
Since we all call them peppers anyway, we’ll keep using that designation here.
The part that we eat in this case is the fruit of the plant. A fruit is simply the result of reproduction, when a flower is fertilized through pollination. It’s produced by the ovary, and contains seeds.
A vegetable, on the other hand, refers to all the other edible parts of plants – the stem, leaves, tubers, roots, or even the flowers.
Once again, common usage can often veer away from what’s technically correct. We’ll use the terms “vegetable” and “fruit” interchangeably in this guide.
Cultivation and History
All peppers originated in southern North America, the Caribbean, and northern South America. The Anaheim, in particular, is the result of hard work by the farmer Emilio Ortega.
Yep, that’s the same Ortega of the Mexican food brand. He brought seeds to Anaheim, California in the early 1900s and bred the mild pepper we know and love today.
He used the ‘New Mexico No. 9’ chili as the base for creating his own cultivar. This variety was developed in 1913 in New Mexico by Dr. Fabian Garcia.
What came about was a somewhat milder, larger version of ‘New Mexico No. 9.’ And the rest is history.
Propagation
It’s easiest to buy pepper seeds rather than trying to use ones that you’ve collected from a plant you already have. That’s because peppers cross-pollinate like you wouldn’t believe.
Unless you are very careful, it’s likely that any Anaheim you have will cross-pollinate with other plants nearby, including ones that are growing in your neighbor’s yard.
You can also buy seedlings, which is an especially smart option if you want to get a head-start on the growing season, or if you have a short number of available days within the appropriate temperature range in your region.
From Seed
Anaheims are fairly simple to grow from seed, but you’ll need to be patient. It can take three weeks for the seeds to germinate and then up to six weeks or so more for the seedlings to grow large enough to place outside.
That means you need to plan ahead. Start your seeds about six to eight weeks in advance of the last average frost date in your area.
In order to ease the transition of your seedlings into the garden, use compostable pots to start your seeds.
I prefer CowPots because they’re made out of an extremely renewable resource (cow poop), but peat pots work well, too.
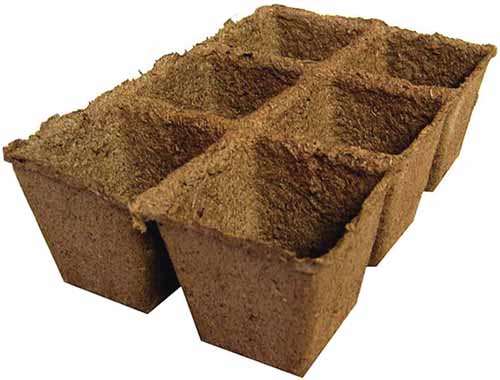
If you need to pick up some CowPots for your gardening toolkit, Arbico Organics carries three-inch pots or trays of six three-inch cells, which are perfect for our needs. Pick up a tray pack of three, 50, or 150.
Chiles come from warm regions, so the seeds aren’t going to germinate if it’s chilly (ha!) where you live. You need to place the seeds on a heat mat unless you keep your house right around 70°F, or warmer.
Fill the pots with a seed-starting medium and sow the seeds about a quarter-inch deep.
If you want to soak the seeds for about eight hours before planting them, feel free. This can speed up the germination process, but don’t leave them in the water for too long or you run the risk of allowing mold to develop.
Water the medium thoroughly and keep it moist as the seeds germinate. Place the pots on a heat mat and put them in an area where they’ll receive at least eight hours of sun per day.
If you can’t provide that naturally, use supplemental lighting and provide 12 to 16 hours of artificial light per day.
Confused about what you might need for starting seeds? Find a suggested supply list here.
From Seedlings/Transplanting
If daytime temperatures are still below 60°F and nighttime temps are below 50°F, don’t put your seedlings outside yet. They won’t do well and could even be killed.
Some plants can flirt with temperatures near freezing, but not peppers. Keep them in a sunny window or wait to purchase them until the weather is right.
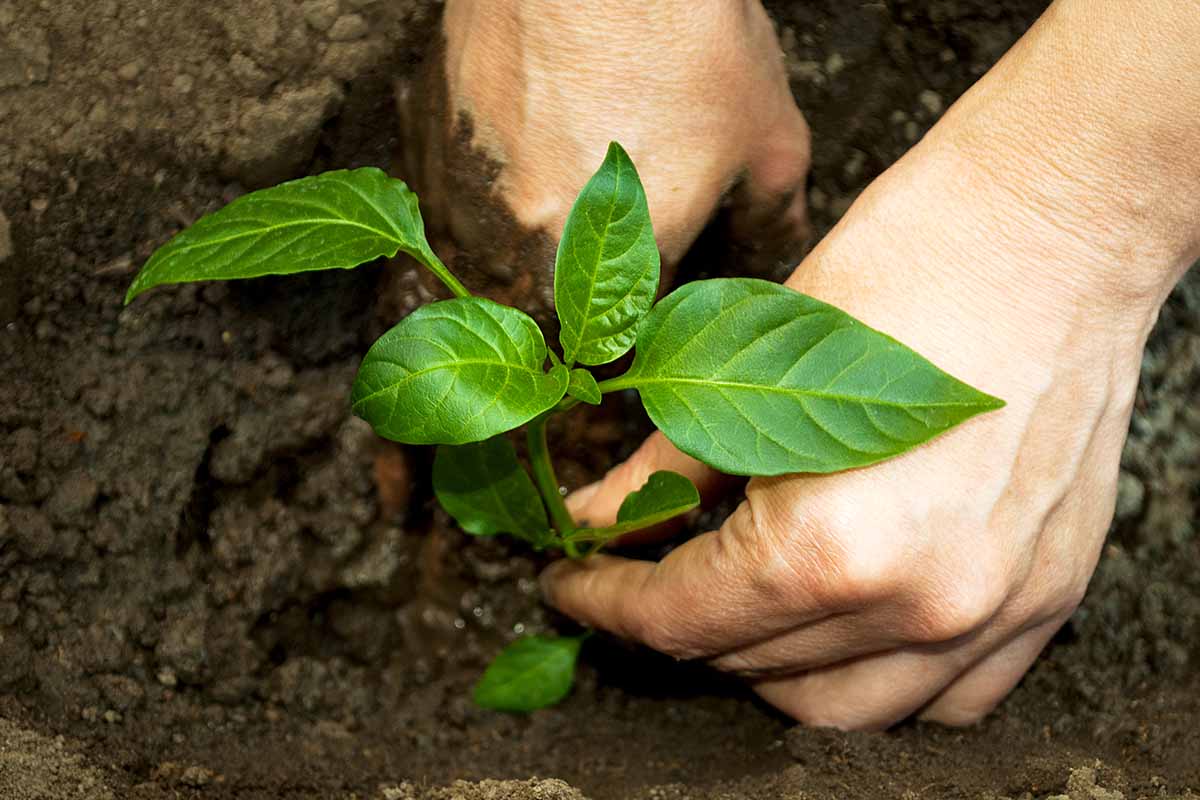
Once the weather is right, prep the area. If your soil isn’t slightly sandy, loamy, and rich, you’re going to need to amend it. Work lots of well-rotted compost and some sand into the earth until it has a friable texture that will provide good drainage.
Next, dig a hole twice as wide and just as deep as the container the plant is currently growing in. Remove the plant from the container – unless you used a biodegradable pot – and place it in the hole. Backfill around the plant.
If you’re growing multiple plants, space them about 18 inches apart.
Water well and keep the soil moist for the first few weeks after planting.
How to Grow
Peppers of all kinds like lots of heat and full sun. After all, think about where they originated. Plant them where they will receive as much sun as possible.
Anaheims grow best when temperatures are over 80°F. If you live somewhere that’s a bit cool during the summer, place the plants next to a brick or cement wall if you’re able to. They’ll welcome the reflected heat.
The soil should have a pH between 7.0 and 8.5, and it should be well-draining. The earth should be rich and loamy with just a bit of sand.
If you have clay soil, either grow your peppers in raised beds or containers, or amend your soil with lots of well-rotted compost and some sand.
To grow their best, pepper plants need quite a bit of water. Once the top inch of soil has dried out, you need to provide water if Mother Nature doesn’t take care of things.
You must be especially diligent when the plants are young. Older plants can tolerate a bit of drought.
Growing Tips
- Plant in full sun.
- Amend heavy clay soil, or grow in containers instead.
- Water when the top inch of soil dries out.
Maintenance
You don’t need to cut these plants back at all while they’re growing, but you can feel free to pinch some of the young shoots to encourage bushier growth.
Other than that, just cut away any branches that show signs of disease or pest infestation, or any that have broken.
Speaking of, as the Anaheims mature, the plants may be damaged by wind or branches might break simply due to the weight of the fruits.
You can provide support with tomato cages or by tying some of the larger branches to stakes using twine or rope.
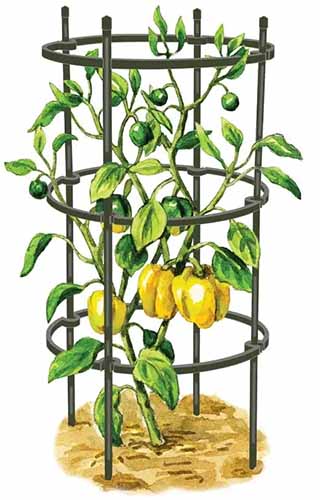
Suitable pepper cages are available in sets of three from Gardener’s Supply Company.
These are made from polyethylene-coated tubular steel, and the adjustable rings snap on wherever support is required, up to a height of 32 inches.
If the birds are going after your plants, place netting over them (the plants, not the birds). While mammals can sense and are often repelled by capsaicin, birds aren’t burned by it, and they’ll happily eat the growing fruits.
Fertilize once a few weeks after transplanting in the garden, and a second time when the fruits begin to form.
Use an all-purpose vegetable fertilizer like Down to Earth’s All Purpose mix, which is available at Arbico Organics in one-, five-, and 15-pound containers.
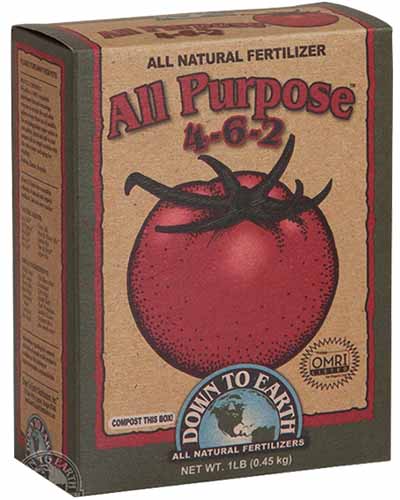
Down to Earth All Purpose Fertilizer
Gardeners growing in Zones 11 and 12 may be able to grow their Anaheims outdoors as perennials year-round, bringing in harvests over the course of multiple consecutive years.
Others might be interested in overwintering their peppers indoors.
Plants grown as annuals should be removed from the garden at the end of the season, after the arrival of first frost. Healthy plant material can be added to the compost pile.
Cultivars to Select
For the most part, Anaheims are simply sold under the same generic name. Eden Brothers, for example, carries small packets, ounce, and quarter-pound containers of “Anaheim” seeds.
But a few growers out there have started to develop different hybrids and cultivars. ‘Highlander F1,’ for instance, was bred by Johnny’s Seeds to be productive in cooler regions – perfect if you want to grow Anaheims but it isn’t hot where you live.
‘College 64’ is a slightly more productive hybrid than the typical Anaheim, but otherwise similar. ‘Anaheim 118’ is another hybrid, bred to have exceptionally large fruits that can be over 10 inches long.
The hybrid ‘Spitfire’ is high-producing and resists powdery mildew infections. ‘Sahuaro’ is also high-yielding and matures a week earlier than the parent type.
When you’re out there hunting for Anaheims, don’t be confused by the mislabeling you might see. Hatch, NuMex, and Pueblo chilis are not the same thing as Anaheims. They are close relatives, but these are different plants.
Managing Pests and Disease
You won’t have to worry about deer, rabbits, or voles coming for your peppers. They aren’t big fans of the heat. Bugs, on the other hand, don’t seem to mind.
Pests
Anaheim peppers are subject to infestations from the usual suspects: aphids, flea beetles, leaf hoppers, and spider mites.
While pests can cause some serious damage, they can also spread disease – all the more reason to try to keep them away.
Aphids
Aphids (family Aphidoidea) love pepper plants, so don’t be surprised if they come for a visit. There are dozens of different species that will feed on them.
These pests use their mouthparts to suck on the leaves and stems, causing yellowing leaves and exuding a sticky honeydew. They can also spread diseases like mosaic virus.
To learn how to identify, control, and prevent infestations, read our guide to dealing with aphids.
Flea Beetles
Flea beetles are tiny, shiny, black insects in the family Chrysomelidae. They thrive on hosts in the Solanaceae family in particular – eggplant, tomatoes, peppers, and so on.
Often, you’ll notice other signs of a problem before you see the insects themselves. Look for lots of tiny shotholes covering the foliage, and yellowing leaves.
Our guide to flea beetles can show you more about identifying and controlling them.
Leafhoppers
Beet leafhoppers (Circulifer tenellus) are problematic not only because they feed on pepper plants, which they do, but because they can spread mosaic virus.
You want to do your best to prevent an infestation because it only takes one that’s feeding on your precious Anaheims to spread the virus.
Prevention involves cleaning your garden thoroughly in the fall to remove any debris that they can hide under.
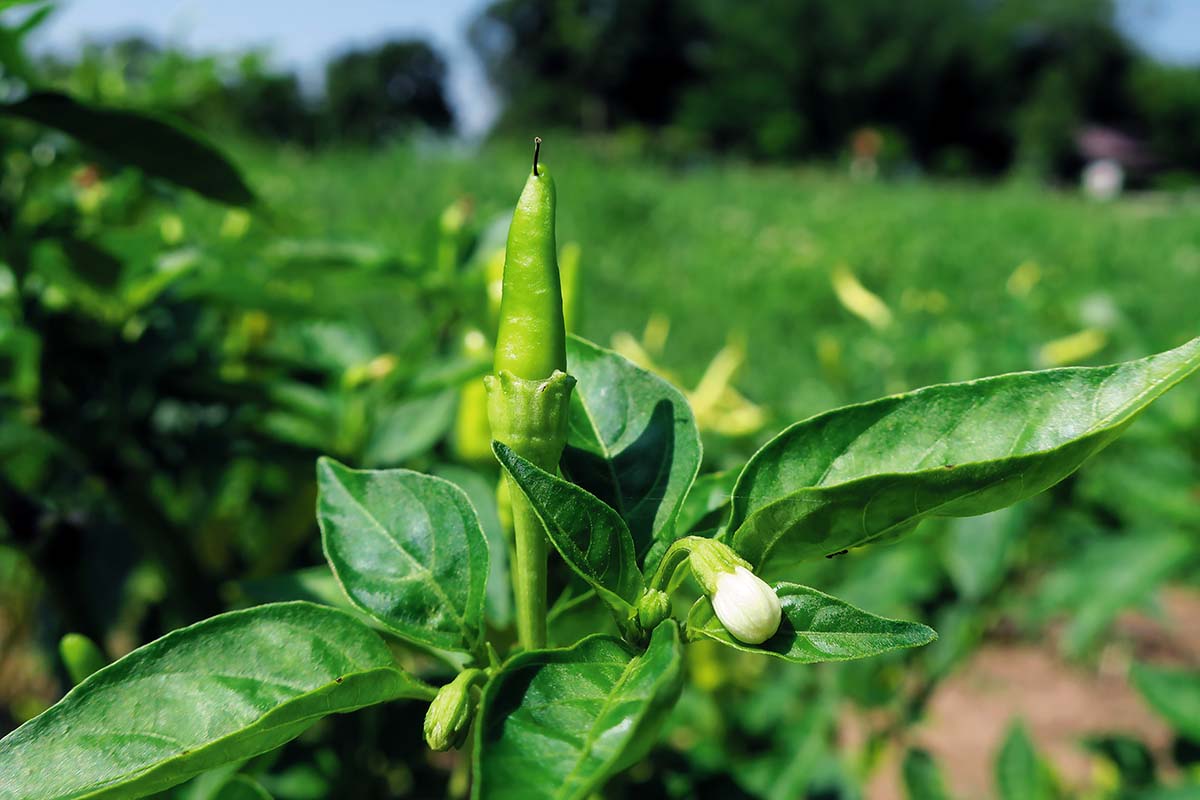
In the spring, use floating row covers to protect your plants, but note that you will need to remove the covers temporarily when the flowers are blooming, to ensure that they’re pollinated.
Once the fruits are fairly close to their mature size, you can remove the covers again prior to harvesting.
Spider Mites
Spider mites like it when the weather is warm and dry, just like pepper plants.
While a large infestation will lead to yellow leaves, many things can cause that, so look for fine webbing all over the stems and leaves. You might also see black spots in the webbing.
Our guide to spider mites can help you figure out how to prevent and get rid of an infestation.
Have more questions? Find help in our pepper plant pest guide.
Disease
It’s always a good idea to try and head off diseases rather than trying to eradicate them after they’ve had a chance to settle in.
Planting in well-draining soil, spacing plants at an appropriate distance, and rotating your crops every three to five years are all smart practices.
But despite our best efforts, diseases often manage to find their way into our gardens. Here are the most common ones you might encounter:
Blossom End Rot
Blossom end rot is technically a physiological disorder, not a disease caused by an infectious pathogen. Developing fruits will have a brown, dry patch at the base. Eventually, these brown patches rot.
It’s caused by a lack of calcium in the soil. As a result, many gardeners will urge you to add more calcium to fix the problem. But typically, the soil actually has enough calcium in it already.
The problem is that the plant can’t access it. This is usually the result of too little water or irregular watering when the fruits are forming.
You can’t cure the problem once it starts, so prevent it by ensuring that your plants receive the water they need throughout the growing season. You might also want to test your soil to ensure that it contains a good amount of calcium.
Mosaic Virus
Peppers may be impacted by several different types of mosaic viruses: pepper mosaic virus (PMMoV), cucumber mosaic virus (CMV), and tomato spotted wilt virus (TSWV). The symptoms are similar regardless of which virus is present.
When the plants are infected, they will have yellow, angular blotches all over the foliage. You might also see puckered sections, and any fruit that develops will be lumpy and misshapen.
There is no cure. You can pull your peppers to prevent it from spreading to other plants, but other than that, prevention is the only control.
Since it is spread by bugs like aphids and leafhoppers, as well as on infected seed and tools, preventing infestations and using careful garden hygiene is key.
Powdery Mildew
Powdery mildew is one of the more common garden foes you might face, including on pepper plants.
Lots of different fungi in the order Erysiphales can cause the disease. When it’s present, you’ll see a distinctive powder-like coating on the foliage.
It spreads incredibly easily, which is part of the reason why it is so common. It can be carried in water, on tools, or by insects such as aphids.
The good news is that it’s fairly easy to prevent or address. Our guide to powdery mildew has all the tips you need.
Verticillium Wilt
Verticillium wilt is caused by the fungus Verticillium dahliae. Despite being a fungal infection, you won’t see fuzzy growth on your pepper plants. Instead, you’ll see yellowing, wilted leaves and extremely stunted growth.
The fungi can survive in the soil and on crop debris, and they thrive in temperatures above 77°F. Symptoms of an infection usually start on the lower branches first. Eventually, both the leaves and any fruit that’s growing may turn brown and rot.
You can pull your infected plants or leave them and cross your fingers that you can still produce a small harvest.
Once the fungi is present in your garden, it tends to stick around for a long time. Broccoli, safflowers, corn, and wheat aren’t susceptible, so plant one of these instead for three years before planting anything else in that location again.
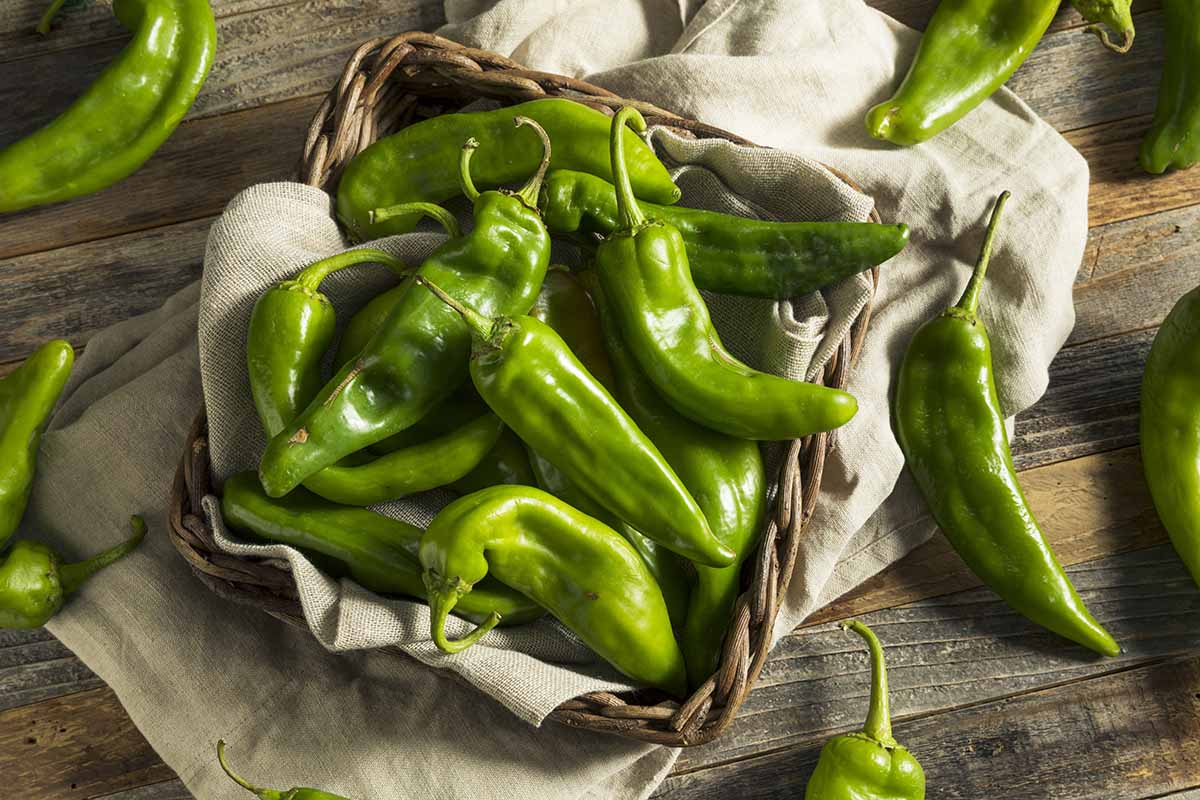
Harvesting
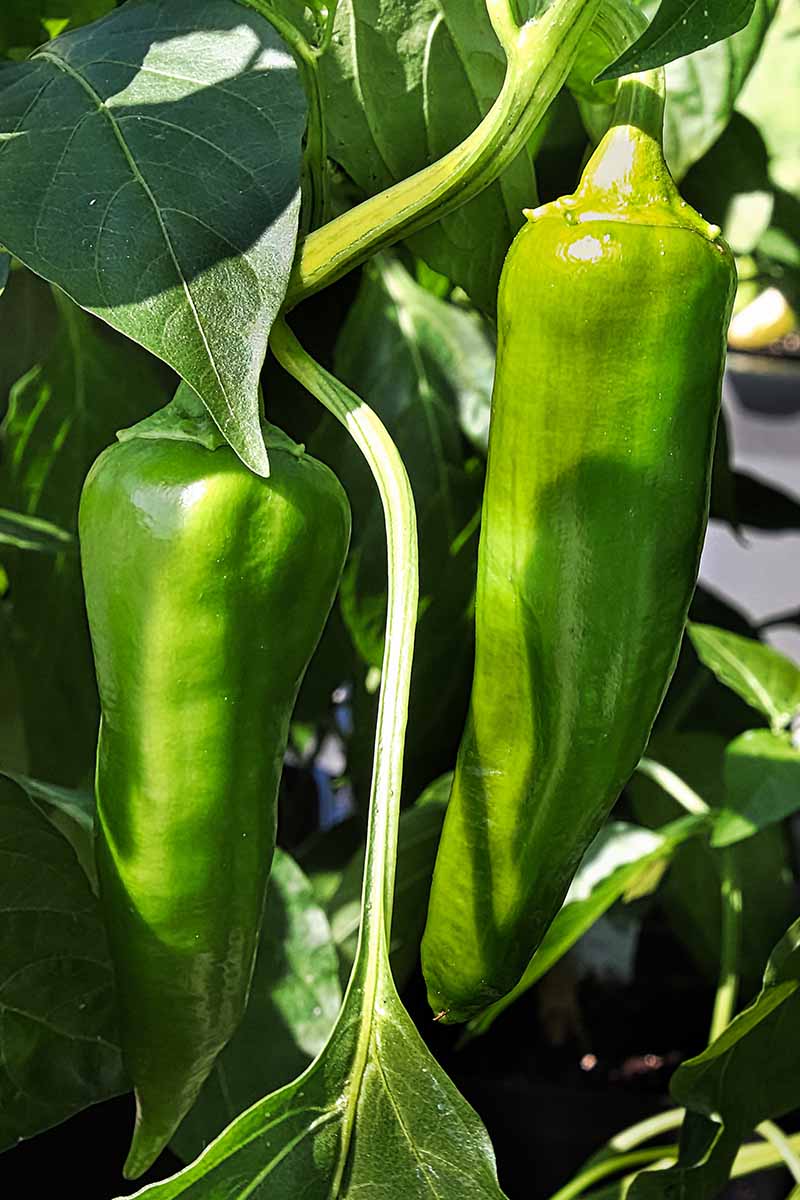
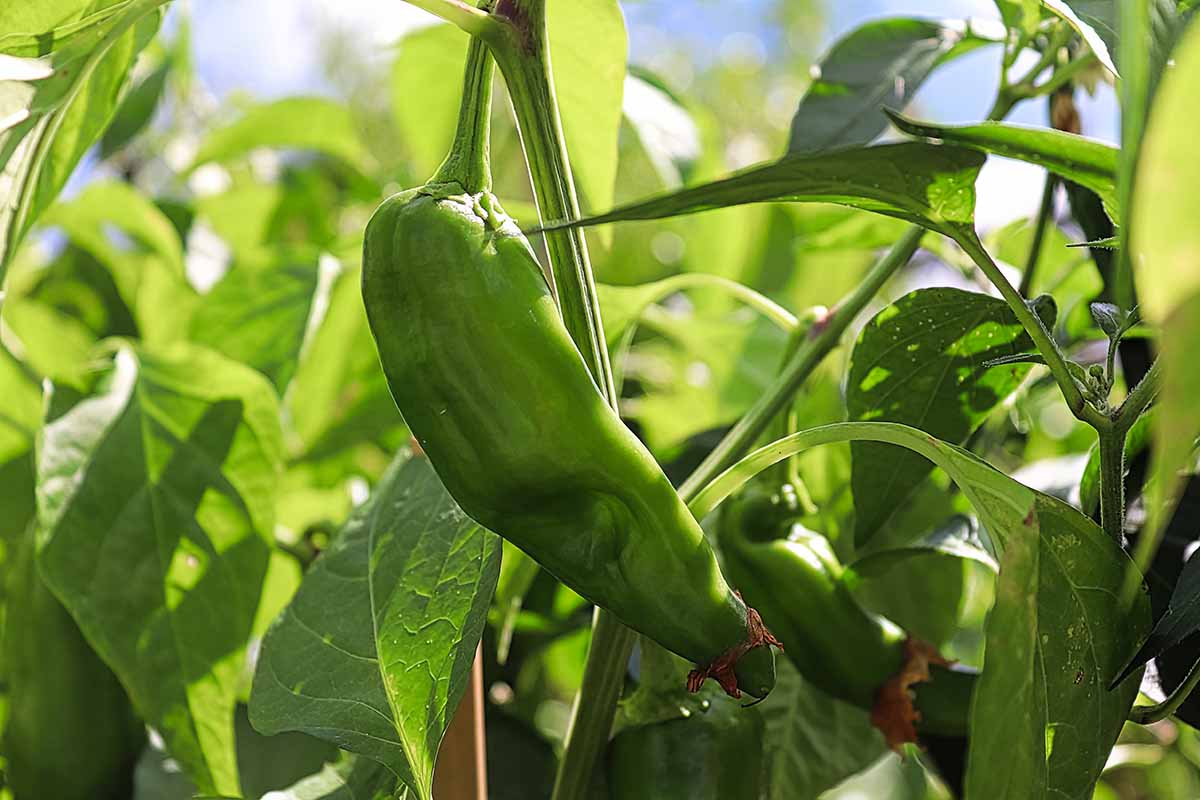
Green Anaheims should be hand-harvested when they feel firm and plump. You can also wait for them to turn red, at which point they should pull away easily.
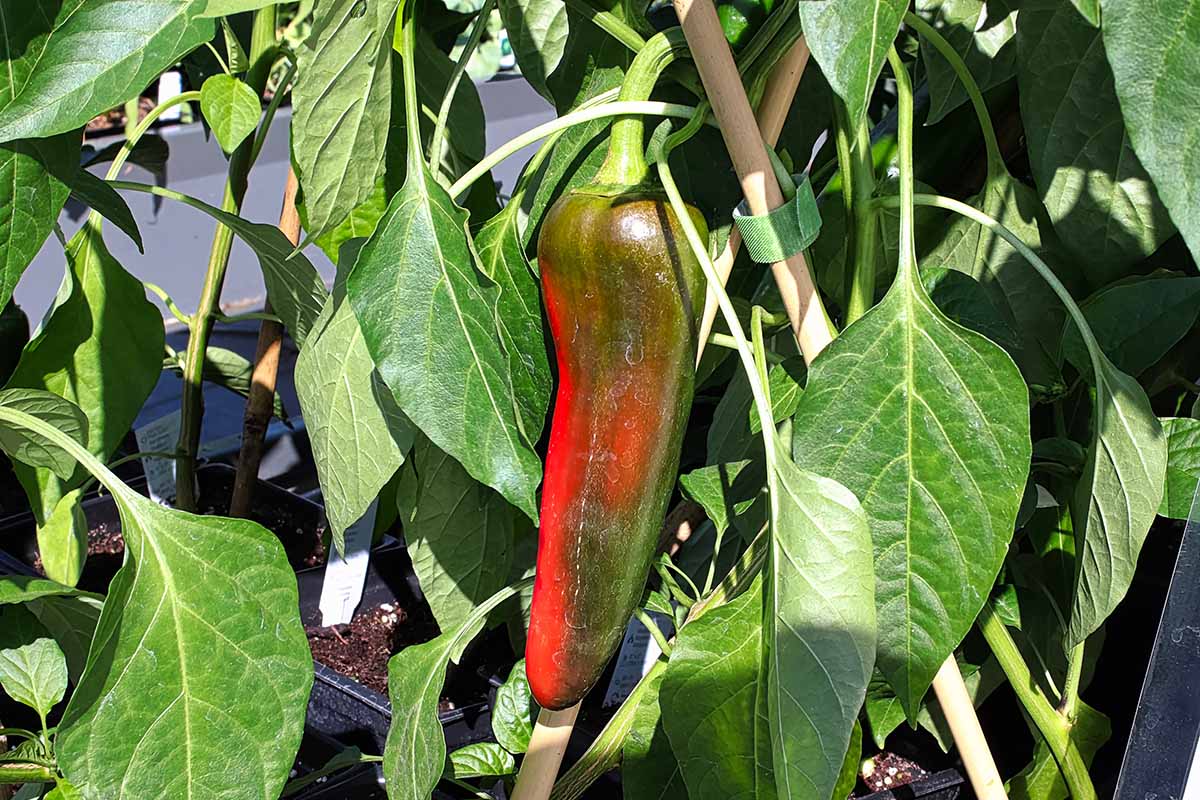
Depending on which variety you are growing, Anaheims typically take around 80 days to reach maturity.
Simply pull them away from the plant or use a pair of scissors to free them. If you want to hang the fruits by their stems to dry, make sure to leave about an inch of stem attached to each pepper.
Store freshly harvested peppers in the refrigerator in a crisper drawer for up to a week, preserve them, or use them right away.
Preserving
If you’ve ever visited Mexico or New Mexico (or you live there, of course), you’ve likely seen ristras.
These are collections of drying peppers arranged in a tapered bundle. Anaheims are one of the most commonly used peppers for forming ristras.
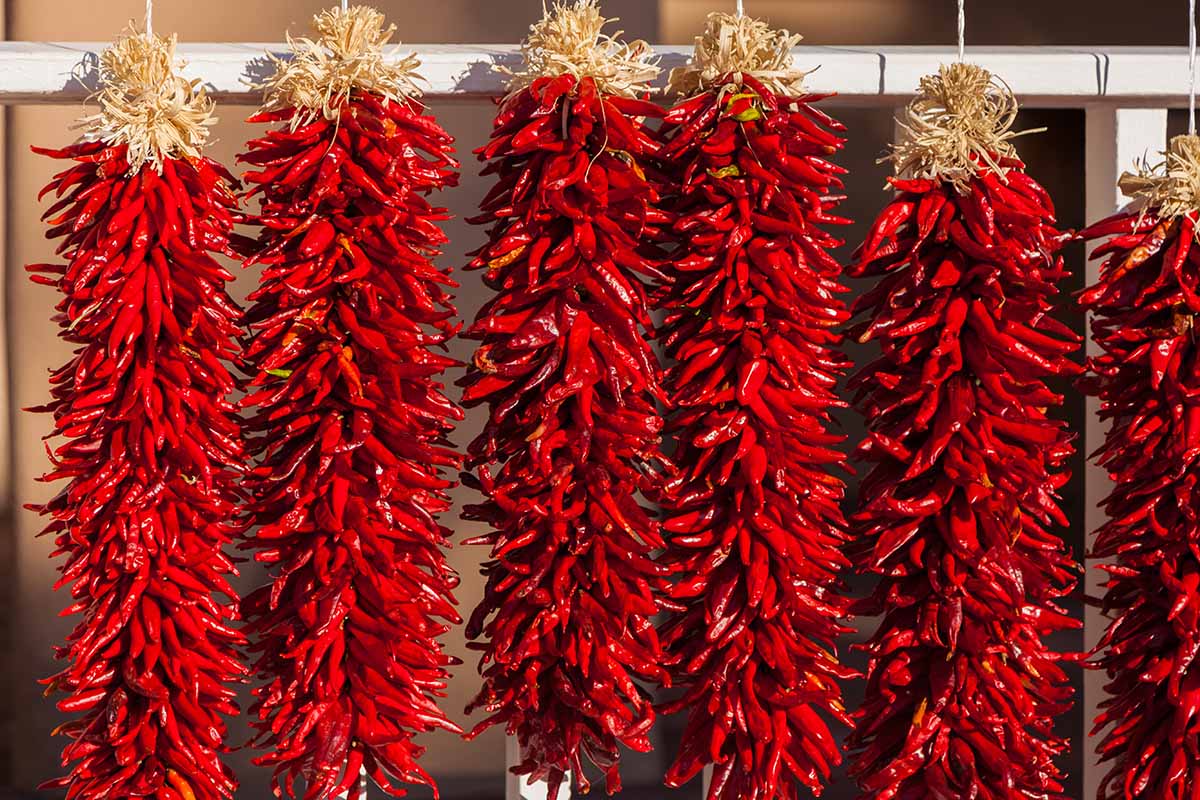
Seco del Norte is the term used to describe Anaheims that are allowed to ripen to their red color and then dried. Seco means withered or dried. You might also see these labeled as California reds.
You can dry Anaheims by hanging them in ristras, on strings, or in small bunches.
You can also lay them in a single layer on a cookie sheet and bake them at the lowest setting in your oven, or dry them in a food dehydrator following the manufacturer’s instructions.
Find more tips on drying garden produce here.
Anaheims can also be pickled.
Recipes and Cooking Ideas
If you find that your peppers are a bit too hot for your liking, scrape away the white interior that all the seeds connect to. This is called the placenta, and it’s where the capsaicin (and heat) is concentrated.
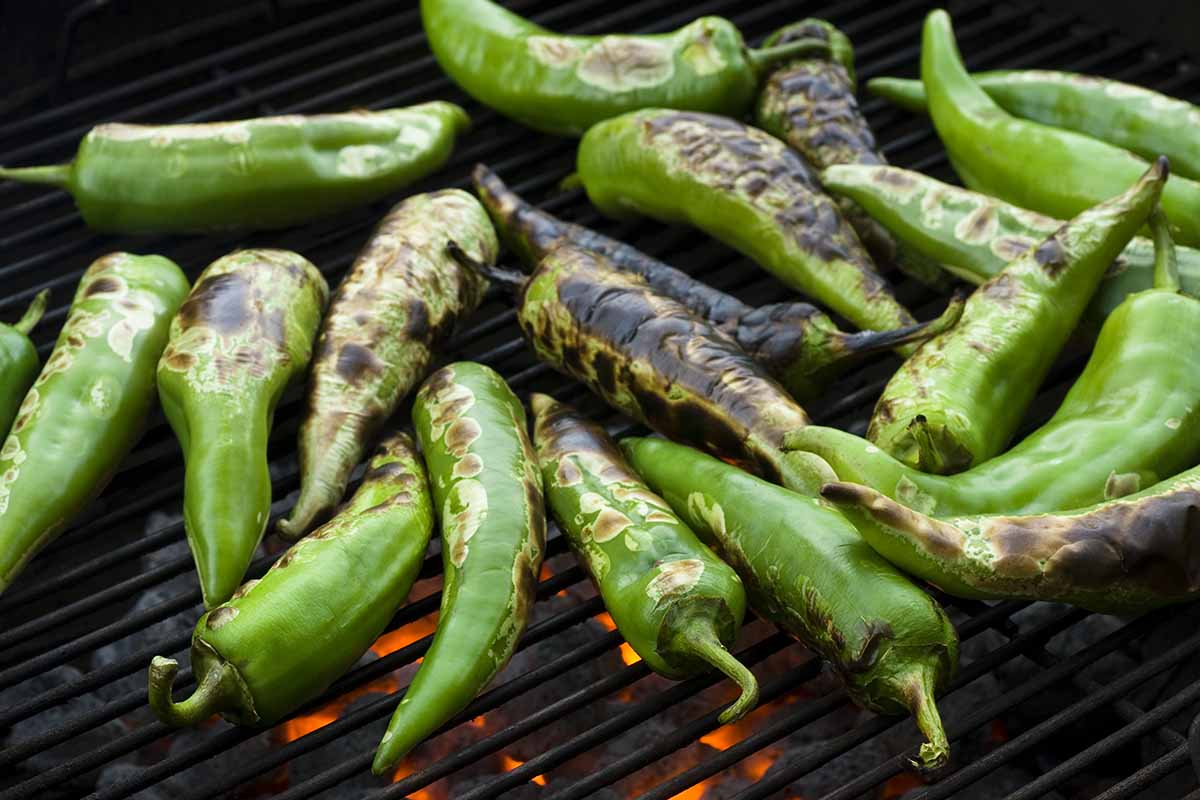
Anaheims are lovely seared over a hot flame. The skin peels away easily. If you live in the western part of the US, you’ve no-doubt seen chili roasts before. These are common at fairs and parades.
You can roast your own at home by brushing the chilis with oil and roasting them in the oven for three minutes at 425°F. Flip them over and roast the other side for another three minutes or so.
They’re also fantastic stuffed, which is why they’re often the pepper of choice (alongside poblanos) for making chiles rellenos.
If you’re looking for some good old comfort food, our sister site Foodal has a vegetarian chili recipe that will knock your socks off. Use Anaheims instead of poblanos for a delicious dish with just a touch of extra heat.
Quick Reference Growing Guide
| Plant Type: | Perennial vegetable (grown as an annual) | Water Needs: | Moderate |
| Native To: | Caribbean, North and South America | Maintenance: | Low |
| Hardiness (USDA Zone): | 11-12 | Tolerance: | Heat, some drought |
| Season: | Summer | Soil Type: | Rich, loamy |
| Exposure: | Full sun | Soil pH: | 7.0-8.5 |
| Time to Maturity: | 80 days, depending on variety | Soil Drainage: | Well-draining |
| Spacing: | 18 inches | Companion Planting: | Alliums, basil, dill, tomatoes |
| Planting Depth: | 1/4 inch (seeds), depth of root ball (transplants) | Avoid Planting With: | Brassicas, nasturtiums |
| Height: | Up to 5 feet | Family: | Solanaceae |
| Spread: | Up to 2 feet | Genus: | Capsicum |
| Growth Rate: | Moderate | Species: | Annuum |
| Pests & Diseases: | Aphids, flea beetles, leafhoppers, spider mites; blossom end rot, mosaic virus, powdery mildew, verticillium wilt | Cultivar: | Anaheim |
Bring Home the Taste of Anaheim
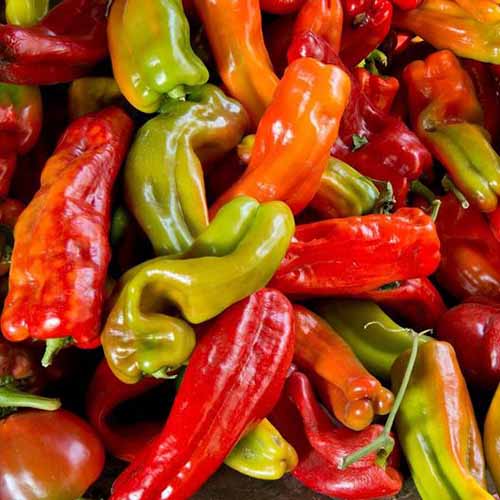
Anaheim chilies are extremely versatile.
Peppier than bells and milder than jalapenos, they offer a hint of heat that isn’t overwhelming. Their size and thin skin makes them perfect for stuffing, and they can stand up to strong flavors.
How do you plan to use your homegrown Anaheims? Share your recipes and ideas in the comments!
Feel like a pepper growing master? You might want to expand your garden. If so, feel free to check out some of our other pepper growing guides, starting with these: