If you enjoy organic gardening solutions, making dandelion tea fertilizer is a great way to create your own cost-effective products while being self-sufficient.
We link to vendors to help you find relevant products. If you buy from one of our links, we may earn a commission.
As so-called “dynamic accumulators,” dandelions can be used to produce a nutrient-dense homemade fertilizer without a lot of effort – it’s surprisingly easy!
The process mostly involves putting the weeds in water and aerating the mixture from time to time, to allow for proper fermentation.
Let’s take a look at what you need and why you should try it.
What You’ll Learn
What Is Dandelion Tea Fertilizer?
People have been trying to improve the fertility of their soil for over 8,000 years!
Manure was the original “homemade” fertilizer farmers used to add nutrients to their fields. And while modern farmers may still use manure, the available fertilizers and their means of application have changed significantly.
Popular organic plant foods are made from a variety of plant and animal products, like bone meal. Products like worm castings and compost are also used in addition to or instead of other types of fertilizer.
Compost tea and comfrey tea are also popular options.
The beauty of homemade dandelion tea lies in its simplicity.
It is just a combination of dandelions and water that has been fermented over time. You don’t even need to do much while you wait for it to ferment – the most time-intensive part of the process is picking the weeds.
In essence, the result is a rich ferment wherein bacteria and other microbes break down the sugars and starches in the organic matter. This makes the nutrients more readily available to plants.
Why Make It?
Making fertilizer from weeds isn’t an exact science, and as is the case with all natural fertilizers that have not been tested in a lab, you can’t expect a particular quantifiable end product.
This is because you won’t know the NPK – or nitrogen-phosphorus-potassium – ratio of what you make.
Even if you measure your materials precisely, the nutritional makeup of the plants and how long the tea is left to steep can make a difference to nutrient content of the end product.
Over time, the organic matter breaks down further and its nutrients become more bioavailable, but the plants don’t contain a limitless amount of nutrients.
Eventually, the bacteria responsible for breaking down plant tissue will extract as much as they can and die off.
Despite potential variation in the exact nutritional makeup of the finished product, there are many reasons why you might like to try making dandelion fertilizer.
For starters, this cost-effective method makes it easy to obtain nutrients for your plants from an organic and readily available source.
If you are a fan of homesteading, every little bit counts. This serves as a small but fun way to be more self-reliant.
Personally, I make it because I enjoy DIY solutions. I think it is a great way to save a little bit of money while using organic inputs in the garden.
Plus, it gives me a good excuse to spend more time in my garden while I’m still technically being productive, while I’m picking the weeds or applying the finished product to my other plants!
Materials Needed
To make dandelion tea fertilizer, you will need:
- Dandelion flowers, leaves, and roots
- A two- or five-gallon bucket with a lid
- Water
- A mesh sieve, cheesecloth, or something to strain the weeds through
Making dandelion tea fertilizer isn’t a precise process so don’t worry too much about the details. You don’t need to measure carefully.
As a general rule of thumb, the organic matter should be around one-third of the total volume of water you use.
I like making a small amount that’s easy to manage, but many people prefer making a big batch all at once in a five-gallon bucket.
What you choose to do will of course depend in large part on the size of your property, and how many dandelions you have available to process at a given time.
Any extras that you don’t wish to use to make fertilizer can be thrown on the compost pile, or saved for other uses. The fresh flowers can be fried, turned into jam, or used as garnish.
The leaves may be used in pesto or salad. Find more suggestions in this article on foraging dandelions from our sister site, Foodal.
Before you get started, there are some other considerations which I’ll cover next.
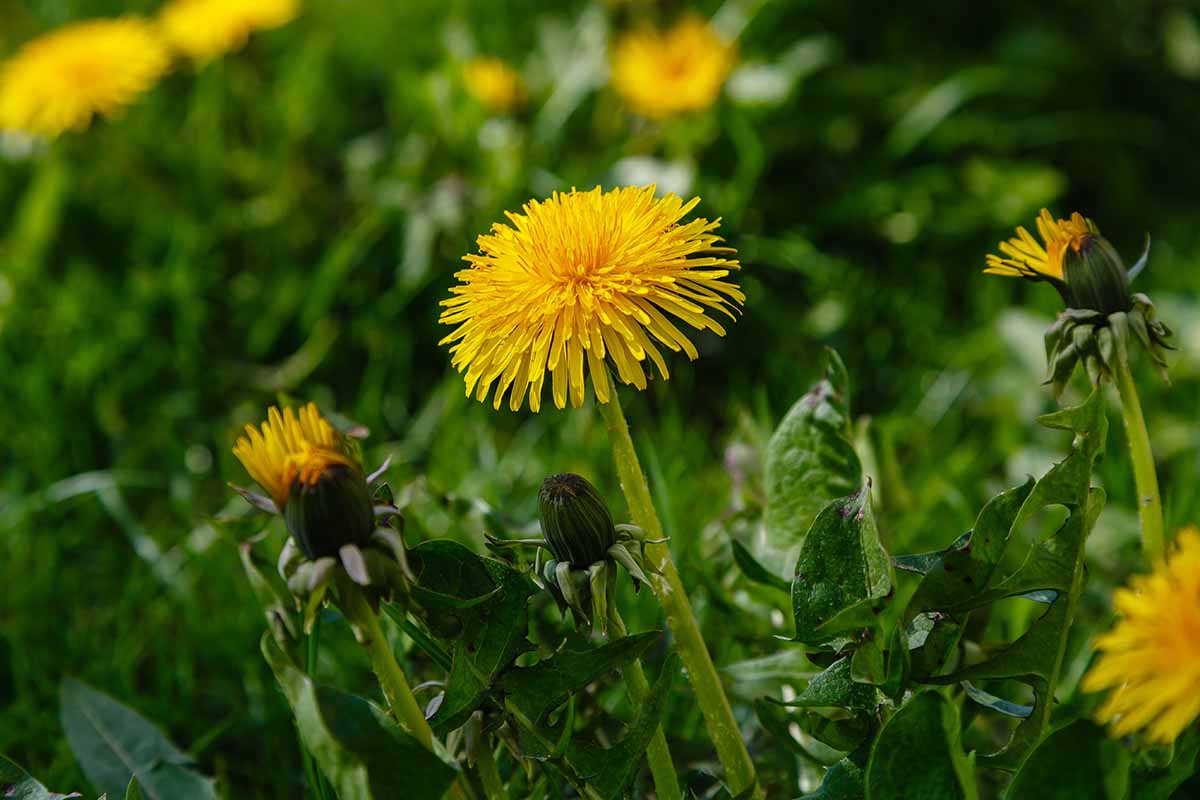
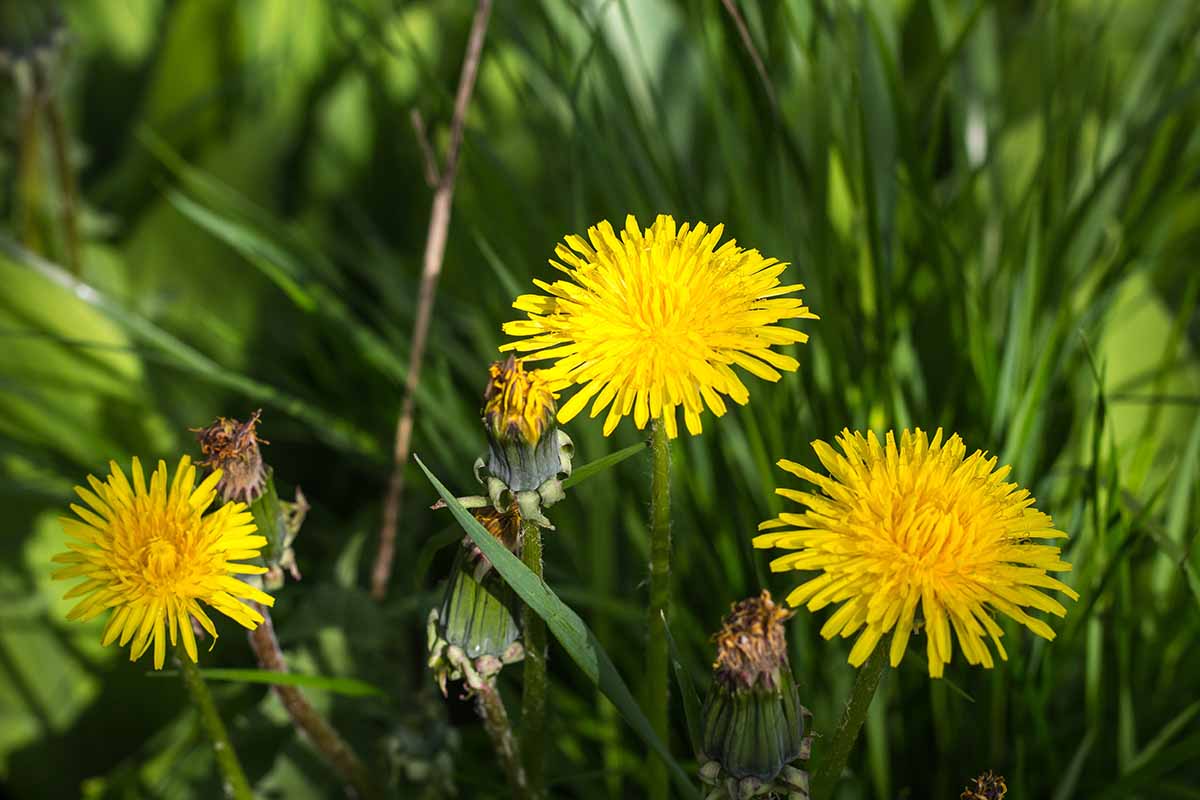
Pick Flowers, Not Chemicals
When harvesting weeds to use for making your plant food, make sure you know if they have been sprayed with any chemicals. While dandelions have many uses, they are often considered undesirable and sprayed with herbicide.
Even if the area you are harvesting from has been sprayed with a chemical that doesn’t directly affect dandelions, it might cause damage to your garden. This is because certain chemicals sprayed on the plants may stay with them and then spread to other parts of your garden when you use the resulting brew.
If you have limited resources and you’re unable to pick a large quantity of dandelions from your own property, don’t worry. Ferment what you have.
Don’t forget that you can use all parts of the dandelion, including the leaves and roots as well as the flowers. Alternatively, you can supplement with other plants that may be readily available.
Choosing a Container
The primary container you need is something either plastic or glass. It can be any size, with a five-gallon bucket being the most popular option.
When you dilute the mixture for application in your garden, you can use a separate vessel, like a watering can. So, don’t worry about factoring in the final volume – it only needs to be big enough to hold the liquid while it is fermenting, with a bit of head space.
It should also have a lid of some kind. Cheesecloth, or another semi-permeable material like panty hose, allows the mixture to breathe but if you’re keeping it outside, this will also allow rain to dilute the mixture. You can leave a solid screw top or plastic lid loose and achieve the same effect.
Make sure you consider your fertilizer needs, and the amount of foraged dandelions that you will have available. A little bit of the concentrated brew goes a long way. If you are making three gallons of dandelion tea, using a five-gallon bucket will provide plenty of headspace.
Unless you have an absolutely massive garden, I would advise against making more than five gallons of fertilizer at a time.
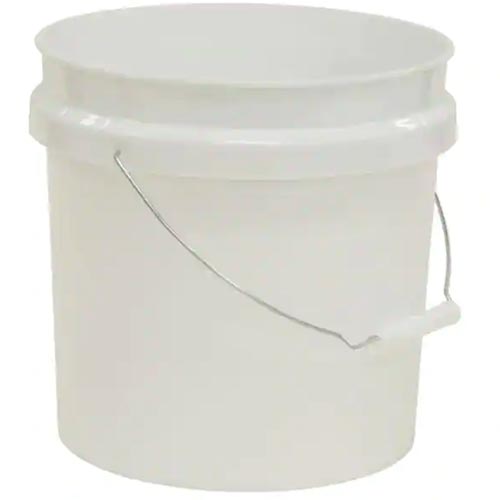
This two-gallon bucket from Home Depot is an ideal size to make a small batch. Make sure to also grab a matching lid or substitute with cheesecloth. I find it easiest to get a solid lid and leave it loose on top.
Now that we’ve talked about what supplies you’ll need, let’s take a look at how to make the fertilizer.
How to Make Dandelion Fertilizer
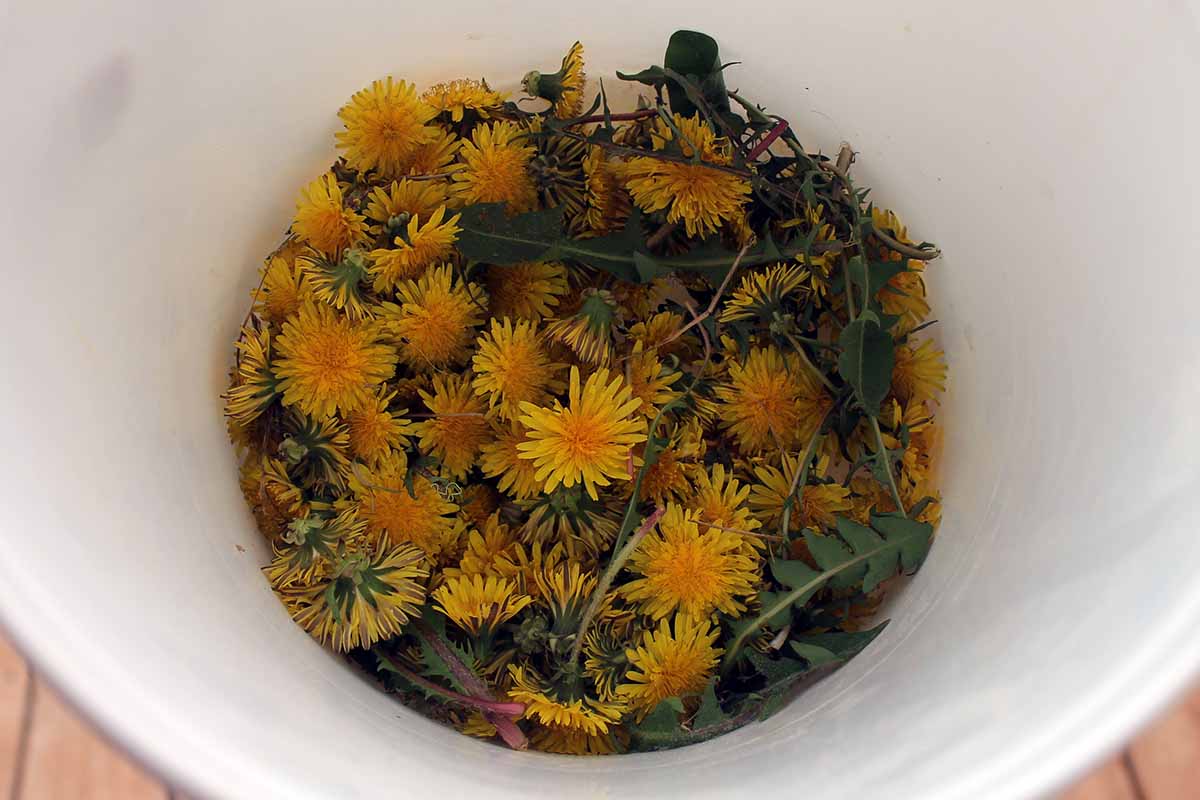
Making this fertilizer is extremely easy. All you need to do is put the weeds into your container and pour water over them. You can chop up the plants to help them to break down, but I find it easiest to just use them whole.
Alternatively, when gathering the materials you can put them into a cheesecloth. Then you can tie it up and put it into the water, like steeping tea. The amounts to use and the fermenting time are the same, but at least in theory, this makes it easier to use since you simply pull out the organic materials contained within the cloth.
Due to the smell, you’ll likely want to throw the cheesecloth away afterwards. Even if you wash the strainer it should only be used for making weed fertilizers in the future.
After adding your dandelions and water, stir with a stick or put the lid on and carefully shake it, if you have a solid lid available. You want to combine the ingredients and aerate the mixture, as the bacteria need oxygen to live.
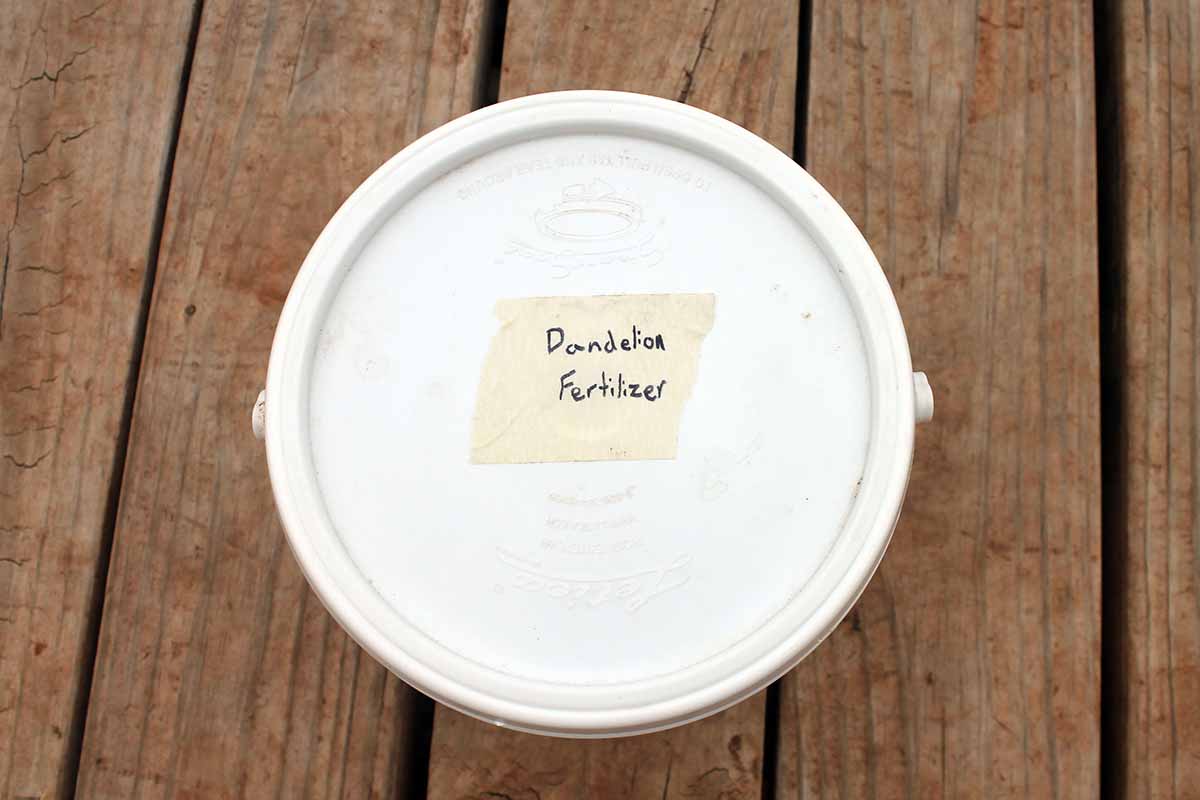
Then, you wait. The fermentation should be stored in a protected space away from direct sunlight that ideally stays between 50 and 90°F.
I store mine in a shed, but a garage or mudroom would also be great options. Alternatively you can place it in a protected location in the garden.
If possible, don’t put it in a location that will go below 50°F as that can lead to slow or no microbial growth.
You should shake the container or stir the contents thoroughly to agitate the mixture about once every three days, but it doesn’t need any other attention until it is ready to use.
After one to two weeks of fermenting, it should be ready to use. The mixture should smell like cow dung and the liquid should be a dark color, usually brown or black, and the plant parts will look broken down or wilted.
The longer you wait, the stronger it will be, which in turn will impact the fertilizer’s nutritional value. The longer the brew ferments, the more bioavailable the nutrients will become. However, after the bacteria run out of food they will begin to die off.
Troubleshooting
The most common problem you might run into is improper or slow fermentation.
A smell like cow manure is a sign that the ferment is moving along properly. If there is no detectable odor after five days, this may indicate that your mixture likely didn’t get enough oxygen.
Shake the bucket or use a stick to stir it once a day for the next two days. This will hopefully provide the microbes enough oxygen to get things going. After that, if the water is dark but there is no smell, toss the batch and start over.
Slow fermentation is more of an inconvenience than a problem to fix. It will typically happen because of cold temperatures – below 50°F. As long as it begins to smell, it is fermenting. Just be patient and give it extra time.
If temperatures are below 50°F for an extended period, move the brew indoors or wait until the temperature warms up to try making your tea.
How to Use It
When you are ready to use your fertilizer you’ll need to filter out the organic matter. You can do this by filtering it through a cheesecloth, pantyhose, or other mesh material. The leftover plant parts can be discarded or put in the compost.
Once it is filtered, you need to dilute your fertilizer before using it. To do this, use one part fertilizer and 10 parts water, depending on the strength of the brew. As a rule of thumb, the darker the liquid, the more dilution will be required.
Then, you can water your plants with it just like you would any other water-soluble fertilizer, or you can use it as a foliar spray.
The end product is best used to fertilize mature plants. It provides high levels of readily accessible potassium, so it is especially good for potatoes, broccoli, cabbage, legumes, and corn.
Alternative Methods
There are many alternative methods and variations on making fertilizer from weeds.
Some entirely unique methods include making a fermented plant juice or concentrate. This method is much more involved and typically requires a bit more equipment and time. However, it results in an extremely powerful fertilizer.
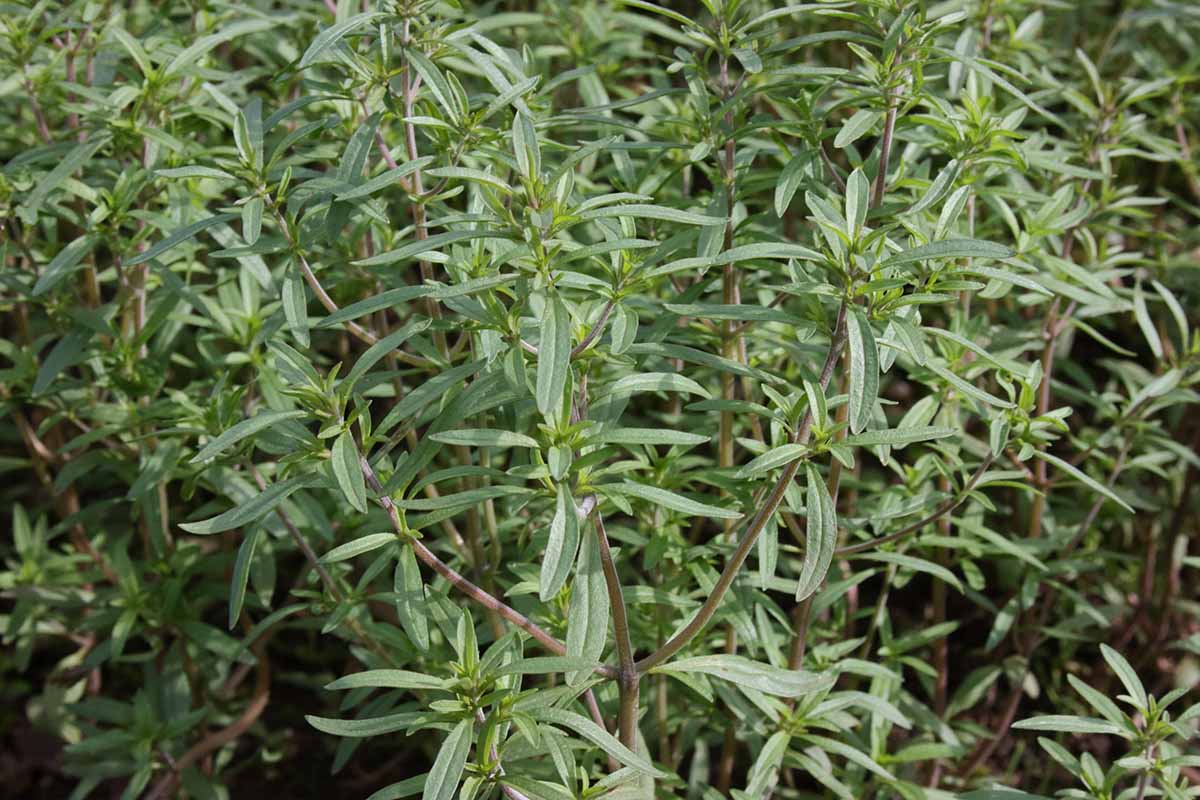
Because this is an inexact process, you can also make fertilizer tea from a variety of other plants. If you are looking to explore your options, you could start by using various plants from around your yard, such as:
- Chicory
- Comfrey
- Stinging nettle
- Alfalfa
- Grass clippings
The best plants to use have a high nutrient content, or serve as dynamic accumulators.
Don’t Get into the Weeds
Dandelion tea fertilizer is easy to make. At its core, it’s simply weeds and water mixed together and fermented over time.

If you are looking for a reliable fertilizer that you know the exact NPK ratio for or you’re cultivating sensitive plants, you will probably be better off buying a lab-tested product from the store.
But if you’d like a cost-effective organic option or you aim to be more self-reliant in your gardening endeavors, give this project a try!
What other tips and tricks do you have for saving money on gardening supplies? Tell us in the comments below, and let us know if you’ll be trying this DIY technique.
And for more information about dandelions and what to do with them, check out these guides next: