For years I purchased rosemary plants from my local nursery, under the impression that my favorite culinary herb was too difficult to start myself.
While it is true that rosemary is particularly challenging to grow from seed, it can be propagated easily from stem cuttings and by root layering.
And starting from seed is not impossible, it just takes a bit of patience and extra care.
We link to vendors to help you find relevant products. If you buy from one of our links, we may earn a commission.
In our guide to growing rosemary, we cover how to cultivate this classic herb in your garden. In this guide, I’ll discuss the different ways to propagate rosemary plants.
Here’s what I’ll cover:
Three Methods of Propagating Rosemary
Why is it useful to know how to propagate rosemary?
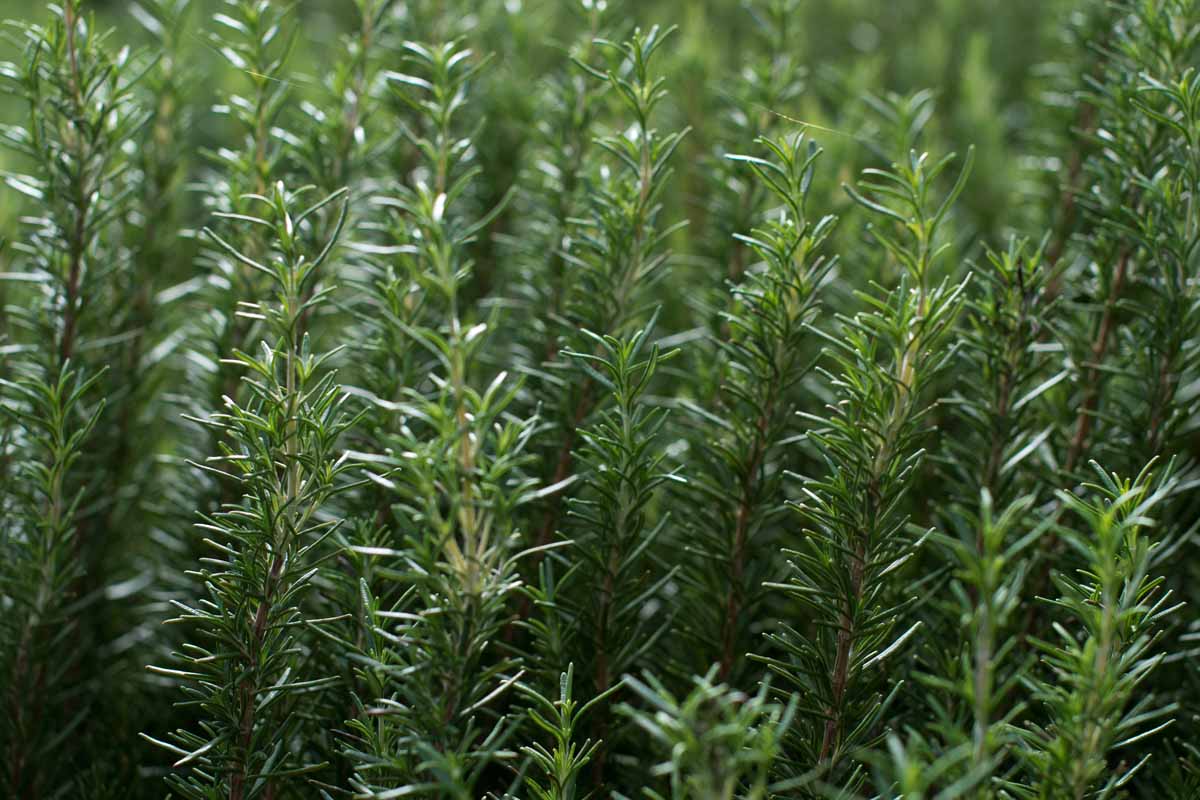
This herbaceous perennial is hardy in Zone 8 and above. If you are lucky to live in a warm climate, you can plant it once and it will continue to grow each year, sometimes up to a massive four feet tall and wide!

The rest of us, in cooler growing zones, either have to purchase new starts each year or attempt to bring existing plants indoors over winter, which never seems to work out very well for me.
By propagating rosemary yourself, you can avoid buying new starts, and even better, you can grow many plants for little to no cost.
From Stem Cuttings
Perhaps the most common method of propagating rosemary, propagation via stem cuttings is an easy way to take one established plant and turn it into several!
Stem cuttings are a popular choice because they are more reliable and much quicker than starting from seed. Additionally, plants grown from cuttings will be identical to the parent plant, so you know exactly what you are getting.
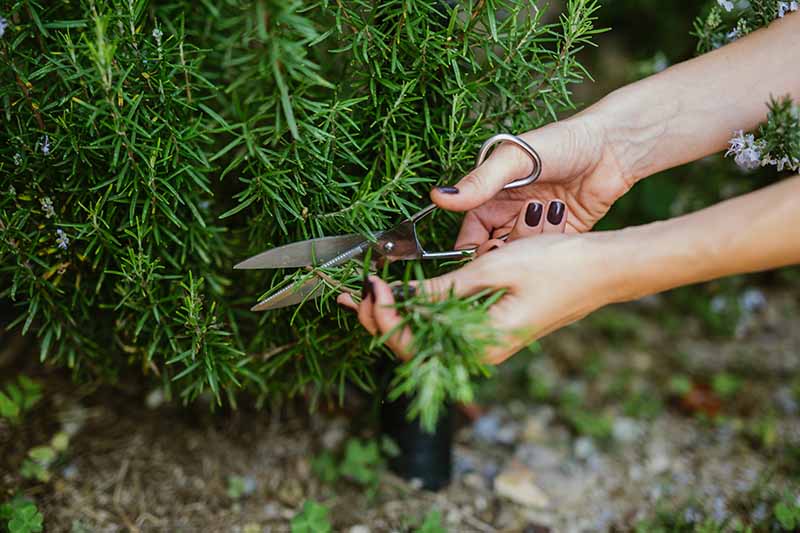
Cuttings should be taken from an established plant in the spring time during active growth, or in early fall after flowering has finished.
Use pruners or sharp scissors to cut four- to six-inch sections back from the tips of new soft wood. Look for flexible green stems as opposed to woody brown ones.
Next, strip the leaves from the bottom two thirds of each cut stem, leaving five or six intact at the top.
Dip the cut end into powdered rooting hormone, if you have some to hand, though it’s not absolutely necessary.
Plant each cutting three to four inches deep in a two- to four-inch pot using an equal mix of potting soil and sand. If you are starting multiple cuttings, you may wish to use a tray or space three stems two inches apart in a six-inch pot.
Water well and use a humidity dome or plastic bags to create tents over the pots to retain moisture and humidity. Set in a location that receives indirect light, and open the plastic daily to water. You need to keep the potting medium evenly moist, but not saturated.
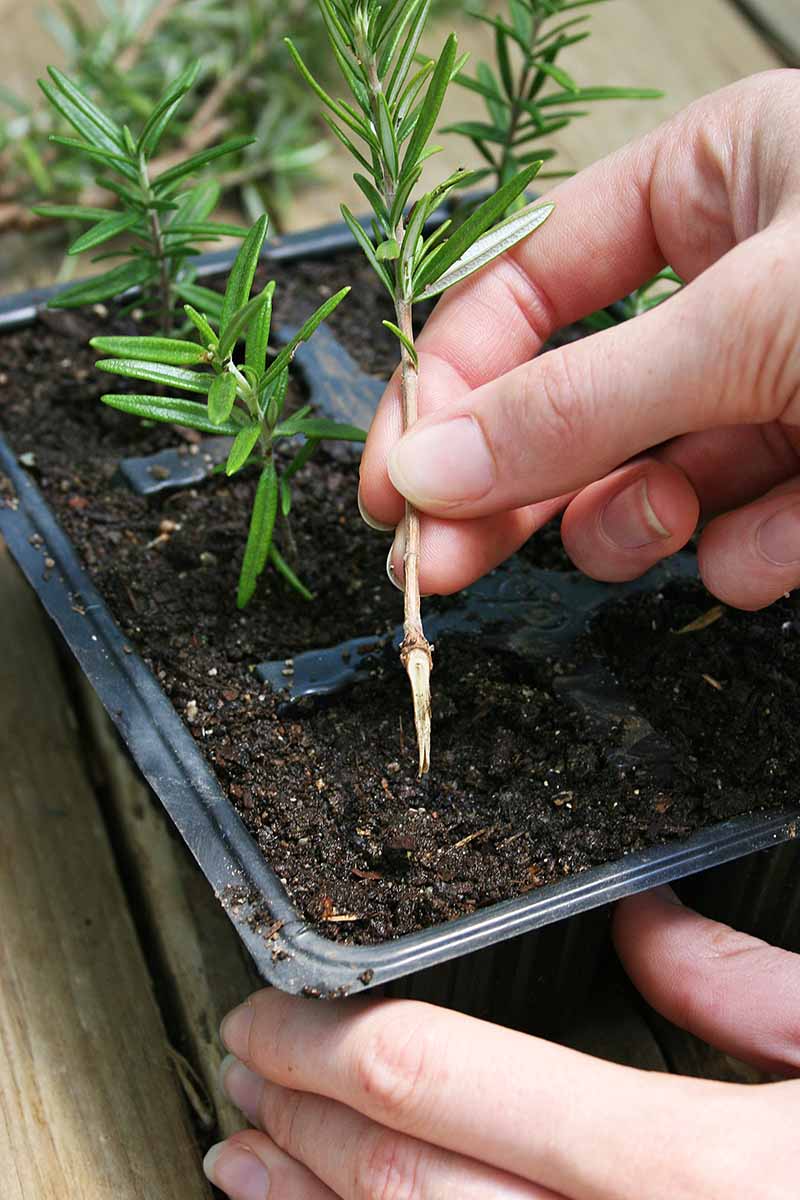
After a few weeks, you can check for rooting by pulling gently on stems. If you feel resistance, this indicates that roots are forming.
At this point you can remove the plastic and move pots to a location that receives six to eight hours a day of direct light. Continue to maintain even moisture.
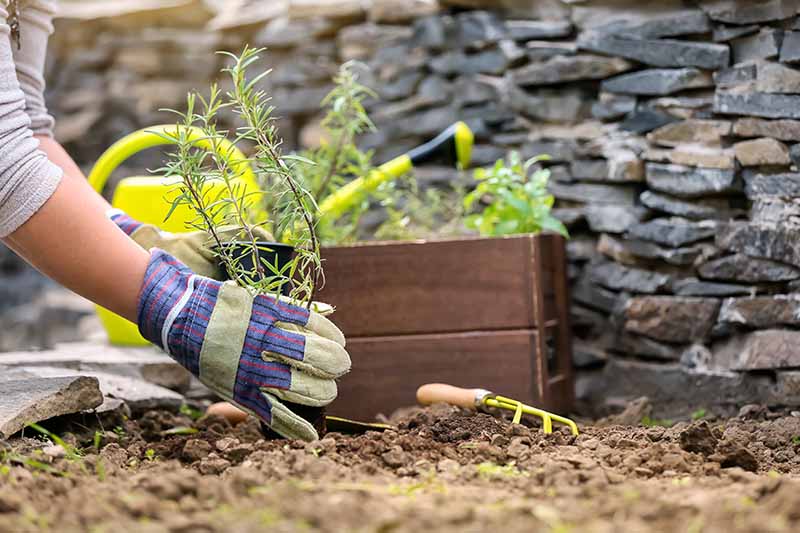
Once you begin to see new growth, this is evidence that roots are becoming established and you may transplant to a larger container or outdoors, provided all risk of frost has passed.

Before transplanting into the garden, you’ll need to harden off the new plants to acclimate them to the outside environment. Set them outside in a sheltered location for an hour on the first day, gradually increasing the length of time over the course of a week or 10 days.
Alternatively, you can set cuttings in water to root. After stripping the bottom leaves as described above, simply fill a jar or vase with room temperature water and place the stems in the jar, cut side down.
Only fill enough water to cover the bare part of the stem, leaving the foliage dry. Keep out of direct light and change the water every couple of days. New roots should form in a few weeks.
Once a stem has sprouted four to six roots of about half an inch long, transplant into two- to four-inch pots in a well draining potting mix that is equal parts potting soil and sand.

Make a hole in the soil and gently set cuttings, being careful not to damage the new roots in the process. Gently tamp the soil around the stem and water well.
Keep in indirect light until roots resist tugging, and then move to a bright location. Continue to water whenever the soil feels dry.
Once you see evidence of new growth, you can repot to larger containers or harden off and set them out in the garden after the last frost of spring has passed.
Via Layering
Another easy way to propagate rosemary is by layering. This is a method of training stems to develop new roots while still attached to the parent plant.
On an established plant, select a healthy stem that is long enough to easily reach the ground when bent.

Dig a trench two inches deep and an inch or so long in the spot where the stem reaches the ground.
Use a sharp sterile knife to strip the leaves and bark from the underside of the stem and set it in the trench, leaving two to three inches of foliage and stem intact at the tip.
Use a garden staple to pin the stem to the ground and refill the trench with soil.
Water the layered stems regularly until rootlets have formed and new growth appears at the exposed tip. You can check for new roots by digging very carefully around the buried stems. It can take up to a few months for new roots to form, so this method does take some patience!
Once plants have rooted, you can cut the stem away from the parent and carefully dig up the new plant.
Transplant into a pot or a new location in the garden and water regularly until well established.
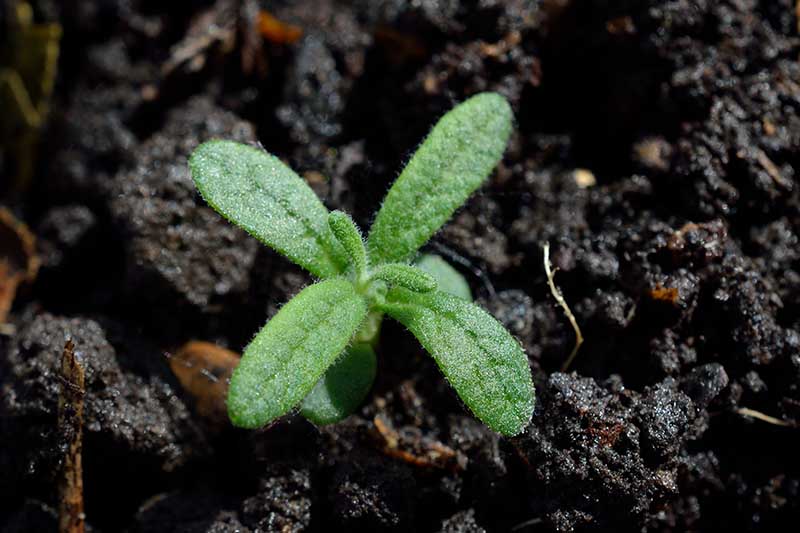
Starting from Seed
If you don’t have an established plant to start from or you are just up for a bit of a challenge, it is possible to start rosemary from seed. This herb is notoriously tricky to germinate, but there are a few tips for improving the outcome.
First, you’ll need to cold stratify the seeds. You can do this by wrapping the seeds in a damp paper towel. Place the towel in a sealed zip top bag in the fridge and leave it there for two to three months.
The process of growing rosemary from seed takes a while, so time this so that seeds are stratified and ready to be sown around six months before the last frost of spring.
When you are ready to sow your seeds, soak them overnight in warm water. Sprinkle seeds in flats or in two- to four-inch pots in your favorite seed starting mix. Barely cover with soil and top with a plastic lid or use a humidity dome. Germination rates are typically low, so it is a good idea to plant extra seeds.
Place out of direct light in a room that maintains a consistent temperature of around 55-65°F. If you have one, a heat mat set at 70-80°F can really help things along.
Mist lightly to keep the medium moist until germination. In the best case scenario, this should happen in two to four weeks, but it could take even longer.
As soon as seeds have sprouted, remove the plastic lid, and relocate to a location with bright light. If you are using grow lights, set pots about two inches from the light source.
Mist with a spray bottle to keep the surface of the medium moist, or ideally, set pots in a shallow tray to provide bottom water.
When they are three to four inches tall, you can transplant seedlings to individual pots or out in the garden after all risk of frost has passed.
An Abundance of Spice
If you are like me and prefer to use rosemary in almost everything you cook, you will not regret learning to propagate your own plants.
Not only will you avoid spending money on expensive starts, but you may just wind up with more plants than you know what to do with – why not give them as gifts to family and friends?
Have you ever propagated your own rosemary plants? Share what worked for you in the comments section below!
And for more information on growing rosemary in your garden, check out these guides next:


We have a huge rosemerry plant at the corner of sidewalk that we would like to split up into 5 or 6 plants and relocate them.
You might be better off taking half a dozen layerings. If you give the parent plant a thorough prune to half size before winter, it will want to grow more in spring. You can later parts of it into a 6″ pot (each) in spring and by late summer they should be well rooted for your new plants.
If the layerings work, then give the original plant a serious prune down to smaller than the size you want. Make sure you’ve got enough layerings to replace it in case it doesn’t like the excessive pruning.
Unfortunately, Rosemary can’t really be divided. Instead, you can easily make copies of the parent plant by layering or taking stem cuttings as described in this article. Once you have your new plants established you could try to carefully transplant the original elsewhere in the garden, or just dig it up and harvest it.