Delphinium spp.
Every spring, I hold my breath and watch the flower beds at the front of the house.
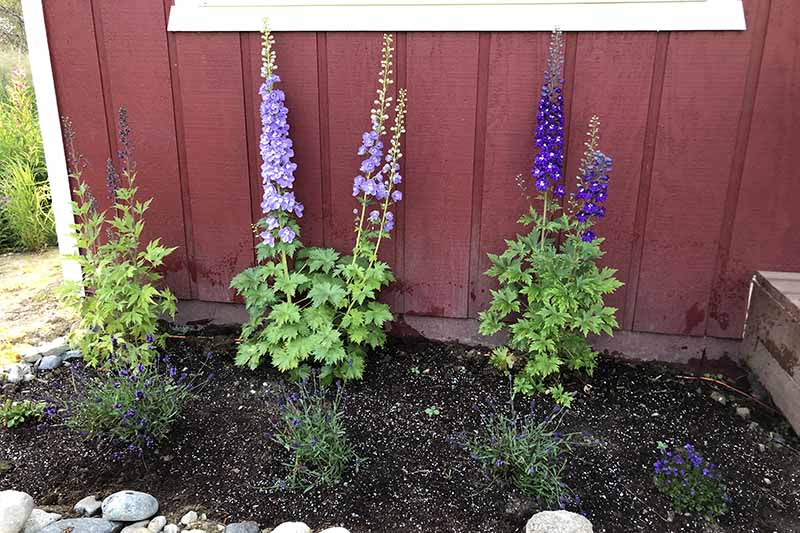
The first year that I lived in my little red Alaska home, I planted three delphiniums. And each year, I wonder if they will make it.
Have they survived the winter? Did my resident moose trample them to death in the muddy throes of spring?
It always amazes me when they push up new stalks through last year’s dead growth, promising brilliant blue-purple flowers to catch the sunrise.
We link to vendors to help you find relevant products. If you buy from one of our links, we may earn a commission.
But sometimes, they struggle.
In my quest to find out why, I learned a lot about growing these tall, stunning members of the buttercup family.
If you’re interested in growing delphiniums, or you’re struggling to care for the ones already growing in your garden, this guide will help you.
Here’s what I’ll cover:
What You’ll Learn
What Are Delphiniums (And Are They the Same as Larkspur?)
The most popular explanation for the name “delphinium” is that ancient Greeks (in 700-480 BC) thought the unopened buds with their telltale spurs resembled a dolphin’s nose.
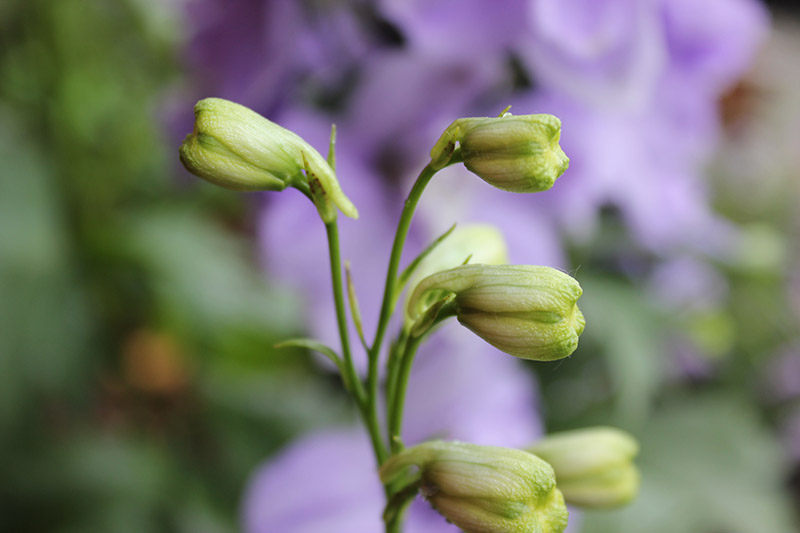
In ancient Greek, “dolphin” translates to “delphínion.” It’s easy to see how “delphinium” emerged from the word.
The flowers have been grown and cultivated in gardens since at least the 16th century.
I confess that when I first planted my three delphiniums, I called them larkspur. I have always loved the cheeriness of that word and wanted that to be their name.
But it’s not… quite.
To disentangle the nomenclature of these elegant blooms, let’s start with the Ranunculaceae family, of which buttercups, clematis, monkshood, and columbine are also members.
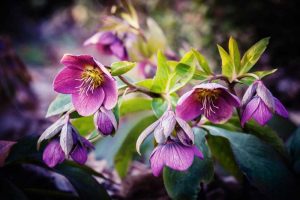
The five largest genera in the family Ranunculaceae are: Ranunculus, Delphinium, Thalictrum, Clematis, and Aconitum. But there are also Consolida, Helleborus, and over 30 others.
It’s commonly thought that annual larkspur was once included in the Delphinium genus.
But larkspur’s classification into the genus Consolida was recognized as early as 1965, according to a 1967 article by Philip Munz in the Journal of the Arnold Arboretum, published by Harvard University.
Still, many gardeners refer to both true delphiniums and true larkspur by the name “larkspur.”
Under the USDA’s classification report listing for the genus Delphinium, you’ll see it listed as the genus for all plants with the common name “larkspur” – and Consolida is saved for plants with the common name “knight’s-spur.”
It’s all rather perplexing. And to make things worse, the plants look like twins, or at least lookalike sisters.
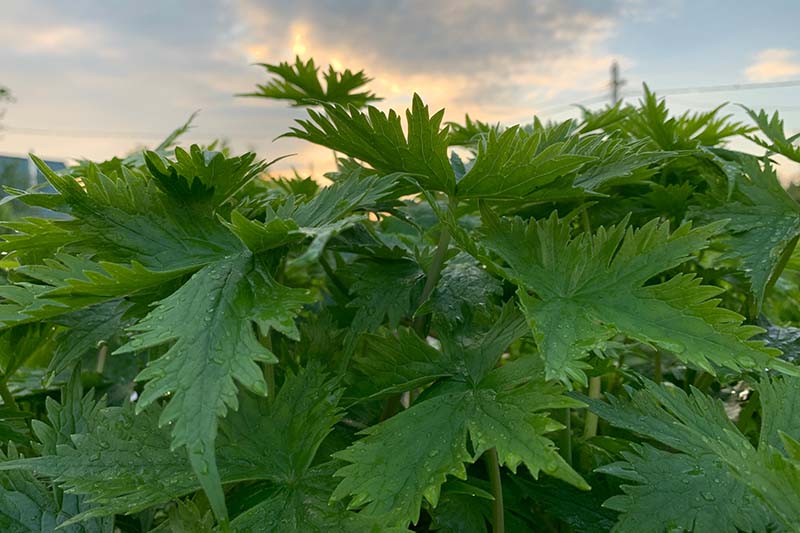
Both plants feature heavily lobed leaves that cluster at the bottom of upright spiked columns bearing dozens of blooms.
But if you study them closely, they have two noticeable differences:
- True delphiniums are short-lived perennials, while larkspur are annuals.
- Delphiniums tend to have larger, more densely clustered blooms, whereas larkspur are more delicate and spaced further apart.
Common perennial delphinium species include D. elatum, D. grandiflorum, and D. chelianthum.
We’ll take a quick look at the common botanical groupings that have arisen from these species in a moment.
One thing both flowers have in common is that every part of them is toxic to humans and animals if ingested.
This is true of many flowers in the buttercup family, but as long as you keep your young children and pets from eating them, you can enjoy their beauty without fear.
Plus, they’re said to taste bitter and acrid. Not exactly light snacking material.
Cultivation and History
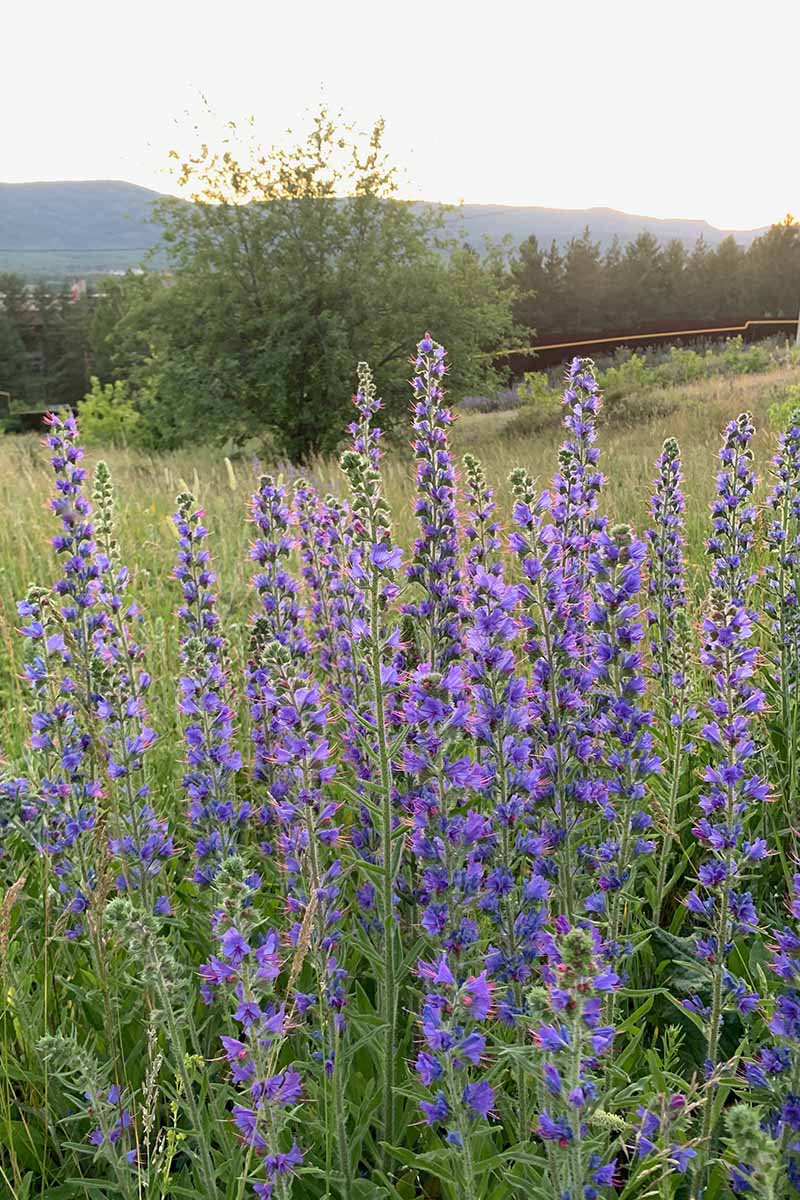
Delphiniums don’t have one specific region of origin, but they’re found in the wild in most of the Northern hemisphere and parts of high-elevation, mountainous Africa.
By and large, delphiniums prefer cold weather and most types thrive in USDA Hardiness Zones 3-7, though some will do alright in Zone 8.
Because they take a year to produce blooms, it’s best not to try to grow them as annuals in warmer or cooler growing zones.
But their cousin, larkspur (D. ajacis or Consolida ajacis) is perfect for that.
Of the delphinium cultivars that adorn our gardens today, several are hybrids.
Victor Lemoine, the 19th-century French flower breeder famous for his work with lilacs, led the early hybridization of D. elatum, from which many of today’s popular cultivars are derived.
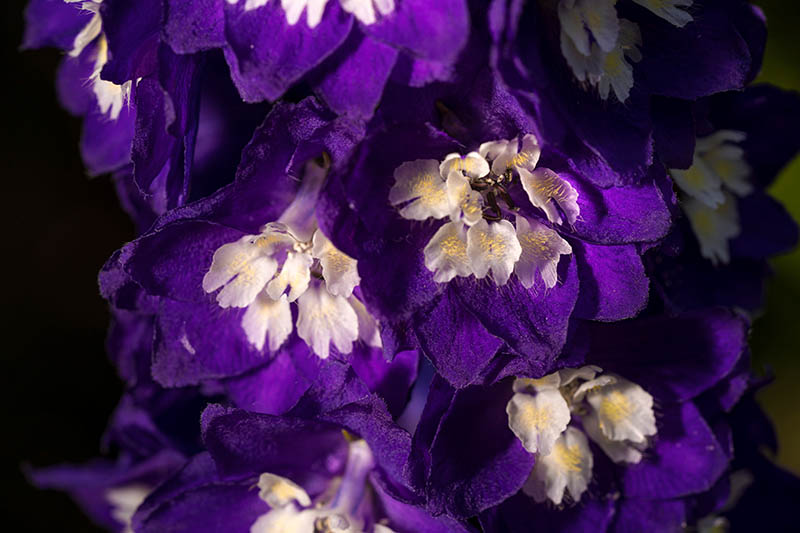
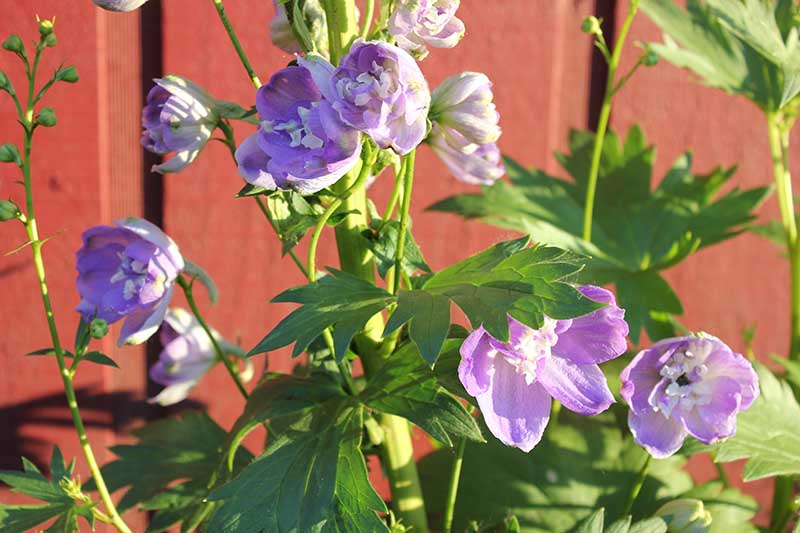
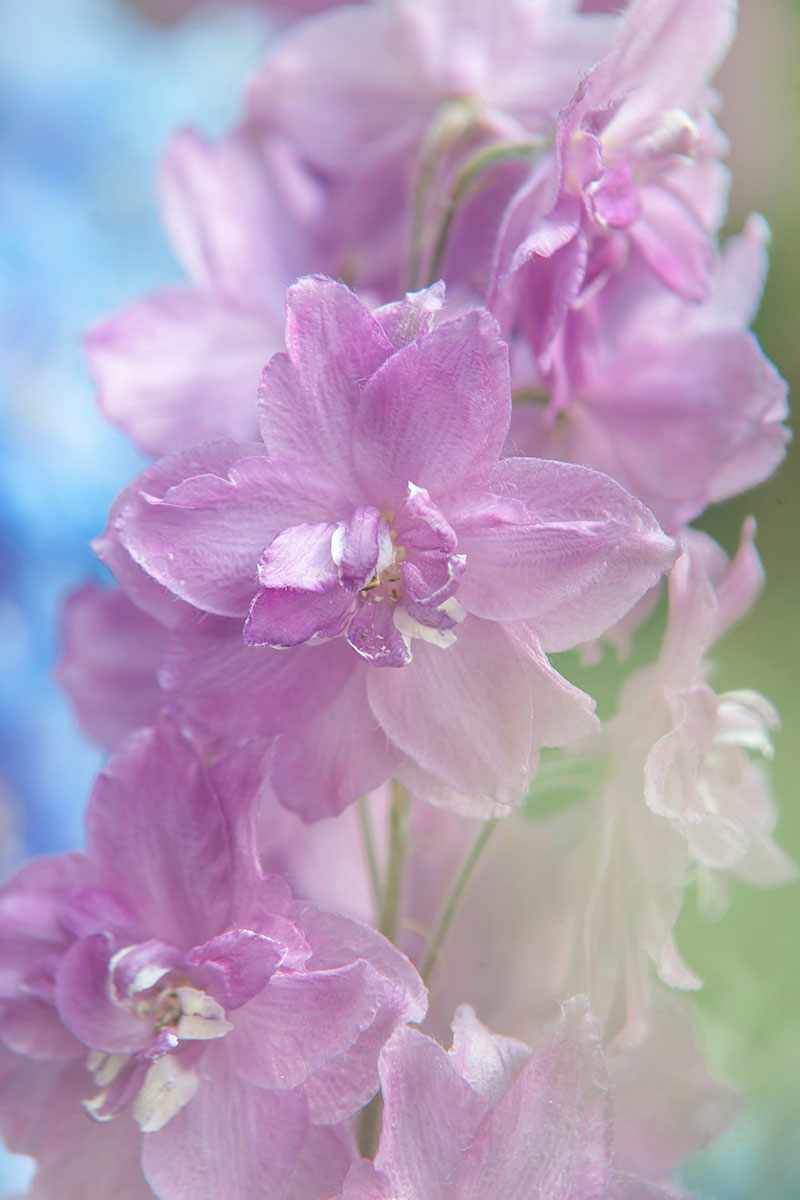
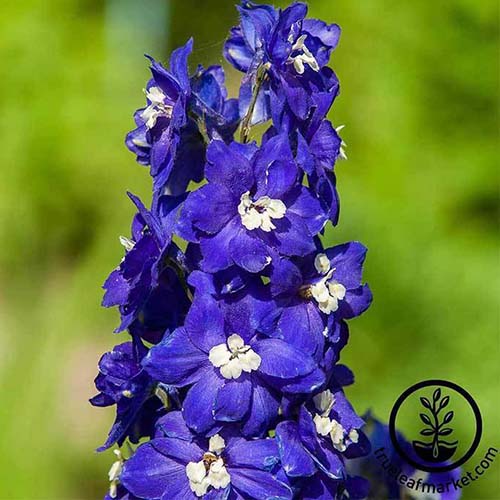
Delphiniums come in various shades of blue, purple, white, pink, lilac, and sometimes even yellow or red, although this is rare.
Each bloom has a small cluster of petals in the center, called the “bee.”
To get a better understanding of the different varieties out there, let’s take a look at their botanical groupings:
Belladonna Group
D. x belladonna is a cross between D. elatum and D. cheilanthum. The delicate blooms aren’t clustered as tightly as they are in other varieties.
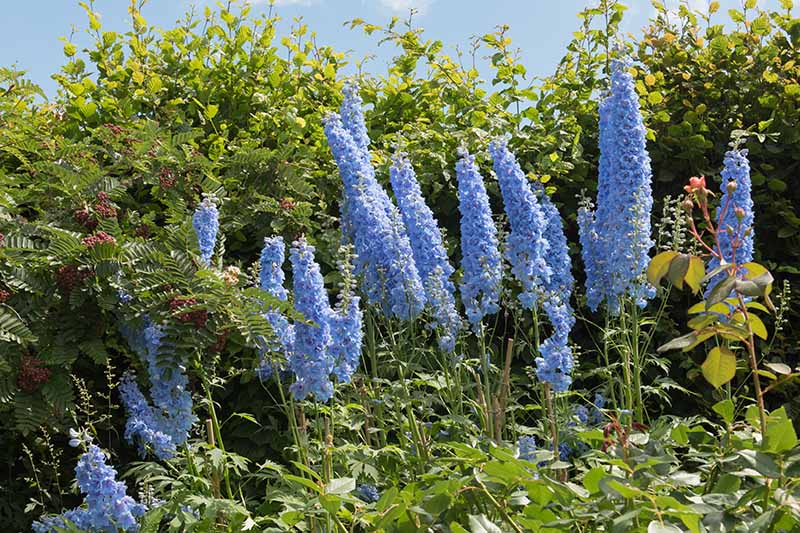
Plants in this group generally feature flowers in shades of blue or white, and the stalks grow up to four feet tall.
Elatum Group
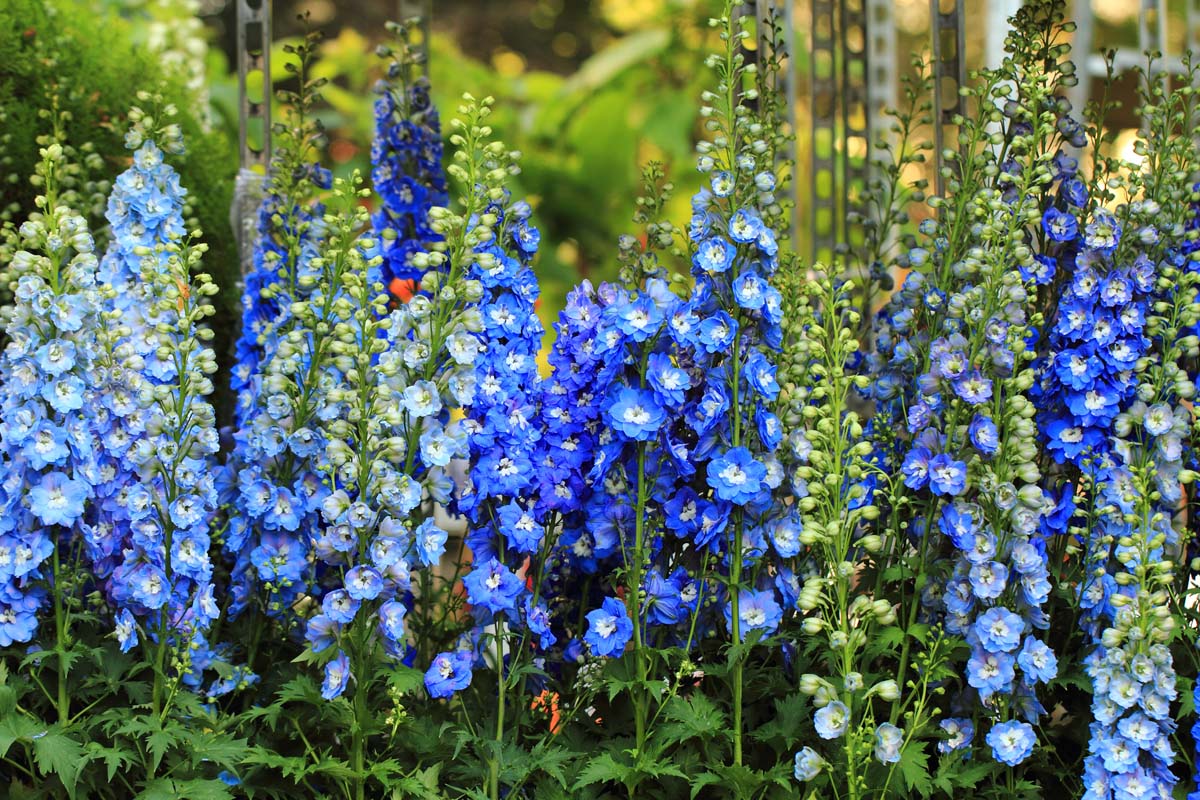
Plants in the Elatum Group (D. elatum cultivars) can grow up to eight feet tall, although several shorter varieties exist.
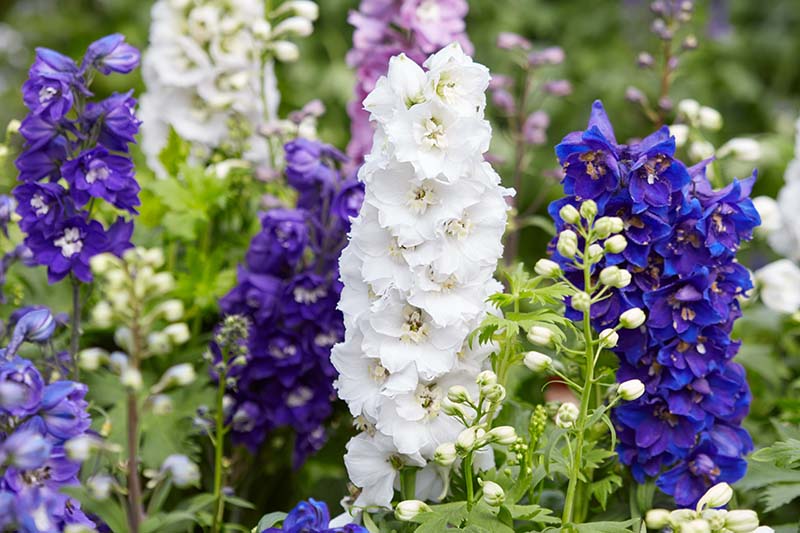
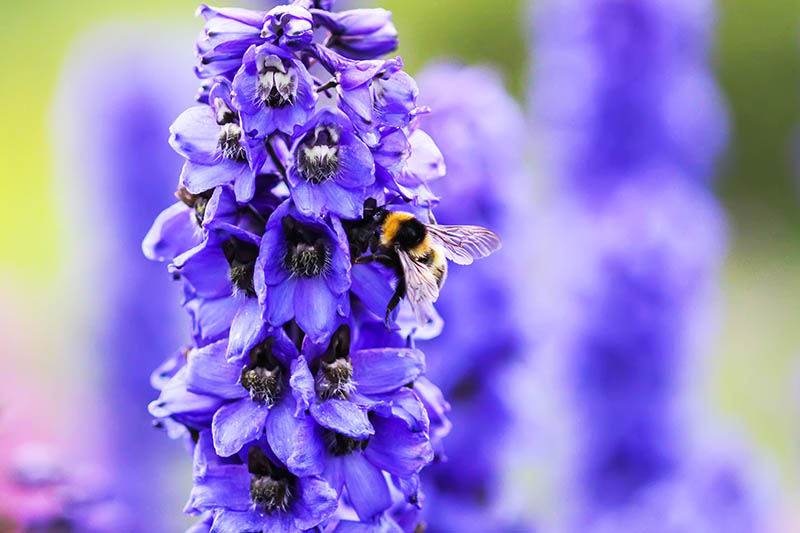
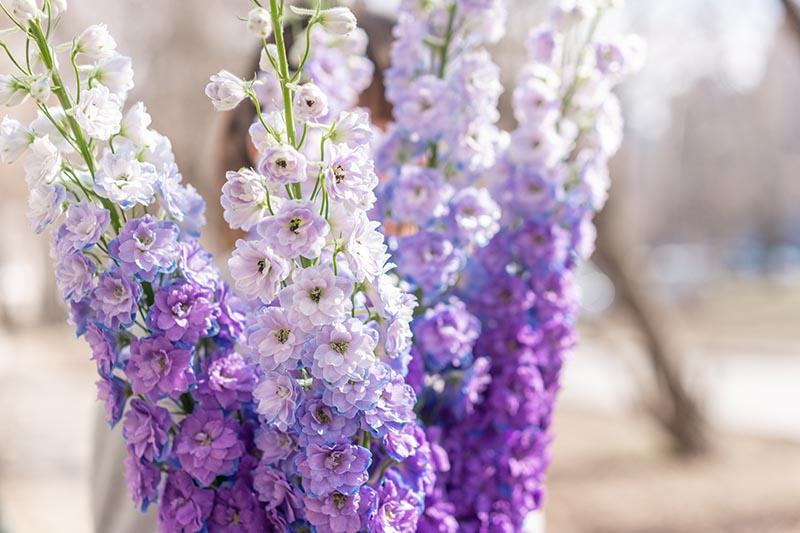
These densely-clustered showstoppers come in brilliant purples, blues, pinks, and white.
Grandiflorum Group
The Grandiflorum Group contains cultivars derived from, D. grandiflorum, also known as Chinese delphinium.

Flowers in this group are dwarf varieties that tend to grow with a bushy habit, instead of being tall and skinny. They’re also known for their higher tolerance for warm summers and grow comfortably in Zone 8.
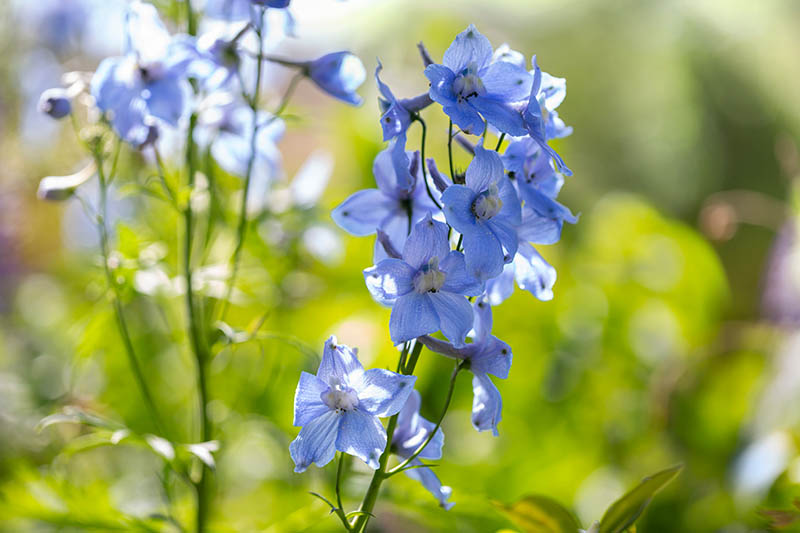
Flowers tend to be loose instead of tightly bunched together, and their color is a light to deep blue.
Delphinium Propagation
There are two ways to propagate delphiniums: from seed or from stem cuttings.
Alternatively you can start with nursery-grown seedlings or mature plants.
Transplanting mature plants from the store that are just about ready to flower is the fastest way to get a burst of color in the garden.
Growing from seed is a thrilling challenge you can begin in the depths of winter in many places.
And taking a cutting from an existing plant is a relatively quick, fun way to propagate new blooms that’s perfect as a project to do with children.
From Seed
Unlikely as it may seem, it’s easy to propagate these towering buttercup cousins from seed.
Since most cultivars available for purchase are hybrids, seeds don’t often produce true to the parent plant. It’s best to purchase seeds from a nursery to get the colors you want.
Below, you’ll find instructions for both indoor and direct sowing.
Indoor Sowing
Those of us in Zones 3-6 should start seeds indoors 8-10 weeks before the average last frost date in the spring.
You can sow the seeds indoors at this time in Zones 7 and 8 as well, or you can simply direct sow in the garden as your soil is likely to be warm enough.
To sow the seeds, fill a set of starter trays with seed-starting mix.
It’s wise to plant several seeds at once, if not the entire packet, because delphinium seeds lose their viability after one year in storage.
Up until you’re ready to plant them, keep seeds sealed in an airtight container in the refrigerator.
While seed stratification isn’t strictly necessary, it can help the seeds germinate.
To further improve the germination rate, try wrapping seeds in slightly moist paper towels in an airtight container, and refrigerating them for three days before planting.
When you’re ready to plant, make a shallow divot in each tray with your finger. And I’m talking shallow, as in 1/8 of an inch deep.
The seeds are large-ish and chunky, but that old rule about planting to the depth of the seed doesn’t apply here.
Cover lightly with soil and spray to moisten.
You only want to spray the topmost layer of soil to prevent it from drying out. Seeds are prone to rot if they get too wet, so take care not to overwater them.

You’ll also want to keep the seeds warm until they germinate, which can take up to three weeks. For best results, the soil temperature should be kept between 65 and 75°F.
Use a heat mat, like this one from the Home Depot, to regulate the soil temperature.
As soon as the tiny sprouts emerge, the seedlings will be happy in cooler temperatures.
As soon as germination occurs, you might want to mix a fungicide like Fungastop, available from Arbico Organics, with water according to package instructions and use the mixture to water your newly emerged seedlings.
This will help give them a head start in fending off the various fungal issues delphiniums face throughout their lifetimes, including damping off.
Learn more about damping off and how to prevent it in this guide.
Keep the seedlings on a sunny windowsill where they receive at least six to eight hours of sun every day.
Or, put them under a grow light for at least eight to 10 hours a day. Keep the light close, about one to two inches away from the seedlings, and adjust the lamp as the plants grow.
Using a grow light will help to keep them from becoming leggy and weak since they won’t have to reach for the light, a common problem when starting seeds indoors.
As soon as the young plants have two sets of true leaves, it’s time to replant them into their own four-inch containers.
This will allow them extra space to stretch out and develop strong root systems. Since the plants grow tall, most will need staking.
Ecoscraps All-Purpose Plant Food
When you transplant the young seedlings into their new pots, it’s a good time to apply a 5-5-5 (NPK) fertilizer to the soil, like this one from the Home Depot.
By sticking to a lower-strength fertilizer, you avoid the risk of overfeeding your young plants.
The flowers aren’t likely to bloom the first summer after you plant them, but you’ll be in for a treat in their second year of growth when they produce their first towering spikes.
Direct Sowing
If you live in a warmer area – Zone 7 or 8 – you can sow seeds directly into your outdoor flower bed two weeks after the average last frost date
To make sure the soil is rich and well-draining, amend it with compost or well-rotted manure before planting.
If the soil is thick and clay-like, adding perlite or gardening sand can help loosen the soil and improve drainage.
The area should also receive at least six, preferably eight, hours of sun per day. That said, partial afternoon shade is welcome, especially for those of you who are gardening in warmer climes.
Sow the seeds 1/8 inch deep and lightly cover with soil. Keep slightly moist, but take care not to overwater.
Seeds will germinate in anywhere from 10 days to three weeks, so be patient! Once they have three sets of true leaves, thin the plants to stand 18 inches apart.
As you would with seeds grown indoors in trays, you can mix fungicide into the water at this point to give them an early advantage against damping off.
Keep the flower bed weeded and evenly watered. To check the moisture of the soil, stick your finger down one inch. If you feel any dampness, hold off on watering for another day or two.
And keep in mind that the plants won’t bloom until the following year.
From Stem Cuttings
Do you already have a delphinium plant or two growing in your garden, and you want to have about twenty more? (That’s me!)
Okay, maybe not that many more, but you know what I’m saying. These blooms are seriously addicting.
Or maybe a friend of yours is willing to donate a cutting to you, and you want a clone of her exact plant. While most delphinium seeds aren’t going to grow true to the parent plant, cuttings are.
So if your friend has a true-blue delphinium and you want one too, ask if you can take a cutting.
The two best times of the year to propagate these flowers from cuttings are:
- In the spring when growth is re-emerging after winter dormancy
- After the first flower spike has bloomed and been cut down to allow new growth to flourish
Here’s how you can propagate a new delphinium from a cutting.
First, the tools:
- One clear plastic cup or container for each cutting, filled with a mixture of half potting mix, half sand or perlite
- A garden knife or kitchen paring knife
- A glass of water
- Rooting hormone, if desired
Now, look at the base of your plant and find a one- to three-inch side shoot. Dig down into the soil a bit, as you’re trying to get some of the hardwood stem in with your cutting as well.
Using a paring or gardening knife, cut cleanly through the basal stem.
Clean the stem with cold water and remove all but one or two leaves. This will help the plant to focus its energy on growing roots. Once roots are established, new leaves will come.
Put the stem or stems in the glass of water to keep fresh until you move them into the clear cups with the sand/perlite and potting soil combination.
Olivia’s Rooting and Propagation Gel
Before you put them in the cups, you can dip them in powdered rooting hormone or this cloning gel from Arbico Organics.
This may help them develop roots faster, but it’s not strictly necessary to do this.
Then, gently ease them into the potting mixture.
Keep the cuttings cool and shaded, out of direct sunlight, and water them every two to three days. Think of them as delicate newborns that need lots of care and attention until they start growing roots!
If all goes well, you should see a nice root system developing at the base of each cup within three to four weeks.
Now you can transplant each cutting into its own pot to let it develop a strong root system before transplanting it out to the garden in the fall.
Transplanting Seedlings or Nursery Starts
Did you purchase a beautiful delphinium from a nursery? Or are the seedlings or cuttings you grew ready to find their home in your garden?
Here’s how to transplant your delphiniums into your garden or flower bed.
First, select a location that receives at least six hours of sunshine daily, if not more. Prepare the soil in the bed by making sure it’s loose, well-draining, and rich in nutrients.
Add well-rotted manure or compost to your flower bed, along with gardening sand or perlite to help improve drainage.
You’ll want to give each plant at least 12-18 inches to grow, so dig your hole at least a foot away from other plants, including other delphiniums.
The hole should be as deep as the root ball you’ll be planting, and twice as wide.
Gently remove the plant from its container, taking care not to disturb the root ball.
Carefully place the root ball inside the hole and backfill with soil. The soil should cover the root ball, but not the stem.
Water the plant slowly and thoroughly with about one inch of water. Now is a good time to apply fungicide as well, by adding it to the water according to package instructions.
Seriously, delphiniums need as much fungus-fighting help as they can get.
That’s all there is to it!
How to Grow Delphinium Flowers
Delphiniums love rich, nutritious soil with a neutral to slightly acidic pH between 6.5 and 7.0.
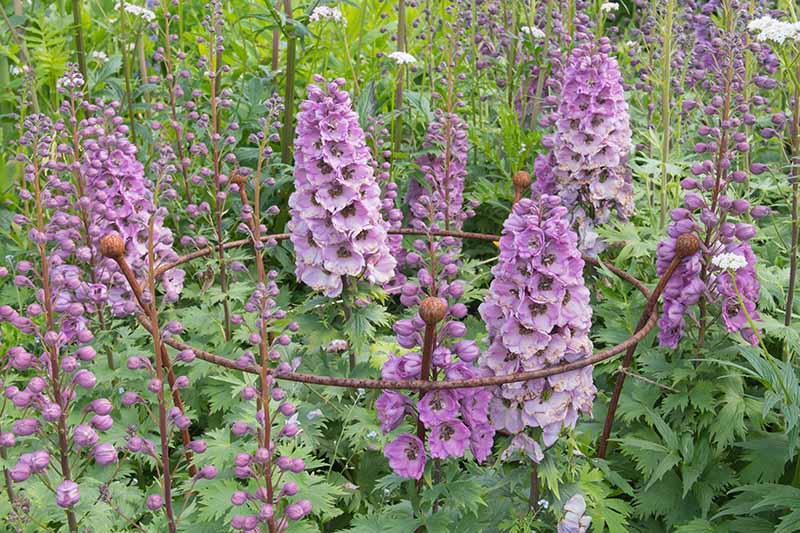
If you want your delphiniums to stand tall, you’ll have to stake them when they’re young.
With their immense stature and hollow stalks, the flowers are susceptible to breakage in wind and rainstorms.
I failed to support my delphiniums, and as a result they’re a little crooked. I still think they’re lovely, but next year I’ll be staking them early on in the season.
The easiest way to stake delphiniums is to find a plant support hoop, like this one from the Home Depot, and make a grid inside the hoop with garden twine.
As the plant grows, you can add, adjust, or remove the twine as needed.
The best part about using this method to stake your delphiniums is that before long, the lush palmate leaves will cover the grid.
You won’t even be able to see it, but the support will be there.
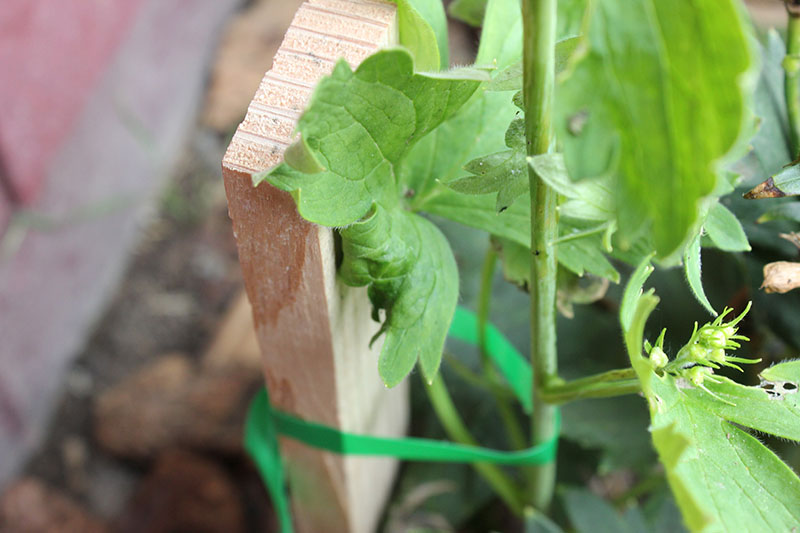
Another way to stake the plants is to drive a simple wooden stake into the ground behind each one, and use garden tape or twine to secure the stalk to the stake.
As the plant grows, adjust the twine to support the growing flower stalk.
That’s all there is to it. Water the plants once or twice a week with an inch of water, or more if it doesn’t rain.
To check the moisture level, stick your finger down one inch in the soil. If you feel any moisture at all, hold off on watering for another day or so.
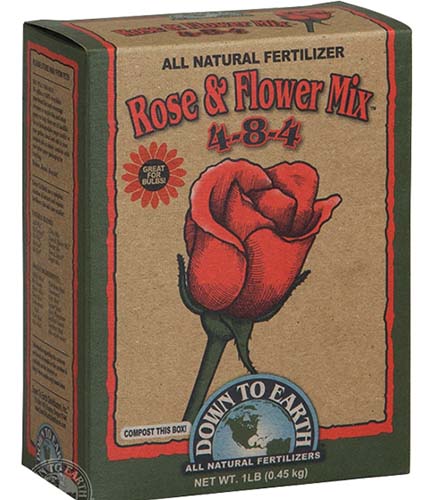
Down to Earth Rose and Flower Mix All Natural Fertilizer
To keep the blooms happy and healthy, add a flower-specific fertilizer, like this one from Arbico Organics, every two to three weeks according to package instructions.
Growing Tips
- Stake or grid-support your plants early on and adjust as needed as they grow
- Water once or twice a week, keeping evenly moist but not wet
- Fertilize every two to three weeks with a rose or flower fertilizer
Pruning and Maintenance
Monitor the age of your perennials relative to the number of flower spikes they have.
A one-year-old plant should be allowed to grow one flower spike. Prune away any additional spikes before they flower.
In the second year, allow up to three spikes to grow, pruning away any others as they appear.
By the third year, you can let five spikes grow.
After this, the plant will be well established and prepared to support any amount of spikes it wishes to sprout.
By pruning the plant this way in its first three years, you will allow it to develop a strong, healthy root system that supports a long, spiky life.
Otherwise, the delphiniums may get tired and stop producing spikes after just three or four years, as opposed to eight or 10.
Once the flower stalks bloom all the way to the top and then wilt, it’s time to prune them off to encourage the plant to focus on growing side shoots.
To prune, simply use kitchen scissors or pruning shears to cut the flower stalk down to where the leaves begin.
Especially if the plant exhibits any signs of pest activity, it’s a good idea to burn the spent flower stalks or dispose of them far from your still-growing flowers.
This lessens the chances that any pests or disease pathogens on the cut stalk can make their way back to your flowerbed and wreak havoc.
When all the leaves turn yellow in the fall, cut the entire plant back down to the crown, or base, and fertilize one last time.
This will help it stay happy through winter dormancy and emerge healthy the following spring.
Delphinium Series and Cultivars to Select
Listed below are the two most popular delphinium series, along with my favorite cultivars in each:
New Zealand Hybrids
Famous for their ‘New Millennium’ cultivar, Dowdeswell’s Delphiniums is a New Zealand-based, world-renowned breeder of the gorgeous flowers.
These cultivars are mainly derived from D. elatum and are sold in nurseries in New Zealand, the United States, Canada, and the United Kingdom.
New Zealand Hybrids come in a range of blues, pinks, purples, and white.
A dwarf variety that only grows to about a foot tall but is lovely and showy nonetheless, ‘Mini Stars’ is a popular New Millenium series cultivar from New Zealand.
The shorter spikes don’t require staking, and come in colors ranging from violet to pink to white.
If you’d like to grow delphiniums in a container, ‘Mini Stars’ is an excellent option.
Pacific Hybrids
We can thank 20th-century plant breeder Frank Reinelt for ‘Pacific Giant’ and other cultivars in the Pacific Hybrids series, developed from the D. elatum species.
Pacific Hybrids grow to about six feet tall and are popular with gardeners in the cooler regions of the United States.
They come in dark and light shades of blue, lavender, purple, pink, and white.
Blue Bird
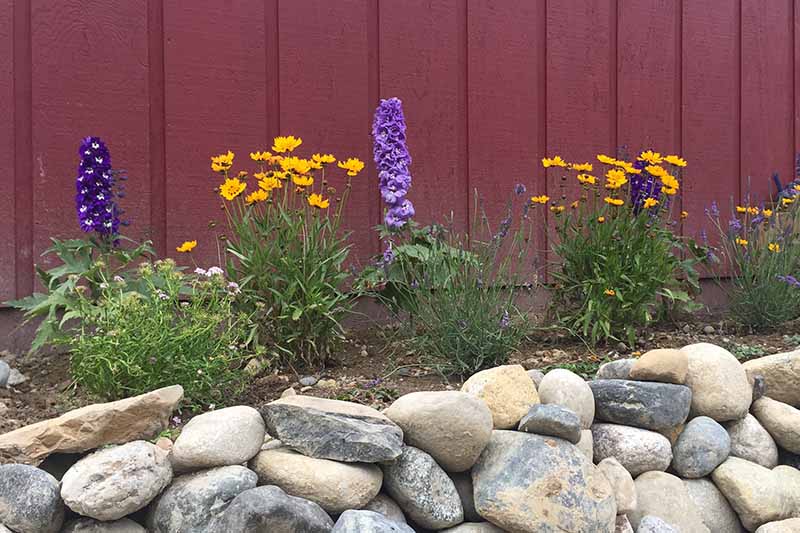
A cultivar from the Pacific Giant series, ‘Blue Bird’ looks stunning against the backdrop of my red house, and it’ll do the same for you.
Mine is now nearly four feet tall and I expect it to grow up to five feet in the next year or so.
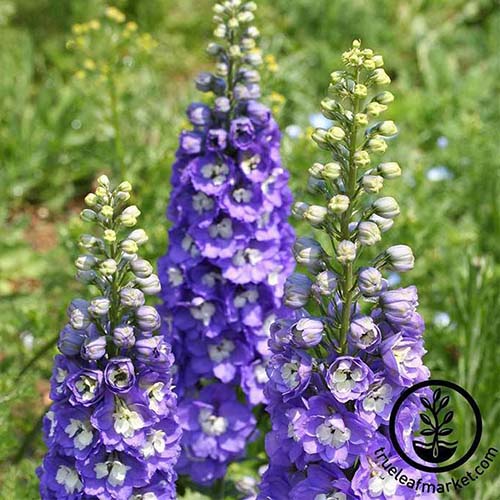
‘Blue Bird’ has a pretty white bee to contrast the violet-blue hue of the petals – which look amazing in a vase, by the way.
Find seeds in a variety of packet sizes available at True Leaf Market to get started with your gorgeous delphinium garden.
King Arthur
This deep purple flower adds a stunning show of color to any garden or flowerbed, and it’s one that I originally planted in front of my house here in Alaska.
A Pacific Giant cultivar, ‘King Arthur’ grows up to five feet tall with densely layered blooms that are sure to lift your spirits in an instant.
Find seeds in a variety of packet sizes available at True Leaf Market.
Want More Options?
Be sure to check out our follow up guide, “19 Dazzling Delphiniums for Your Flower Beds.”
Managing Pests and Disease
While delphiniums aren’t troubled by tons of pests or diseases, the ones they are susceptible to can attack with vigor and weaken the plants within days.
Trust me. I lost one beautiful three-year-old plant to aphids this year, unlikely as it may seem.
This section will help you to know what to watch for, and how to help affected plants.
Insects
Let’s start with the creepy-crawlies that are most likely to hurt your blooms: aphids, mites, and slugs.
Aphids
At first, I thought the blackish spots I saw on my delphiniums were specks of dirt that had somehow gotten carried up onto the leaves and stems.
Busy with getting my new garden planted, I didn’t take a closer look right away.
But I should have. By the time I got close enough to my delphiniums to see what was really going on, this is what I saw on my smallest plant:
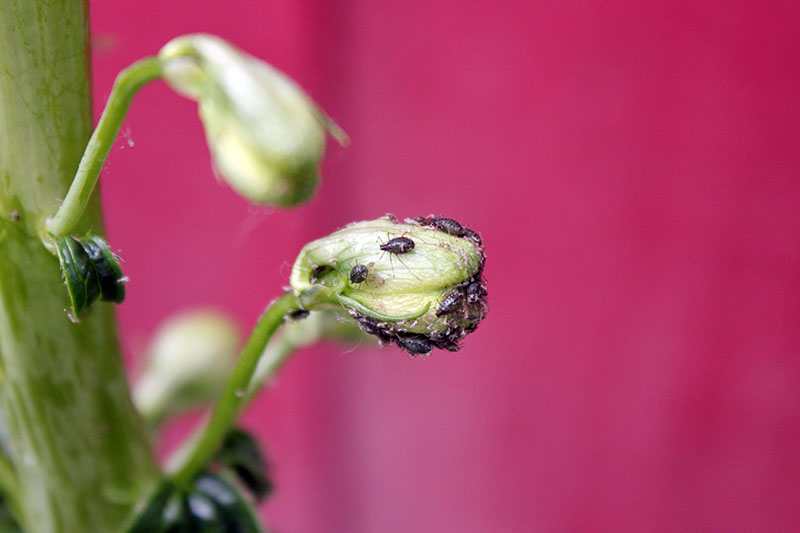
My larger plant was also infested, but to a lesser degree. Still, the aphids were sucking the juices right out of the buds, stalks, and leaves.
I knew that if I didn’t do something quickly, the plants would suffer.
I grabbed an organic insecticide I had on hand and thoroughly sprayed the two infected plants with insecticidal soap.
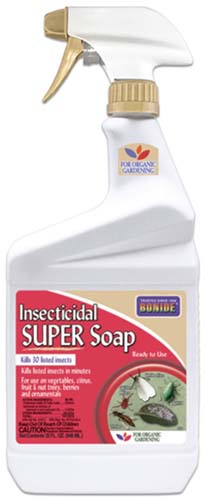
Bonide Insecticidal Super Soap
You can find Bonide Insecticidal Super Soap at Arbico Organics.
The next day I sprayed the delphiniums with the hose to remove all the deceased aphids.
After that, I applied a neem oil and water mixture to the plants to help ward off recurring infestations.
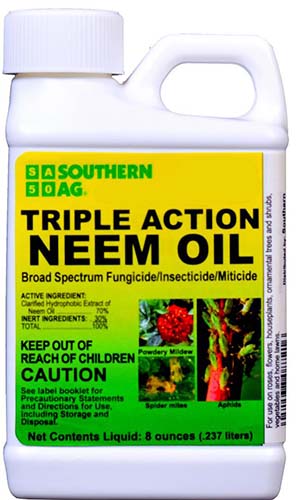
I followed the package instructions on the back of this neem oil, available at Home Depot, to make my aphid-combating spray.
This whole procedure definitely kept the aphids off of Plant Number Two and the as-yet unaffected Plant Number Three, but poor little Plant Number One, which had the worst infestation, kept getting worse.
I’m pretty sure the aphids paved the way for some sort of fungal disease, because the leaves wilted and the stalk became brittle.
Even with repeated neem oil and insecticide applications, the plant couldn’t shake the aphids.
They kept coming back, albeit in much smaller numbers than before, and continued to drain the life out of my precious perennial.
Eventually, I made the sad decision to pull the plant and burn it, and drenched the soil it had been living in with fungicide and neem oil in an attempt to keep the disease from spreading.
So far, the two other delphiniums are thriving.
My three-year-old plant is rife with buds and blooms…

And my baby two-year-old is growing its second spike, a little side shoot.
The moral of my story is this: check your delphinium stalks, leaves, and buds daily to make sure there aren’t any aphids around.
And if you do see aphids, get rid of them before they literally suck the life out of your beautiful plants or cause them to get sick.
You can read more about dealing with an infestation in our complete guide to aphids.
Mites
There are two types of mites that plague delphiniums: cyclamen mites (Phytonemus pallidus) and broad mites (Polyphagotarsonemus latus).
Both types are microscopic tarsonemid mites that inject toxic saliva into your plants, causing lots of damage.
Here are the telltale signs that your flowers are being attacked:
- Leaves that start to curl inward or twist
- Blackened leaves and/or buds
- Brittle or streaked leaves
- Shriveled or discolored flowers
You can use a miticide like Mite-X, available from Arbico Organics, to restore your plants to good health.
It’s also crucial to clean and disinfect your gardening tools and gloves in between handling infested and non-infested plants, to limit the spread of the mites.
Slugs and Snails
When I lived in Oklahoma several years ago, I used to wake up after a rainstorm, turn on the light, and gape in horror at the fat, slimy slugs tracking across my kitchen floor.
They squeezed in through impossibly small cracks under the French doors, and I hated them with a passion.
I don’t love slimy things. And snails are no better: they’re just slugs with a cool shell to make them seem less icky.
Here in Alaska, I initially didn’t expect to see slug damage on my plants. But when we have a rainy summer, the telltale holes begin to appear.
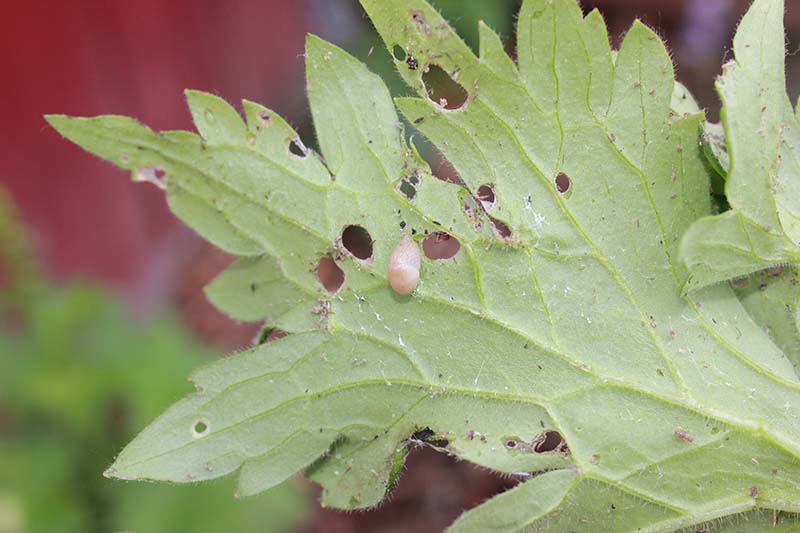
The slugs that plague my plants are small. Can you spot the slug in the photo above?
But they are everywhere. They will eat through leaves and cause young plants to wilt and die before they ever have a chance to produce a flower spike.
My line of attack is to use Snails & Slugs Spray, available from Arbico Organics, or Corry’s Slug and Snail Killer, available from the Home Depot.
You can learn more about controlling slugs and snails in this guide.
Disease
The three most common delphinium diseases are bacterial leaf spot, crown and root rot, and powdery mildew.
Below, you’ll learn how to tell which disease is which and how to help plagued plants.
Bacterial Leaf Spot
As its name suggests, bacterial leaf spot causes small black spots to appear on delphinium leaves. Untreated, the spots grow larger and larger until they eventually turn the entire leaf black.
While difficult to treat with bactericides, a copper fungicide, like this one from Arbico Organics, can help you to manage bacterial leaf spot.
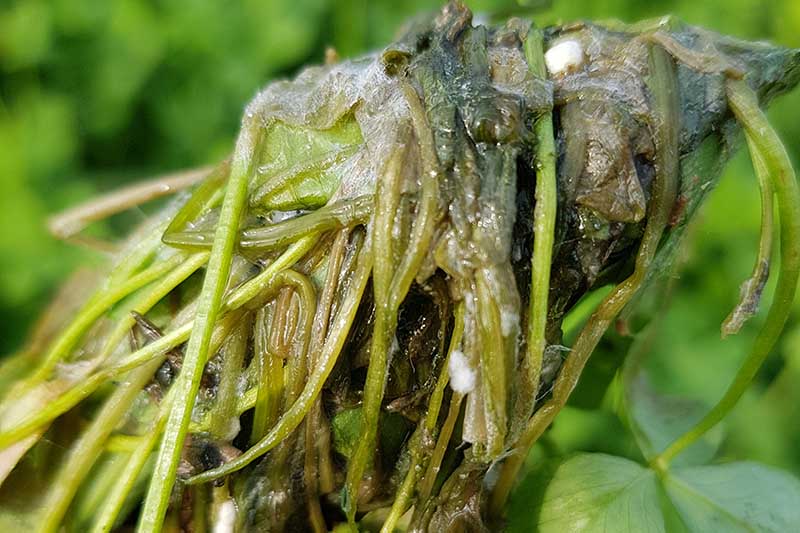
Crown Rot and Root Rot
Crown and root rot are deadly diseases caused by the fungi Pyhytophthora spp., Pythium spp., Rhizoctonia solani, and Fusarium spp.
To prevent your flowers from developing these diseases, make sure to plant them at least a foot apart to maintain adequate airflow.
Also, remember to keep the plants evenly moist, rather than wet. Avoid watering from above to help keep the foliage and flowers dry.
The signs of crown rot and root rot are yellowing leaves at the base of the plant, and rotted roots when you pull the plant.
If your delphinium develops yellowing leaves, you touch a stem to inspect it, and the stem breaks, you very likely have lost your plant to crown or root rot.
If you suspect crown or root rot, pull the plant and burn it or dispose of it in the garbage, away from the compost pile.
Drench the soil in fungicide or remove all parts of the soil that touched the plant and its roots.
Some types of fungi can live in the soil for a year or more, so avoid planting delphiniums or any other woody perennials in the same area for four years.
Powdery Mildew
Applying a preventative fungicide to your growing plant can help to ward off this common fungal infection, caused by the pathogen Erysiphe polygoni.
It occurs especially in dry, humid areas or during similar spells of weather in otherwise rainy areas.
If your delphinium leaves start to sport the dry, white, mildewy growth that’s a telltale sign of powdery mildew, here’s what to do:
First, remove the most heavily infected leaves. Be careful to only remove two or three leaves total from each plant.
You don’t want to take away enough leaves to affect the plant’s growth, but you do want to prevent the spread of the mildew from the affected leaves to healthy ones.
Second, spray the remaining affected leaves, as well as those that haven’t yet been affected, with fungicide.
Monterey Liquid Copper Fungicide
This liquid copper fungicide, available from Arbico Organics, is an excellent choice.
Reapply every seven to 10 days and watch the delphinium grow and thrive with no mildew in sight.
Dwarf varieties look lovely grown in containers on a back deck or front porch, and all varieties make excellent floral bouquets.
Best Uses for Delphinium Flowers
Delphiniums look absolutely lovely in a front flower bed, against a backdrop of red, gray, yellow, green, teal…
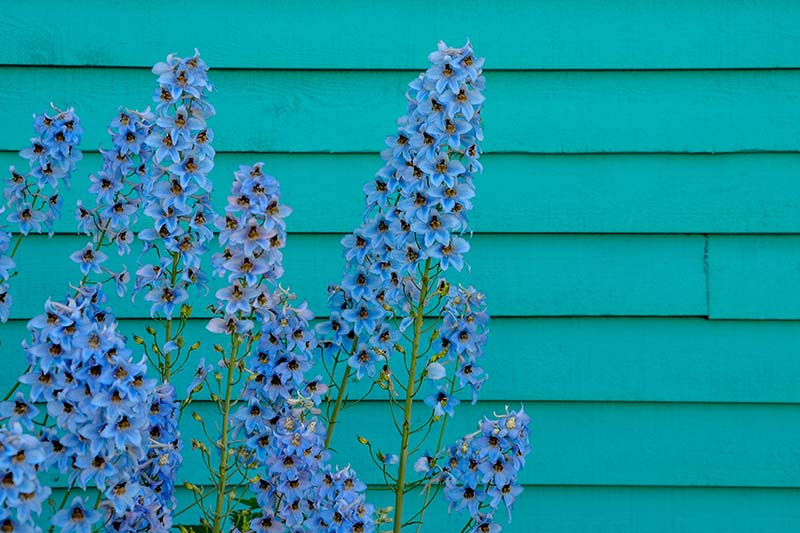
Honestly, these perennials will look fantastic against your house no matter what color it happens to be.

Of course, if you’re lucky enough to have your own cottage with an accompanying storybook garden, that is the best-ever place for a delphinium border.
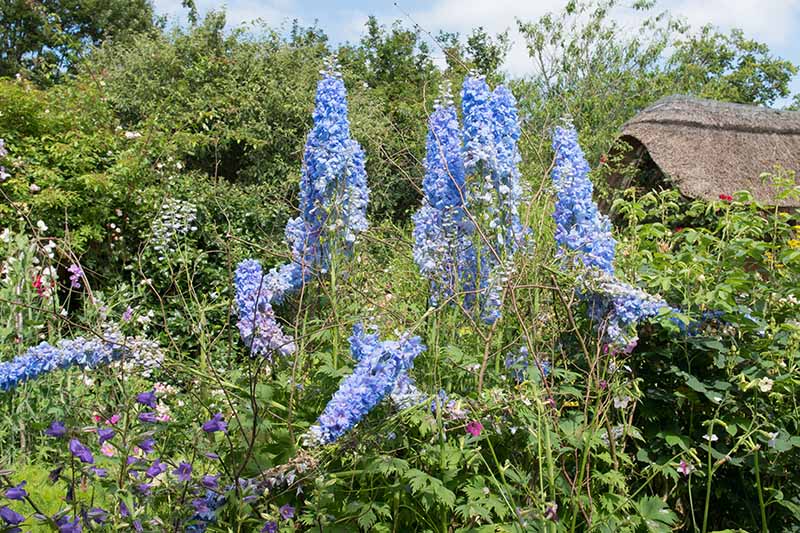
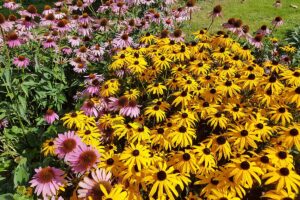
Delphinium pairs well in the garden with yarrow, coneflower, and ‘Moonbeam’ coreopsis.
Quick Reference Growing Guide
| Plant Type: | Herbaceous flowering perennial | Flower / Foliage Color: | Blue, lilac, pink, violet; green |
| Native to: | Temperate Northern hemisphere, high-altitude Africa. | Tolerance: | Cold |
| Hardiness (USDA Zone): | 3-7, sometimes 8 | Soil Type: | Loose, rich loam |
| Bloom Time / Season: | Early to midsummer | Soil pH: | 6.5-7.0 |
| Exposure: | Full sun to part shade | Soil Drainage: | Well-draining |
| Spacing: | 12-18 inches | Attracts: | Bees, butterflies |
| Planting Depth: | 1/8 inch | Companion Planting: | Yarrow, coneflower, ‘Moonbeam’ coreopsis |
| Height: | 2-6 feet | Uses: | Flower garden, perennial beds, borders |
| Spread: | 2-3 feet | Order: | Ranunculales |
| Time to Maturity: | 1 year | Family: | Ranunculaceae |
| Water Needs: | Moderate | Genus: | Allium |
| Maintenance: | Moderate | Species: | elatum, grandiflorum, chelianthum |
| Common Pests: | Aphids, mites, slugs, snails | Common Disease: | Bacterial leaf spot, crown rot, root rot, powdery mildew |
Deeply Divine
I can’t help but feel at peace when I gaze at my delphinium bed. The gentle yet striking blooms seem to somehow transcend this world.
Despite any troubles I may have, when I look at the flowers, the only concern that bears down on my mind is this: where shall I plant my next batch of delphiniums?
And that’s not really a concern at all.
Do you love delphiniums too?
Share your questions, stories, and photos in the comment section below.
And remember to check out these articles on growing other blue-hued beauties to add to the flower garden next:

Thank you for this thorough article about my favorite flowers. Your knowledge and experience is envy worthy. Ironically, I read your article after planting a pony pack of delphiniums today. Last year I had wonderful flowers but they haven’t come back this year yet. I hope it is only yet.
I’m so glad this guide was helpful, Kyra! I hope your flowers come back soon! My fall-planted spring bulbs are just poking up and I’m thrilled. They took a little long and I was nervous that they wouldn’t come up at all, but they did. I hope the same happens with your delphs!
Wonderful article! So very thorough too. Thanks for listing the organic herbicides and pesticides. I love delphiniums too!
Thank you for reading, Renee! I’m delighted at the Dowdeswell’s Delphiniums I sowed indoors last fall and transplanted outdoors this spring. They’re so tall and lovely. I just adore these plants.
What do you mean by, “receive at least six to eight hours of sun per day”? Should they receive no more than eight hours of sun?
Hi Sheb, they can receive more than eight hours, though in very warm locations, you may wish to provide some shade in the hottest part of the day.
I have always felt they do better in neutral to alkaline soil. In acidic soil, they do not seem to flower as well, and the spikes seem to bend easier.
Thanks for your message, Bill. Have you tested the exact pH value in your explorations, by chance? I dug into a little of the research on this and I wasn’t able to find an abundance of detail, but it seems some types of delphiniums do best in slightly alkaline soil while others thrive when it’s more neutral, or even slightly acidic. But this is very slight, not much beyond a limit of 6.5 for acidity. None of the well-regarded recommendations that I turned up note anything much beyond a vaguely defined “slightly alkaline” either, and some of the advice on… Read more »
Hello,
i have a small front east facing porch and I’m planning on putting a planter to grow delphiniums. I used a garden planning app and it suggested that I plant about 3 plants in a 35” wide planter. I really like the mixed dwarf variety and am hoping to get that mix of color and a bit of privacy to my front door. But would growing 3 plants end up looking like 3 sparse, lonely stalks in my planter? Any advice would be helpful. Tia!! 🙂
Hello Helen. The planter idea sounds lovely.
I think the spacing of three plants in a 35-inch planter should be just right. They can spread a foot or more and grow pretty quickly.
Good luck, please let us know how it goes!