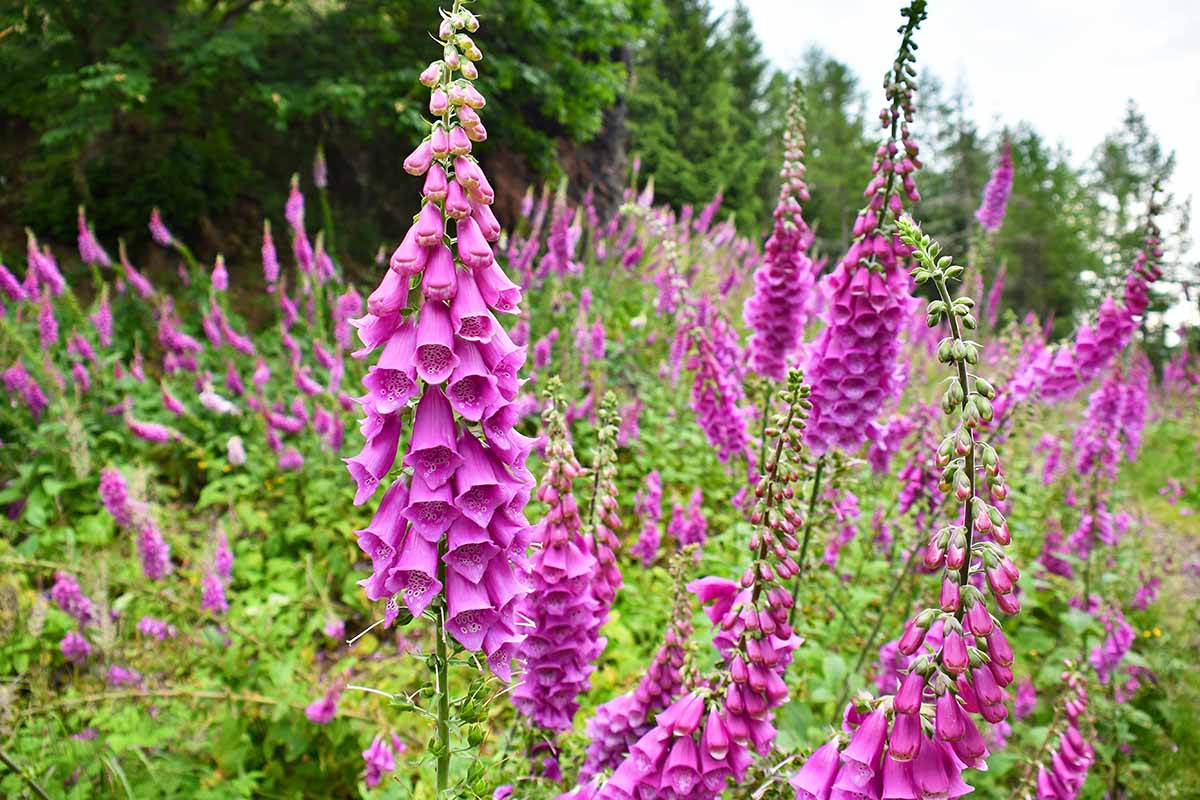
Foxglove (Digitalis spp.) is powerfully toxic, the source of vital heart medication, a charming cottage garden staple, a valuable native plant, and a hummingbird favorite.
It’s hard to imagine a garden without its pretty, bell-like flowers.
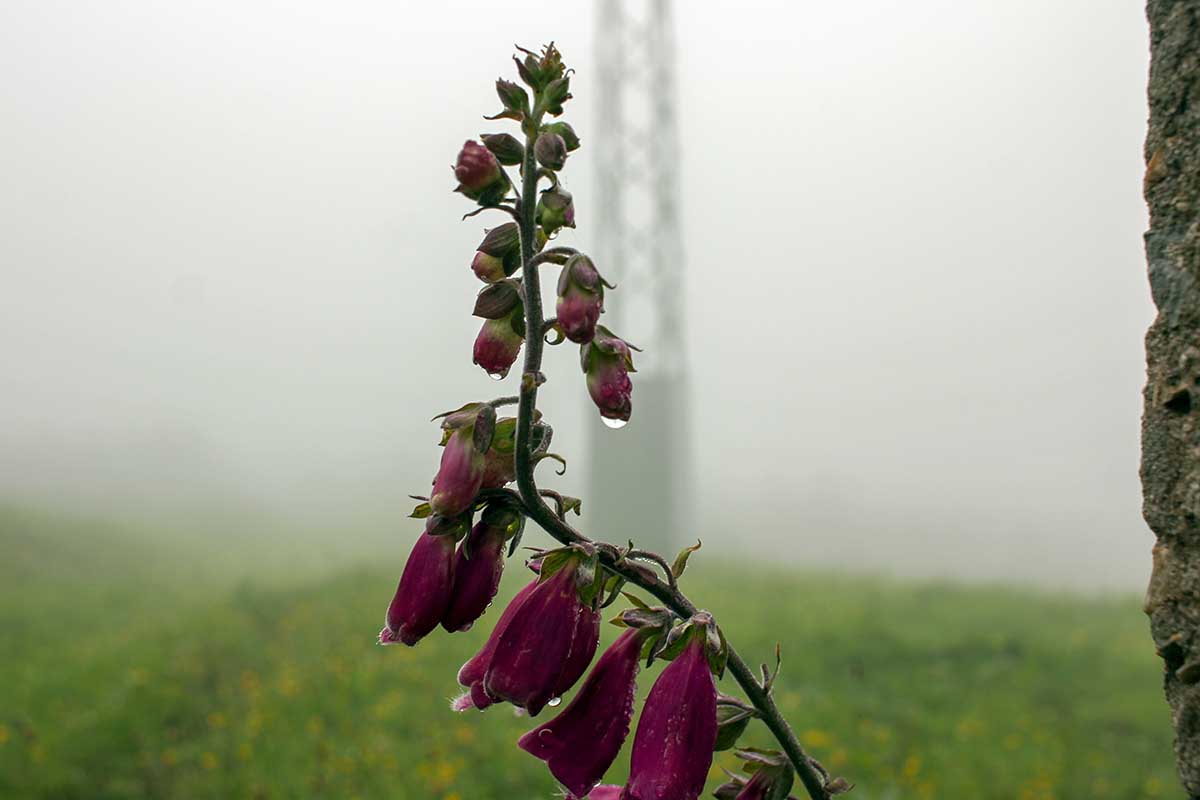
Common foxgloves (D. purpurea) are biennials that bloom in spring and early summer before fading in the heat of summer.
In temperate climates, this species is grown as an annual. There are also hybrids that bloom in the first year, and so these are truly annuals.

We link to vendors to help you find relevant products. If you buy from one of our links, we may earn a commission.
If this is the second year that your plant has been alive and it has bloomed and faded, there’s no need to protect it over the winter. It’s going to die naturally, and any seeds that it dropped will germinate in the spring to start new plants.
Yellow (D. grandiflora), small yellow (D. lutea), wooly (D. lanata) and sunset foxgloves (D. obscura) are short-lived perennials.
Some common foxglove cultivars and hybrids, such as ‘Dalmation Purple,’ ‘Polkadot Polly,’ and ‘Snowy Mountain’ are short-lived perennials as well.
These should be winterized each year to ensure that they’ll return.
If you need a refresher on how to grow and care for foxgloves, check out our guide.
This guide will explain the process, with a few steps for giving your foxgloves a fighting chance at surviving the winter. Here’s what we will be discussing:
Foxglove Winter Care
If you can feel winter’s approach in your bones and you’re ready to protect that garden, I’m sure you can’t wait to get started. I get it! Let’s jump right in with the first step.
1. Divide Plants
If you haven’t done so already, foxgloves should be divided in the fall at least a few weeks before the first predicted frost.
To do this, dig up the plant, taking care to lift as much of the roots as you can. Brush away the dirt and gently tease apart a clump or two that includes both roots and stems.
Replant with appropriate spacing for the type and add water. This is also a good time to add mulch so your plants have a bit more protection after this abrupt change.
2. Prune Back
Most people leave the flower stalks in place after the blooms fade in order to encourage self-seeding.
Remember, these plants are biennials and they will die after two years. If you want them to return, you need to let them seed themselves.
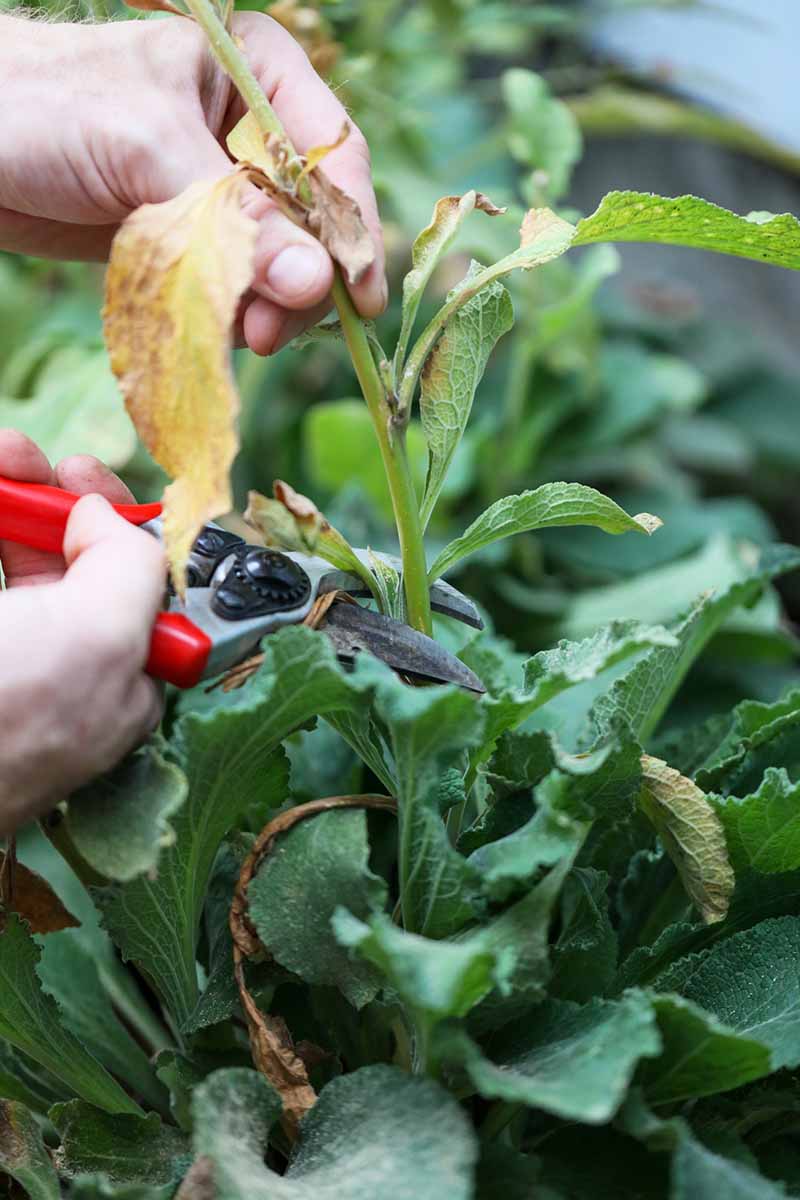
By late fall, the seeds should have fallen and you’re safe to remove the flower stalks. Prune these off with a clean, sharp pair of clippers or scissors.
Cut back any foliage on herbaceous types that hasn’t already died back, and remove any dead leaves.
Evergreen types can be left as they are, but you might want to give them a small haircut to tidy them up a bit. This protects them from heavy winds or surprise snowfall.
3. Clean the Area
Don’t leave any debris in the garden where your plants are growing. Not only can this trap moisture, but it also can lead to diseases, as well as harboring pests.
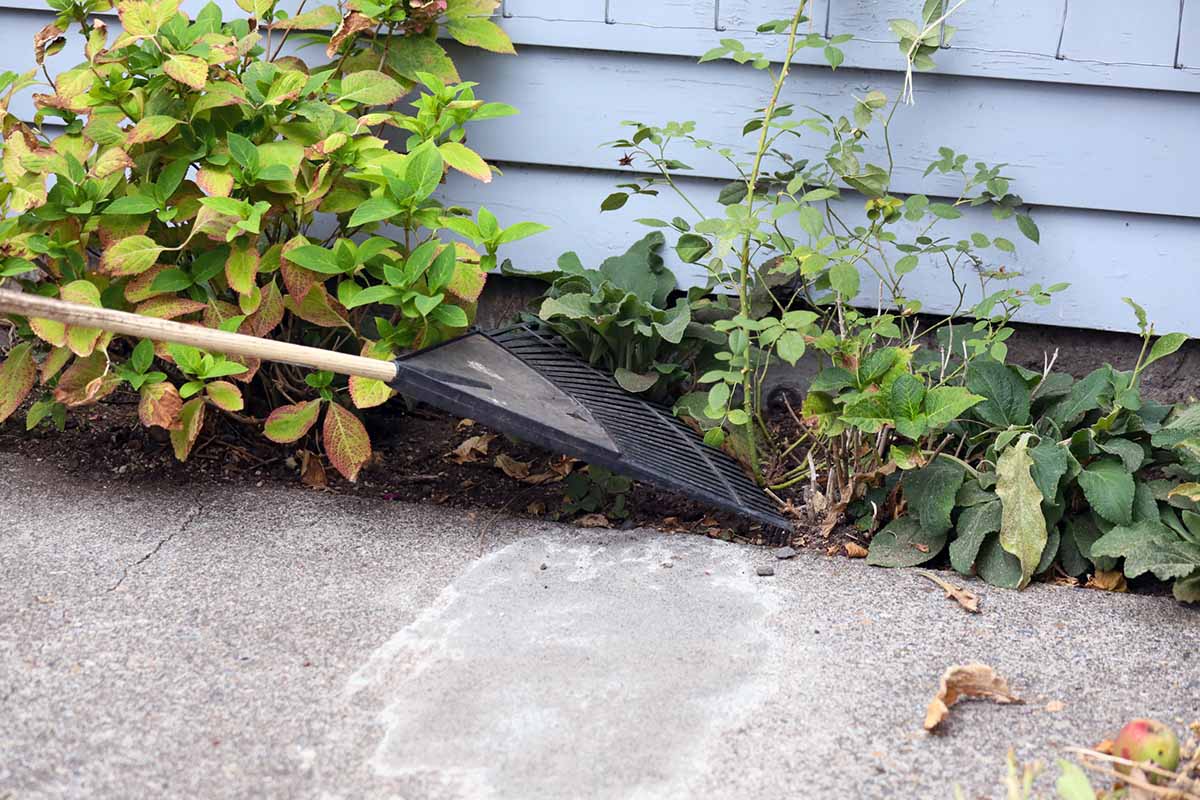
Clean up any leaves, fallen flowers, stems, and the like, and burn, compost, or otherwise dispose of them.
This can be done any time, but it is especially important if there’s snow in the forecast.
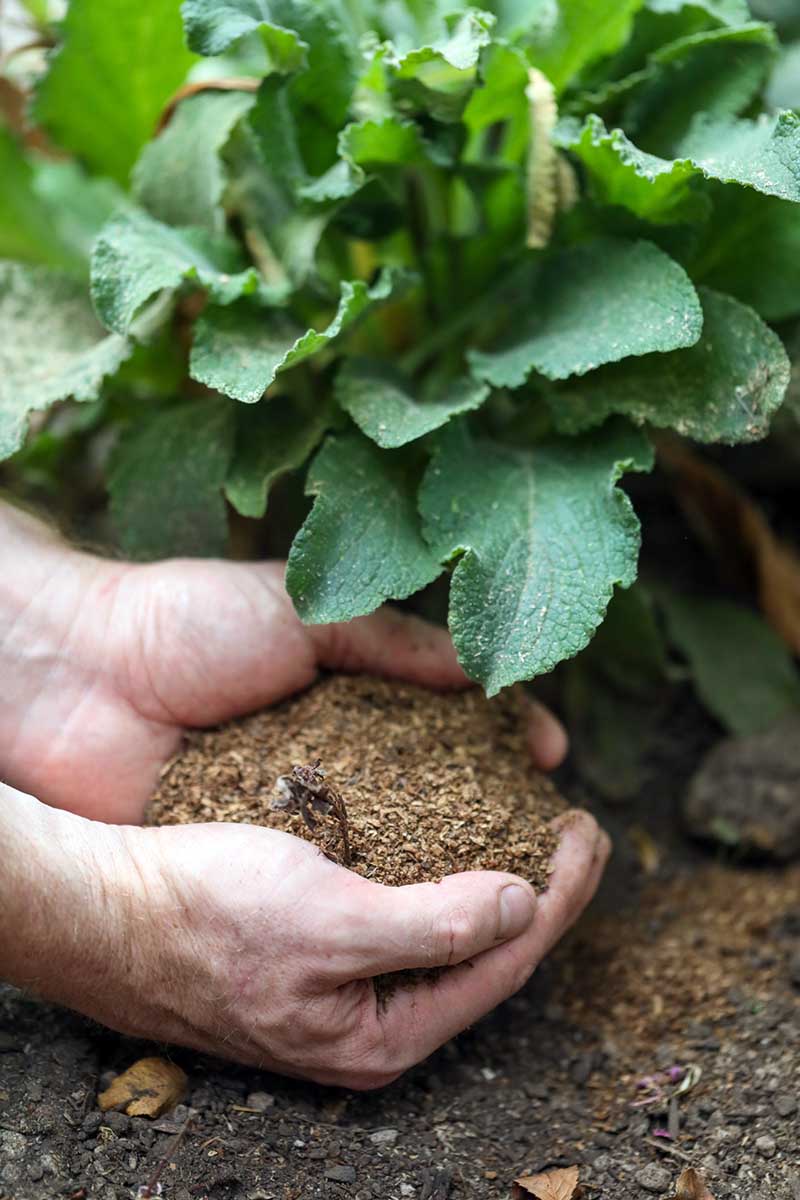
4. Add Mulch
Some foxgloves are hardy all the way north to USDA Zone 3. It’s not the cold of winter that’s the concern here – it’s the natural freezing and thawing cycle that can damage foxgloves.
When the ground freezes and thaws repeatedly, it leaves the plants exposed to frost heaving and damage.
A nice, thick heap of organic mulch acts as a layer of insulation, moderating the temperature fluctuations of the soil and helping to prevent frost heave.
How thick of a layer you use depends on just how much freezing and thawing you experience in your area.
In places where the ground stays frozen for the most part, plants won’t need as much mulch as those grown in an area that warms and freezes repeatedly all winter.
Anywhere from two to six inches of leaf litter, straw, or shredded bark will work to protect your plants.
There is an exception to this: Do not add mulch if you’re hoping that your foxgloves have dropped seeds and will return via those seeds next year.
The seeds need light to germinate, and if you cover them, they won’t be able to grow when the weather warms.
5. Protect Plants from Excess Moisture
Few things will kill a foxglove quicker than soggy roots, especially in the winter. These plants are extremely sensitive to wet feet.
The most important part of protecting the roots is planting them in well-draining soil. Assuming you’ve already done that, there are a few additional things you can do to support your plants.
As an added layer of protection, place a few inches of well-rotted compost over the garden bed.
Even better, slope it away from the plants so that some of the water will run off before soaking into the soil.
A layer of pine boughs can also help dissipate some of the water or snow melt.
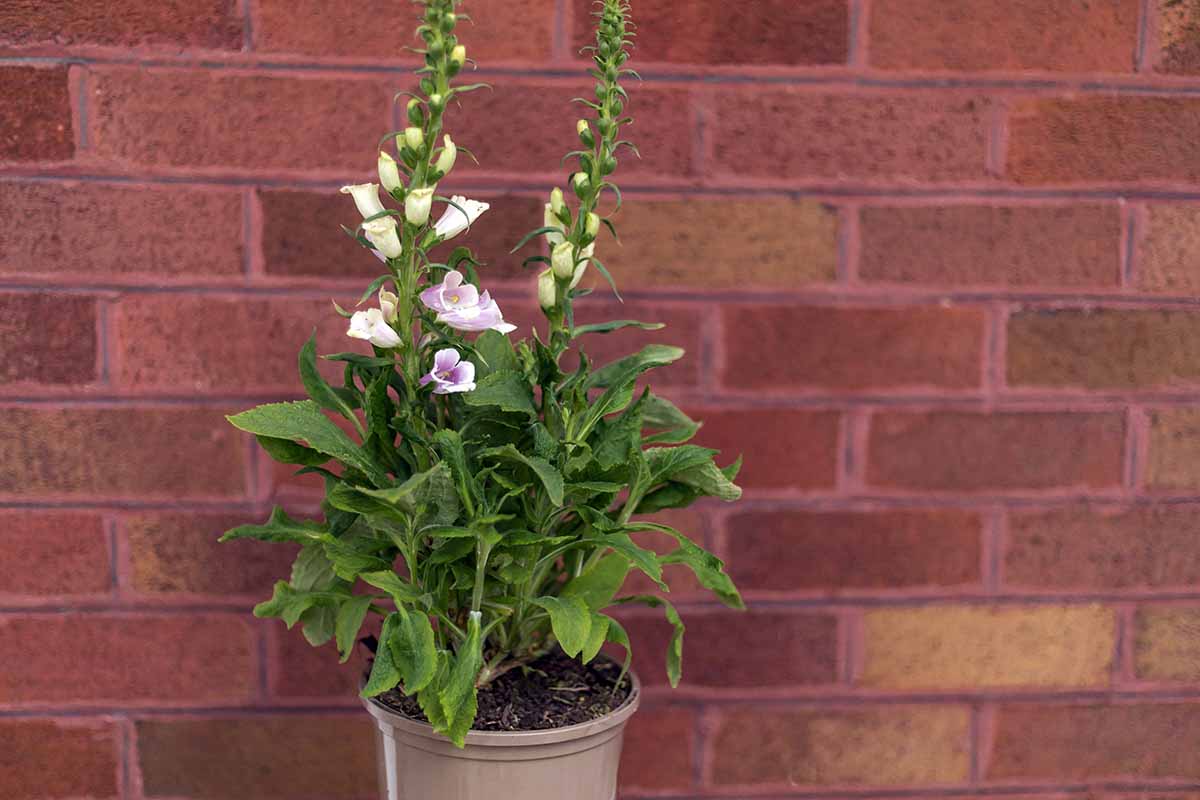
Potted plants can be moved under an awning or something that will protect them from excess water.
6. Protect Containers
Foxgloves growing in containers are much more susceptible to the freeze-thaw cycle than plants in the ground.
Additionally, containers can sometimes collect water as winter snow and rain falls. That’s why it’s best to protect your pots and planters if you live in Zones 4 to 6.
I recommend moving containers against a wall that has an overhang or rain gutters to deflect some of the falling moisture.
A wall can also provide some additional warmth, though you have to be careful not to exacerbate the freeze-thaw cycle. A wooden fence or east-facing wall is best.
Heap pine boughs over and around the containers to provide some insulation. Be sure to remove these in early spring so your new plants can emerge.
If you live in the coldest Zone that the type of foxglove you’re growing can tolerate, bring the container into a shed or unheated garage.
You might also opt to wrap the container in a thick layer of burlap, cardboard, or wool. Be sure to add water once a month or so.
7. Store the Roots
If you want to be absolutely certain that the roots remain protected, or you’re worried that the soil will hold too much water during the winter, the safest option might be to dig up the plant and store it during the winter.
Foxgloves can’t be stored as bare roots. When you dig them up, you need to collect not only the root ball but a few inches of soil around them as well. Place the whole thing in a plastic bag or container.
Don’t seal the bag closed. You don’t want to retain too much moisture.
Place the bag or container in the refrigerator or a location with temperatures that remain consistently between 30 and 40°F. Don’t store them anywhere warmer.
They need a period of vernalization with temperatures below 40°F in order to grow and flower.
Once a month, add just a bit of water to keep the roots alive. The soil should be allowed to completely dry out between watering, and you should only water to the point where the soil feels just barely moist.
Replant the roots In the spring when the soil can be worked.
Old Man Winter Can’t Hurt Your Foxgloves
It’s easy to neglect your garden chores as the winter approaches. You’ve been watering, pruning, and feeding for months and it’s time for a break.

But with a few quick steps, you can ensure your foxgloves will be back and better than ever in the coming spring.
What kind of foxgloves are you growing, and how do you plan to protect them this winter? Share with us in the comments section below!
If you’re looking for more information about foxgloves, and you found this guide helpful, read these articles next: