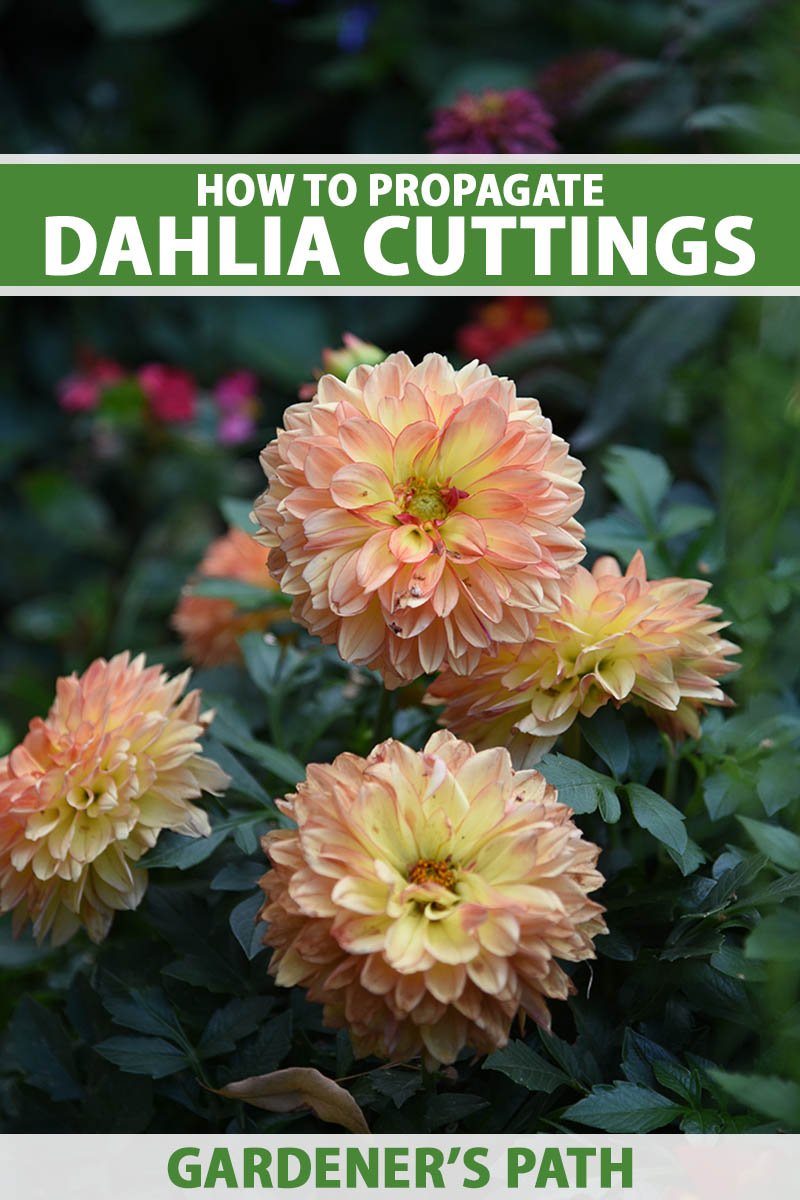
Eager to add more plants to the dahlia beds? It’s easy to propagate new plants from cuttings.
We link to vendors to help you find relevant products. If you buy from one of our links, we may earn a commission.
If you’re a dahlia enthusiast who loves surprises, I can highly recommend buying a budget bulk bag of unnamed, random tubers.
It’s already fun waiting for the dahlias you know and love to bloom, but there’s an extra thrill when the colors, shapes, and sizes are a complete mystery.
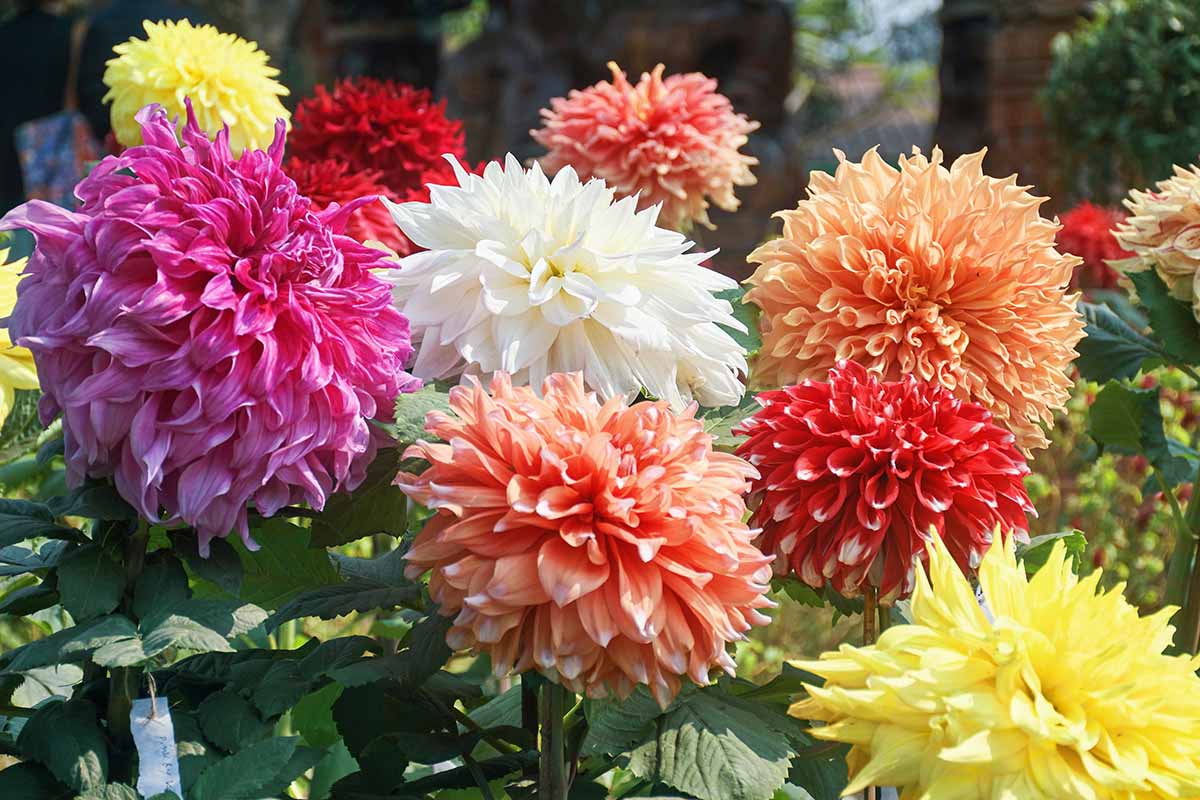
Here’s one of my best-ever surprises: In the picture below is ‘Bahama Red,’ a stunning, bold coral dahlia with white tips that offers a vibrant contrast to the more muted creams and candy pinks in my collection.
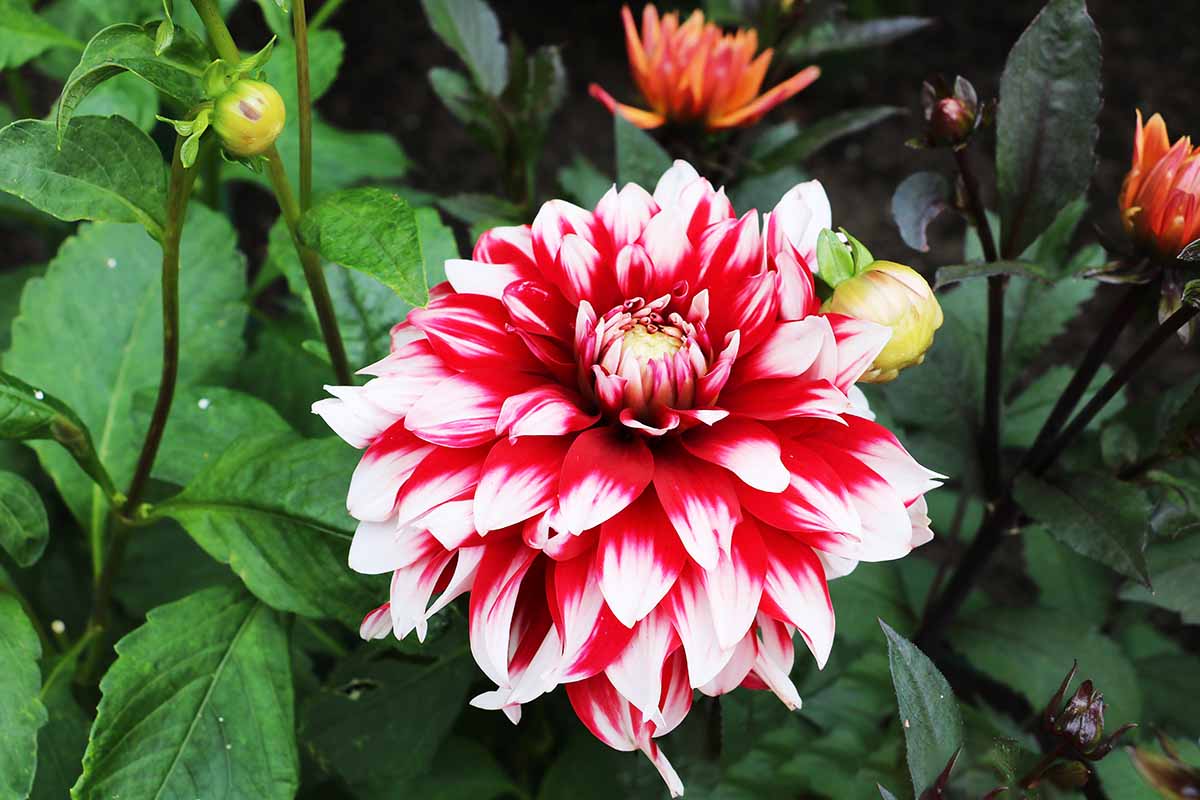
It was an immediate hit with visitors, especially my friend Jo. Like any smart, frugal gardener, the moment she saw it, she called dibs on a few tubers.
Buying tubers can be expensive for dahlia fans like Jo and me – one is never enough.
The bargain lucky dip bag I bought was an attempt to replace a significant number of dahlias I lost to storage rot, while also staying on budget.
So it may come as a surprise to discover you can easily propagate dahlias from cuttings, and even better, it’s a gift that keeps on giving.
If you take cuttings in early spring as sprouts burst to life, you may get five, 10, or even more plants from one tuber.
Here are the simple steps to taking cuttings in spring to bulk up your beds for free.
You’ll also find tips on doing it in autumn if you want to snaffle an exciting variety from a friend’s garden for some extra goodies the following year.
What You’ll Learn
The Benefits of Propagating Cuttings
You can grow dahlias from seed, but they don’t grow “true” – although this is yet another exciting way to get mystery flowers.
Every seed you successfully grow will produce flowers of different colors and shapes due to their unique DNA, carried by bees and other insects that pollinated the parent plants.
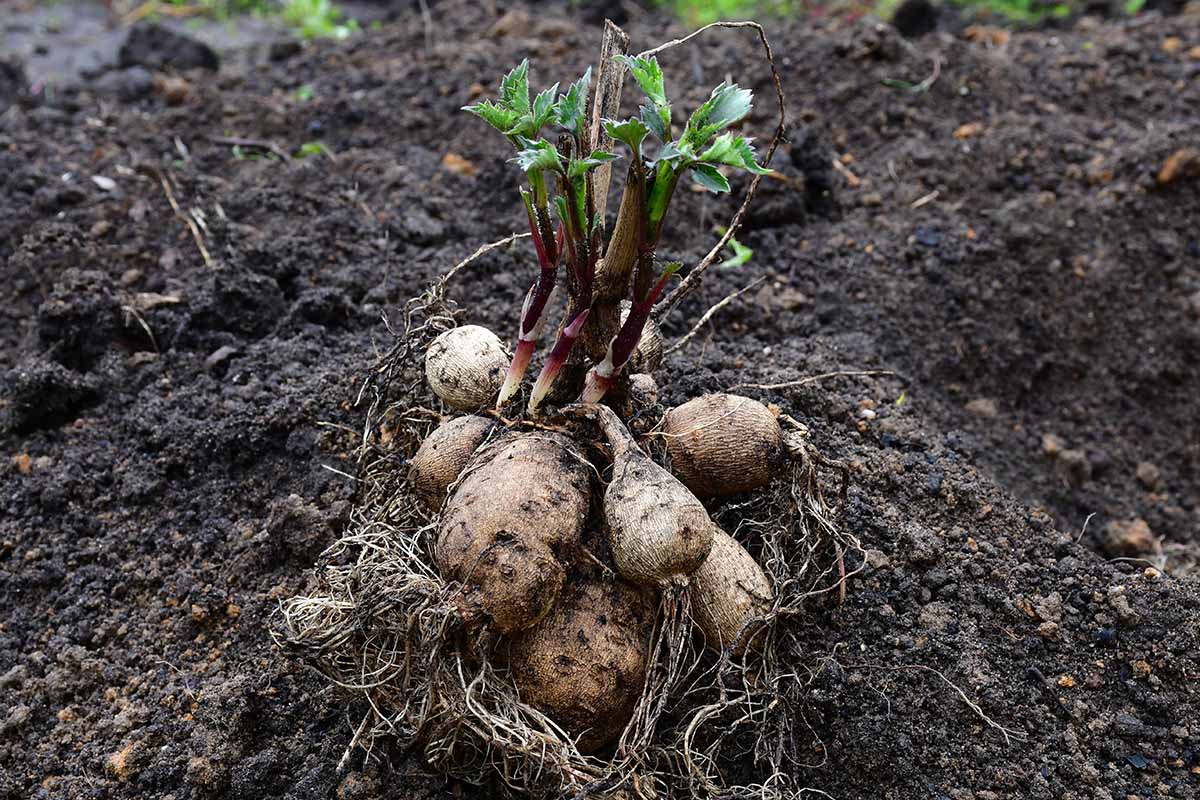
Most gardeners propagate dahlias by dividing the tubers and planting them out in spring to ensure they get the same flowers as those of the parent plant. It’s a handy way to add to your collection using the plant’s natural reproductive system.
However, you’re limited to the number of tubers produced the previous year.
The advantage of propagating cuttings is you can remove a stem produced from an “eye” – the growing point on the tuber’s crown – and it will respond by producing one or more stems that you can cut again.
This is a great way to produce extra plants if you only have a few tubers available. Even better, if you’re keen, you can even take cuttings from cuttings once they’ve grown a bit!
Gardeners can also take cuttings in autumn and propagate them indoors over winter. This is particularly useful if you have a variety with tubers that don’t store well.
Some varieties are prone to dehydration, shriveling away so much they can’t generate the tuber’s growing points – known as eyes or buds – in spring. Others may rot, even if you follow the strictest sterilization protocols. Taking cuttings eliminates the risk of losing them altogether.
This method of propagation also means, if you’re in someone’s garden and fall in love with a particular flower, you can snip off a few growing shoots – no need to come back and raid their tuber stock.
Ready to learn what’s involved? Let’s begin!
Prepare Your Tubers
To encourage tubers to sprout early for propagation, take them out of storage in late winter to early spring, or February to April in Zones 3 to 7.
In Zones 8 to 11, you can leave the tubers in the ground over winter, and take cuttings after new growth emerges – keep reading for more details on this, in the section on taking cuttings from plants growing in the garden.
For stored tubers you wish to propagate, first add a layer of damp potting mix to the bottom of a propagation tray. One that’s about 10 by 20 inches with drainage holes, like this one from Home Depot, will hold around 20 to 25 tubers.
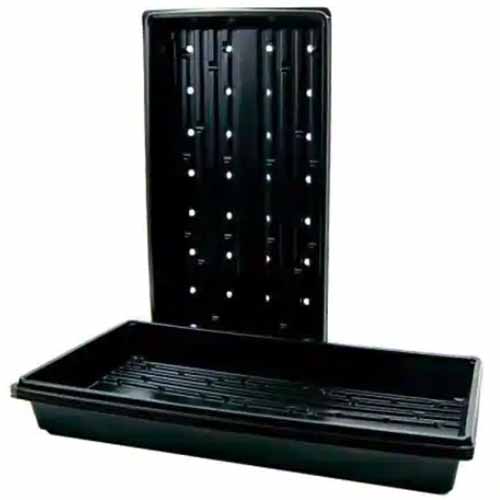
Lay the tubers on their sides with the eyes facing upwards. Add a layer of potting soil to just cover the tubers. Some growers leave the crowns uncovered so it’s easier to take cuttings when they sprout.
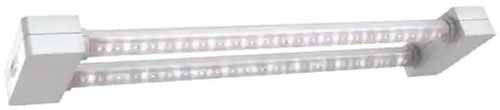
It’s important to keep the tubers in warm, humid conditions with 15 hours of light per day. At this time of year, you’ll need to create those conditions using grow lights, like these power-efficient LED lights from Home Depot.
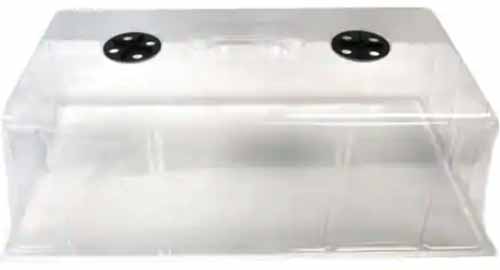
Add a a dome cover over the tray, like this one from Home Depot, and keep the medium moist with mist from a spray bottle, spritzing as needed.
When propagating tender cuttings in this way, conditions can become too humid and you may see plants suffer from damping off. Remove the humidity dome during the warm part of the day to help prevent it.
It can take anywhere from one to three weeks for tubers to send out stems that are suitable for cutting.
Gather Equipment
While you’re waiting for stems to grow, either from lifted tubers or plants growing in the garden, you can gather the other equipment you’ll need, including:
- Four- to five-inch seedling pots or a propagation tray
- A scalpel or sharp knife
- A glass jar or plastic container that holds eight to 10 fluid ounces
- Bleach and water, or a horticultural disinfectant
- Plastic labels
- Soilless growing medium or floral foam
- A dibbler, pencil, or other tool to create planting holes
- Rooting hormone (optional)
Don’t have these already on hand? Not a problem! Here are a few recommendations to get you started:
I like these five-inch reusable plastic pots that are available in a six-pack from Burpee.
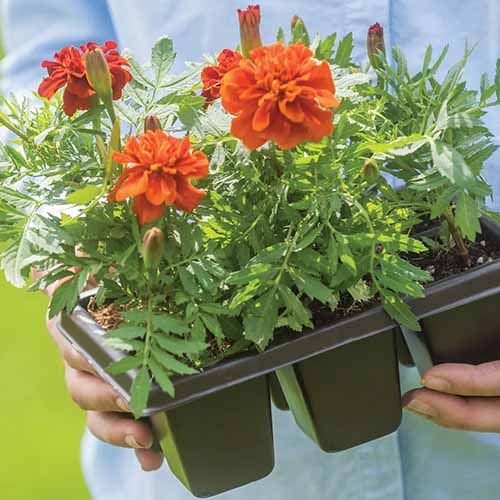
They’re deep to support good root growth, and large enough to hold a young plant until it’s time to transplant into the garden.
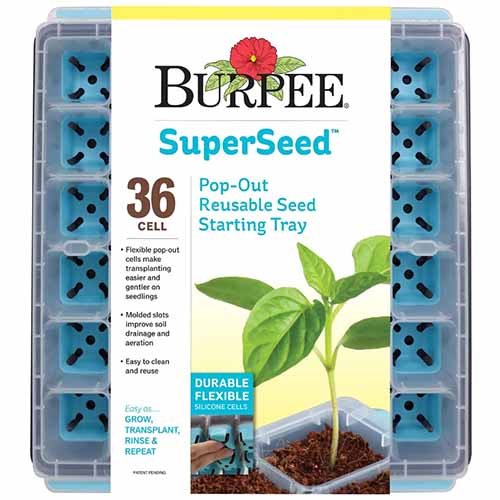
If you prefer to use a tray, this 36-cell seed-starting tray from Burpee has numbered cells for easy identification of each variety, and you can just pop the rooted cuttings out by pushing them up from the bottom.
You’ll need to create a sanitizing mixture of one part bleach to nine parts water to prevent fungal growth.
Or you can use a spray bottle of a specialist disinfectant such Virkon™ H, which specifically targets horticultural viruses, bacteria, and fungi.
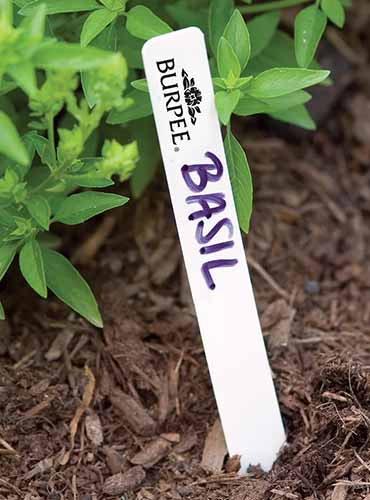
These stick labels from Burpee slide easily down the side of a growing cell.
The stainless steel end of this dibbler from Burpee is easy to sanitize.
Dahlia growers use a variety of mixes to start cuttings, usually soilless ones. The growing medium needs to be sterile, light, and airy, so stems don’t face the risk of infection or infestation, and so it’s easy for fragile roots to push through it.
Award-winning dahlia growers Mark and Laura Oldenkamp produce more than 400 varieties of dahlias in their garden in Canby, just south of Portland, Oregon.
Mark takes hundreds of cuttings a year and uses bulk blocks of floral foam.
You can find floral foam available via Amazon.
Mark cuts the foam to fit the cells of his starter trays, then pre-soaks it before he starts taking cuttings. The starter tray sits in a solid tray with a little water in the bottom so the foam is always wicking up moisture.
An easy-to-use alternative for propagating cuttings – and seeds – is the iHort propagation kit with Q-plugs, available from Arbico Organics.
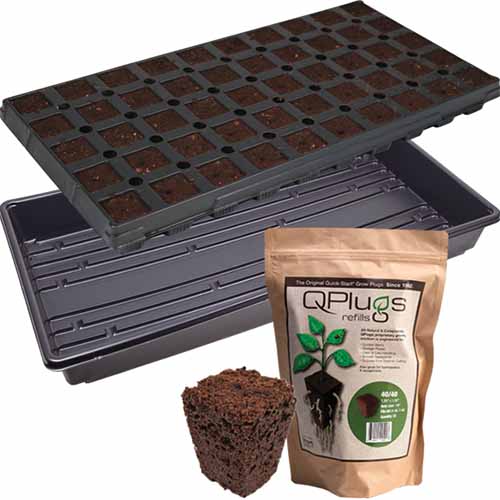
These plugs are made with a perfect growing medium of coco coir, sphagnum peat moss, and coconut shell biochar, and you can buy refill packs as needed.
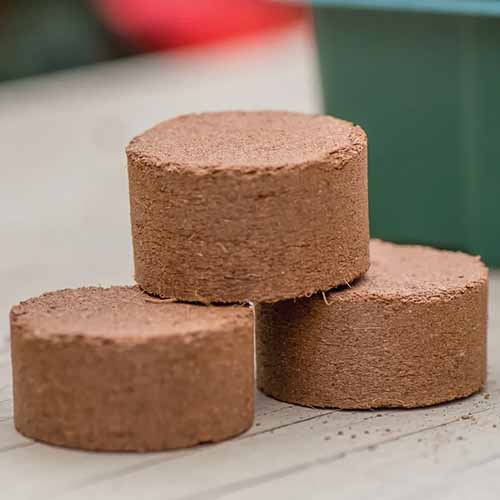
If you want a peat-free, environmentally friendly substitute, try coconut coir pellets.
These large ones from Burpee need to be soaked for a few minutes before use.
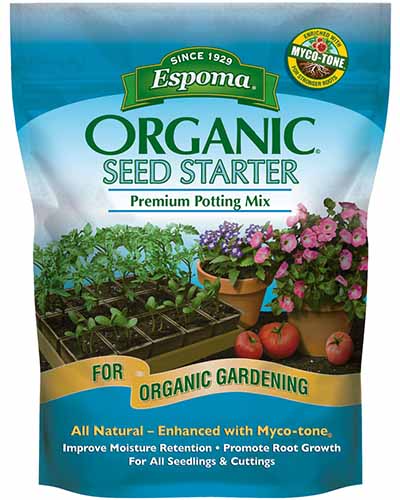
Another option is to use this organic seed-starter mix from Espoma that contains mycorrhizae to promote root growth.
It’s available from Gardener’s Supply Company in eight-quart bags.
You can also improve drainage in your selected growing medium for cuttings, using equal parts seed-starting or potting mix, sharp sand, and vermiculite.
This organic vermiculite from Burpee is perfect for rooting cuttings, and as a bonus, you can also store tubers in it over winter.
Some growers use rooting compounds, others like Mark Oldenkamp don’t.
However, master gardener and 50-year-plus dahlia-growing veteran, the late Bill McLaren, recommended using a rooting hormone, and there’s some research from 2001 to back him up.
Rooting hormones contain either auxins or auxin precursors. An auxin is a substance in plants that stimulates root growth.
The 2001 study found a rooting hormone containing 0.2 percent naphthaleneacetic acid – NAA, a synthetic auxin – greatly improved the root system and growth of dahlia cuttings when combined with a fungicide and a good quality growing medium.
Most rooting compounds use another ingredient called IBA (indole-3-butyric acid), an auxin precursor that helps with rooting.
However, this one from Hormex contains NAA. You can find it on Amazon.
Taking Cuttings From a Tuber
Newly grown stems can be cut off a tuber in late winter or early spring, once they’re around three to four inches high, and with at least two or ideally three sets of leaves.
If the stem’s base is under the soil, use your fingers to gently expose the area where it’s joined to the top of the crown.
If a tuber has multiple “eyes” or growing points producing stems, some gardeners recommend cutting or sometimes snapping a little bit of the crown off along with the stem, in what’s known as a “heel.”
You can do that, but dahlia experts like Mark Oldenkamp say it’s a waste. The stem will strike roots without it, with an added bonus: the same growing point will produce more stems, usually three to four, but sometimes many more.
Essentially, the tuber will continue to sprout stems from the eye, so you can propagate multiple plants in the future from that growing point, instead of just one. By removing the heel, you remove that growing point and it will not resprout.
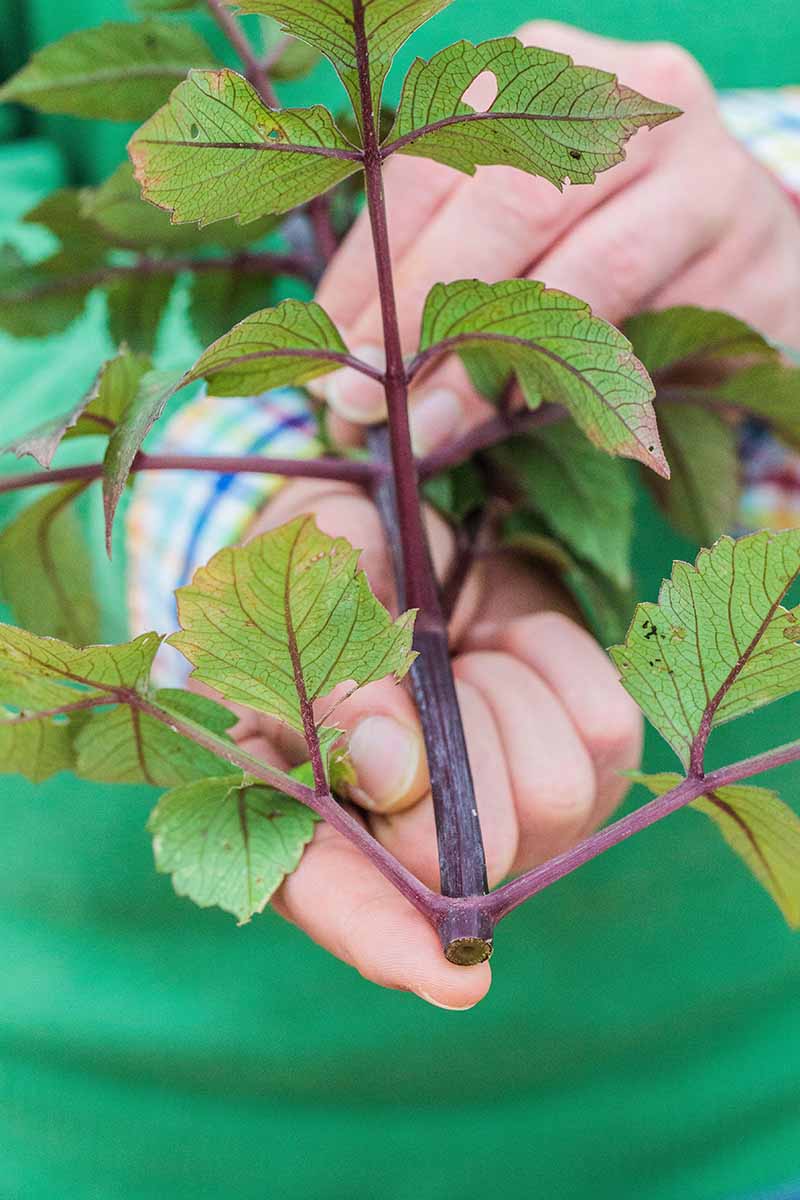
Use a sharp, sterilized scalpel or knife to cut the stem just above where it meets the tuber.
It’s important that the cut is clean, and the stem isn’t crushed – damaged tissue is more prone to rot. If the first cut is poor, trim off any damaged portions to make a clean cut.
Dip the scalpel or knife in the sterilizing solution between tubers.
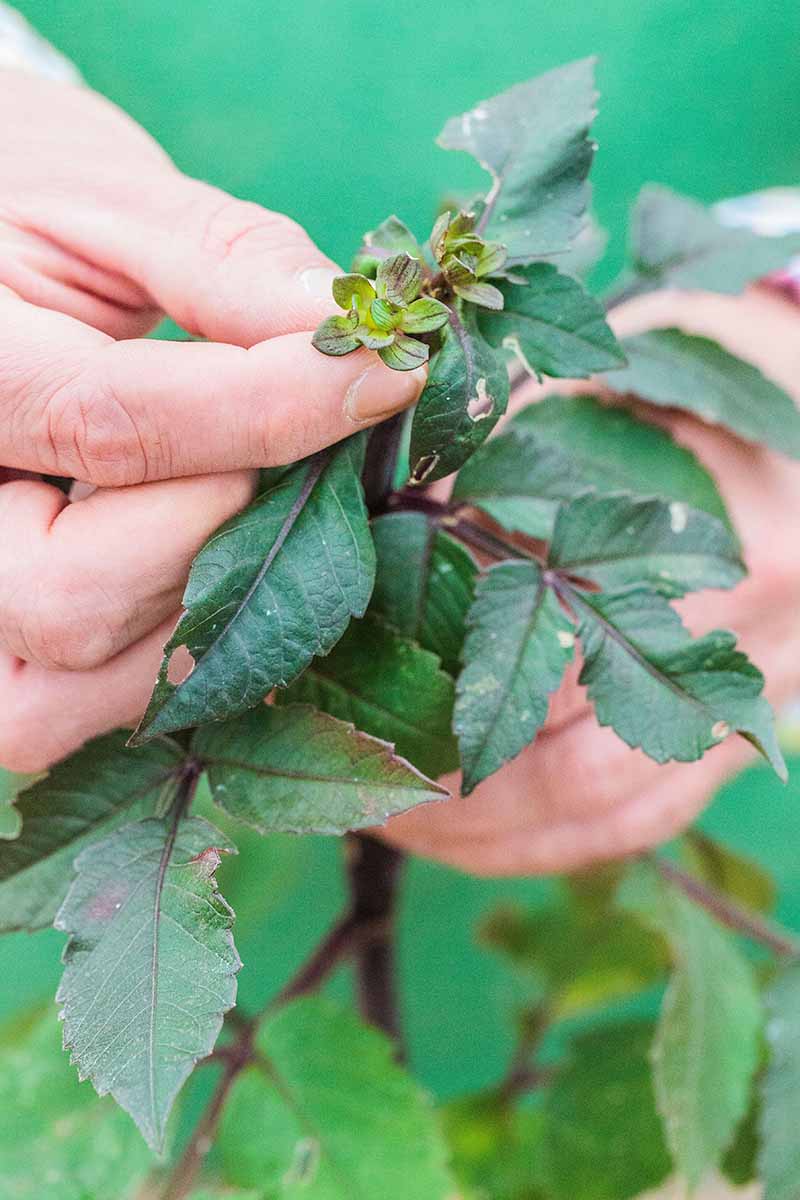
Remove the lowest pair of leaves. If the leaves at the top are more than two inches long, trim them back to about half their total length.
A newly-cut shoot loses a lot of moisture via the leaves and uses up energy supporting them. Trimming them means the available nutrients will go towards creating roots instead.
If you’re using a rooting product, dip the stem in it so you cover the bottom section that will be placed under the soil, up to the first pair of leaves.
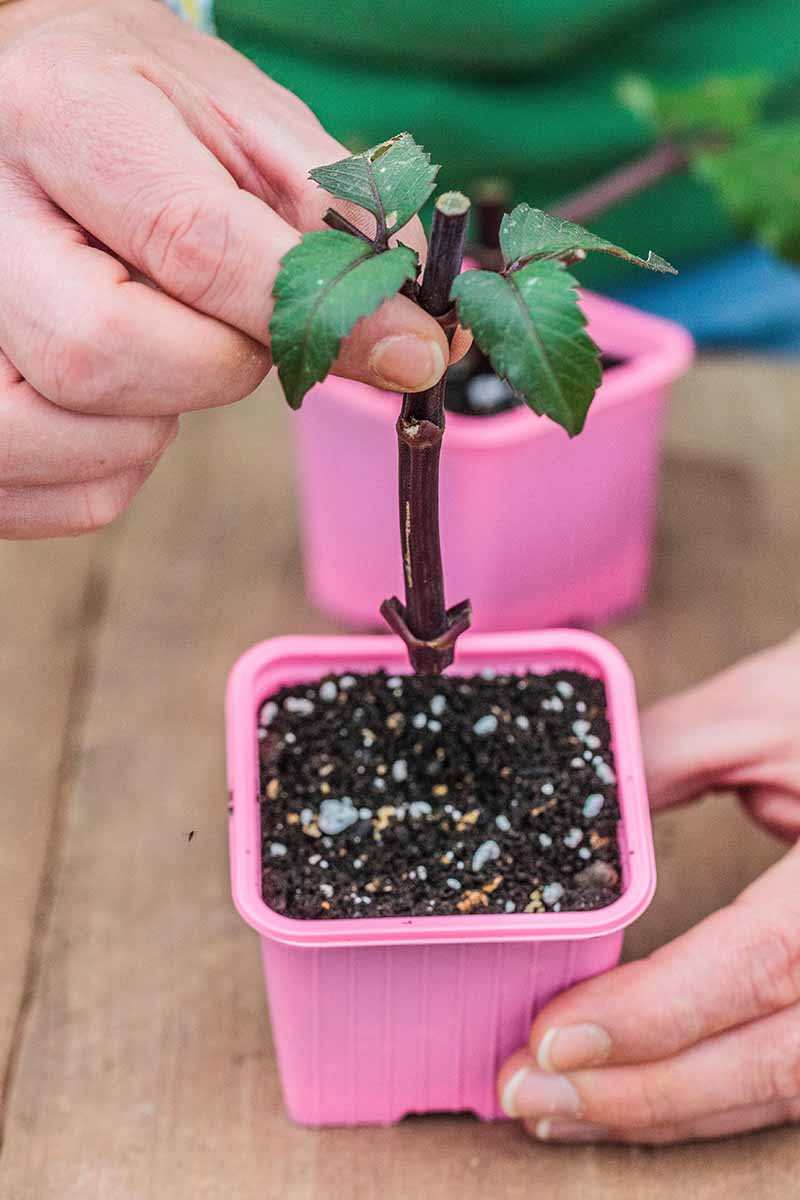
Fill your pots or trays with your chosen potting medium, and use a clean, sterilized dibbler or something of a similar shape to create a hole in the potting medium.
You want to press it deep enough so the shoot will be buried right up to just below the first two leaves. Firm the mix around the stem.
If you’re using foam, hold the stem gently around the bottom two leaves and carefully push it in – there’s no need to create a hole as the foam is very soft when wet.
If you’re using cell trays, place one stem per cell. If you’re using larger individual pots, you can place four in each pot. Firm the mix around each stem.
Taking Cuttings from Plants in the Garden
You can also propagate stems taken from dahlias growing in the garden from late spring through early summer.
Look for fresh shoots that have sprouted from a healthy stem. You want to take a cutting that is three to four inches long with at least three sets of leaves. Use a sharp scalpel or knife to cut the stem just under a pair of leaves.
Remove the bottom leaves, and pinch or cut out any flower buds.
If the stem you’ve chosen has a lot of leaves, remove all but two sets – choose the freshest-looking ones closest to the tip to keep. If the remaining leaves are longer than two inches, trim them back to half their current size.
Prepare four- to five-inch pots. Fill with a growing medium and use a dibbler to create a hole for the stem.
If you’re using it, dip the stem in rooting compound up to the first set of leaves.
Push the stem in until the soil reaches the first leaves, then gently firm the mix around the stem.
How to Care for Dahlia Cuttings
There are three things to get right to successfully propagate dahlias from cuttings:
- Light – at least 12 hours, ideally 15 hours or more
- Temperature – air and soil between 65 and 75°F
- Humidity – enough so the cuttings don’t wilt, but not so much that the soil becomes wet
You can use proper gardening grow lights, but a fluorescent 40-watt light or an incandescent 100-watt bulb, hanging four to five feet above the growing trays, also works.
Most commercial growers keep cuttings inside in a warm, bright spot or in a greenhouse to get the air temperature and humidity just right.
However, it’s important to keep them out of direct sunlight or the leaves can be scorched. That might mean putting them under a shelf or diffusing the light in some other way.
To keep the soil warm, you can use a heating pad sitting under the tray.
Look for one that’s a standard tray size, like this 10-by-20-inch one from Burpee. Soil temperature can be checked periodically if you wish, with a soil thermometer.
To maintain humidity, you’ll need to cover the trays or pots overnight and mist them as needed. This may be as often as twice a day, so be sure to check them regularly.
You can use a proper plastic dome that fits neatly over a tray. If you’re using pots, it can be as simple as a clear plastic bag, held up by two stakes so it doesn’t touch the leaves, with a rubber band around the pot to hold the bag in place.
Check the plants regularly. If there’s condensation, dry the inside of the cover; if you’re using a plastic bag, remove it, turn it inside out, then put it back in place.
The potting medium needs to be damp, but not wet.
The most common problems you’re likely to see include:
- Damping off – read our guide to damping off and how to prevent it
- Cuttings that start to root, then wilt and die – this usually means the potting medium is too wet
- Cuttings that grow but develop hardened tissue over the nodes, with no roots– this is a sign there’s not enough light
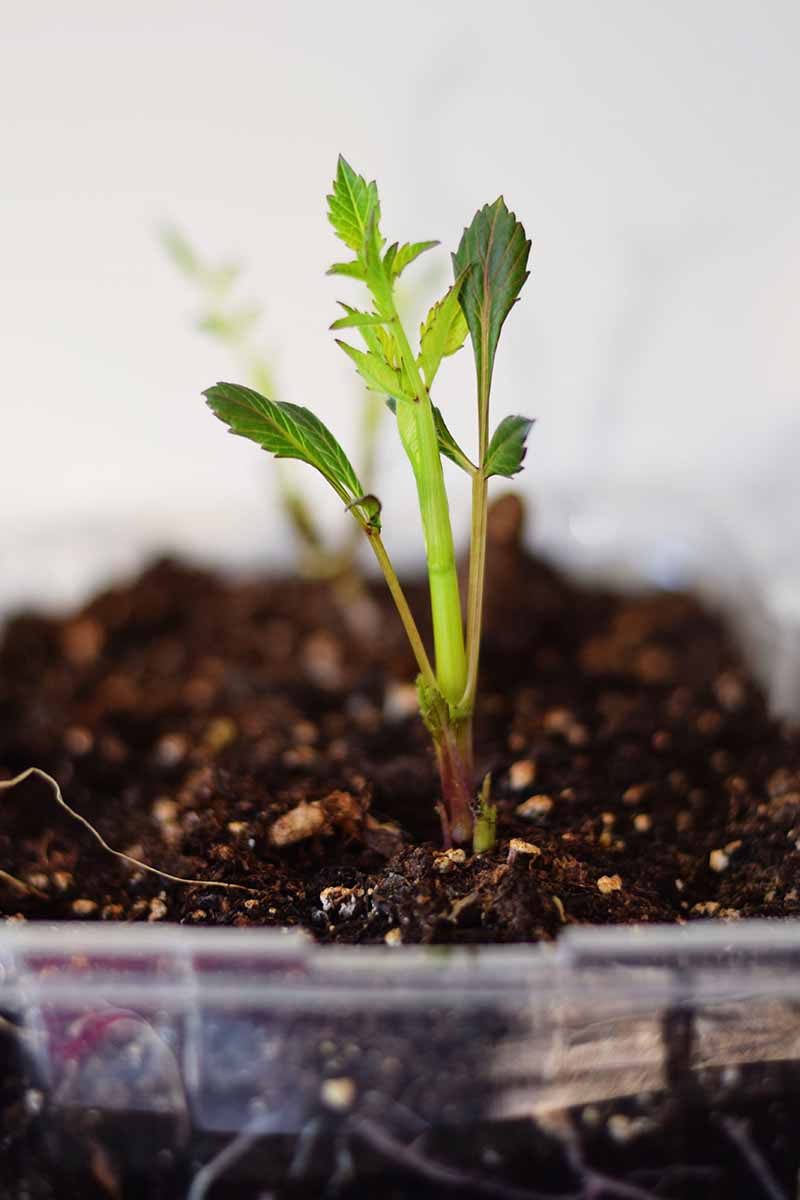
After three to four weeks, the plants should have well-formed roots. One test is to pull on the stem very gently – you should feel the resistance of the roots holding it in place.
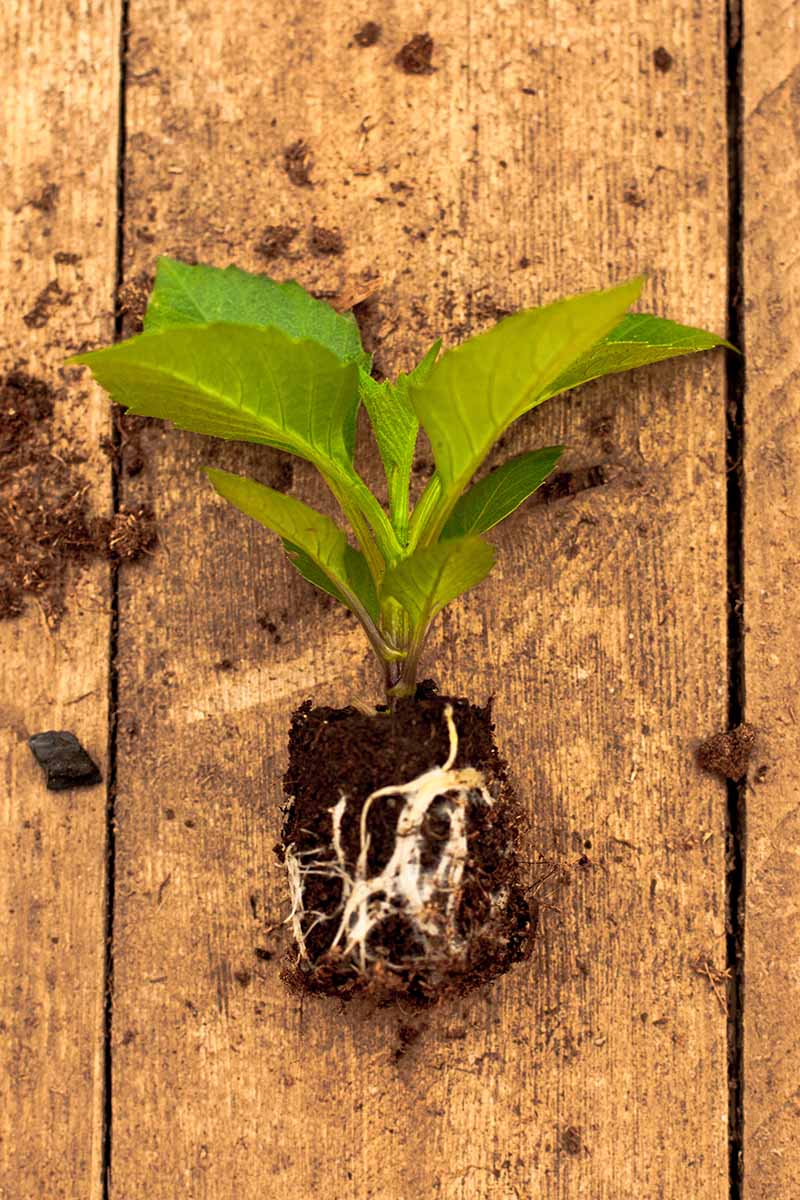
If you’ve used propagation trays, another way to check is to pop one plug out of the cell and check for roots in the potting medium. If there’s a healthy root system, transplant them into four- to five-inch pots.
After transplanting, feed with an all-purpose fertilizer such as this one from Burpee which is high in nitrogen to promote leafy growth.
All Purpose Soluble Plant Food
Water so the soil is slightly damp, but not wet.
At this stage, you do not need to use a humidity dome or plastic bag over the pots. Keep the new plants in the same bright, warm location discussed above, maintaining even moisture in the soil.
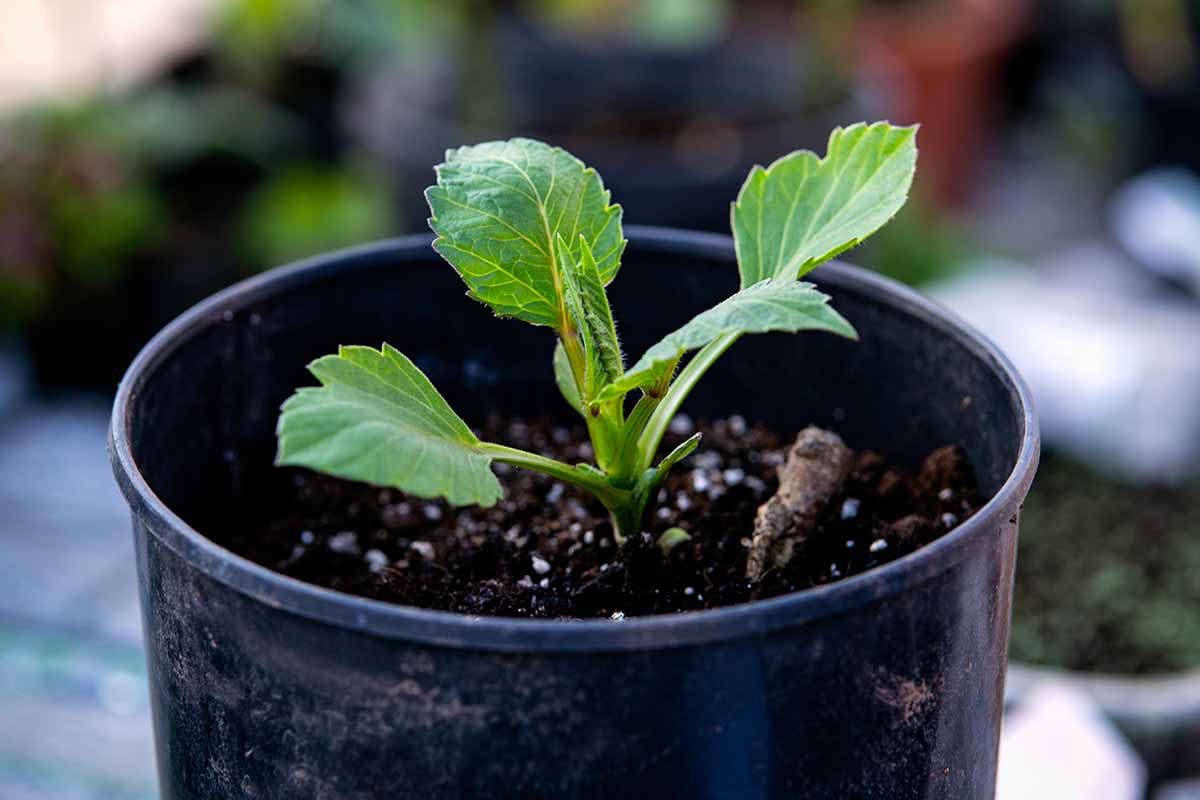
Rooted cuttings that have been transitioned to larger containers are ready to transplant when you start to see feeder roots coming out the bottom of the pots.
You want to transplant dahlias into the garden after the threat of frost has passed, and soil temperatures are above 55°C.
Harden them off before you plant them out by bringing them outside for half an hour or so on the first day. Increase the amount of time spent outdoors each day over the course of a week to 10 days until they can withstand conditions for a full eight hours.
Taking Cuttings in Autumn
Autumn cuttings are taken in the same way as those snipped in late spring to early summer, but they’re grown a little differently.
One problem with taking cuttings in autumn is dahlia stems of this age may be hollow.
Take cuttings of the youngest, freshest shoots available, and take at least twice as many as you want to plant out in spring as losses will be high, even under ideal conditions.
You prepare the stem cuttings in the same way as described above.
However, over the winter months these plants will stay small, remaining in a holding pattern until spring. Again, you’ll need to provide water, heat, and 15 hours of light per day, as you would if sprouting tubers.
Once stems start to take root, you’ll need to check them daily. Cut off any flower buds that start to form, and any deformed or dying leaves.
Also check for bugs such as aphids. While these are usually only an issue in summer, aphid eggs can be accidentally imported, unnoticed on the underside of leaves, then hatch in the comfort of the warm conditions that the cuttings require over winter.
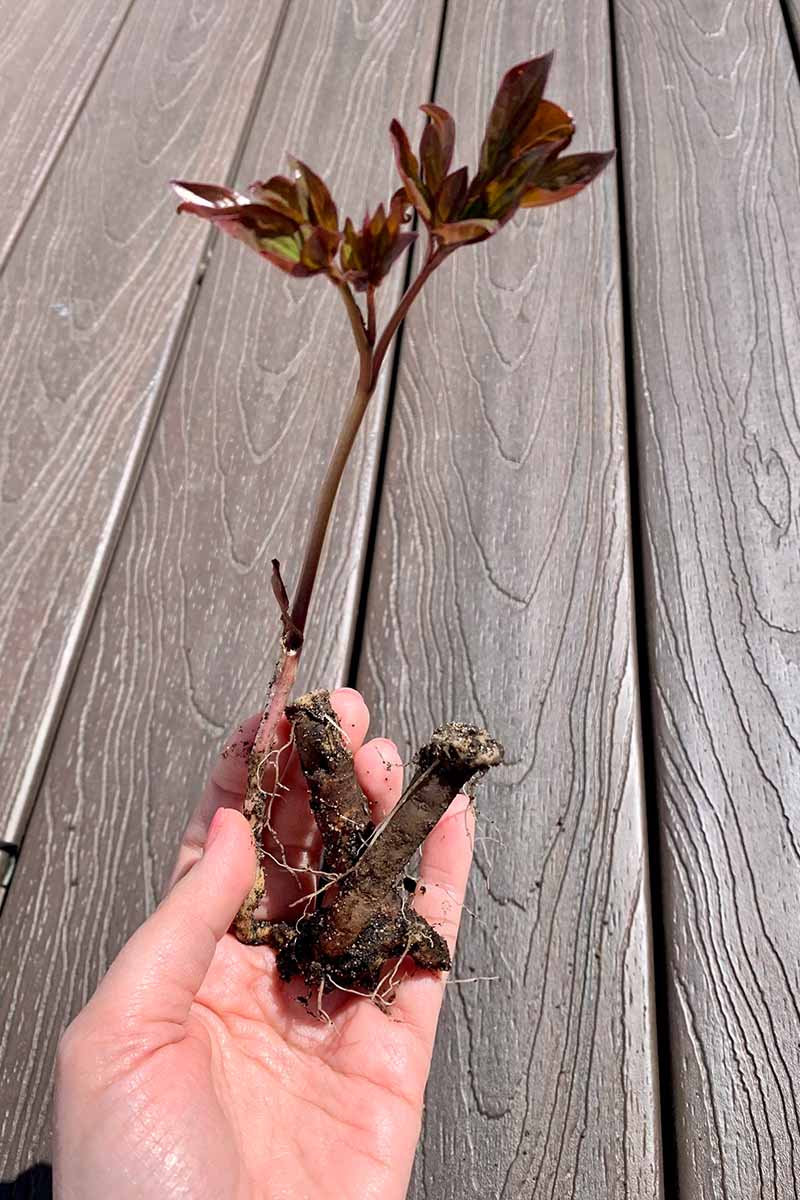
By spring, you should have cuttings with a few more leaves, a healthy root system, and possibly even small tubers that are an inch or more long, ready to be hardened off and transplanted into the garden.
Dahlias for Free
If you’re a budget-conscious dahlia fan, taking cuttings is an easy way to produce multiple plants from just one tuber. It’s also useful if you like to share your dahlias with friends or add new colors and types to your garden.
What are your favorite dahlias? Have you tried propagating them? Show us your prized flowers in the comments section below!
And for more information about growing dahlias in your garden, have a gander at these guides next: