For those looking to increase their self-sufficiency, a fun way to improve one’s do-it-yourself-ness is by growing indigo plants from seed.
Nothing says “capable” like being able to grow vegetation from tiny little kernels of genetic potential, that’s for sure.

We link to vendors to help you find relevant products. If you buy from one of our links, we may earn a commission.
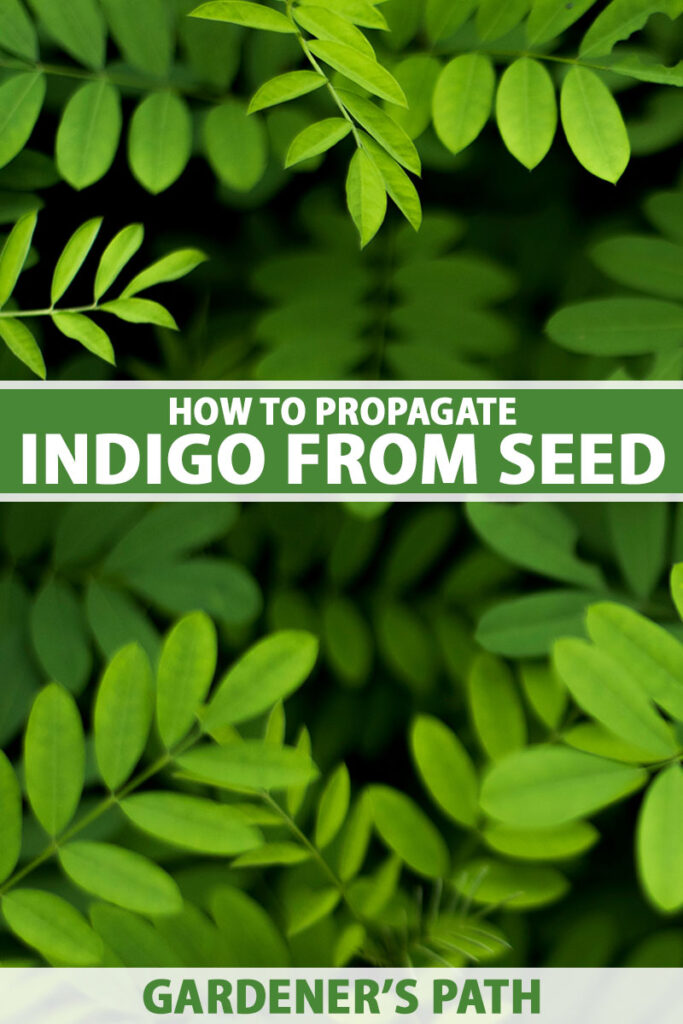
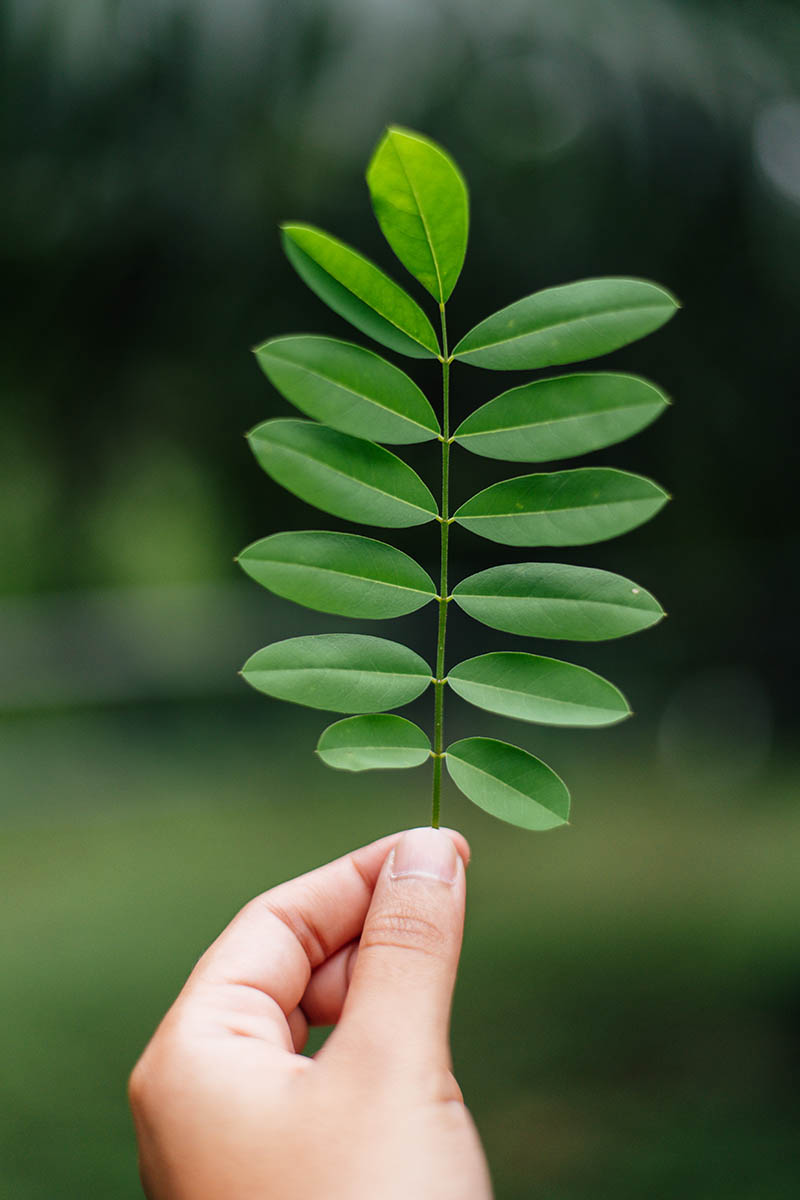
Aside from being beautiful shrubs for the landscape, species of Indigofera can yield indigo dye, a substance that has colored fabrics a deep blue for thousands of years, leaving a significant mark on human history.
Want to spawn these gorgeous spreading shrubs? Trying to keep the blue in your jeans post-TEOTWAWKI? Then it pays to be able to propagate an indigo plant from seed.
With this guide, knowing how to do so is a sure thing. And given the inherent genetic variability of indigo plants, who knows? You could even end up with a new variety!
Here’s the itinerary:
What You’ll Learn
Seed Acquisition
“But where can I get seeds?” I’m glad you asked.
You can purchase dried seeds from a variety of online vendors, or gather them yourself. If you go with the latter, make sure you either own the parent plant, or have permission to access and gather seeds from it!
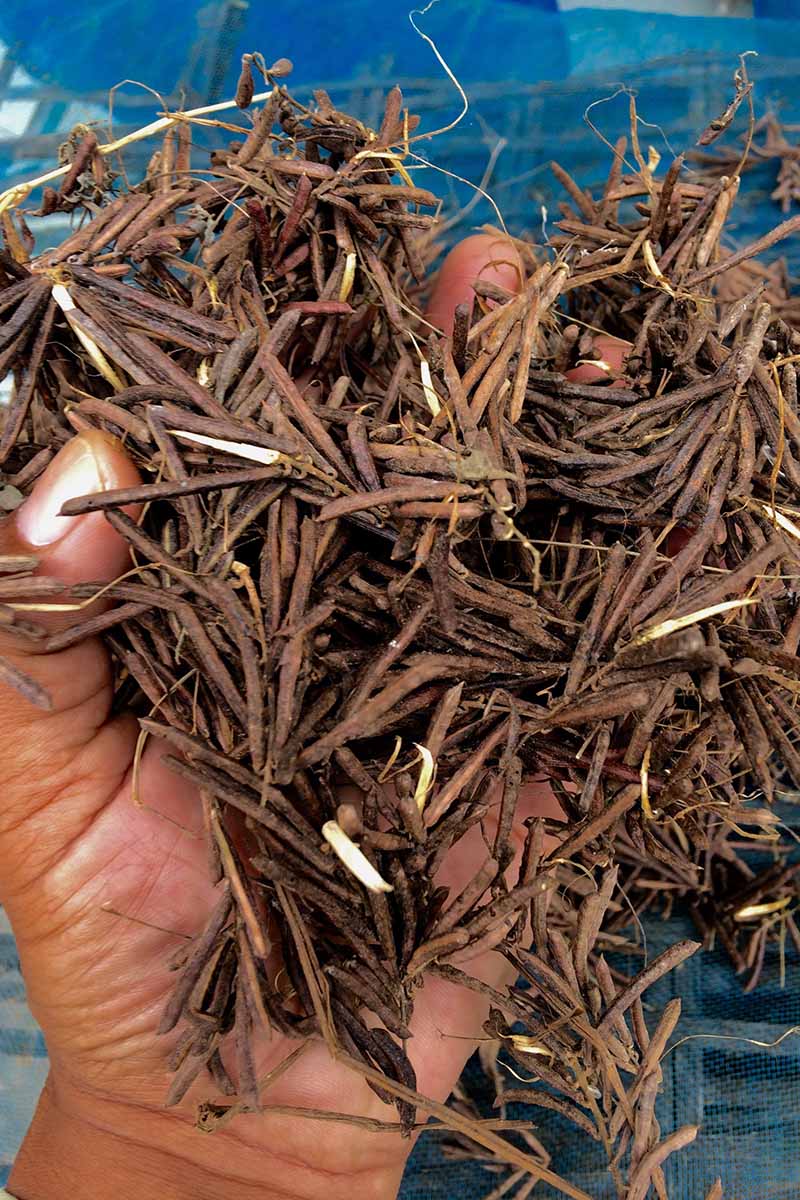
After the blooms of an indigo plant emerge, they’ll give way to bunches of leguminous seed pods. When these pods are brown and dry, they’re ripe for the plucking.
Spread out your harvested pods onto a drying screen, and leave them out in a well-ventilated spot indoors. Two weeks later, crack open the pods. Boom: dry, ready-to-go indigo seeds!
Sowing
Before you go and get ready to sow, there are some things that you simply must know.
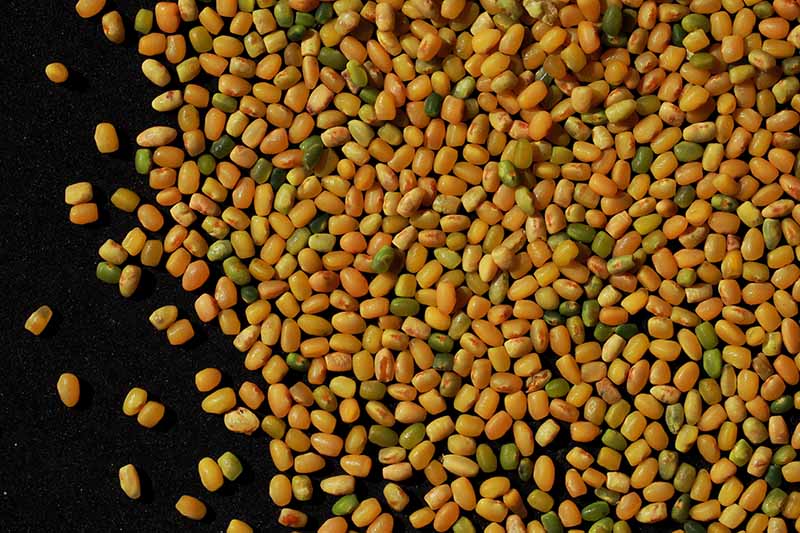
If done properly, soaking seeds can increase their odds of germination. To do so, fill a large glass or bowl with warm, near-boiling water, and leave the seeds submerged in the liquid for 12 hours.
One sweet feature of this process is that it actually doubles as the “float test” – an easy way to check for viability.
After the soaking period, the viable seeds will remain at the bottom of the bowl or glass, while the non-viable ones will float to the water’s surface. Keep the sunken winners, and pitch the floating duds.
Alternatively, you could simply nick the seed coat of each rather than soaking, which will aid water absorption.
Opposite the seed’s eye or hilum, make a small, shallow cut with a sharp and sterile blade. As soon as you’ve just broken through the seed coat to the underlying endosperm, consider it nicked.
Blade-wise, you could use a knife, a razor, or even the edge of a set of nail clippers. Alternatively, a file or fresh sandpaper can be utilized for scratching, rather than cutting the coat.
Next, gather a three-inch container for each indigo plant you intend to grow.
It’s more work than using a tray, I know, but since indigo plants don’t like to have their roots disturbed, it pays to give each one its own space to grow and develop. Plus, it’ll save them at least one root-jostling round of repotting.
Fill each container with a 50:50 mix of sphagnum peat moss and perlite, and sow the seeds just below the surface, with nothing more than a light covering. Gently moisten the media after sowing.
Set the containers next to a sunny window, and ensure a constant soil temperature of 70 to 80°F.
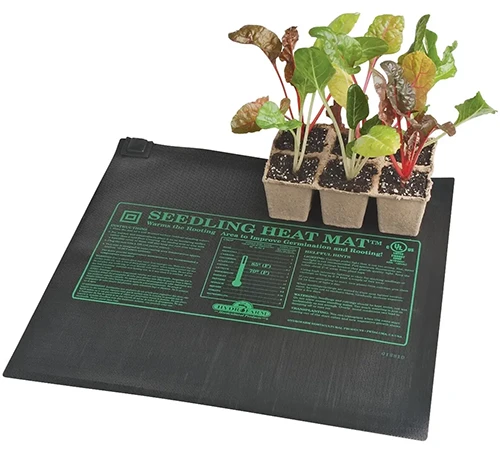
For help in keeping the potting mix within this range, Gardener’s Supply Co. has you covered with these heat mats, which can warm the root area about 10 to 20°F above the ambient temperature.
These are available in a variety of sizes and come with a six-foot power cord.
Care
After sowing, you’ll want to keep the media constantly moist. Germination should occur in 15 to 30 days.
Once you notice growth above the soil line, remove the heat mat, and continue to maintain moisture.
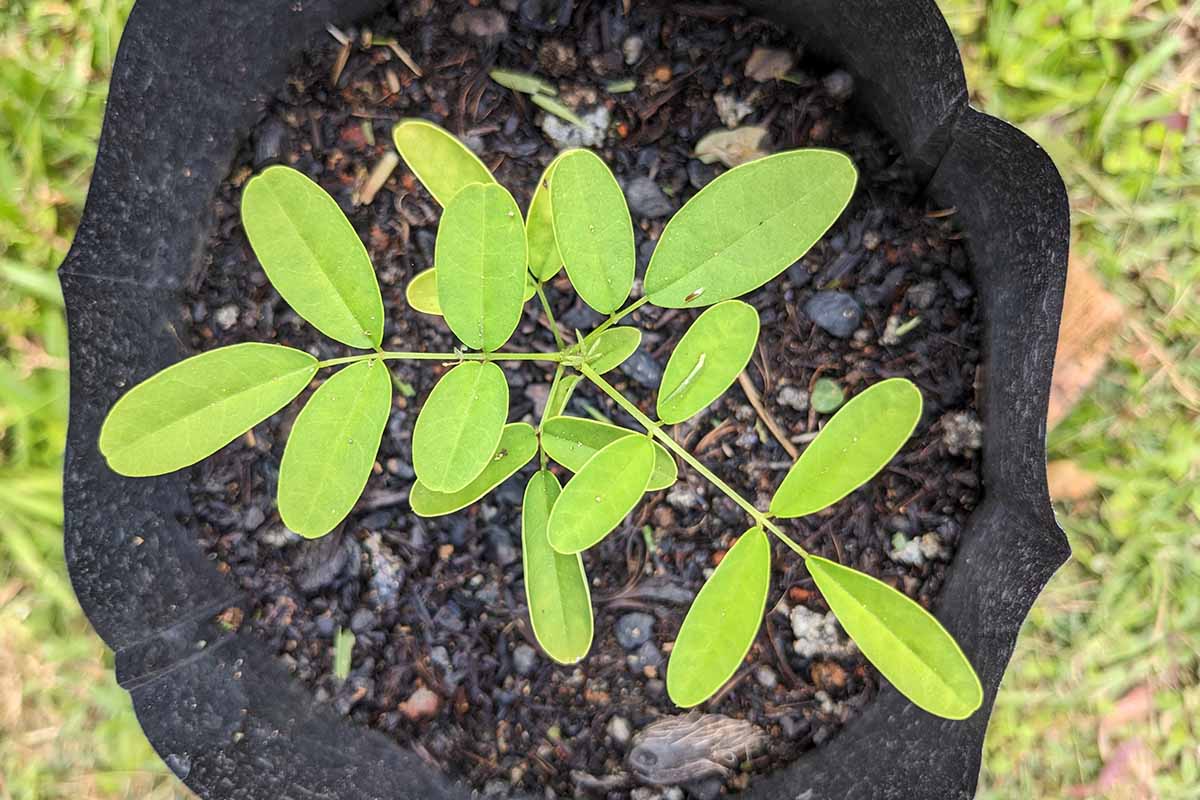
Repot your growing baby indigo plants whenever they start to become crowded in their containers. It can also be helpful to give the pots a quarter turn each day, so your plants don’t grow all lopsided.
Once the seedlings have developed a set or two of true leaves, it’ll be time to harden them off.
After the final frost date in spring, on a day that’s free of inclement weather, leave the containers outside for 30 to 60 minutes prior to bringing them back inside.
Each following day, leave the containers outside for an additional half to full hour before bringing them indoors.
Keep this up, and there will come a point where your baby indigo plants are good to stay outside indefinitely. Hardening off typically takes about a week. At this point, transplanting can begin!
Transplanting
In your garden, prepare a moderately fertile patch of well-draining, slightly alkaline soil for each indigo plant you intend to transplant.
Space these transplant sites far enough apart to at least accommodate their mature width.

Dig a hole per transplant in each of their respective sites, making each hole large enough to accommodate the root system.
When removing the indigo plants from their containers and lowering them into the holes, be gentle – their roots are sensitive.
If you’re able, inverting the container – while keeping your hand around the transplant’s crown for security – lets gravity do most of the work, rather than your potentially-damaging fingers.
If you don’t trust yourself to gently remove an Indigofera from its pot prior to transplanting, biodegradable containers like the ones made from coir or pressed paper can actually be planted straight into the ground, without having to remove the transplant within. It’s definitely worth keeping in mind from the get-go!
Once they’re in the holes, backfill with soil, deeply water them in, and keep the soil around their root zones moist until established.
Sow Some Seeds: You’re Sure to Succeed!
The first attempt at something is always the hardest, and propagating indigo from seed is no exception. But I have no doubt that – with time and experience – you’ll master this skill!

Curious to learn more about any part of this process? Drop your questions in the comments section below, and we’ll do our best to get back to you shortly!
And for more information about growing legumes, set your eyes on these guides next:


Hello Mr Butler..
That was a good, informative and easily readable article.
What I would like to know is, after you said about “The first attempt at something is always the hardest, and propagating indigo from seed is no exception”, what is the expected germination rate of Indigo?
I thank you
A Russell (Of Kent in the UK)
Hello there!
Honestly, it varies a bit, depending on the species. But in general, without any soaking and scarification, the germination percentage can be pretty low, all the way down in the mid-teens. But with the right preparation, you can boost the odds up to 70%-plus!