
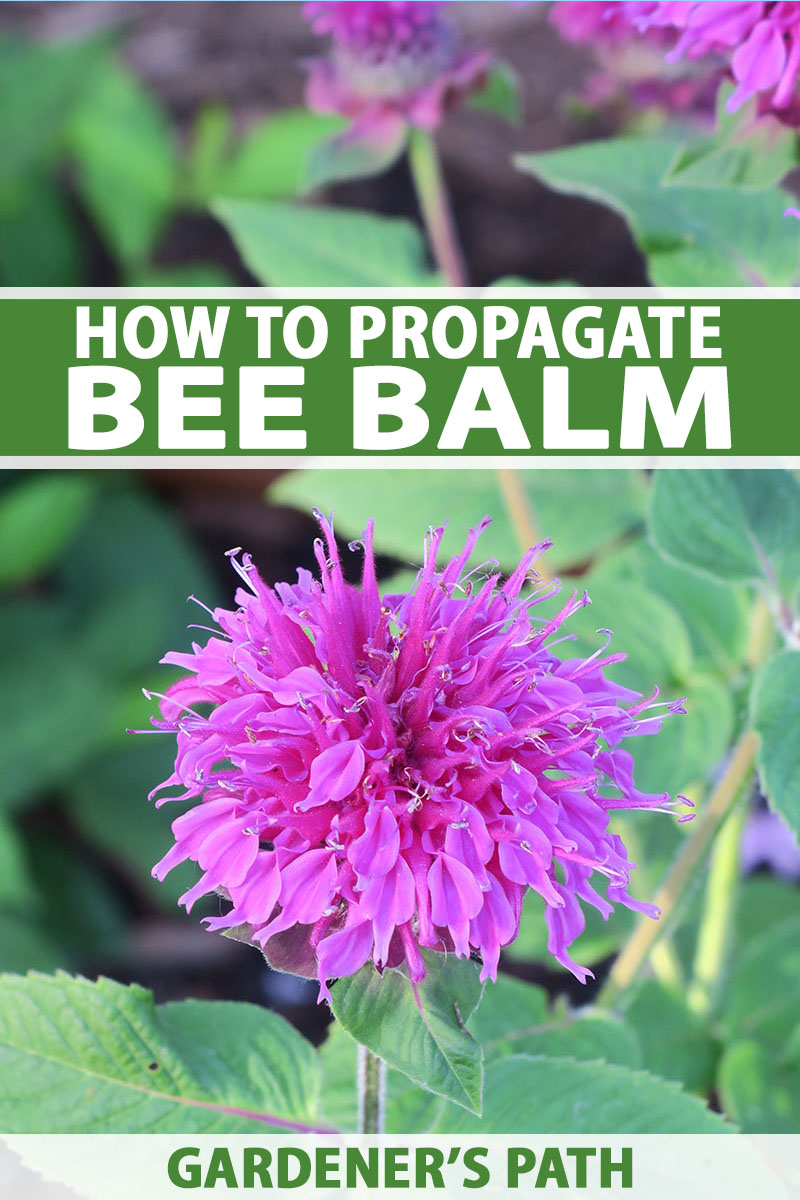
As a member of the notoriously fast-spreading mint (Lamiaceae) family, bee balm (Monarda spp.) is about as easy to propagate as it gets.
This is a good thing because it’s also a plant that you can’t really ever have too much of – unless it starts taking over other plants in your garden, of course!
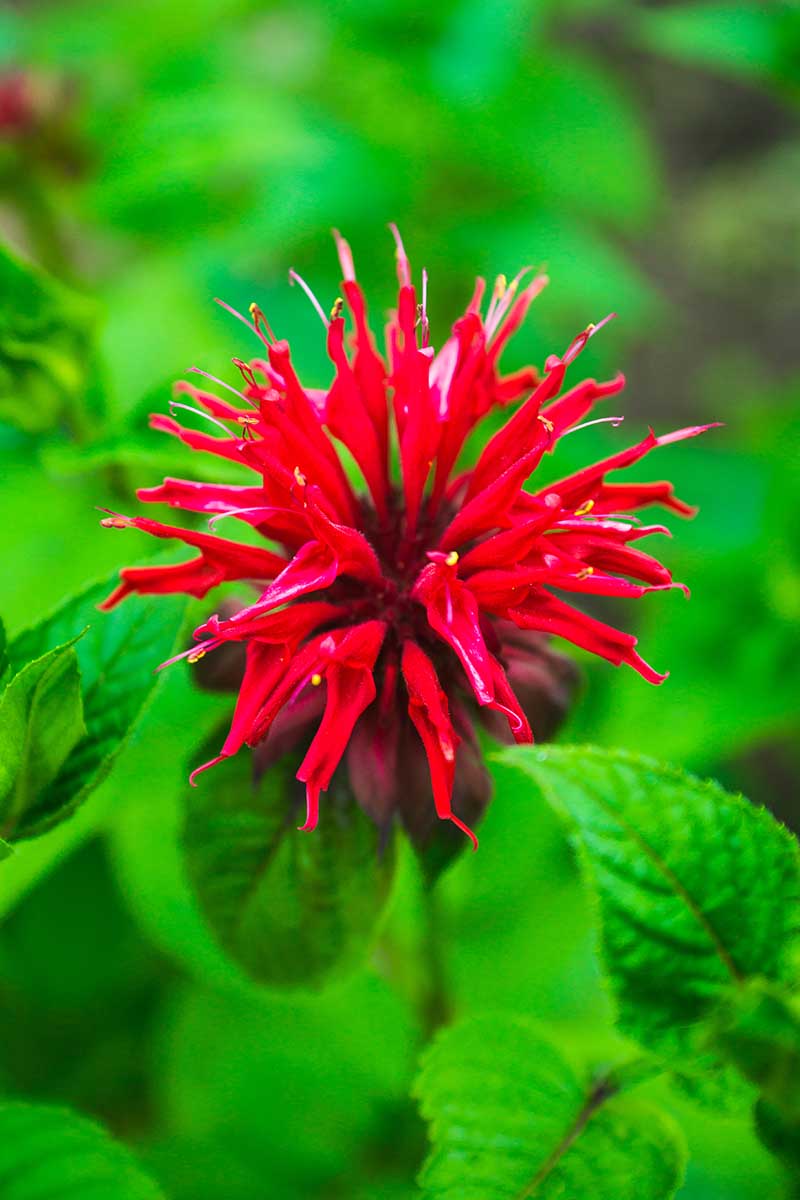
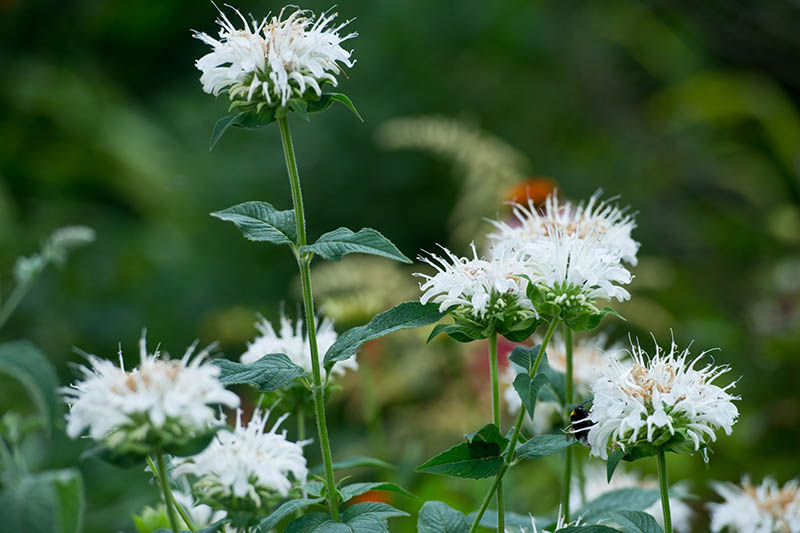
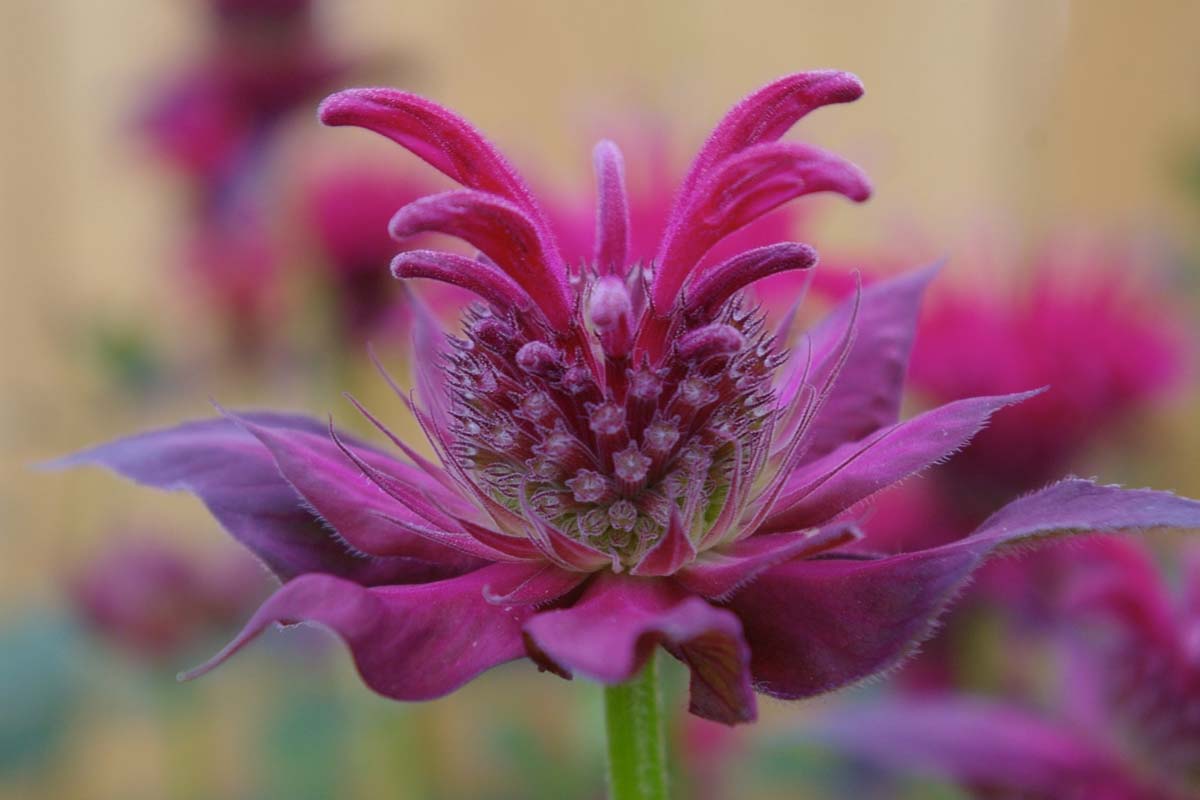
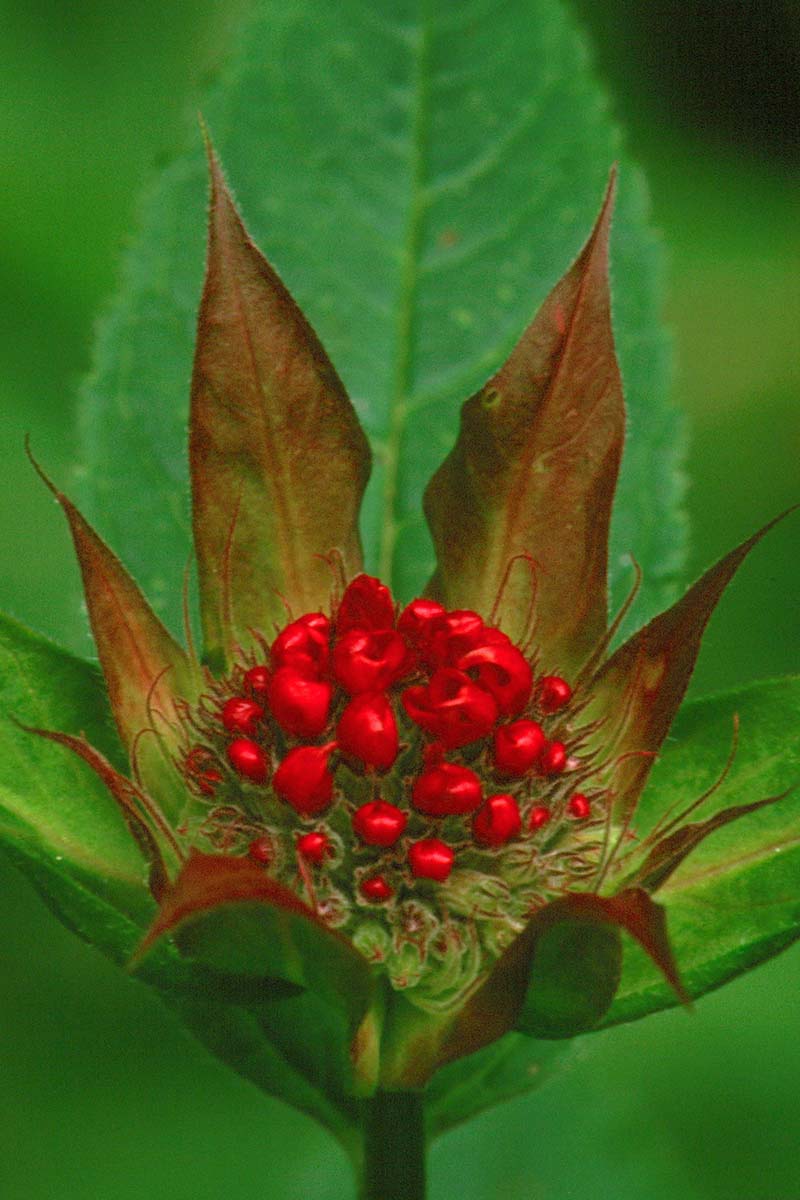
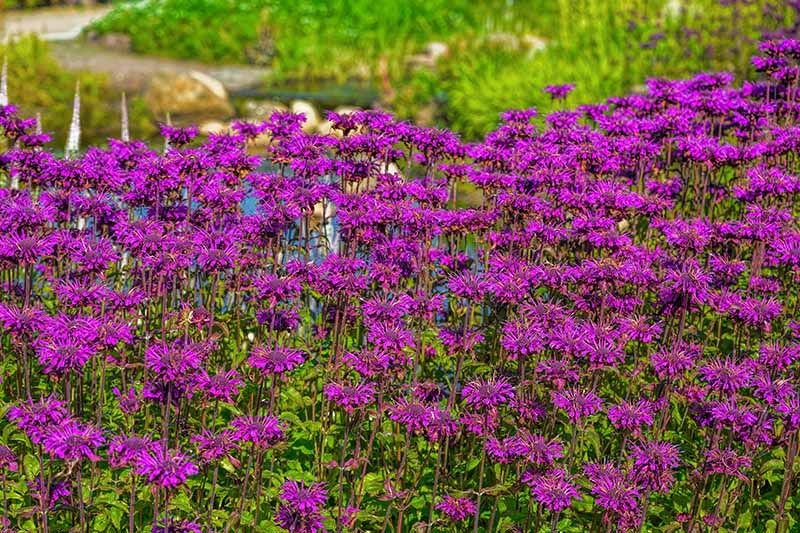
With its gorgeous long-blooming, unique display of flowers that are reminiscent of fireworks, it’s natural to want to spread bee balm around.
We link to vendors to help you find relevant products. If you buy from one of our links, we may earn a commission.
And although it doesn’t need a lot of help spreading to nearby places in your garden beds via underground rhizomes, sometimes it can use a little help in terms of rejuvenating older plants, which tend to become crowded and lose their vigor with age.
By digging up your Monarda and dividing it, you can restore mature plants to good health, giving them more room to grow and providing new plants that you can give to friends and neighbors if you wish.
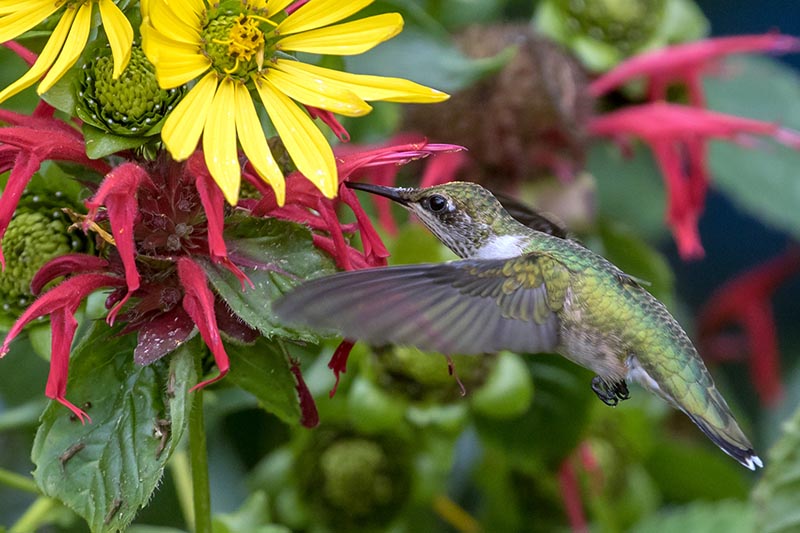
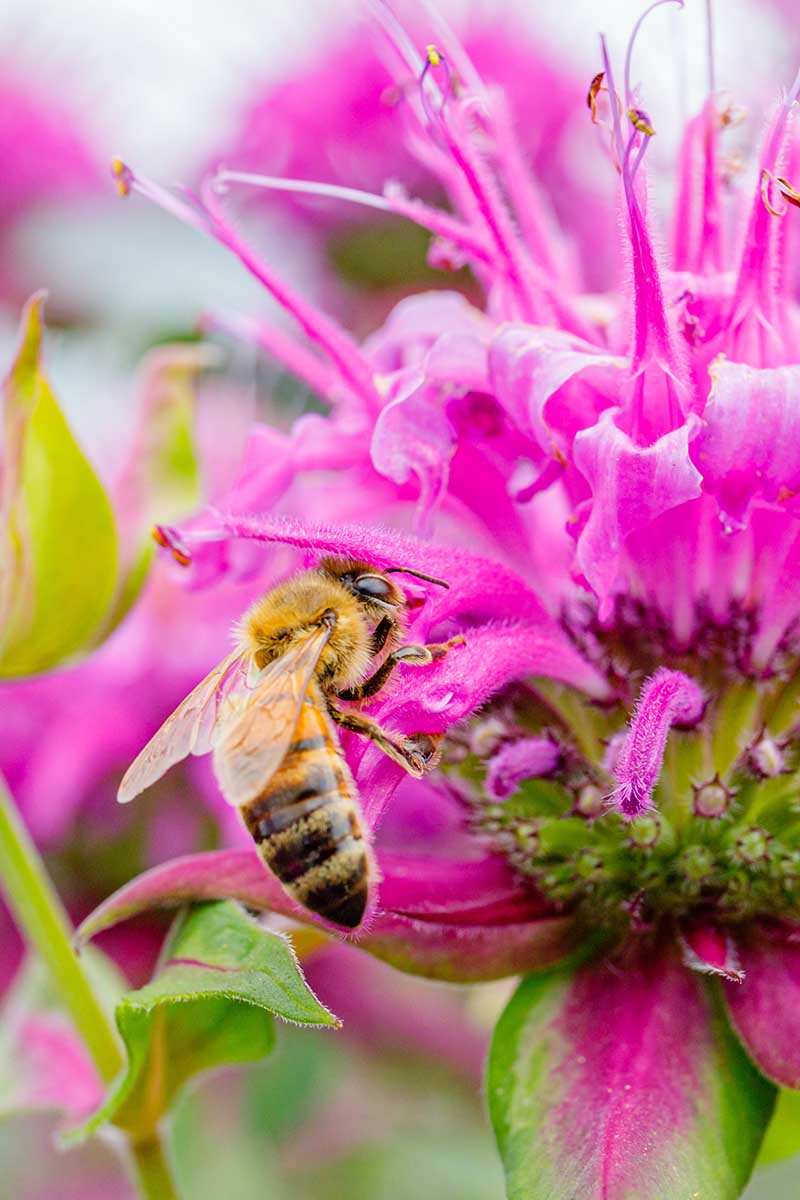
The pollinators love these natives, so why not share?
Read on to learn how to propagate bee balm through divisions, seeds, and cuttings.
3 Ways to Propagate Bee Balm
3 Ways to Propagate Bee Balm
If you ask me, the easiest way to propagate bee balm is through division. This involves digging up and transplanting the roots and rhizomes.
You can also propagate Monarda from seeds, or start new plants from stem cuttings that you can root and then transplant.
The main benefit of choosing to propagate via cuttings or divisions versus seeds is that you’ll know exactly what type of plant you’re going to get.
Let me explain:
Pieces taken from a parent plant grow into clones with an identical genetic makeup and associated characteristics.
If you collect seeds from a hybrid cultivar, whatever new plants sprout will not be identical to what you already have planted in your garden.
In other words, hybrids are not true to seed.
Propagating by dividing mature plants will also produce larger plants faster than what you would get if you started new ones from seed.
And dividing perennials also gives them a little extra room to spread, improving overall plant health.
By Division
This is generally how I propagate my bee balm plants.
Bee balm spreads rapidly on its own through specialized underground stems known as rhizomes, so you’ll have ample opportunity to make divisions of new growth.
As I mentioned above, after about two to three years, you may find that the center part of clumps of bee balm has declined, with sections that are growing poorly.
Dividing your plants will help lessen overcrowding and reinvigorate old plants.
The best time to take divisions is in early spring, just as the new shoots start sprouting out of the soil.
Start by digging your shovel in around the perimeter of the clump you’ll be digging up.
Push in all the way and slide under the roots as best you can at a 45° angle, and pry the shovel upward. Do this around the entire perimeter.
Once you have the root clump loosened enough, you should be able to slide under the roots with your shovel and pry up the clump.
Or, you could simply reach under the roots with your hands and pull the root ball up.
Shake off as much soil as you can, and divide your dug-up clumps into smaller clumps.
You can do this by simply tearing them apart, or cutting thicker roots with a sharp garden knife.
How small should these smaller clumps be? Leave two to three shoots per divided clump with an intact root system that’s at least six inches in diameter.
This is also a good time to remove any damaged stems or unhealthy-looking foliage as well as any dead roots or stems.
Dividing is also a good time to check on the overall health of your plants. If parts of the root system that you dig up are slimy, this may indicate root rot.
You want to get rid of that part of the root system by cutting away and disposing of any diseased portions, and consider amending the soil in the planting area to improve drainage.
Monarda likes moist conditions, but this plant doesn’t appreciate wet feet.
You’ll want to replant your new divisions immediately, as bee balm doesn’t like dry roots either.
Choose their new homes carefully – these plants can be very aggressive and have a tendency to take over less robust plants via the spreading rhizomes.
Read more about this in our guide to controlling bee balm.
I also recommend applying a layer of mulch the new plantings to help them maintain moisture and prevent weed growth while they’re becoming established.
As is the case when transplanting most plants, I think it’s also a good idea to give them a kickstart with a shot of transplant fertilizer, like this product from Bonide that’s available from Amazon.

Bonide Root & Grow Concentrate
This 4-10-3 (NPK) fertilizer mix includes IBA Root Stimulator to stimulate root growth, and helps to prevent transplant shock while providing a boost of nutrients. Be sure to dilute the concentrate and apply it according to package directions.
From Seed
Growing from seed is easy, with good germination rates, and can be done with store-bought or harvested seed.
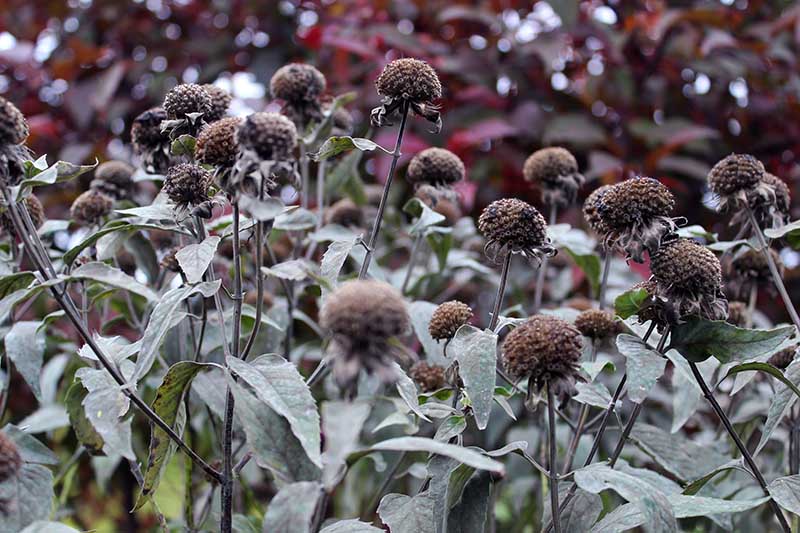
If you plan to grow seed that you have saved from your own plants, harvest the seed about two weeks after the flowers are finished blooming.
Help! There are no flowers on my bee balm! What’s going on?
There are several factors as to why your plants might not produce any blooms. Find out more in this guide.
At this time, the dead flower heads should be dry.
Remember, if your plant is a hybrid – a cross of two or more different species or cultivars – its offspring grown from seed won’t necessarily share a resemblance, especially if pollen from nearby varieties have entered the mix.
To harvest, bend the plants over and place a paper bag under the flower heads. Gently and quickly shake the plant to release the seed. If the seeds are ready, they should fall into the bag.
Collect your fill, roll up the bag at the opening to close it, and place it in a well-aerated and dry place on its side with the seeds spread out.
Allow them to sit and dry for about a week before placing them in a sealed bag or airtight container in the fridge. I recommend keeping the seeds in the refrigerator until you’re ready to sow them.
There are a few ways you can sow your seeds, which we’ll go over in a moment.
In all cases, sow seeds just under the soil about 1/4 inch deep, as they are quite small. (The general rule of thumb with all seeds is to plant them at a depth that’s two to three times the width of the seed).
Keep the soil evenly moist until the seeds germinate. This should take about 10 to 40 days at 60°F.
If you’re starting your seeds outside where temperatures tend to fluctuate, germination may be more sporadic or slow.
Seed sowing options include:
1. Plant in a Cold Frame in Early to Mid-Spring
When plants have two sets of true leaves, carefully pick out the seedlings and put them in individual four-inch pots or in their permanent position.
They can be planted in their permanent position if you can keep the soil consistently moist.
However, I find they transplant more readily if I wait until they’ve had a bit of time to grow strong roots and a wet season is about to begin.
For me, in Southern Ontario, this is in late August in preparation for fall rains.
Find more springtime cold frame tips here.
2. Plant Directly in the Ground
Prepare a weed-free area for either a nursery bed or permanent planting. Sow seeds one inch apart after the last frost.
Once seedlings have grown at least two sets of true leaves, thin them to 18-24 inches apart, or transplant them as desired to their permanent location.
3. Plant in Flats in a Warm Indoor Location
This includes planting your seeds in flats in a heated greenhouse, or placing your seed starting trays in a sunny window eight to 10 weeks before the last frost in your area.
Sow about three seeds per cell in a lightweight, sterilized seed-starting mix.
Choose the strongest plant to keep and thin them to one per cell after their first true leaves have formed.
Transplant to four-inch pots when the seedlings have two sets of true leaves, or into their permanent location as described in the cold frame directions above.
Whatever method of sowing you choose, keep the planting area weed-free and well-watered as they become established in their first season.
From Stem Cuttings
Growing from cuttings is a great choice if you have only a few large plants and want to propagate a specific variety.
Take cuttings from the tips of new growth in the spring. Cuttings should be about six inches long and the cut should be made just below a leaf node.
Remove the bottom set of leaves and dip the cut end in rooting hormone about two inches up the stem.
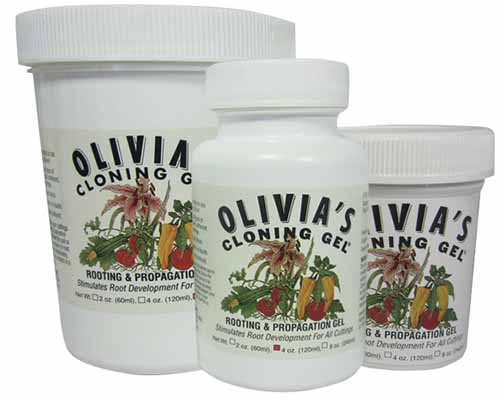
I like to use Rootech Cloning Gel, available from Arbico Organics.
Submerge the cuttings two inches deep in four-inch pots filled with vermiculite or potting mix.
I recommend placing pots in a bottom-watering tray under a humidity dome, or with a clear plastic bag suspended above the cuttings.
You can do this by taping pencils or dulled sticks to the corners on the outside of the tray, for example.
Keep an eye on the cuttings to check for root growth coming out of the bottom of the pots, which should happen in two to four weeks.
I like to water all of my cuttings every few times with regular 3 percent hydrogen peroxide that’s available at most pharmacies and department stores instead of water.
This prevents them from rotting, resulting in higher success rates.
Once they are rooted, remove the bags and place them in a sunny window or greenhouse until you plant them in their permanent position.
New Bee Balm Beginnings
Although bee balm may be easy to propagate, that doesn’t make doing so any less rewarding.
Just make sure to place your plants where you don’t mind them spreading out when you transplant, and don’t put them near any smaller plants that will be taken over easily.
Bee balm has a tendency to expand outward via its underground rhizomes.
Armed with these methods and tips, go ahead and spread the Monarda love around in whatever way works best for you: through cuttings or divisions to keep the same characteristics as the parent plant, or via seeds to see what you get.
You never know, if you have some interesting varieties growing in your garden, one of the resulting plants could be the next big show stopping cultivar!
Have you tried propagating bee balm in your garden? Let us know in the comments below, and feel free to share a picture!
Ready to learn more about propagating other flowering plants? Add these guides to your reading list next:

The caption on the Nutri-Rooting Gel should be ROOTing Gel, not ROTTing Gel
Thanks Edward, I’ve fixed it and updated it.
Hey thank you for this post!! I have some bee balm from a local garden. I successfully propagated thanks to your post a couple of months ago. Now I’m trying it again! One by planting with pesticides into rooting soil and another by putting the cutting in water. Do you think the water way will sprout roots? Thank you.
Yes, it should — just like basil and mint do ????. I’m so glad this guide was helpful for your first go-around.
Este… Brandi… is it a good idea to use pesticides when planting bee balm? Considering it will harm all the pollinators attracted to this beautiful flower. With caring thoughts from a pollinator fan and an amateur gardener. =) God bless.
Neem
This the second year my nice batch of Monarda has NOT bloomed. It is possible that I have not ferlilized with the proper mix at this time here in Jacksonville, FL. It is notwSeptember 10. should I dig up my plant, divide it and put it in pots or divide it and replant in the same sunny area? According to what I have read so far, the best time to do this is in Spring. Should I wait until then and let the Monarda stay where it is?
Hello Estelle and thanks for writing in. I would recommend waiting until spring to divide the plant, while at the same time taking care to trim any dead or diseased stems now. Spring would also be a great time to try to start some new plants from cuttings, following the directions in this article. Your plant is probably getting old, and after about three years they do start to decline, so new divisions or rooted cuttings will give it new life. If it ever was happy blooming where you have it planted, I would stick with that area and also… Read more »
Should bee balm cuttings show leaf growth or just root growth when planting cuttings in pots?
When they show new foliage growth that’s a sign that they are taking root.