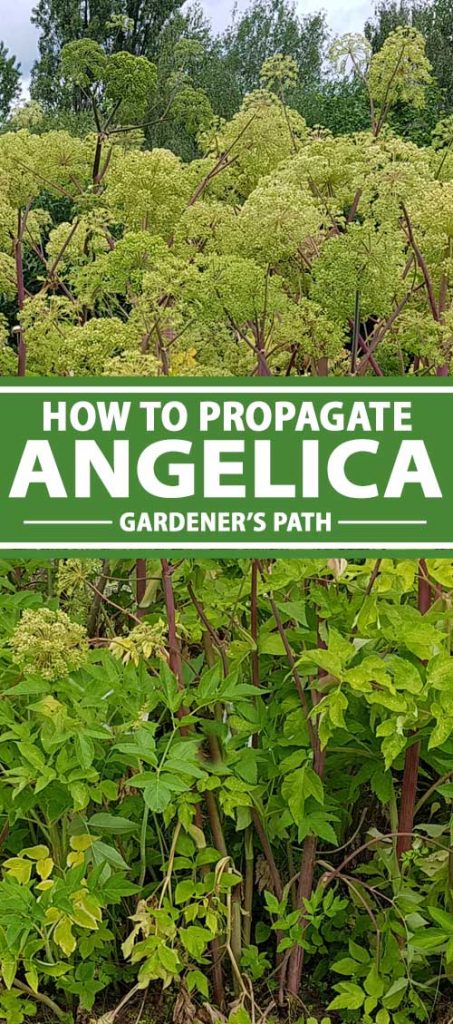

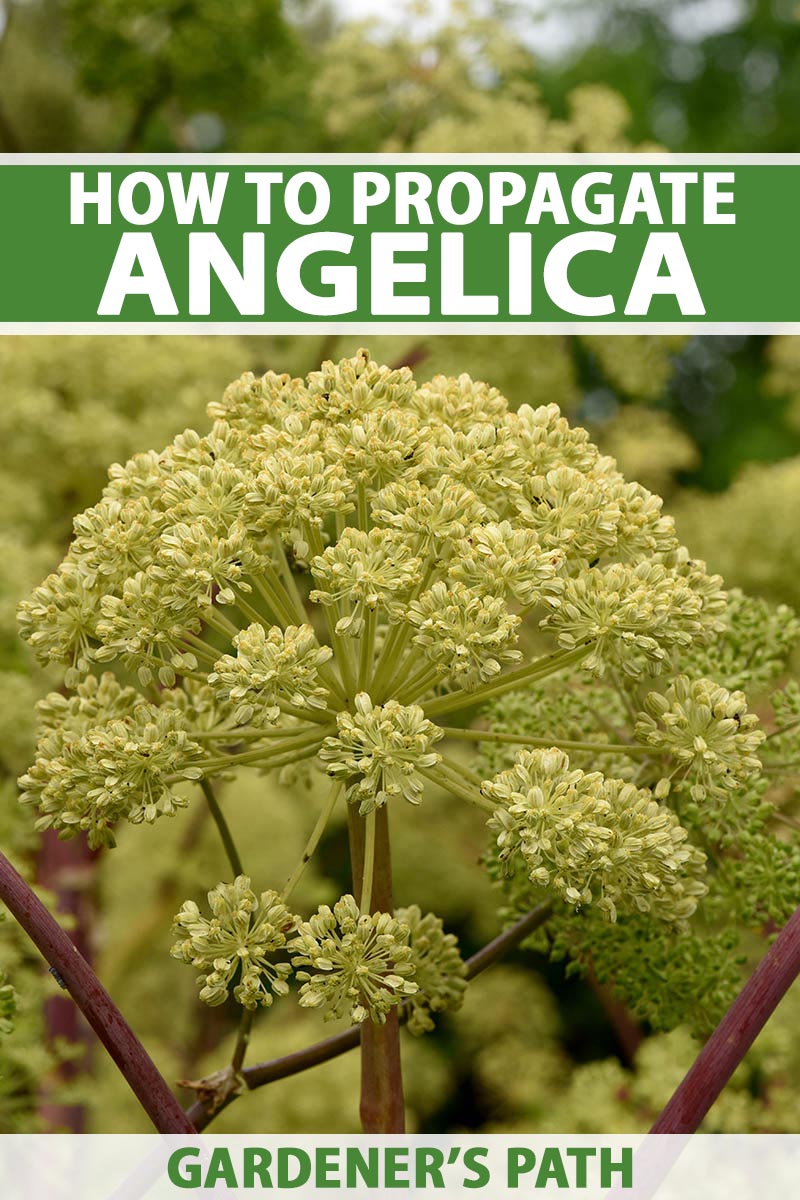
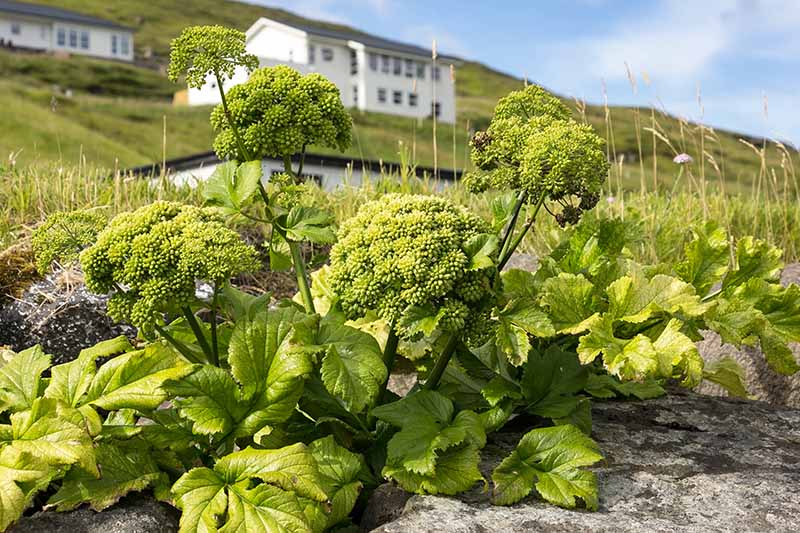
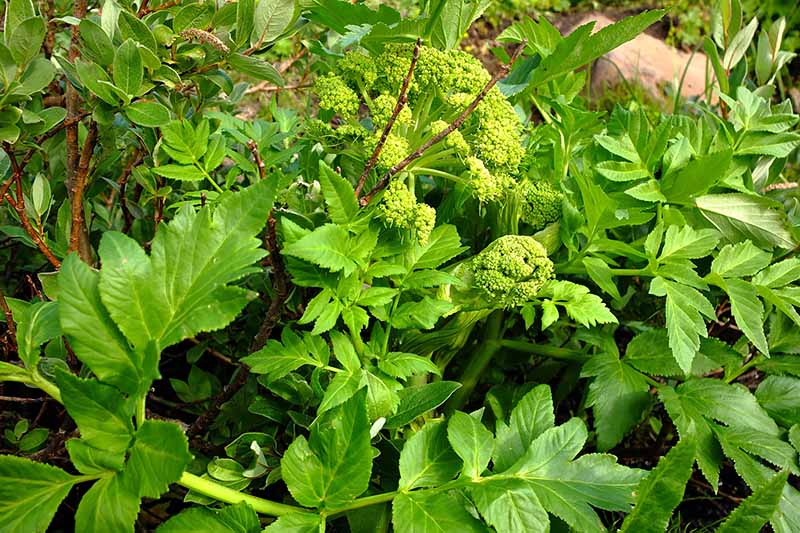
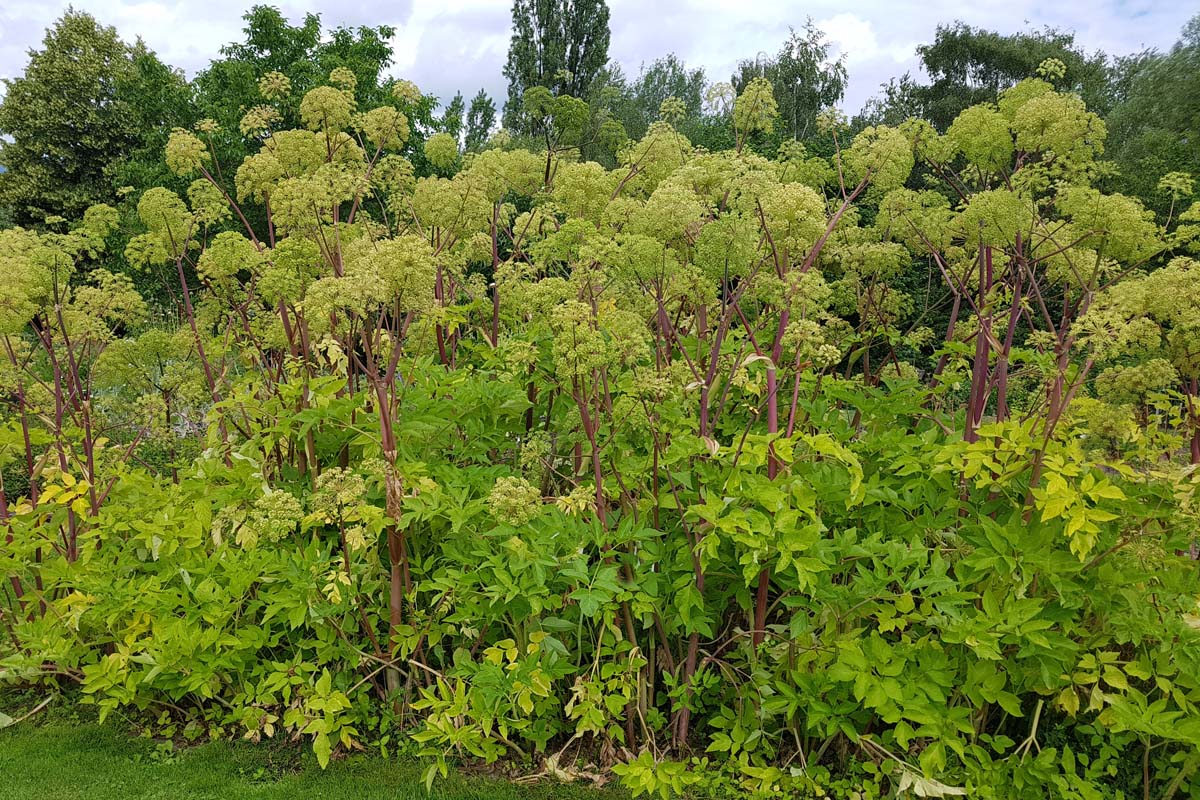
Angelica archangelica is a striking biennial herb that I absolutely love.
Tall, upright stems with bright green foliage, and fragrant flower heads that bloom in midsummer, add texture and interest to the garden.
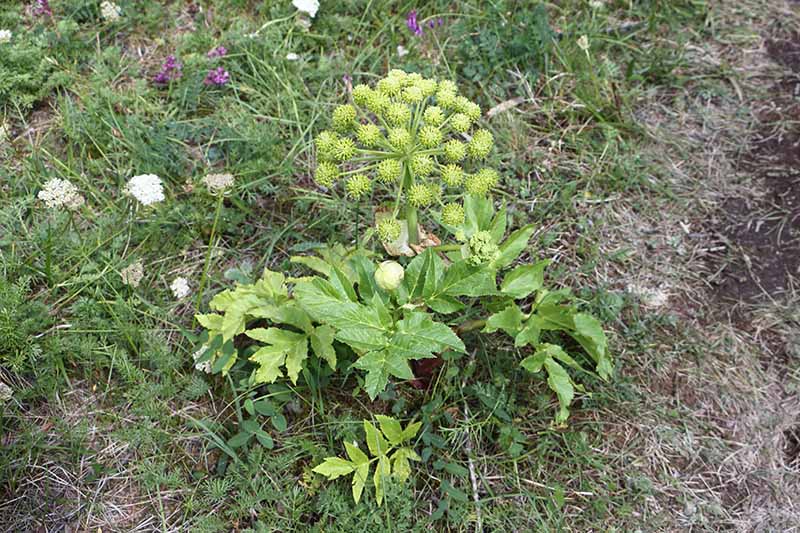
This biennial plant completes its life cycle in two years. Once established, it will readily self-seed – without becoming invasive – and new plants will pop up come springtime.
Suitable for growers in USDA Hardiness Zones 4 to 9, in cooler areas, it can take up to four years to mature and set seed.
We link to vendors to help you find relevant products. If you buy from one of our links, we may earn a commission.
To get started, you can propagate angelica from fresh or dried seed, by planting transplants, or by dividing existing plants. Stem cuttings do not root successfully.
Here’s what I’ll cover:
What You’ll Learn
Ways to Propagate Angelica
No matter which method you use, you will need to find a sunny site in your garden, and prepare a bed with rich, moist soil, mixing in some organic compost or manure.
Since this herb thrives in cooler climates, if you live in a hotter area, it is best to find a site with partial shade to protect it from getting too much direct sun during the heat of the day.
See our full guide for more detailed information about how to grow angelica.
Fresh Seed
If you happen to have access to an established plant, starting from fresh seed is certainly the best option.
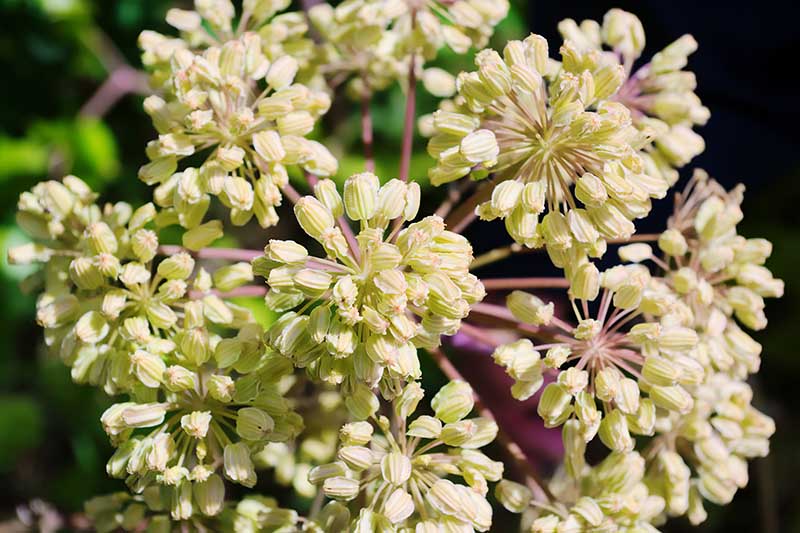
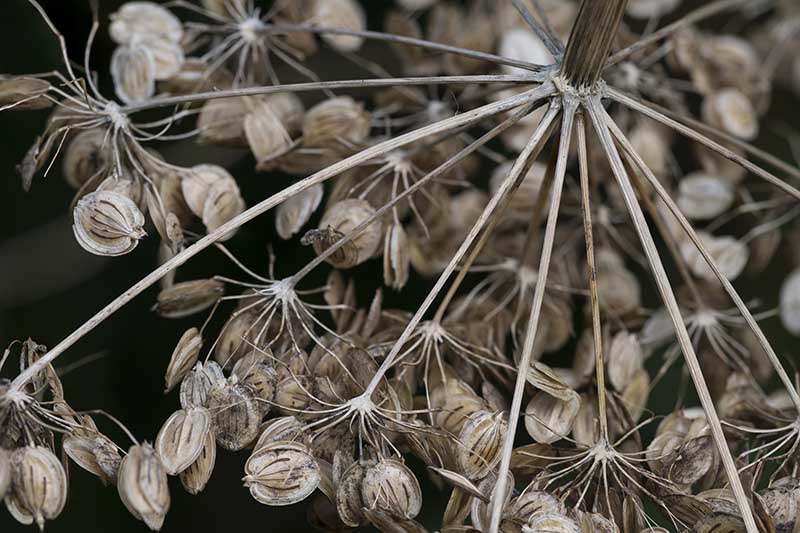
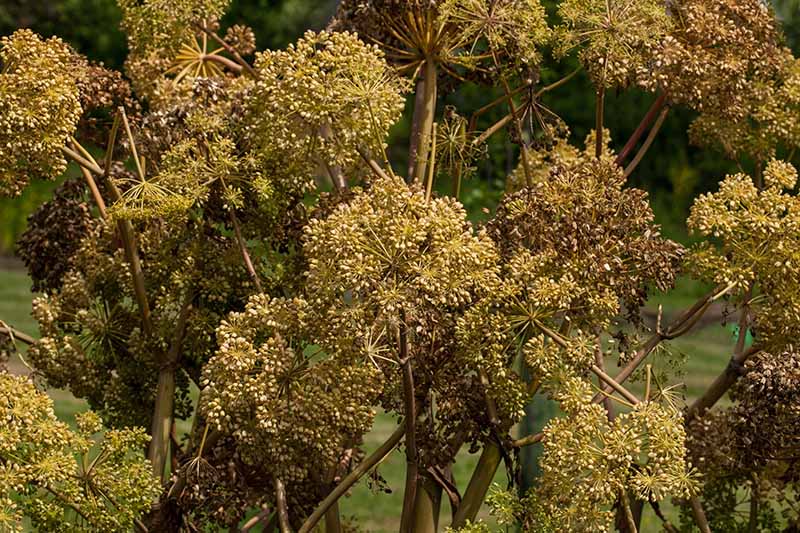
In early fall, collect the fresh seeds from mature flower heads to sow in your garden. The easiest way to do this is to place a paper bag over the flower heads, allowing the seeds to collect inside the bag.
Once you have gathered the seeds, you can sow them immediately in your prepared bed.
A. archangelica seeds require light to germinate, so it is not necessary to cover them with soil. Instead, press them gently into the surface of the soil.
Water lightly and continue to keep the soil moist until seedlings appear. Once they are a few inches tall, you can thin them to provide 18 to 24 inches of space between each plant.
Dried Seed
If you don’t have access to fresh seeds you can still grow angelica from dried seed, it just takes a bit more preparation and the germination rates will likely be lower.
To propagate angelica from dried seeds, you will need to cold stratify the seeds prior to sowing. Cold stratification is an important step for seeds that naturally overwinter in the ground before germinating in the spring.
The process of cold stratification mimics the dormancy phase that many need to go through over the winter months in order to sprout once the weather warms in the spring.
To cold stratify seeds, simply place them in the refrigerator. After a few weeks, they are ready to sow outdoors.
Press gently into the soil surface, and keep lightly moist until seedlings appear. If they are viable, they should germinate within 30 days.
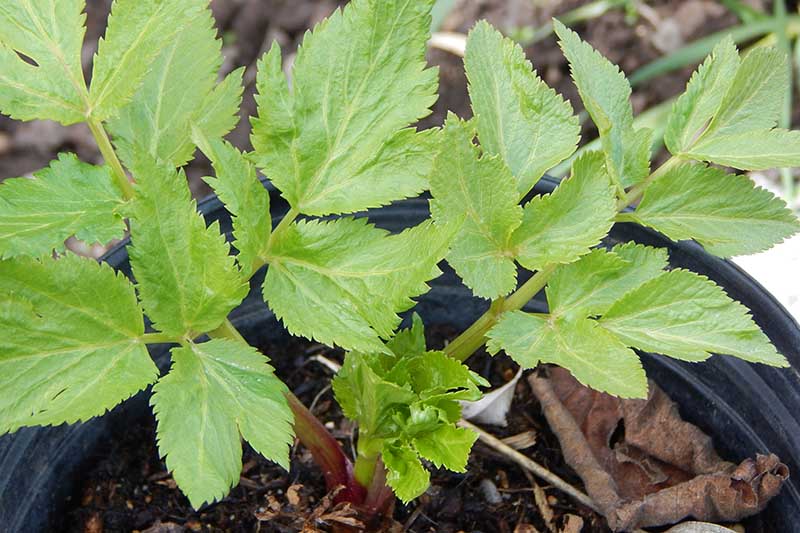
From Seedlings or Transplants
You can also start fresh or dried seeds indoors and transplant the young seedlings into the garden. You want to plan to transplant your seedlings in spring.
After cold stratifying in the refrigerator for a few weeks, surface sow into nutrient-rich potting soil in flats or small pots.
Place two to three seeds in each pot, since germination rates of dried seeds can be quite low. You can thin to one per pot after seedlings have sprouted.
Because the roots can be sensitive, I like to start angelica in biodegradable pots. Peat pots are an ideal choice as these can be plant directly into the ground. This reduces root disturbance when transplanting out into the garden.
In order to germinate successfully, seeds need a period of fluctuating temperatures. To achieve this, you can set your seed trays outdoors in a sunny location, but remember to bring them indoors if frost is in the forecast.
Keep the potting medium evenly moist. Do not allow it to dry out or become waterlogged.
Alternatively, keep the pots in a greenhouse or indoor location where the temperature remains above 60°F during the day, and place them in the refrigerator at night.
After 21 to 28 days of fluctuating temperatures, you can bring them indoors or place them in a greenhouse where the temperature is above 60°F. You can expect germination in three to four weeks.
Once seedlings have developed at least one set of true leaves and are three to four inches tall, they are ready to be transplanted into the garden.
They should be set out as soon as possible, after all risk of frost has passed. Larger, more established plants have sensitive taproots that do not respond well to transplanting.
Space seedlings every one to two feet in rows approximately three feet apart.
Dig a hole the same size as the root ball – or biodegradable pot, if using. Gently tease out the seedling if it is not in a biodegradable container, place it in the hole, tamp down the soil, and water in well.
By Division
If you are planning to harvest the root for medicinal use, I do not recommend propagating by division. Instead, allow roots to grow unimpeded through two seasons so they may become as large as possible.
Established plants can be divided either during the fall of the first season as they start to go dormant for the winter, or during the spring of the second season before flowering.
Cut back the foliage to about 12 to 18 inches from the ground, to make the plant easier to work with.
There are two ways to divide your plants.
You can either dig up the entire plant and separate the roots into two or three sections, or cut down the center of the plant, leaving half of it in the ground.
This plant has a long taproot, and if this is damaged, transplants may not thrive.
Make sure the soil is moist but not waterlogged, and dig down about a foot deep, carefully removing the entire plant. Divide the root into two or three sections, and replant immediately.
You can replant each section at a similar depth, keeping about 18 to 24 inches of space between plants.
For more information about this technique see our guide to dividing perennials.
All You Need Is One!
Though it may take a bit of effort to get started, the good news is that once you have one – or two – established plants, they will take over most of the work for you, by self-seeding.
Angelica will self sow easily if you allow it.
Just leave the mature flower heads on the stalk, and pull back any mulch you have applied at the base of the plant in the fall, to allow the seeds to drop onto the soil below.
After that, you are left to enjoy this majestic beauty and all it has to offer, year after year!
Have you had success propagating angelica? Share your stories in the comments below!
For more information about growing medicinal herbs in your garden, check out these articles next: