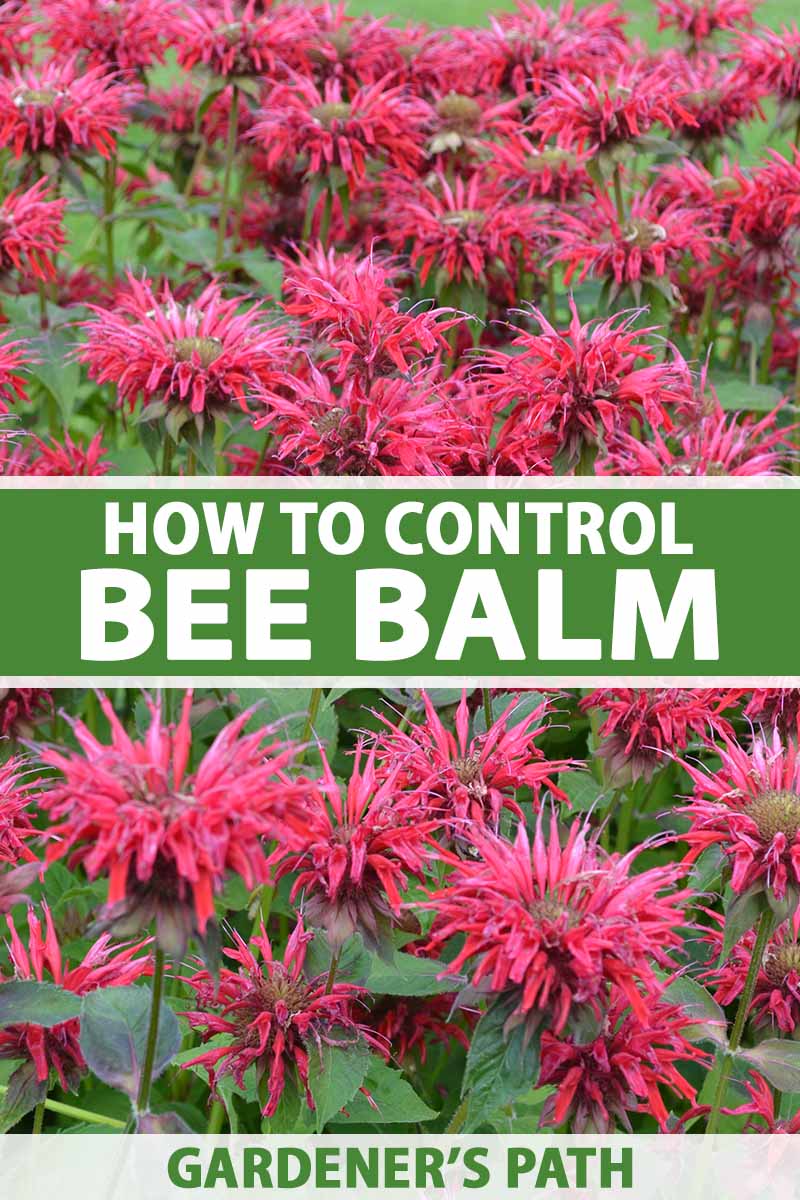
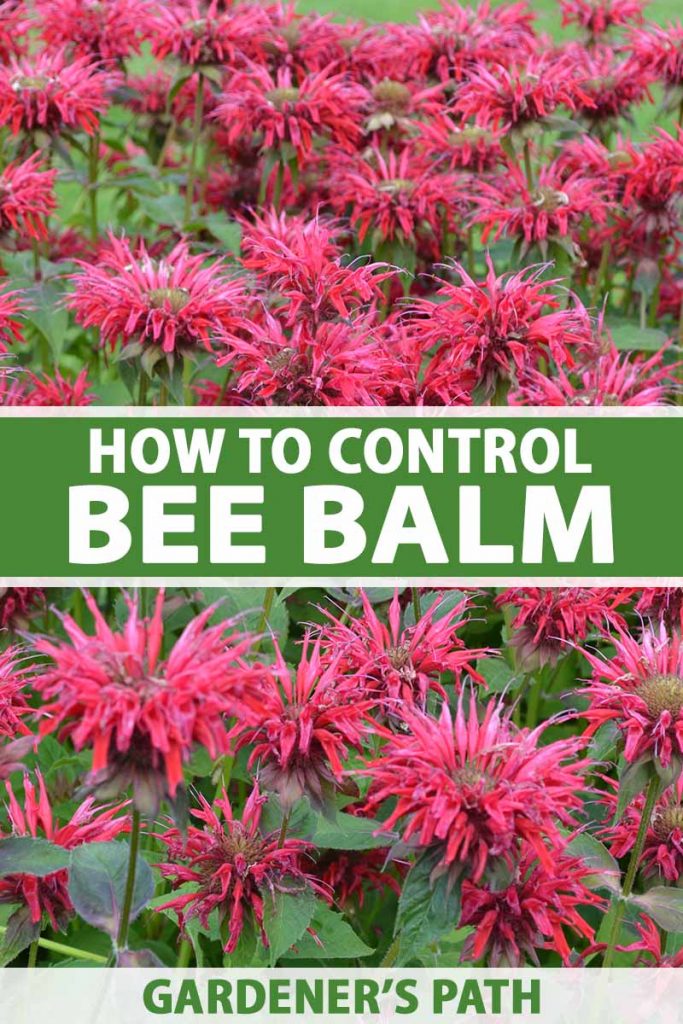
Bee balm, also known as Monarda (Monarda spp.), is a well-known flower and herb throughout North America.
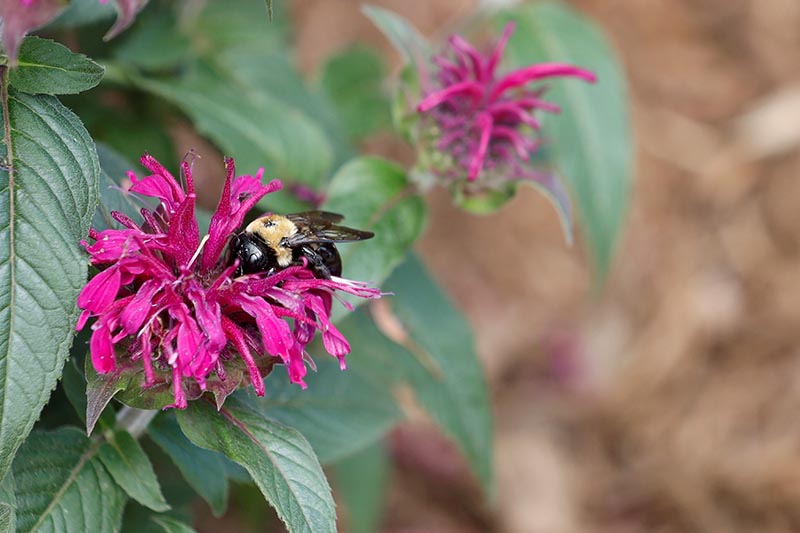
Its colorful blooms are like a slow-motion, multi-month fireworks display that captures the attention of people, bees, butterflies, and hummingbirds each summer.
A member of the mint or Lamiaceae family, bee balm is also quite easy to grow – almost too easy, in fact.
We link to vendors to help you find relevant products. If you buy from one of our links, we may earn a commission.
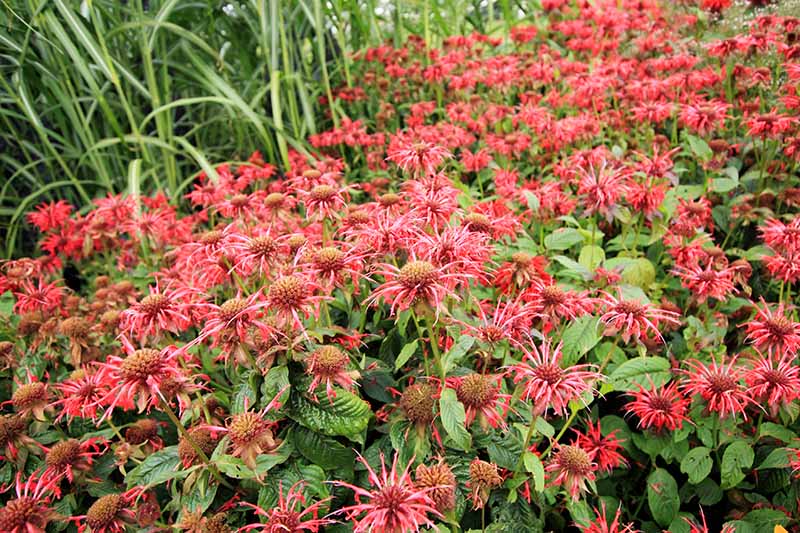
All members of the Monarda genus have a tendency to run amok through the garden with their spreading root systems, creating new plants that pop up all over – especially if you have rich, moist soil.
In this article, we’ll explore some options to deal with its potential aggressiveness, including rhizome barriers, isolated placement, ongoing divisions, cutting, pulling, and regular smothering.
What You’ll Learn
First, let’s take a look at how invasive bee balm actually is before we explore the best methods of control available to you.
Is Bee Balm Invasive?
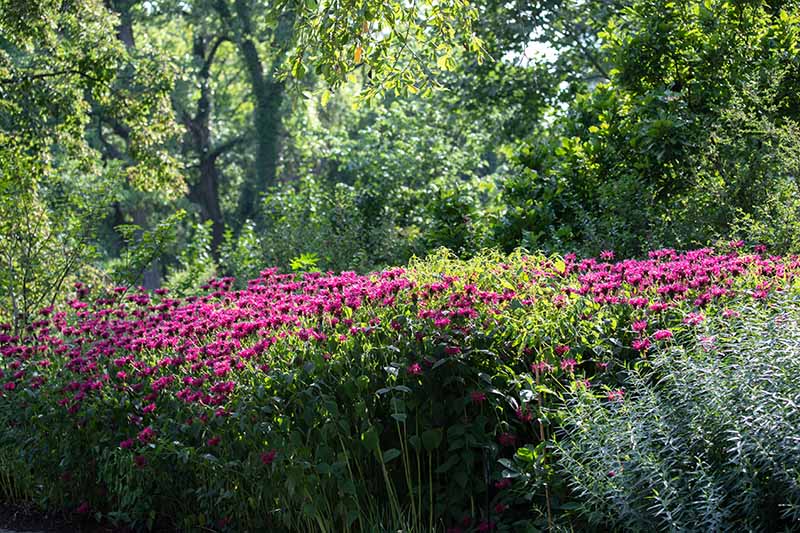
If you’re asking whether bee balm can be aggressive, then the answer is yes – especially in its ideal growing environment with moist soil in a full sun to part shade location.
However, it is not technically deemed invasive everywhere.
The term “invasive” has a specific meaning that is often misused.
As defined by the USDA, an invasive plant is one “That is both non-native and able to establish on many sites, grow quickly, and spread to the point of disrupting plant communities or ecosystems.”
Whether or not it’s invasive, then, depends on where you’re growing it and what species you’re growing.
Since M. fistulosa and M. menthifolium are native to almost the entire continental US, for example, one can’t call these particular species invasive in most places here, but you can certainly call them aggressive or opportunistic.
If the opportunity arises, they will most definitely spread quickly throughout your garden under ideal conditions – unless they are removed or contained.
These plants spread via runners, underground rhizomes that are a type of modified subterranean stem.
In loose, sufficiently moist soils, these rhizomes will spread aggressively, sending up new shoots immediately surrounding the parents, and continually expanding as space and conditions allow.
Fleshing out constantly, they can thus surround and choke out other plants in the garden by creating shade and competing for nutrients and moisture.
However, as a native species that’s attractive to pollinators, we’re not suggesting that you rid your garden of these beautiful flowers altogether. So, just how do you control bee balm?
5 Tips for Controlling Monarda
As mentioned above, there are two general strategies for controlling Monarda: removing or eradicating them, and containing them.
Let’s look at ways to contain the plant first – my personal preference, since these methods require little or no work once set up.
1. Use Rhizome Barriers
This is a pretty straightforward strategy: prevent the spread of the rhizomes by physically blocking their underground travel.
There are two methods of doing this: by using other plants as natural, living barriers, or by employing synthetic barriers.
Living Rhizome Barriers
This is my chosen method to control the spread of bee balm. The idea is to grow non-spreading, clumping, or large plants all around the bee balm.
Choose plants with extensive root systems that will spread to have enough sheer size and bulk to prevent the Monarda rhizomes from growing underneath or up through them.
Good examples include any dense shrub or hedge that is at least four feet wide at the time the bee balm is planted, clumps of sun tolerant hostas, seedless comfrey (non-sterile varieties are themselves invasive), or a double row of peonies or rhubarb.
Of course, you’ll want to be careful not to block the line of sight to your bee balm by planting things taller than your selected variety immediately in front of them.
Also, whatever you do, don’t use other types of plants that spread aggressively for this purpose! For example, avoid using any type of mint, Japanese knotweed, or autumn olive.
The plant you select has to be wide enough that the bee balm can’t find its way under it, and dense enough that it can’t easily pop up through it and access enough light to grow.
I’ve personally used comfrey and alder trees, which have both worked just fine for me.
Synthetic Rhizome Barriers
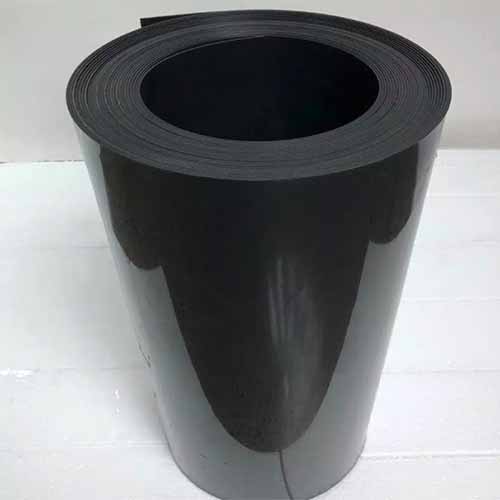
Synthetic rhizome barriers are typically made from plastic.
I recommend a product like this one, available from Home Depot. These can be cut to size or combined to create larger stretches of barrier.
The barrier is dug into the soil 16 inches deep, with about two inches left aboveground, at about a 70-degree angle tilting away from the plant. Overlap sections by at least one foot.
When a rhizome or root meets this barrier, it’s directed upward instead of downward under the barrier, preventing its spread.
2. Plan Isolated Placements
Isolating your aggressive species in one area is a good option if you have the space. Simply place them in an area isolated away from any plants that can’t hold their own against bee balm.
Anything shorter may get choked out by them, and plants with particularly shallow roots such as roses may also suffer from having to compete with them for nutrients and moisture, even if they’re taller.
I like to create beds completely separate from my main gardens and grow bee balm only with other types of aggressively spreading plants, such as other species in the mint family.
Some ideas for how to isolate these aggressive plant beds are to place them within an area that is consistently mowed such as your lawn, in a raised bed between your house and driveway, or in the space within a circular driveway.
3. Grow in Containers
Another way of isolating bee balm is to grow it in containers, either dug into the ground or kept aboveground.
If you live in an area with cold winters, note that growing in containers aboveground year-round lowers their cold hardiness by at least one full growing zone.
Plants in containers will also require more water than those growing in the garden. Since bee balm likes moist soil, you’ll have to keep a close eye on it to ensure the soil doesn’t dry out.
It may need water as often as once per day during hot periods, depending on the size of the plant and its container.
4. Practice Regular Smothering
Another simple way to prevent bee balm from spreading continually is to smother the new shoots with cardboard, newspaper, or brown packing paper, covered with four to six inches of mulch such as wood chips, seedless straw, or leaves.
Your smothering barrier should extend four feet out from the base if there’s space, or up to the next closest plant in the garden.
This may not be an ideal solution for gardens packed with other plants that the bee balm is already tangled up in, but smothering can still be used as part of your strategy to control it or eliminate it from an area of your garden.
For larger specimens over a few inches tall, it’s best to first pull or cut back the stems before smothering so they won’t have as much energy to push through your barrier.
To ensure they won’t push their way between the pieces of your chosen material, overlap pieces by at least 10 inches.
If you’re using newspaper, at least eight layers will be needed. With packing paper, I’ve found I can get away with using four layers.
Personally, I prefer to use large pieces of cardboard acquired from farm supply stores that are used on top of pallets to prevent their inventory from ripping on the pallets.
Small boxes are difficult to work with, as it can be hard to ensure there are no gaps for plants to push through. However, if you do have a lot of small boxes, using them to smother plants can be a great way to recycle them.
Either way, as I mentioned, make sure the boxes overlap by at least 10 inches. Even the smallest crack between boxes may result in failure with this method.
Appliance stores also often have large boxes available for free with little or no tape attached. Tape is not biodegradable and can create a mess of unsightly plastic shreds in your garden, so try to avoid it.
Make sure the cardboard or newspaper you use doesn’t have a shiny surface and isn’t printed with colored ink, as shiny coatings and color ink may contain heavy metals.
For example, magazines and some types of flyers are not suitable for smothering.
5. Create Divisions, Cut, or Pull Plants on an Ongoing Basis
Although this strategy is ultimately the most work for the gardener, it’s also pretty straightforward.
By digging down less than 18 inches, you can get most of the shallow roots and rhizomes, allowing you to take divisions.
In this way, you can both control their spread in one area and propagate new plants for another at the same time, if desired.
Dividing the plants will also help revitalize them, since they may begin to die out in the center of established clumps after two to three years.
You may even choose to take more vigorous plants from the edges of your patch and replant them right back in the center of an established patch if it is declining in vigor.
The best time to dig them up and divide them for propagation is in the early spring when they first emerge from the ground.
Each section should have a minimum of two or three shoots and an intact root system at least six inches long for the best success in transplanting.
Choose where you place your new plants carefully, to ensure that they aren’t close to anything that they might overwhelm.
Transplant new divisions immediately, before the roots dry out. Water regularly for at least two weeks or whenever their leaves begin to droop.
If you’d rather not transplant the divisions, simply discard whatever you dig up, or pot them up to offer to friends and acquaintances with gardens as a new addition – but be sure to give them a link to this article as well, so they won’t be surprised when they start to spread!
If other plants in your garden are being infringed upon by bee balm, and their root systems and rhizomes are entangled, you may be left with no other choice but to dig both plants up completely to untangle them.
This should be done only with those that don’t mind root disturbance, so be sure to do your research before you dig. Untangling should not be attempted with established shrubs, trees, or large vines.
Think of it like an archeological dig and follow the roots down and out, carefully uncovering as much of the root system of the plant you’re trying to save as possible.
Tease up the root system, getting to know the difference between the bee balm roots and the roots of your other plant in the process.
After untangling the Monarda roots from your other plant, you can replant it.
Then, smother the area all around where you dug up the bee balm with cardboard and mulch as described above, to prevent small bits of the roots that you may have missed from resprouting.
It may be necessary to hold off on planting anything new in this area for at least two months, until you can be sure that the bee balm hasn’t resprouted.
If you’re short on space and you really must grow bee balm in areas with other plants that can’t compete with it, or in an area where you don’t want it to spread, my recommendation would be to choose one of the other strategies outlined above.
Attempting to control the plant through regular pulling or by digging it up creates a lot of extra work.
Controlling Monarda, the Easy Way
Although bee balm is a longstanding favorite of gardeners throughout much of the world, many gardeners may not realize just how easily it can get out of hand.
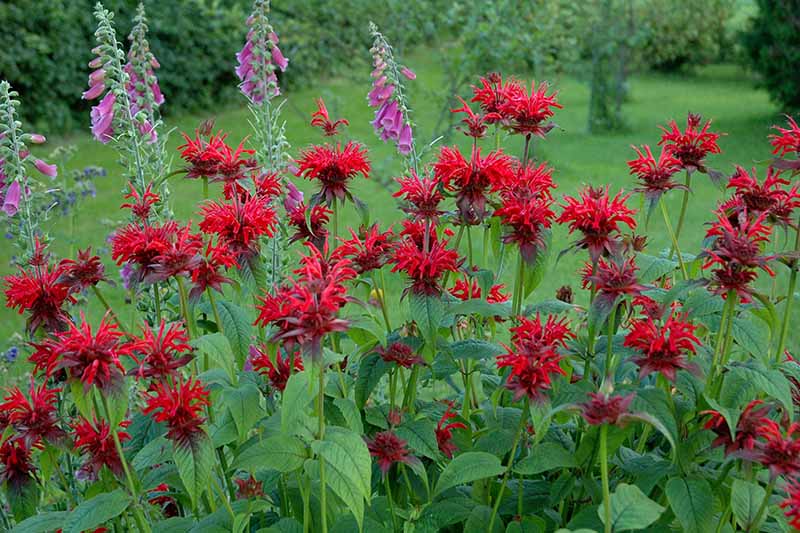
Nevertheless, growing bee balm is very rewarding and well worth a bit of extra planning and care to control if you’re a fan of vibrant flowers and visiting pollinators.
With the experience gained after dealing with this plant in my gardens for years, I strongly advise that you give careful consideration to where you grow it in the first place and choose the location wisely.
Put it only in areas where the surrounding plants can fend for themselves against its tenacity.
If you’re prepared to put in natural or plastic rhizome barriers to carefully block it in, or to smother runners, pull it to disentangle roots, or divide it regularly throughout the season and over the course of its life, you may choose to give it space in a garden bed with less aggressive species if you’re up for the challenge.
Please do share your own experiences with controlling Monarda in the comments section below!
And for more information about growing bee balm in your garden, have a read of these articles next:

Hello! I planted bee balm in my medium sized, raised, flower bed two years ago and it has taken over my bed. I continually pull it up and will look to move other plants and continue to dig pull and groom but any advise on what to do after it has grown, would be so appreciated. Should I get new soil and redo the bed? I plan on moving it to a container this week as my butterflies, hummingbirds and bees love it, however, had I known it was this invasive, I would have planted elsewhere. In SC, please help… Read more »
Sounds like you have yourself some overly-happy bee balm! Move some to a container and dig up the rest. You’ll likely need to add a little more soil to make up for what you lose as you dig up the bee balm and as much root as you can manage. Then, cover the bed with cardboard or something else thick and opaque and leave it there for a month, if you can. After that, you’ll need to keep an eye out for any sprouts poking out, but you should be able to eliminate any stubborn stragglers and be bee balm-free… Read more »
This is such a clear, helpful article about bee balm. I’ve grown bee balm for years and love the way it attracts pollinators and the stunning, unusually shaped flowers in a garden bed. Hopefully, we can educate and encourage others to help pollinators by giving away this free, easy to grow plant. I wish communities would convert useless lawn to easy pollinator friendly plants like this. To extend bloom time and reduce height, this plant responds well to the “Chelsea chop”. Look up details.
Hello Theresa! I love your attitude about bee balm and share your view that it is so beneficial as a lawn alternative for pollinators. Thanks for steering folks to the “Chelsea Chop,” so named because it’s best completed in late May, the same time as the Royal Horticultural Society’s Chelsea Flower Show. I look forward to trying it out on some bee balm, though my own is still a modest size. Maybe in a few years…