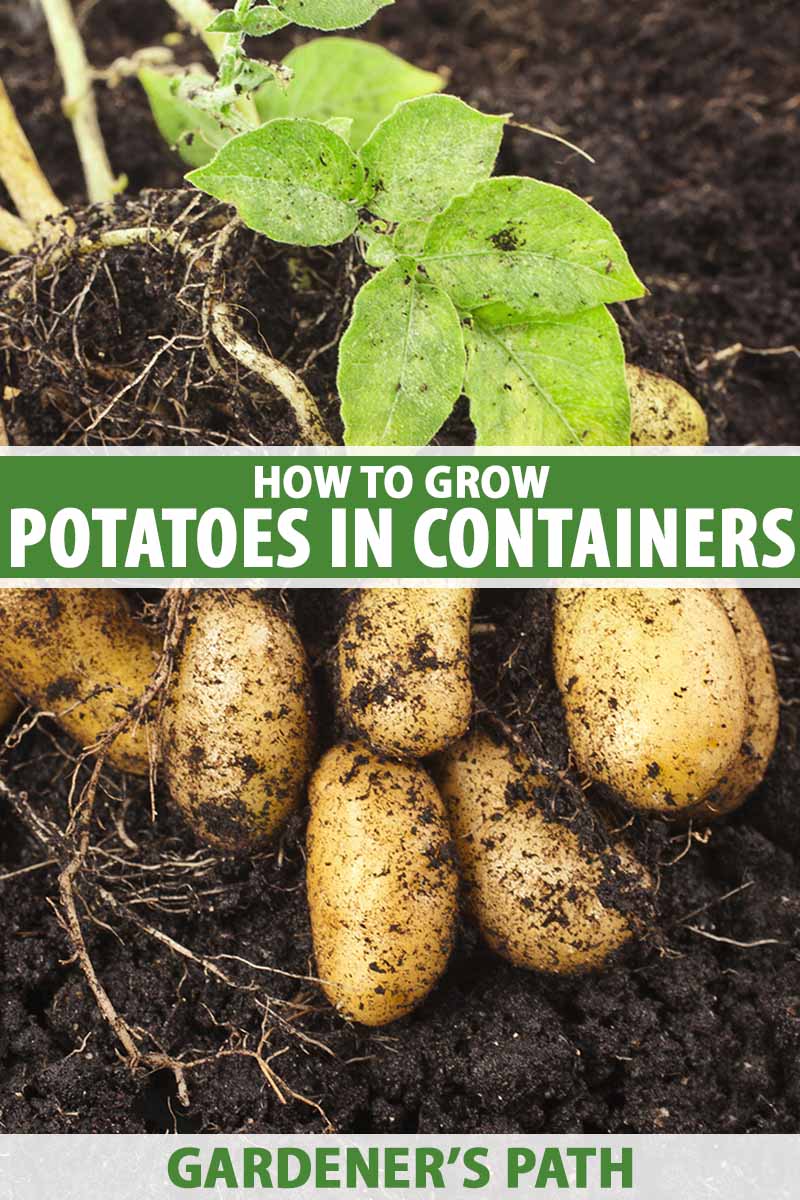
Let’s talk about the top five creative ways to grow potatoes in containers, as well as the benefits of using this method, and what’s required.
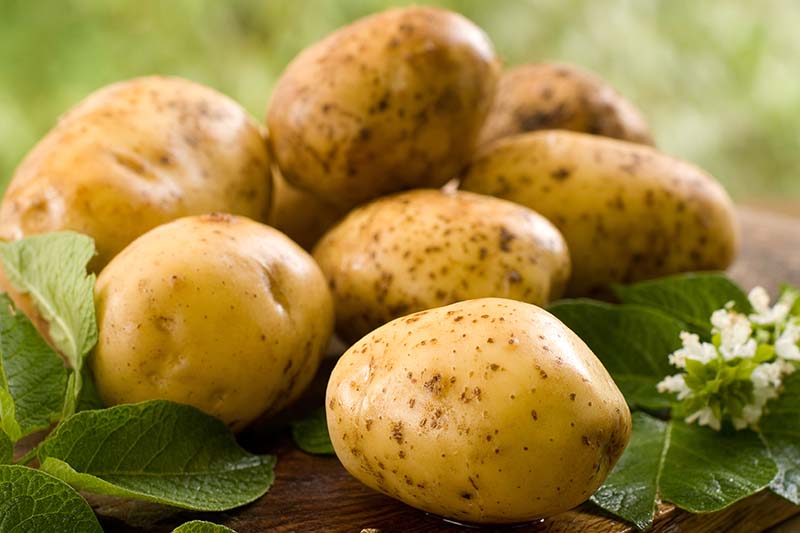
When I think about my favorite way to enjoy homegrown potatoes, I’d have to say that mine is au gratin style, but a hot, buttery baked potato can’t be beat either. They tend to make their way into quite a few meals at my table.
We link to vendors to help you find relevant products. If you buy from one of our links, we may earn a commission.
So, when I’m formulating my vegetable garden plan each year, potatoes are pretty much universally on my list of crops. Are they a staple of yours, too?
If you have the space, good soil, and the need for a large crop yield, then in-ground planting is a viable option.
But if not, don’t despair! There are other ways to produce those tasty tubers without sacrificing a large plot of ground, and we’re going to go over the best options one by one.
Here’s what we’ll cover:
What You’ll Learn
Benefits of Growing Potatoes in Containers
There are a lot of benefits to using this approach, including sparing your back and spending less time crawling around on the ground at harvest time, avoiding weeding almost entirely, and rarely having to fight with local insects and wildlife for those tasty root veggies.
From voles to wireworms, beetles to scab – most of the issues to watch out for can be reduced or eliminated when the growing environment is contained.
Poor soil is no longer an issue because a couple bags of rich, black gold or a wheelbarrow full of compost is all it takes to produce a healthy crop in a smaller setting like a planter.
There’s no need to give up a huge plot in your garden to a crop that spreads underground. That spread can be difficult to corral, but it’s eliminated with potting.
Even though the soil in containers tends to dry out faster than the ground, it doesn’t take as much water to keep it moist. Reduced water usage is another bonus.
It’s also much easier to check on the health of the underground tubers in a container, rather than having to dig into the ground to try to figure out what issues might be happening out of sight.
In summary: selecting this growing method is a good deal, and it’s easy to begin!
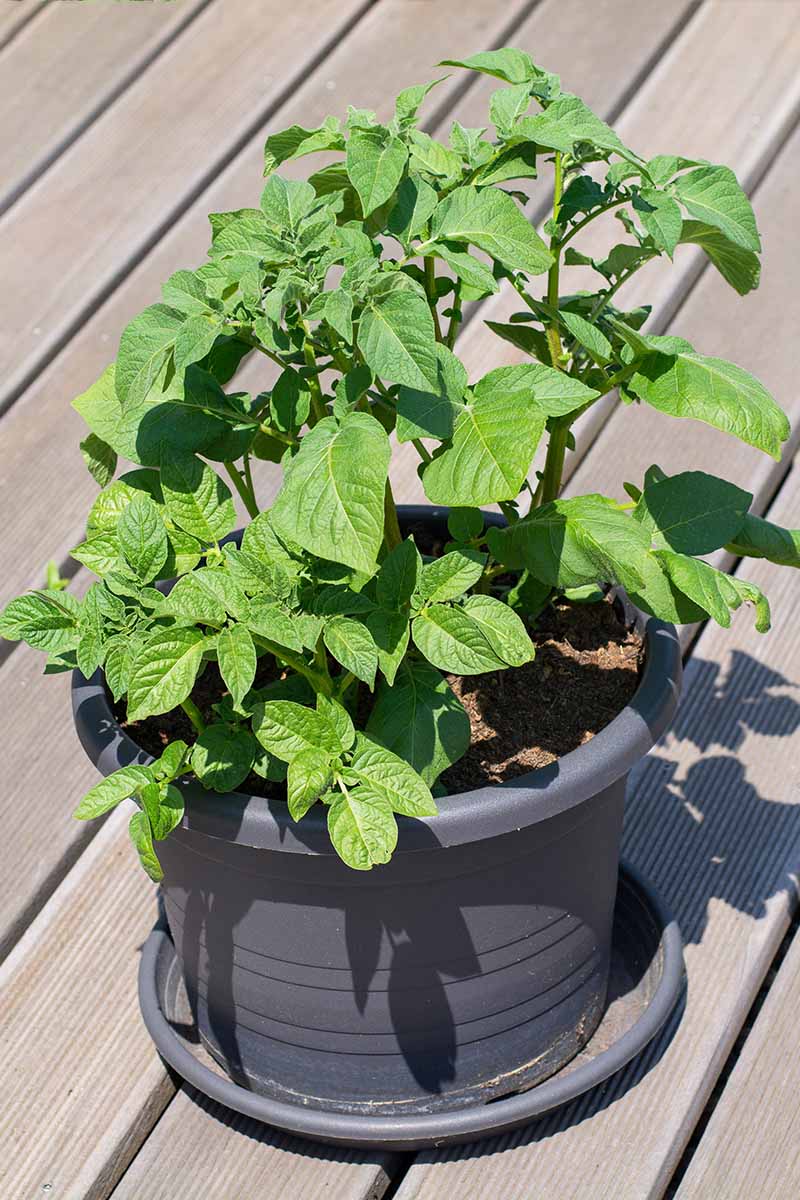
Now, first thing’s first: what type of container is best for growing potatoes?
Choosing a Container
When you hear the word “container,” you might automatically picture a flowerpot. That’s one type, of course, but there are many others that can be used for gardening, including some that are more unconventional.
There are a few key points to keep in mind when selecting a container to grow your crop of potatoes.
Capacity
With most vegetable crops, you’d plan your space based on the height and spread of the mature specimen. But for a root crop like the potato, most of the space they need is belowground.
Five-gallon pots can work for nightshades that produce fruit aboveground, like tomatoes and peppers, but that amount of volume typically won’t do in this case.
One plant of average size will produce eight to 10 tubers. I’ve seen a lot of sources recommend that a five-gallon container will hold one or two plants, but in my experience, it can get pretty crowded in there.
Rather than risking stunted growth and lower yields, be sure to provide enough space for your potatoes to grow, particularly for larger varieties like russets.
Ideally, seed potatoes should be planted about 10 inches apart. This is better achieved with a 10-gallon or larger capacity planter, or one with a 14-inch or larger width or diameter.
Depth
Since the available space to spread horizontally will be limited, you’ll need to provide enough depth to allow for vertical growth and hilling or mounding.
As the tubers are produced, mounded layers of soil will be added around the stems to create more growing space, and to completely cover the developing potatoes.
Inadequate depth will result in lower yields, and often, spuds that are green due to a buildup of solanine.
This is an alkaloid that is toxic to humans, and it’s produced by nightshades as a natural defense to provide protection against fungi and other pathogens, as well as insect pests and browsing creatures.
If the spuds are exposed to sunlight while growing too closely to the surface, they produce this toxin.
Plan to provide at least 18 inches of depth to leave room for mounding several times, for maximum yields and veggies that are safe to consume.
Drainage
Growing in a contained environment rather than in the ground means the substrate will typically dry out more quickly between watering. Drying out can stunt growth as well, so prepare to water twice as often as you might otherwise.
Some of that water will inevitably drain off, and if there’s nowhere for it to go, it’ll pool in the bottom of the vessel where it may harbor and spread pathogens.
Make sure there are at least a few large drainage holes in your chosen planter or use one that’s made of a porous material.
Now, which containers will provide all of these conditions?
Best Options
As I mentioned, there’s a broad selection to choose from. These are some of the best picks for cultivating tasty tubers.
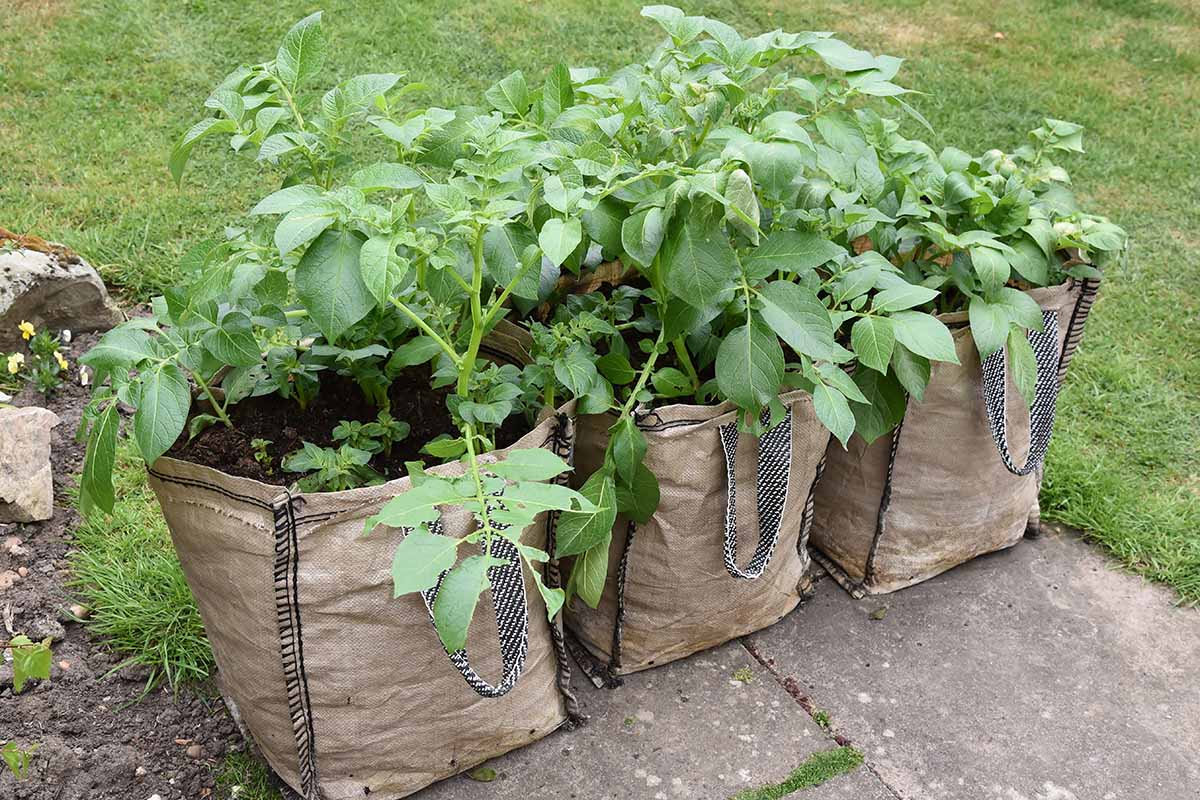
Grow Bags
These were introduced to the market in the 1970s and have gained popularity in the past few decades.
Simply add a layer of soil to the bottom of the bag, set your seed spuds in place, and mound soil on top once every two to three weeks. Grow bags are a solid choice for potato growing, but let’s talk pros and cons.
Pros
Grow bags typically have handles, making them easy to move and store when not in use – at least when they’re empty. They also tend to be less expensive than other types of containers and can usually be reused at least once.
Those made of canvas, felt, or other types of fiber are best since they allow for drainage and hold up better to the elements outdoors. Some are made from recycled plastic bottles, which is a bonus in terms of sustainability.
Bags can be made in a variety of sizes and dimensions and their flexible material allows for expansion as the potatoes develop.
Some also have drawstring tops that help to keep pests out, and different options can be selected to match the color scheme of your patio or garden space.
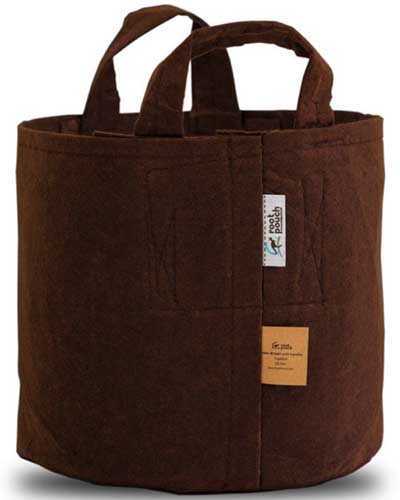
Check out these 15-gallon Root Pouch bags, available from Home Depot.
There are quite a few other options from Root Pouch as well, available via Home Depot in sizes ranging from one to 400 gallons and various colors including gray, blue, green, brown, and black.
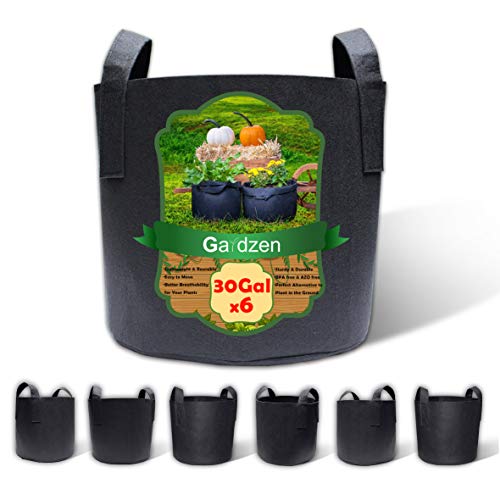
Gardzen 6-Pack 30-Gallon Grow Bags
If you want to produce a lot of potatoes but you don’t want to choose a single massive bag, you might like this set of six 30-gallon bags, available from the Gardzen store via Amazon.
Cons
A large percentage of bags on the market today are made of polypropylene, which is neither environmentally sustainable nor breathable. This material doesn’t hold up to repeated use and tends to shred or split over time.
The weight of the soil and plants can become too much for the handles, which are usually sewn on. If they tear off, it’s tough to move the bag.
Smaller bags may be a better choice if the weight is a concern and you anticipate having to move them, but it’s best to set the bag in its permanent location before filling it if you’re able to.
If your region experiences drought in the summer months, this might mean checking the moisture level at least once a day is required.
In some instances, mold can develop inside the bag. These can also trap moisture underneath, so don’t place them on a deck or other surface that is susceptible to rotting or staining.
Straw Bales
Maybe these aren’t anything like what came to mind for you when I first mentioned containers, but I warned you that some suggestions would be unconventional!
Straw bales have gained more widespread favor in recent years for growing spuds, although there is some work involved in preparing each one for planting.
Learn more about growing potatoes in straw bales here.
Pros
Bales are large – you could grow dozens of tubers in the square footage provided within each one. Because there’s no soil involved, the potatoes will also be cleaner at harvest time and soilless growing can save some money.
Use as many bales as you need to for as large of a harvest as you’d like. This is particularly useful if your garden soil is less than ideal.
Several bales can usually be obtained for the same amount of cash you might spend on a few large pots.
There’s no real waste involved either, because they can be composted or spread over the ground at the end of the season, to enrich the substrate over the winter.
Cons
These may be too large for gardeners with very limited space to use.
Disposal also means hauling them away if there’s no place to spread the spent straw after the harvest – although, straw also makes great mulch for beds or potted outdoor plants to overwinter beneath.
Because there’s no nutrient-rich medium required, fertilizer will need to be applied frequently. It’s also a must to water often, sometimes daily.
Straw can be scarce in some regions, such as the desert, so the price per bale can be significantly higher and not as conducive to buying for budget-friendly gardening.
Wooden Barrel Planters
Half-barrel planters have been used for stylish gardening for many years. If you have the room for a couple of these, you can create a very functional container garden.
Just make sure it has drainage holes or add some yourself with a large drill bit. I recommend coating both the inside and the outside with nontoxic wood sealant as well, so they will hold up longer.
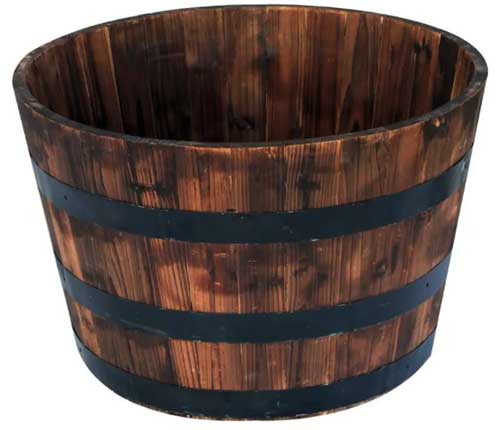
This wooden barrel planter from Vigoro that’s available from Home Depot is 25 by 16 inches in size, which would work well for this purpose.
Pros
Barrels are easily the most attractive container option on our list, so there’s no need to sacrifice aesthetics for functionality when you grow your potatoes in these. They can also be reused, sometimes for many years.
Two or three barrels can produce quite a nice bounty. They’re also more wide than deep, so it’ll be easier to water them evenly than it may be with other types of containers.
Even though wood won’t hold up forever, you’ll at least get your money’s worth with a few years of consistent use.
Cons
If inexpensive options are preferred, cross these off your list. A well-made half barrel is rarely going to be cheap.
Once they’re full of soil, they can be rather heavy, so it can be difficult to move them if you find you need to.
Some pathogens, like mold and other types of fungi, can be difficult to impossible to kill or clean out of wood grain, even with bleach or fungicide.
Buckets
Unless you happen to luck out and receive a gift or find free secondhand items to grow your potatoes in, all of the other choices on our list are going to come with a cost attached.
Buckets are the only container option that will fit into the budget if you need or want to avoid spending money on your potato planters.
I’m not talking about new buckets from the hardware store – I’m referring to reused or upcycled buckets, such as those used for packaging bulk items like cat litter, animal feed, or drywall mud.
Sure, you probably paid for the original contents of the container. But what could be better than putting it to good use in the garden as a container for growing potatoes rather than tossing it into the recycling bin when you’re done?
After a thorough wash and sanitizing, these are a great choice for the thrifty tater farmer. Social media marketplaces are good sources for materials like these, if you don’t already have some on hand.
Pros
Did I mention that they’re free? That’s an unbeatable price! A few of these can produce dozens of potatoes, and if you use garden soil amended with homemade compost for mounding, you won’t have to spend any money on the potting medium either.
Keeping bulky items such as these out of landfills and putting them to good use is a fantastic idea, and they’re often given away several at a time by local businesses.
Buckets can hold up for at least two or three uses if they’re kept out of extreme heat or cold. The plastic material also prevents the soil from drying out fast, but be sure to create drainage holes before planting.
Cons
Plastic sometimes contains Bisphenol A, commonly known as BPA, which is a hardening agent that is known to disrupt endocrine function in humans. If this is a concern, skip this option or check the label to see if it’s BPA-free.
They’re something of a utilitarian eyesore, especially after a couple of uses when a bucket garden can start to resemble a junkyard.
With exposure to sun and weather, they’ll eventually get brittle and sometimes crack or shatter. Picking jagged shards of plastic out of the grass is a pain!
Bear in mind that limited growing space is provided by recycled buckets. If you plan to grow a larger type of potato, these aren’t going to be your best option.
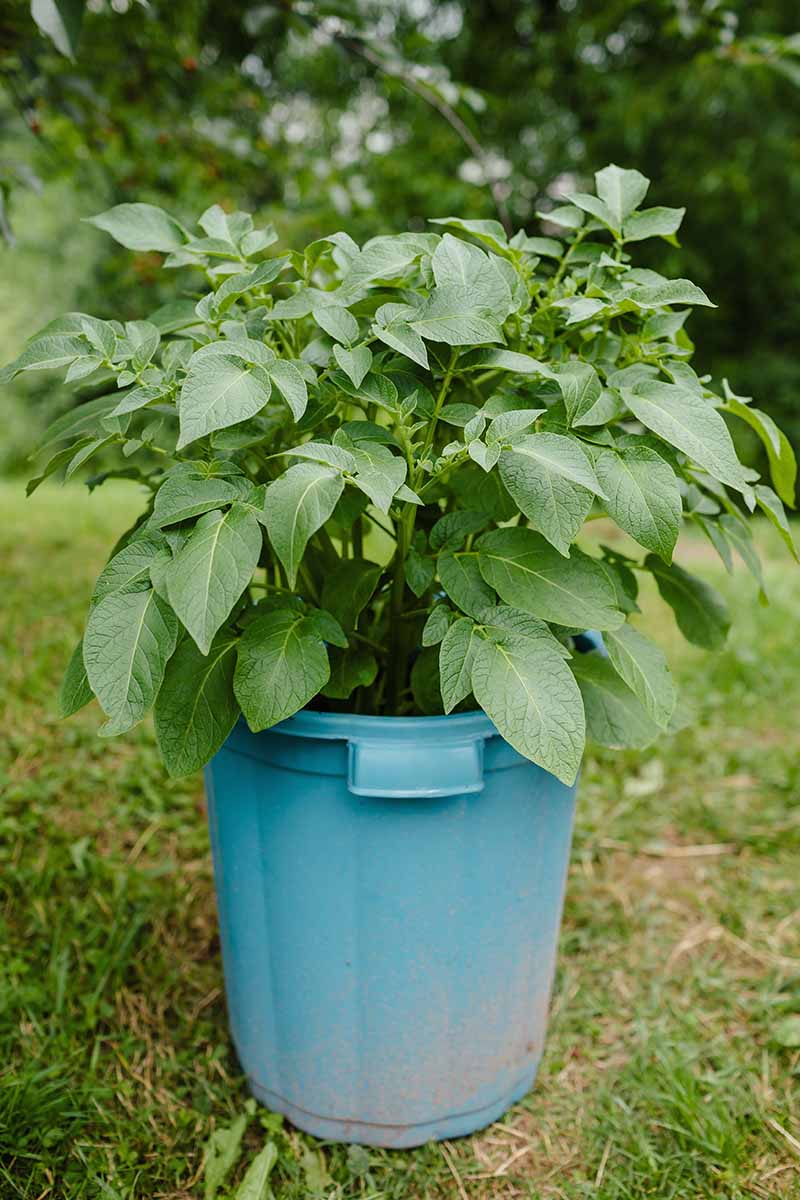
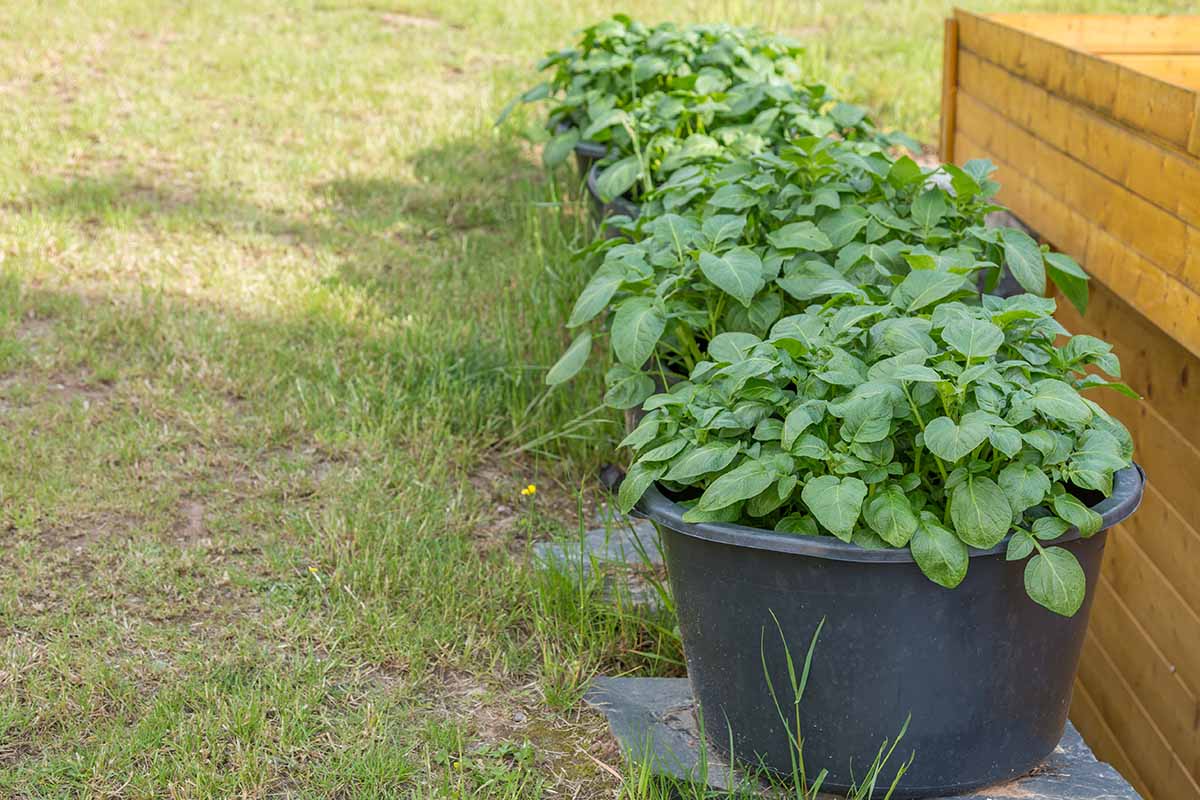
Plastic or Metal Trash Cans
The average outdoor trash can has a capacity of 30 to 55 gallons. That’s a lot of space, which is perfect for producing a large number of potatoes.
If you opt for a metal can, go with galvanized stainless steel to prevent rusting and corrosion, and be sure to add holes for drainage to the bottom. Aluminum cans can be cheaper but they don’t hold up as well.
Pros
Outdoor trash cans are made to withstand all types of weather conditions, so they’re pretty tough and long-lasting.
With a few drainage holes, both plastic and metal are slower to dry out than fabric or wood, so this option can save some watering.
Most trash cans are relatively inexpensive and can be reused at least a few times.
Cons
Just as you might with plastic buckets, check to make sure they don’t contain potentially hazardous BPAs if this is a concern.
As a rule of thumb, most opaque (non-transparent) plastics are BPA-free, but you can flip the can upside down and look for a recycling number to check. Numbers one, two, and five are safest for growing edibles.
A planter as deep as a trash can is difficult to water evenly, so it’s important to check that water hasn’t collected in the bottom. In some instances, the bottom of the can may be molded into a ridged shape that won’t allow the water to flow out.
Be sure that the drainage holes are placed appropriately to prevent this.
Filled trash cans can be very heavy, especially when wet soil is involved.
By now, you probably have an idea which container option you’d like to go with. Let’s move on to preparing for planting your potato crop.
Prep Work
For an impressive potato haul with as few obstacles as possible, take a few steps to set yourself up for success.
Be sure that your planter is clean so you’re not spreading pests or disease to your new crop. If the container is new, you’re probably in the clear.
But if it’s been used before, take the time to scrub it out with soapy water and soak it in a mixture of one part bleach to nine parts water for 15 to 30 minutes. This will kill pathogens and pest eggs that may be lingering.
Rinse the container well after soaking and let it dry before planting.
Larger vessels that are too big to submerge can be scrubbed out and sprayed well with neem oil or wiped down with rubbing alcohol instead.
Be sure that there are drainage holes in the bottom that will allow excess water to flow out easily.
For larger planters, decide on a location ahead of time where at least six to eight hours of full sunlight will be available, and fill them at the site rather than trying to move them afterward.

Add a layer of soil about six inches deep to the bottom of the container, water it well, and allow it to drain. Place the seed potatoes of your choice with adequate spacing and cover them over.
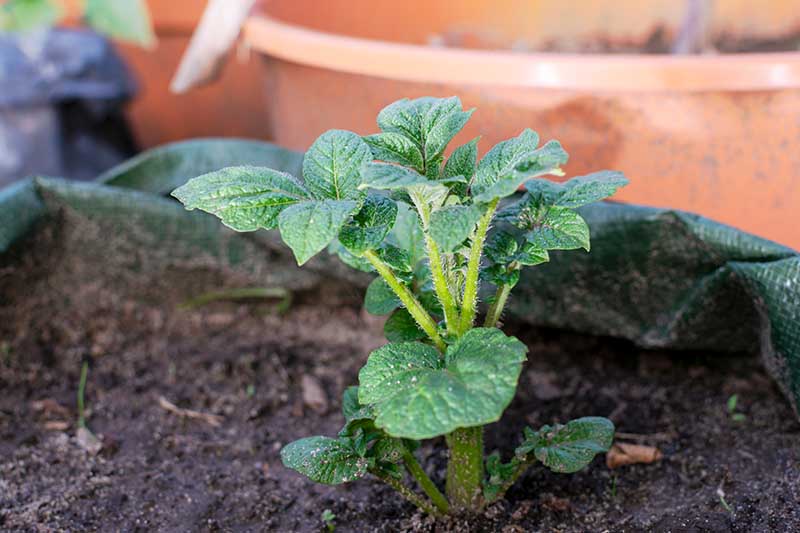
Care Tips
Once growing is underway, and those first leaves pop up, caretaking is mostly just a matter of mounding as needed and watering on a regular schedule.
A rule of thumb here is to provide your potato plants with about one inch of water per week, but that can depend a bit upon your regional weather conditions. Frequent rain or drought can make it necessary to reevaluate your irrigation plan.
Mounding is easy, and very important. When the stems of the aboveground plants reach six to eight inches in height, fresh soil should be added to cover the stems by about two-thirds.
Be sure not to bury the top sets of leaves as they need sunlight to photosynthesize, but do cover any potatoes that have emerged above the soil level.
Each six to eight inches of growth should be mounded, so plan to repeat this process as needed.
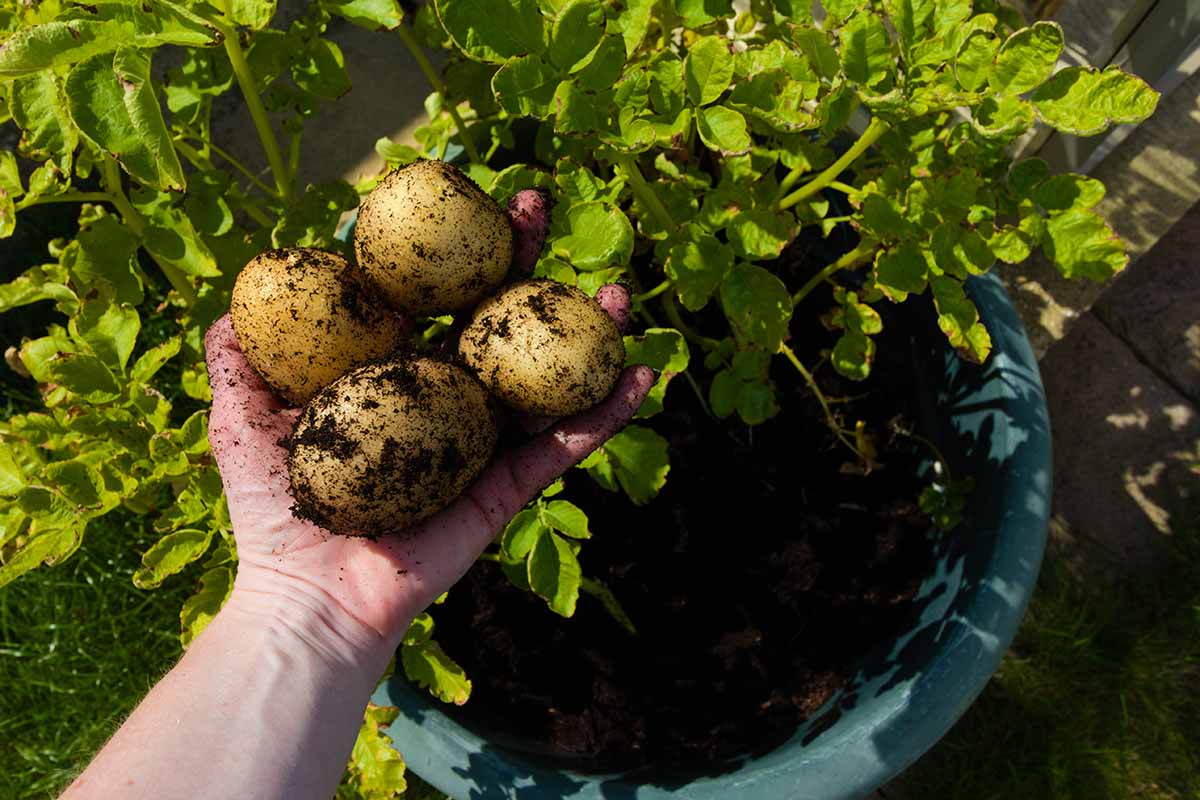
It takes around three to four months for blooms to begin to appear, and it’s at this time that the potatoes will be nearing maturity, and ready for harvest. The leaves may also begin to yellow as they start to die off, which is a normal part of the growing process.
When it comes time to harvest between 90 and 120 days after planting, depending on the variety of potato you’ve selected, it’s actually a lot of fun to be able to simply dump the contents of the container out onto a tarp or into the garden for sorting – no digging required!
If you’re unsure as to whether the type you’re growing is an early-, mid-, or late-season cultivar, check the plant description and review our guide to determine which category your potatoes might fit into.
This is important so you can plan for the best time to plant, as well as when to check your crop to see if it’s ready.
Find more tips in our guide to harvesting potatoes.
There are more useful tips in our complete guide to growing potatoes, so whether you’re a first-timer or a veteran grower, check that out ahead of time for full details!
The Potentate of Potted ‘Taters
It’s entirely possible to produce dozens of healthy, tasty potatoes without planting them in the ground.
It might even become your preferred method, particularly if you’ve ever spent a couple days crawling around on your hands and knees, raking through the soil in search of errant tubers.
I have to say that after several years of using this method myself and trying most of the options described here, I may never go back to in-ground growing.
I’d love to hear about which you’re contemplating for your potato crop or which types of containers you’ve used, and what you thought about your picks, in the comments below!
And for more information on other root crops to grow in containers, check out these guides next: