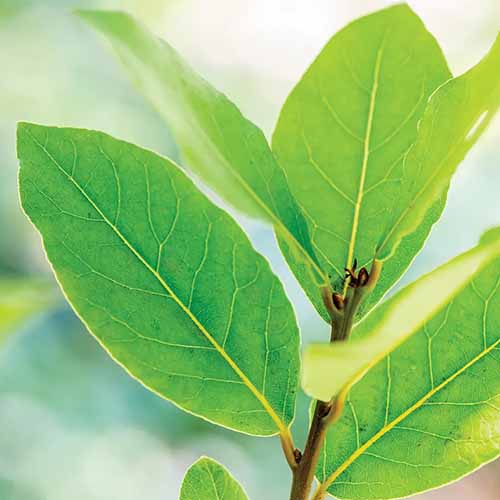
Bay is one of those plants that attracts ornamental growers and herb gardeners alike.
That’s because it serves as a beautiful addition to the garden, and it’s also one of those plants that’s essential for any serious home cook.
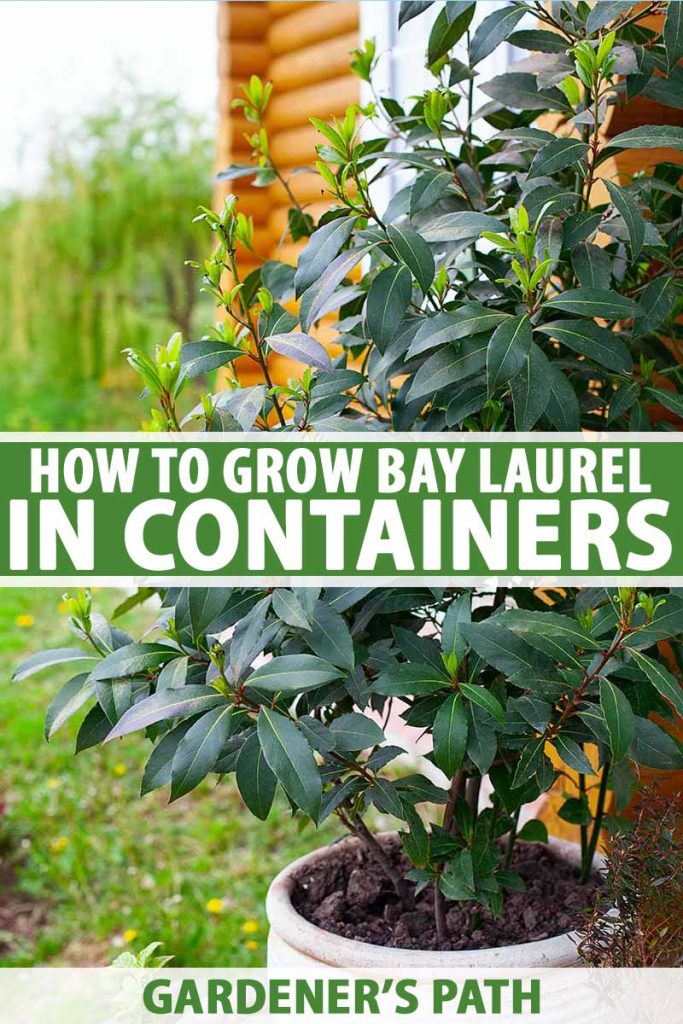
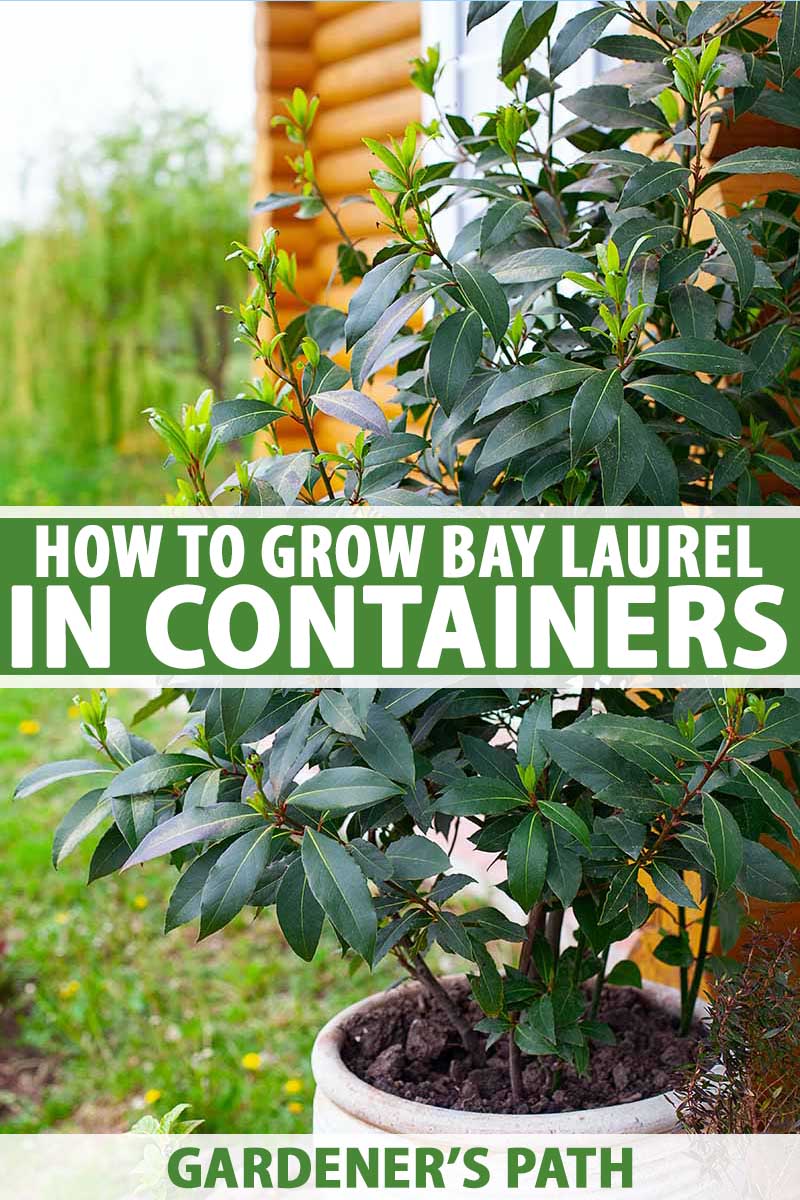
You might be wondering if you can grow bay (also known as sweet bay or bay laurel) in a container as an addition to your patio veggie garden.
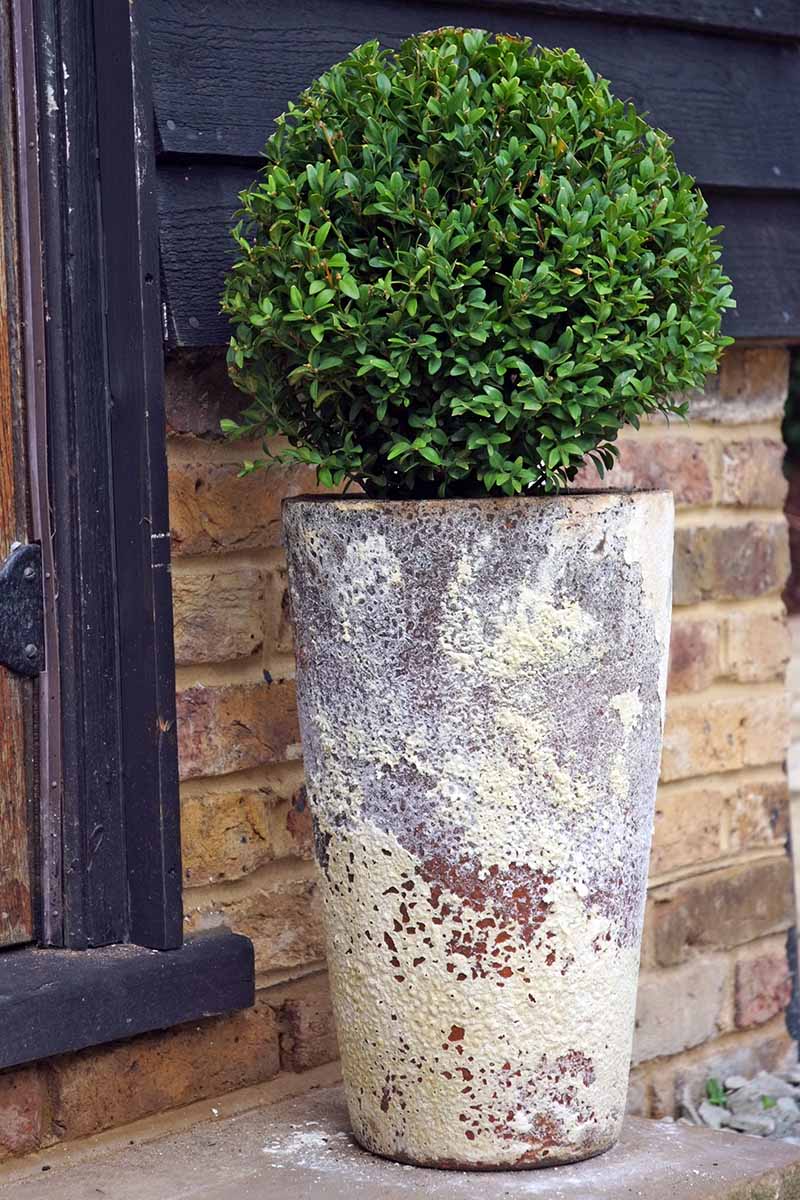
Or maybe you want a set of elegant topiaries to frame your doorway.
Perhaps you have limited space, and want to make the most of it with a plant that can do double duty.
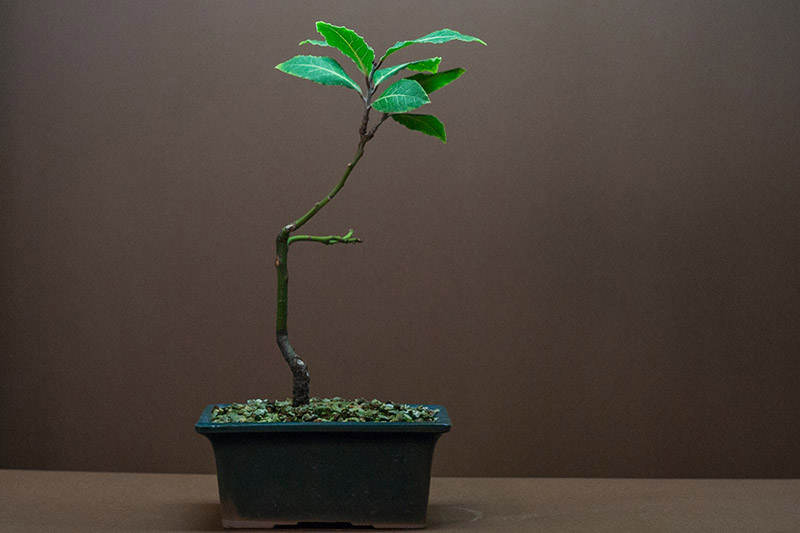
Regardless, bay is the answer. It’s so versatile that you can grow it as a bonsai on a windowsill, or let it sprawl out into a tree for your patio in a half-barrel planter.
No one even has to know that you can also harvest the leaves from this gorgeous decorative plant to make your meals extra tasty.
If you’re ready to get your potted bay started, here’s what I’ll cover in this article:
What You’ll Learn
I’m a fan of container growing because it lets you move your plants around as needed, and the tasty herbs are easy to access when it’s time to get cooking.
Laurus nobilis, in particular, is one of those container plants that I’m never without.
Whether I have one growing on my windowsill in a downtown condo, or outdoors on my patio, I always have a spot for beautiful bay.
That way, no matter where I am, I always have something green around that I can cook with, or I can just enjoy its beauty and fragrance if I’m not in the mood for stew.
Ready to get started?
Choosing a Container
The range of available options is extremely broad when it comes to selecting a container to grow this plant.
Bay laurel can handle cramped feet, but it absolutely can’t handle wet ones. Whatever container you choose, it must have a drainage hole for every 12 square inches of surface area.
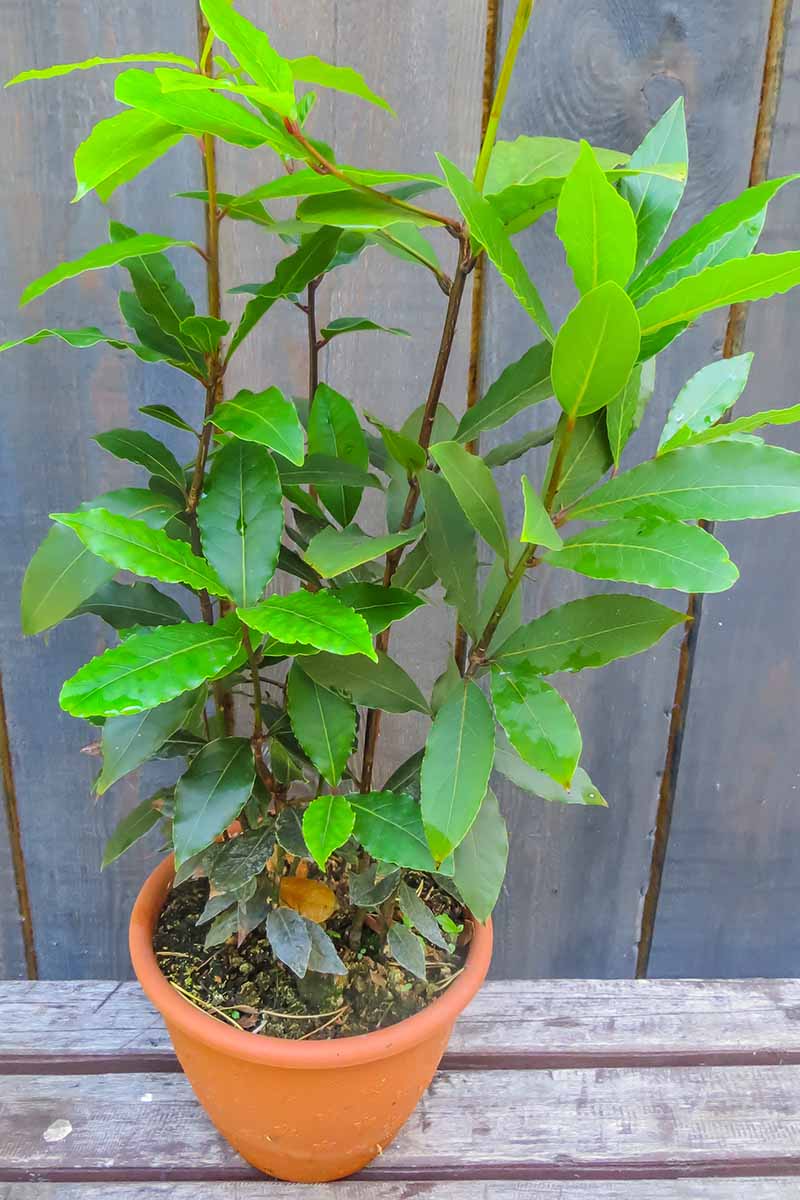
The container material doesn’t matter as much as the availability of adequate drainage, but if you typically get a lot of rain in your area, you might want to go with unglazed terra-cotta.
These types of pots dry out faster than sealed containers like glazed ceramic, plastic, or cement.
More frequent watering might be necessary as a result, but this will also help to ensure that your plants aren’t overly saturated.
The size of container you should choose varies, depending on how large you want to let your tree grow. Yes, that’s right. I said tree.
A 24-inch pot is adequate if you want a mature tree that is about five or six feet tall. But you could choose a tiny six-inch bonsai pot instead, and keep your plant pruned to under a foot tall.
Another important factor to consider is whether or not you will need to take your container indoors in the winter.
If you live in a cooler growing zone, make sure you can either lift the container, or place it on a cart that’s on wheels so you can maneuver it inside.
I find a seven-gallon pot that’s 14 inches in diameter to be about right. At this size, I can move the plant around easily, and I still get enough leaves off my two-foot-tall shrub to satisfy all my cooking needs for a family of two. You really only need a couple of leaves at a time.
Keep weight and proportions in mind. You don’t want to let your tree grow larger than the container can handle, or you run the risk of it tipping over in a strong wind.
A six-foot tree in a skinny, 12-inch-tall container is likely to tip. So is a six-foot tree in a five-gallon plastic tub.
If you want to use a smaller container for aesthetic reasons, be sure that it is heavy. Choose cement or something similar.
Varieties to Select
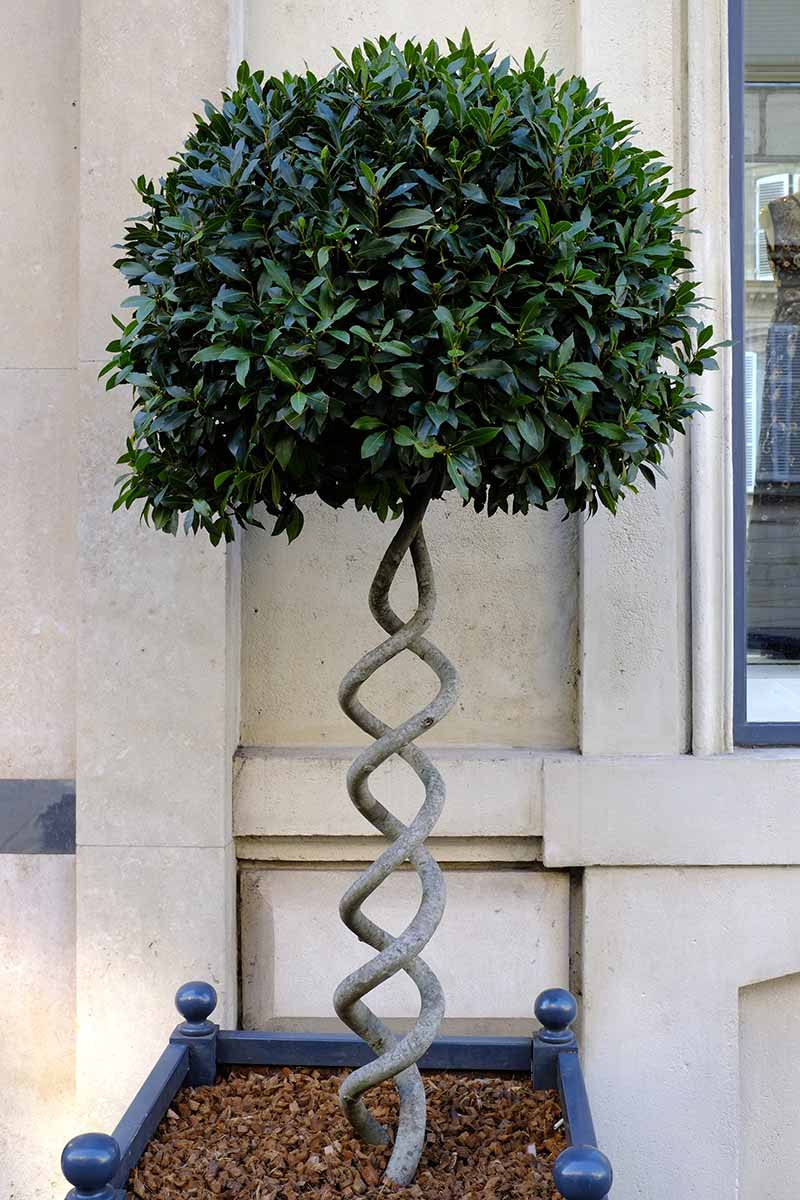
One of my favorite things about bay is that it’s a slow grower and lends itself nicely to pruning.
You’ll often see it used in topiary. And you can even prune a bay into a bonsai tree.
The reason I mention this is that bay’s growth habit means you can plant any variety in a container, so long as you are willing to commit to pruning.
You can find standard bay laurel plants available at Burpee.
There are a few other options out there in terms of cultivars. Here are a few of my favorites:
Angustifolia
Willow leaf bay, as this cultivar is also known, stays quite compact for a bay plant. It rarely reaches taller than 20 feet, and has narrow leaves that resemble those of a willow tree.
Aurea
This cultivar stays a bit shorter than the common species plant, topping out at 30 feet tall.
Also known as golden bay, It makes a particularly attractive container option to keep on a patio or near a doorway because of its bright golden-yellow leaves.
Crispa
This is one of the most compact bay varieties, growing only 15 feet tall at most.
It has leaves that are undulating and wavy at the edges (hence its common name, wavy bay), which adds a nice touch of texture to a potted herb garden.
Planting
Whether you start your bay from seed, purchase a transplant, or start a sprout from a cutting, the prep work is the same.
First things first, make sure you start with a clean container. I like to use a 1:10 mixture of bleach and water to wipe down the container, and then let it dry.
If you are planting in a large container, place it in its permanent spot. Bay needs full sun or partial sun for a minimum of five hours of direct sunlight each day.
If you are growing it indoors, locate it by a bright window with a south or southwestern exposure.
It can withstand some wind, so long as you’ve picked the right size container, and one that is heavy enough to prevent tipping.
Next, fill the container with potting soil. I like to use a combination of one part cactus mix combined with four parts all-purpose potting soil.
This provides a well-draining soil that can still retain enough water to keep your plant happy.
Work in some bone meal or all-purpose fertilizer made specifically for container plants to start, following the manufacturer’s guidelines for new plantings.
Next, plant your seedlings or your transplant in the container and water well.
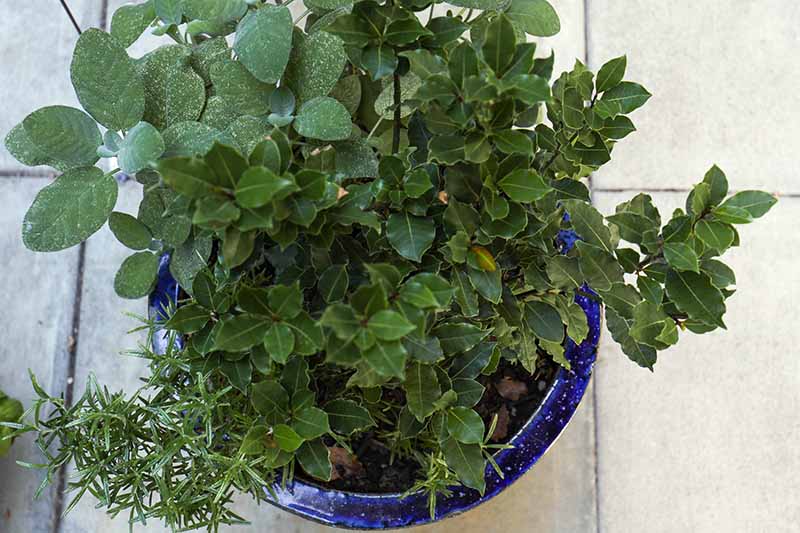
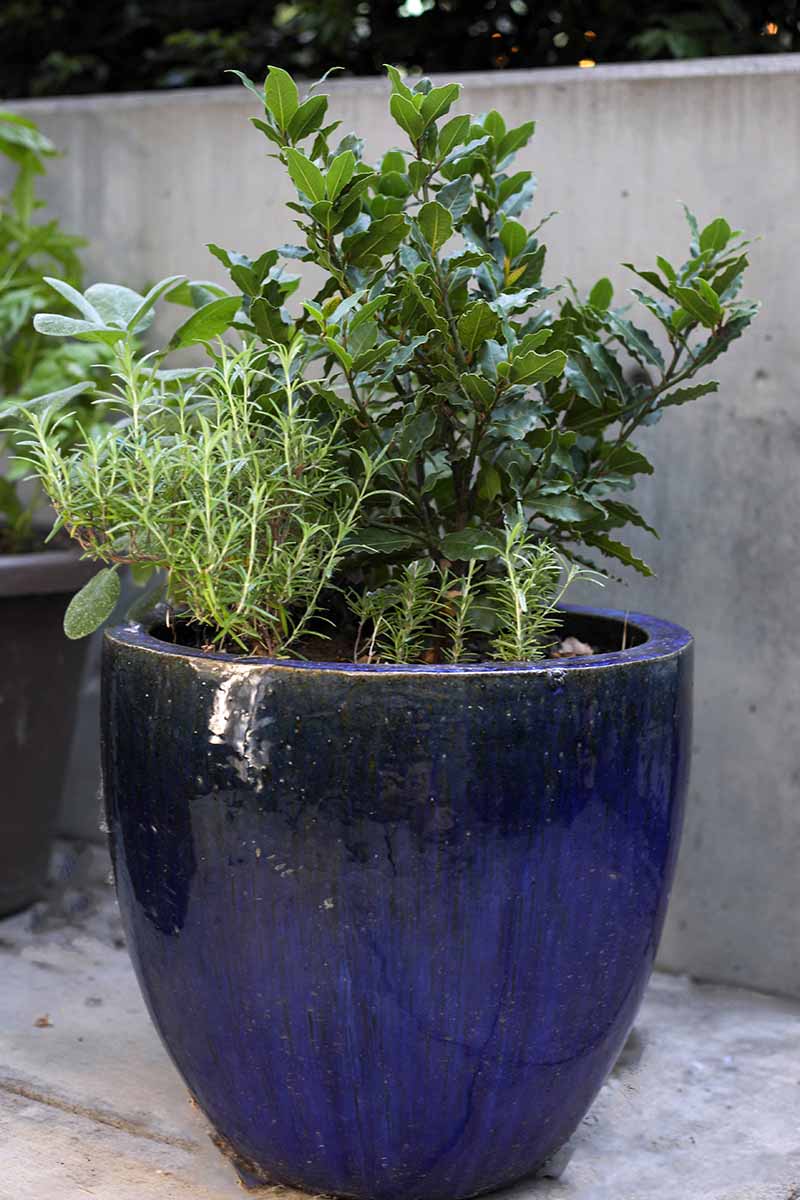
I usually start each plant in a container large enough to accommodate it for several years. When my bay is young, I like to plant it next to another herb that has similar growing requirements, such as sage or rosemary.
That way, I can enjoy the flavors of a combination of tasty companion herbs, and I’m not wasting a ton of space throughout the years it takes for the bay plant to mature.
This also helps prevent oversaturation of the soil and root rot, which can happen when a small plant is growing alone in a large container.
After a year or two, I re-home the companion plants and let the bay do its thing.
Container Care
Give your plant water on a regular schedule, but not too much. You want to allow the top inch or two of the soil to dry out in between watering.
I can’t stress enough that you don’t want to overwater your bay plant! It’s a little harder to overwater outdoors, but it’s still possible.
You want to err on the side of not enough water, rather than providing too much. This plant is sensitive to wet feet and it will die if the roots stay moist for too long.
Fertilize your plants every two months during the spring, summer, and fall. You want to use a fertilizer that’s high in nitrogen and made for use in containers.
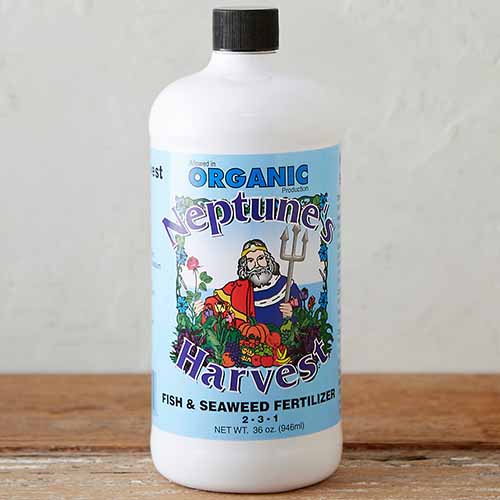
Neptune’s Harvest Fish and Seaweed Fertilizer
I like to use a fish and seaweed fertilizer like this one, available at Terrain, but this can be a bit too stinky for use indoors.
If you want to avoid the smell and you’re growing indoor plants, opt for a slow-release, high nitrogen fertilizer pellet instead.
During the winter months, you won’t need to fertilize your plant.
If you are growing indoors year-round and plan to keep your plant compact, opt for a bonsai fertilizer, which has a slow release formula made for plants with contained roots.
If you live in USDA Hardiness Zones 6 and lower, you’ll need to bring your bay indoors during the winter.
Before bringing it inside, gradually acclimate the plant to its new environment by placing it in a shady part of the garden, or cover lightly with a cloth for a few hours per day.
Over the course of two to three weeks, increase the amount of time the tree spends in the shade.
It’s also a good idea to prune off any dead or discolored leaves, and remove any pests from the plant.
Once indoors, your plant will go dormant if you put it in a cool spot with only a few hours of indirect sunlight. If you do this, don’t fertilize it and water only once every other week. The soil should be completely dry between watering.
If you put the plant in a warm area where it gets direct sunlight, treat it as you would outdoors, watering regularly.
In the spring, check your plant over for any winter damage and prune away any branches that look dead or unhealthy. Make sure you clean your pruning shears or clippers with a bleach solution to avoid introducing bacteria to the plants.
You’ll also want to prune your plant regularly.
For more detailed information on how to prune your bay tree, see our guide.
Here are the basics:
At the end of summer, tidy your plants and set them up for the winter. Simply use a pair of shears and shape them, not removing more than 1/4 of the foliage at a time.
Don’t toss those pruned leaves! Hang them and let them dry to use in cooking.
Bay can handle being a bit root bound, so you don’t need to repot it often, particularly if you keep up with the pruning.
Every few years, you can trade up to a slightly larger container, but keep in mind that many people keep their laurels pruned back to stay in the same pot for up to a decade.
Troubleshooting Tips
Container plants face many of the same issues that plants growing in the ground do. Our guide to growing bay can walk you through some of the things to look out for.
One of the most common problems for container-grown plants is a lack of nutrients. L. nobilis is a heavy feeder, and if it doesn’t get the nutrients it needs, you’ll start to see excessive leaf yellowing and brown spots.
Another potential problem, as I mentioned previously, is poor drainage. Leaves will turn yellow, they may develop spots, and the whole plant may start to look stunted and droopy.
If this happens, remove the plant from its pot, work in some grit or sand, and repot in a larger container with plenty of drainage holes.
Before repotting, check for signs of root rot, and remove any damaged portions. You may want to replace the soil completely if it’s oversaturated.
Don’t worry if you see a few leaves turning yellow and falling off. This is normal.
But if more than five to 10 leaves fall off of a two-foot-tall bush at the same time, it’s time to check the drainage and make sure you’re feeding your plant enough.
Indoor Plant Problems
Most plants that are growing indoors are susceptible to aphids and spider mites, and sweet bay is no exception. Keep an eye out for signs of these pests.
Aphids, from the family Aphididae, are tiny sap-sucking insects that grow to about 1/8 inch long.
You’ll usually see light green aphids if they infest a potted plant indoors, but they can be pink, white, gray, black, or tan as well. These insects can cause stunting or leaf drop.
You’ll often spot these bugs on the underside of leaves, or you may see honeydew, the sticky residue that they leave behind.
Put your bay in the sink or a bathtub and spray it with water to knock them loose. You can also apply neem oil following the label instructions.
You may need to repeat both of these steps to tackle an infestation.
You can learn more about managing aphids here.
For spider mites, you’ll often see the fine webbing that they produce on your plants before you spot the tiny arachnids.
If you look closer, you’ll see the teeny tiny red, black, tan, or white mites running around on the leaves and soil.
The two-spotted spider mite (Tetranychus urticae), which is black and tan, is one of the most common types found indoors.
These guys will suck on your plants, and can wreak serious havoc in a short amount of time if the population gets large enough.
Leaves will shrivel and fall off the plant. They may also develop speckles or brown spots.
Neem oil is effective for use on spider mites just as it is on aphids. Prune away any leaves that are covered in webs.
Since the mites prefer dry conditions, keep your plants watered, and mist them every few days while the bugs are present to discourage these little arachnids.
Bay Is the Perfect Container Plant
Bay lends itself perfectly to life in a container.
It doesn’t mind if you forget to water it for a few days, and it won’t complain if it gets a bit root bound.
You can trim it into all kinds of shapes, lending an architectural element to your herb garden that you can’t achieve with something like oregano or mint.
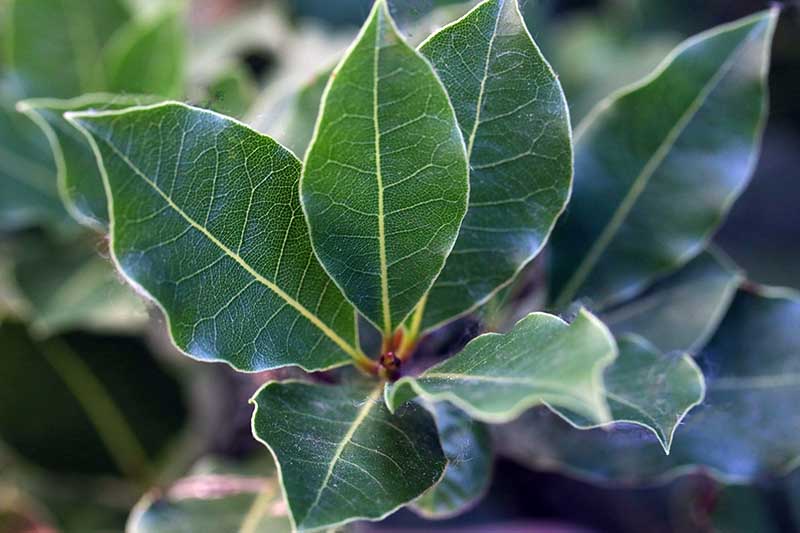
Then, of course, there’s the flavor of those glossy elliptical leaves. There’s something to be said for having easy access to a plant that can lend a floral, peppery menthol flavor to kick up your recipes.
Are you planning to give potted bay a spot in your home or yard? If so, let us know how it goes!
If you can’t get enough of container gardening, we have even more guides that you may find useful, starting with these:
- Tips for Growing Herbs in Containers
- How to Grow Shrubs in Containers
- How to Grow Chamomile in Containers
- How to Grow Chives in Containers
Photos by Kristine Lofgren© Ask the Experts, LLC. ALL RIGHTS RESERVED. See our TOS for more details. Product photos via Burpee. Uncredited photos: Shutterstock. With additional writing and editing by Allison Sidhu.

i have a 20-year-old bay. Even though I regularly double or triple the quantity called for in recipe, I end up with more pruning than we can consume. Moths don’t like bay, so I lay leaves between wool sweaters and hang my wife’s old panty hose filled with bay leaves on coat hangers among wool suits. Haven’t had a problem with moths in decades.
That’s an excellent idea to use up some of those extra leaves, I’ll have to try it. Thanks for sharing!
Hi! I’m about to buy some skip laurels to put in very big planters (30.7″ L x 26.5″ H x 30.7″ W). How far down should I plant the laurels? I’m a newbie and want to make sure I do this right! Thanks so much. 🙂
Hi Rupa, I bet they’ll look fantastic. Skip laurels are so pretty in planters. Just stick them in the soil as deep as they were in their nursery containers. They can be a tiny bit deeper, but you want the rootball to be buried the same amount it was before. Enjoy them!
I love bay leaves but have to grow to can move indoors in the winter z5b. I’ve bought little, or slightly bigger, nursery plants more than once. They seem okay to start. Some years I can manage to keep them going for 2 winters, but I have been plagued by scale bugs and mealy bugs. What am I doing wrong and is it even possible to salvage a plant with these? (I definitely don’t want to infest my indoor plant population!)
Hi Monika, it might help to quarantine your plants for a few weeks when you bring them indoors. Make sure to keep the plant in an area with lots of light. When outdoor plants are brought indoors, they are often weakened by the lack of light. While in quarantine, treat the plant proactively for scale and mealybugs. Best of luck to you!