
Bay trees are so beautiful that I sometimes forget the leaves are also an essential culinary herb.
And every time I do pluck a leaf from my tree to toss in a recipe, I think to myself, “I wish I had more of these in my garden.”
I bought a second tree, but I’ll admit it, I still wanted more.
I got greedy for bays galore, but they’re not cheap, since producing healthy plants that are ready for transplanting is a labor-intensive process.
That’s when I decided to propagate more of my own bay trees from cuttings.

We link to vendors to help you find relevant products. If you buy from one of our links, we may earn a commission.
I wish I could tell you that the process is quick and easy, but I won’t lie. Propagating bay trees takes time and patience, no matter what method you choose, and it’s likely that a majority of your cuttings will fail.
On the bright side, you’ll probably have better luck rooting cuttings than you might if you try growing bay from seed.
For those with a passion for gardening, it’s well worth the effort.
This guide will help set you up so you can grow new bay trees from cuttings without much trouble.
Here’s what we’ll discuss ahead:
What You’ll Learn
When to Take Stem Cuttings
To begin, you will take stem cuttings in mid to late summer.

You want to select semi-hardwood branches, with wood that is still green and pliable. Avoid woody branches or thin new stems.
You might get lucky and your first attempt will succeed, but I recommend taking far more than you think you’ll need to improve your chances of success.
If you have the space, take a dozen, and expect a couple to survive.
Preparing the Cuttings
Ready to get started? Here’s how to find the right stem.
First, choose a healthy, mature plant to propagate, one that shows no obvious signs of disease or pest infestation.
A side shoot stem that is about six inches in length is ideal. It should be at least as thick as a phone charging cord.

While you can cut the stem completely off at an angle, I find that heel cuttings tend to be more successful.
What’s a heel cutting? It’s when you leave a little tail of bark from the main plant attached to your stem length, rather than slicing it clean through.
A heel cutting is better for propagating difficult plants because it includes more of the cambium layer, where plants take root, and there are more auxins present, a hormone that regulates plant growth and promotes rooting.
To take a heel cutting, start with clippers or a knife that has been cleaned in a 1:10 mixture of bleach and water.

Make a small cut in the top of the off-shoot about a third to halfway through.
Then, gently bend and pull the off-shoot the rest of the way off the main shoot.

You want to remove about half an inch or so of heel.
If you get too much, just trim the excess off.

Now you should have at least six inches of stem with the leaves attached. Repeat as desired to get a good number of stem lengths for rooting.
After you take your cuttings, either plant them right away, or place the cut ends in a jar of water to keep them fresh and minimize moisture loss.

Before you put them in the soil, remove all but the top two or three leaves. You can use the leaves you’ve removed right away in your cooking, or dry them for use later.
If the remaining leaves are large, cut a third of the length off of each one.
We remove leaves to reduce the amount of moisture that is lost by the plant, which gives us a better chance for success.
Planting in Soil
Before putting them in the soil, be sure to do a little basic prepwork.
If you aren’t using brand new growing containers, be sure to clean them in a bleach solution, as described above. Only use fresh soil, or soil that you have sterilized in an oven or microwave.
The best medium is a potting mix with perlite and coco coir mixed in. Tank’s Pro-Lite Seeding and Potting Mix is perfect, with a combination of coconut husks, compost, and perlite.
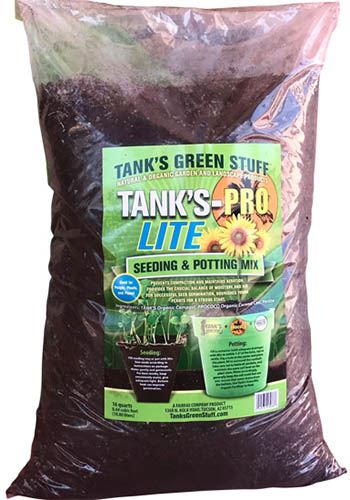
Tank’s Pro-Lite Seeding and Potting Mix
You can buy some at Arbico Organics in 16-quart bags.
After you have stripped the leaves, dip the end of each cutting in a rooting hormone like Bontone’s Rooting Powder. It’s a reliable option that has always worked well for me.
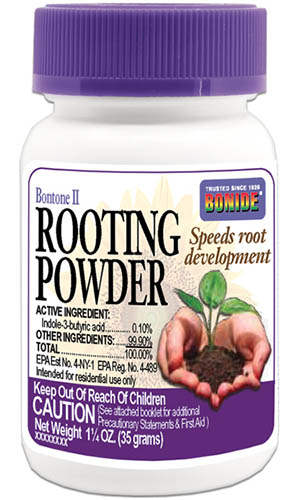
Bonide Bontone Powdered Rooting Hormone
Arbico Organics also carries this handy gardening essential, available in 1.25-ounce containers.
Place the cutting in a four-inch container filled with your potting mix.
Poke a hole in the soil and insert the cutting about halfway up the stem. Firm the soil up around it so that it stays upright.
Repeat with the rest of your cuttings, placing them in their own individual containers.
Give the soil a good soaking so that it feels like a well wrung-out sponge. You want the soil to stay about this moist while your new plants are rooting.
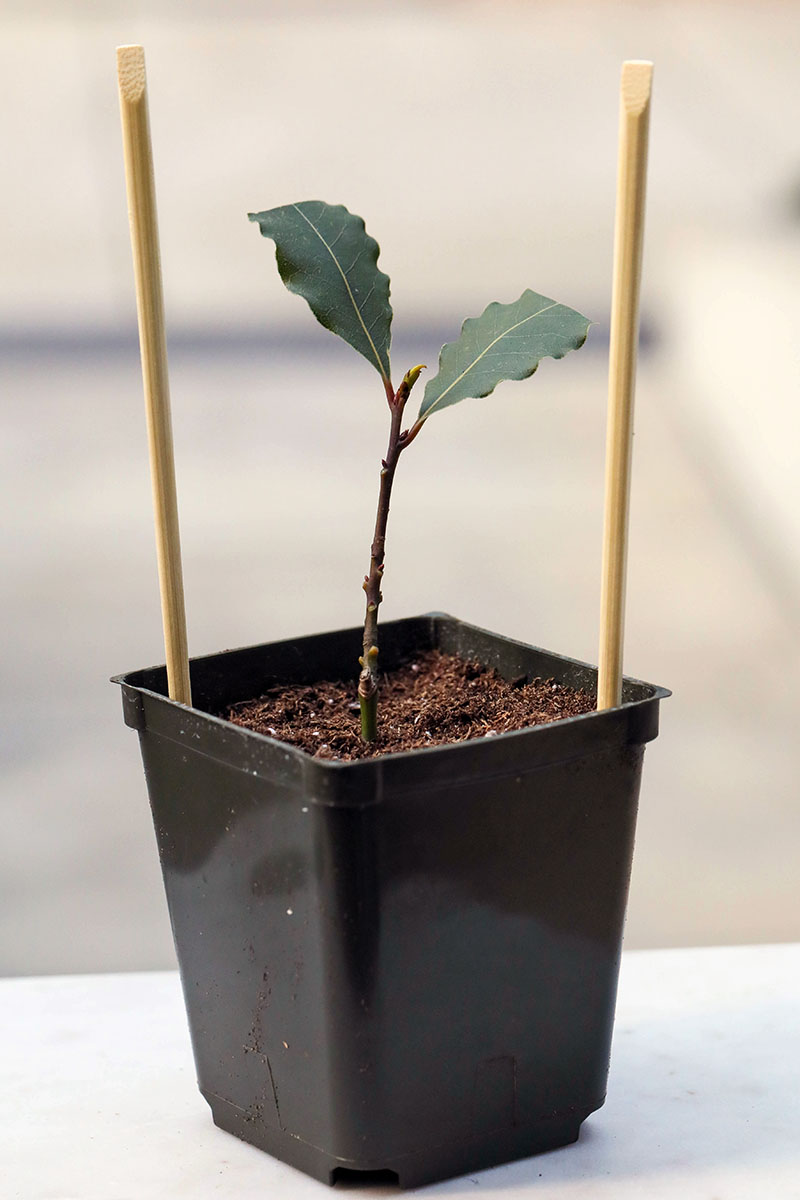
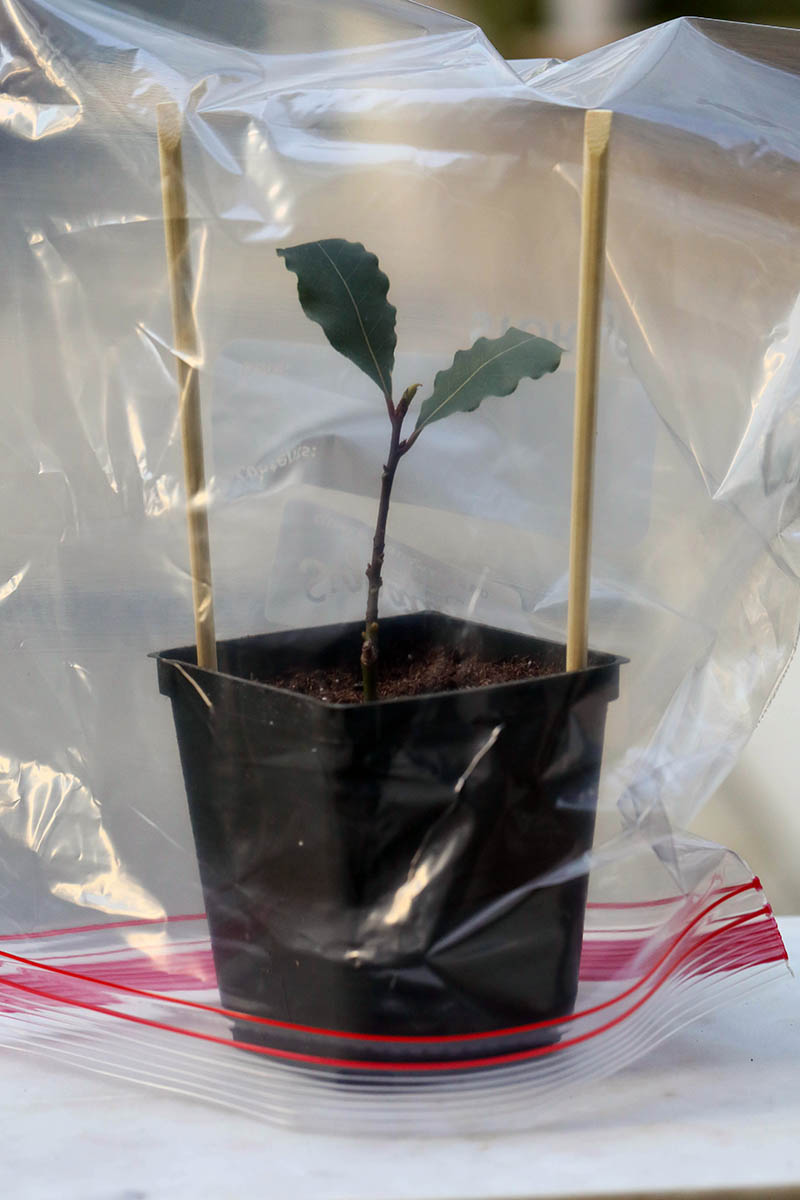
Cover with a cloche or clear plastic to help retain moisture. One of the easiest methods for this is to use a plastic bag and a few long sticks.
Place the sticks around the edge of the container and lower the bag over them. The sticks will hold the plastic away from the plants.
Place in an area that receives six to eight hours of indirect light. A north-facing window is ideal.
While you could keep them outside, ideal air temperatures for this process need to be right around 60°F, so for most people, an indoor spot works best.
Gradually reduce the amount of time that the plant is covered in plastic to acclimate it to the level of humidity in your area.
For the first month, leave the plastic in place full-time. For the next few weeks, remove it for an hour or so a day. Then, remove it for a few more hours each day over the next few weeks.
After a few months, though some may have failed, at least a few cuttings should have developed new roots. If you give a gentle tug, those that have rooted will resist.
At that time, you can remove the plastic entirely, and you can allow the top of the soil to dry out in between watering.
The plants will eventually begin to develop new leaves. Let this happen naturally rather than pinching new growth off.
Transplanting
In the fall, so long as you have successfully rooted cuttings with new growth, you can put them in the ground.
Harden them off gradually over a few weeks. On the first day, put the plants outside for a half hour in a sheltered area with indirect light.
Add an hour the next day, an additional hour the following day, and continue until they are outside for seven hours a day.
Then, move them into direct sunlight for an hour, two hours the next day, and so on. The goal is to get your plants used to full sunlight before putting them in the ground or in a new container.
For more information on how to transplant, head on over to our guide on transplanting bay laurels.
Troubleshooting
Don’t despair if some of your cuttings don’t make it. There are lots of reasons why they will fail to take.
Plants that don’t receive enough moisture or that are placed in direct sunlight will be more likely to fail.
Be sure to check the soil moisture level every single day. You should also check frequently to see if the sun is starting to hit your plants.
You may have positioned them well initially, but as the seasons change, the sun’s position will too.
Some that fail may have contracted root rot, which thrives in moist conditions. This disease is caused by water molds in the Phytophthora genus.
Most of the time, your cutting will simply die without displaying any obvious symptoms. But you may also see wilting, yellowing, or a general lack of vigor.
To avoid root rot in the future, be absolutely sure you’re using clean, disinfected containers, soil, and tools.
Also, don’t take cuttings from any plant that shows signs of disease, and take care not to overwater.
Bring Your New Baby Bay to Life
That wasn’t so hard, right? I know it takes a little extra effort than purchasing a mature plant, but once you have the general idea, you’ll become better and better at propagating bays (and other semi-hardwood plants as well!).

I can’t wait to hear about all the success you’re sure to have. If you run into any trouble, come let us know in the comments section below and we’ll see if we can help.
Now that you’ve tackled one of the more difficult plants to propagate, check out our guide to growing bay laurel to brush up on how to care for your new plants.
And why not head over to some of our other propagation articles to learn how to expand your garden:
Thank you
Hi all, I agree, Bay trees are tricky to strike. I have a 20 foot bay and a few I keep small. I have found that using the method described is the way to go. Most successful for me is to strike them in a light gravel, fish tank size with Willow water. No direct sunlight.
Great, thank you so much for the tips!
We live close to the ocean. Mold is showing up underneath the plastic covers. On the bamboo skewers mostly, which l got rid of, and now on a new leaf.
l am replanting 11 today as l started the first batch too early. When l revisited this site and saw how white the interior is in the heel cutting photos l recalled that mine were green throughout.. all but one died, which is the one l saw mold on thus morning. Any suggestions re/ mold?
Mold can be a challenge when growing cuttings. In your case, you might want to dip your plants in a ten percent bleach solution when planting and then spray them every few days with the same. This can stave off most mold issues.