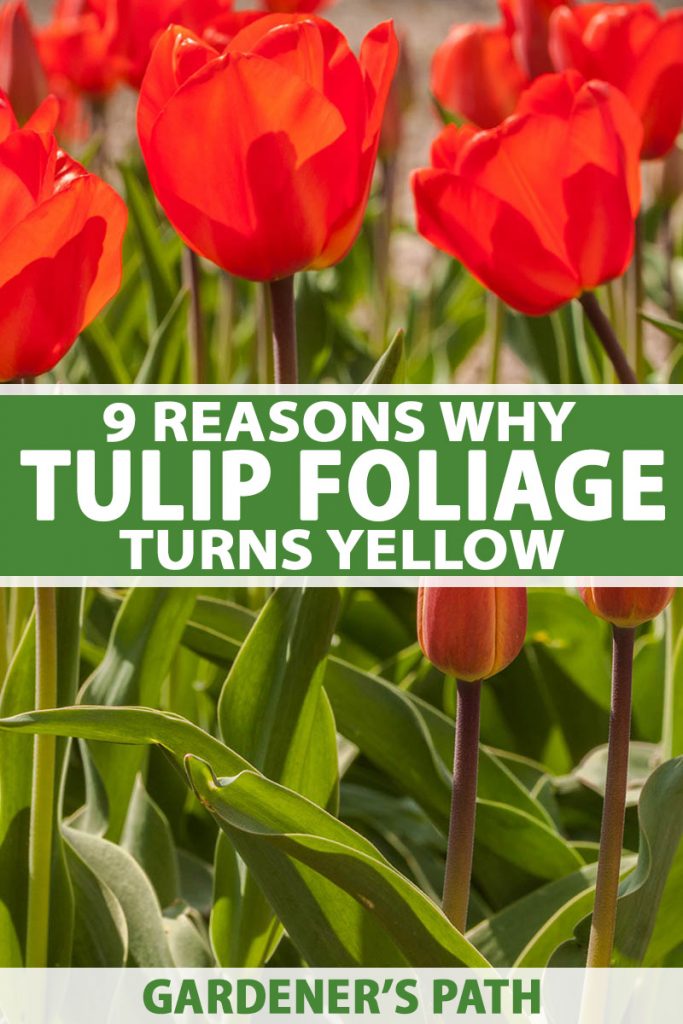
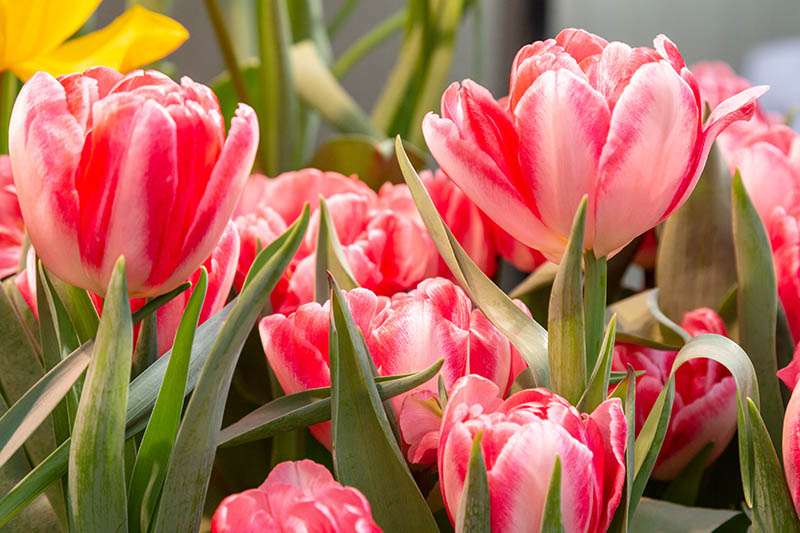
The tulip, Tulipa spp., is a spring-blooming bulb flower in the Liliaceae, or lily family. It has a waxy, cup-like flower available in every color except blue, a bare vertical stem, and fleshy green foliage that is sometimes variegated with red or white.
After blooming, the foliage feeds the bulb so it can store energy for next year’s flower.

We link to vendors to help you find relevant products. If you buy from one of our links, we may earn a commission.
In this article, we zero in on nine adverse conditions that may cause tulip foliage to turn yellow prematurely, and how to avoid them.
What You’ll Learn
Let’s begin with a summary of the elements needed for successful cultivation.
Cultural Requirements
In our article on how to grow and care for tulips, we talk about the ideal growing environment for these flowers. It includes:
- Placement in USDA Hardiness Zones 3-7, with full sun.
- Average, well-draining soil with a pH between 6.0 and 7.0.
- A planting depth of 4 to 6 inches.
- Spacing of 2 to 6 inches.
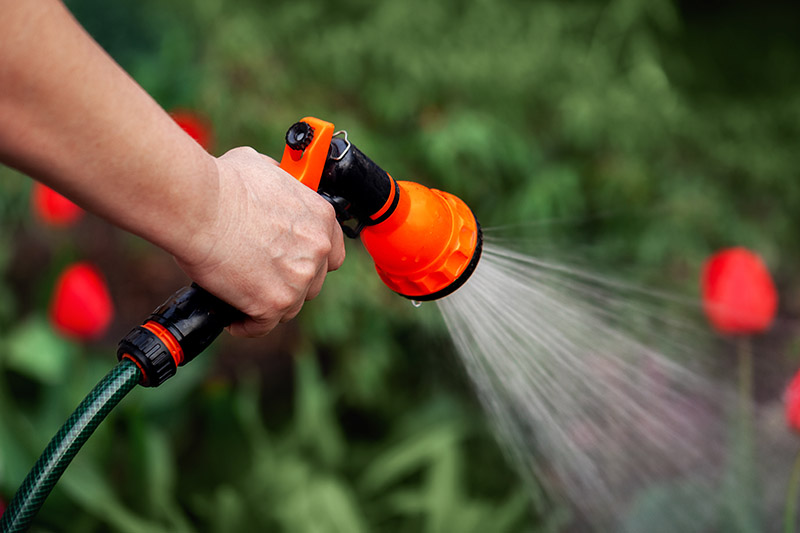
- One inch of moisture per week via rainfall and supplemental watering.
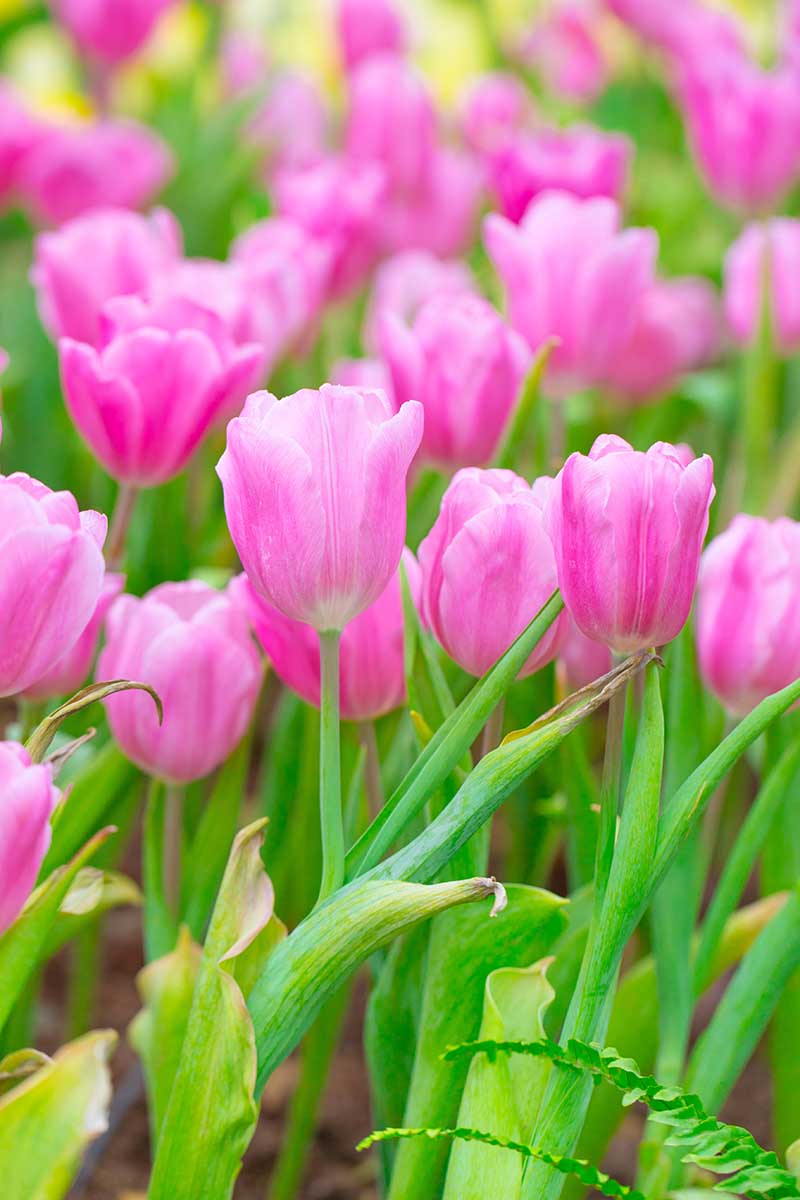
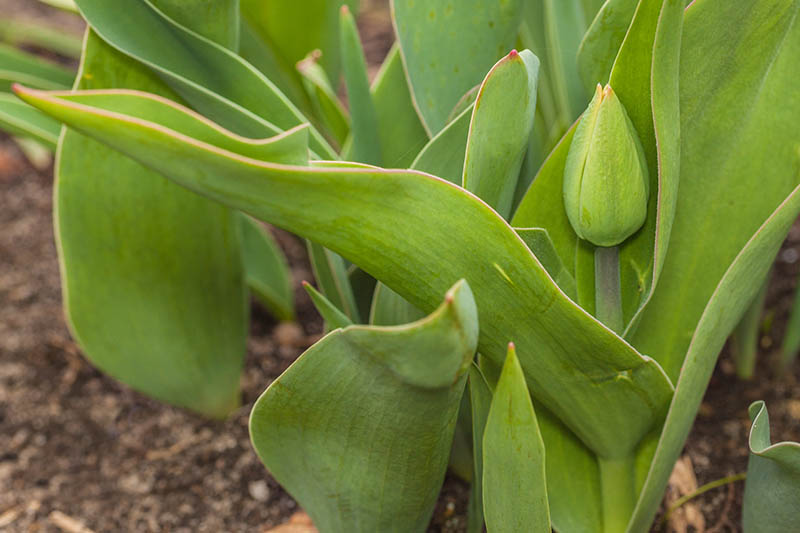
The normal life cycle of a tulip begins with sprouted green leaves and stems, followed by budding, flowering, the dropping of petals, and setting of seed.
After blooming, the foliage must remain attached so it can feed next year’s bulbs. When this is completed, it turns yellow, before turning brown and dying.
9 Reasons Why Tulip Foliage Turns Yellow
When a leaf turns yellow, the phenomenon is called “chlorosis.” It happens when there is a deficiency of chlorophyll, the green lifeblood of plants that absorbs sunlight and converts it to energy.
And while you may simply tolerate or remove the unsightly leaves, knowing the underlying cause or causes is essential to the health of both current and future plants.
The following are nine possible causes of tulip leaf chlorosis. Let’s look at how each may affect normally green leaves, and how the various factors may overlap in their occurrence.
1. Alkaline pH
One possibility is that your soil is more alkaline than the mildly acidic or neutral 6.0-7.0 pH that tulips prefer. Soil that is “too sweet” may adversely affect tulip development, and cause yellowing.
Determine your soil’s acidity with a soil test, and add a layer of organic matter like leaf mulch or compost, or some peat moss as needed to boost acidity.
2. Dehydration
Without an inch of moisture per week from a combination of rainfall and supplemental watering, bulbs may begin to dry out beneath the soil. You may not have a clue – until the leaves start to turn yellow.
If you dig down next to a bulb and find the soil dusty, water immediately. Brittle roots and shrunken bulbs may be too far gone to revive, but it’s worth a try.
In cooler regions, this is unlikely to happen, unless there’s a rare and prolonged heatwave and dry spell with no supplemental watering.
For those growing in warmer regions, this is a little more likely in the springtime, especially if the bulbs are planted too shallowly, another possible cause we will discuss shortly.
Learn more about watering tulip bulbs here.
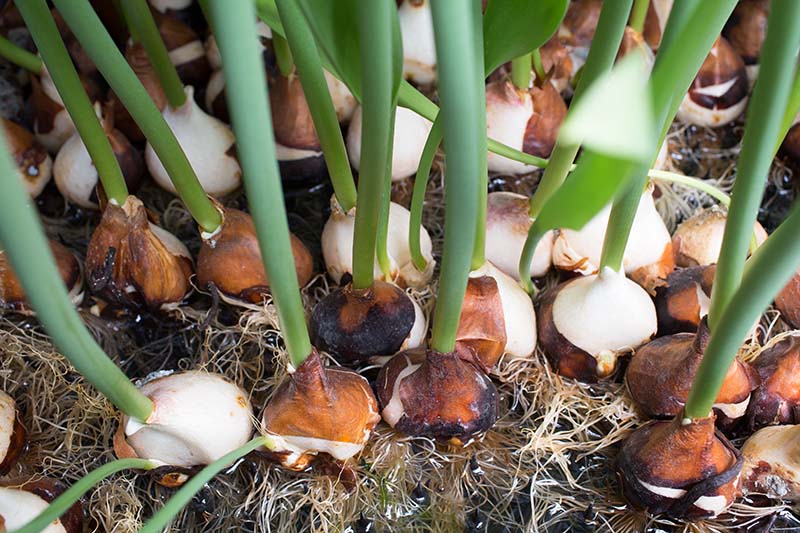
3. Disease
Moisture and heat stress may leave bulbs vulnerable to disease. It may be bacterial, fungal, or viral, and may spread more quickly if bulbs are spaced too closely.
Close planting may create a humid environment conducive to fungal growth in particular.
In addition, sometimes the bulbs we buy harbor pathogens that don’t become evident until growth problems arise.
The disease category is a broad one that includes conditions such as bacterial soft rot, fungal Botrytis blight, or tulip breaking virus.
Damage may range from rotting at the bulb level to deformed and discolored leaves, rotting stems and leaves, and discolored and damaged petals.
Leaf yellowing that is accompanied by deformity, tissue softening, or wilting is likely disease-related, or the result of damage caused by disease-carrying pests.
Consult your local agricultural extension of a land grant university or horticultural society for aid in disease confirmation and possible treatment.
Remove and discard affected plants in the trash.
4. Inadequate Drainage
Poor soil drainage may cause even the right amount of water to pool.
Be sure to add sand or compost to your garden soil before planting tulips to ensure that water can pass through without ponding, or you may find that the roots and bulbs have rotted through – before you even notice the waterlogged, yellow leaves.
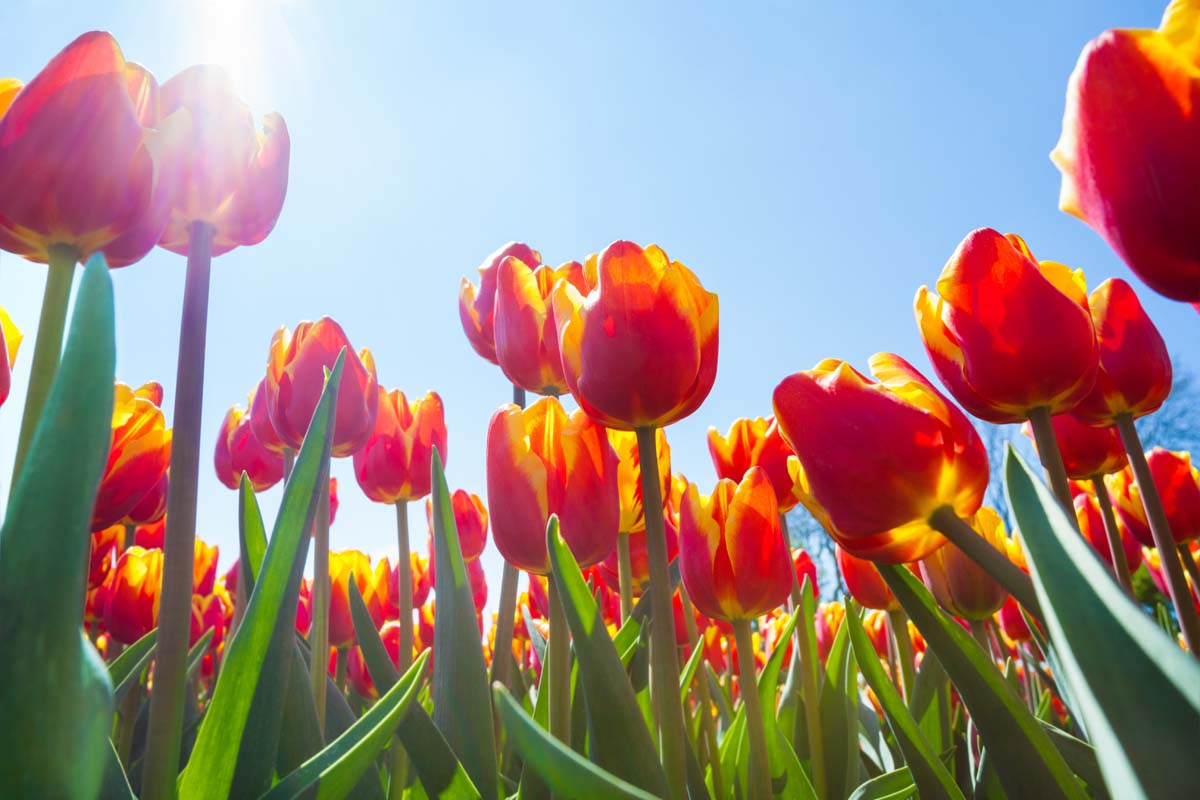
5. Insufficient Sunlight
As mentioned, tulips need full sun. In warm regions, they benefit from part shade to keep them out of the intense midday rays.
However, while not a likely culprit, plants that don’t get enough sunlight are likely to have leaves that are very pale green or yellow.
If your plants are completely shaded, as by a large shrub, for example, and you’re growing them as perennials, you may want to relocate them in the fall to a sunnier location.
Your garden journal can be a helpful tool here. Use it to track sun exposure in various sections of your garden throughout the year, and document how it changes based on shade cast by large trees and other plants when they leaf out in the spring and summer.
6. Nutrient Deficiency
Sometimes plants yield inferior results because they are not receiving proper nutrition. Tulips that are deficient in nitrogen may have yellow leaves.
This is a tricky call, because even a soil test cannot accurately measure the nitrogen in soil, as it can vary throughout the growing season.
If all else seems fine, you may try amending with a dose of all-purpose, well-balanced, slow-release fertilizer per package instructions each spring and fall.
7. Oversaturation
If there’s a heavy, late snowfall or spring rainy spell, or you provided more than one inch of water per week during the growing season, you may discover oversaturation at the bulb level that manifests itself above ground in the form of yellow leaves.
If the soil is soggy, it’s likely that there’s also a drainage issue.
You can try to salvage the plants by poking some deep holes into the garden soil at least four inches away from their perimeter. Mix a little sand or compost in to loosen things up, and hope for the best.
8. Pests
While tulips are not particularly prone to pests, bulbs that are stressed by excess heat or moisture may become vulnerable to infestation, especially by stealthy underground nematodes.
These soilborne, microscopic, worm-like organisms feed on bulbs until they destroy them.
One to watch for is the stem and bulb eelworm, Ditylenchus dipsaci. The first visible signs of trouble include leaves that are deformed, stunted, yellow on top, and bumpy underneath.
According to experts at the Royal Horticultural Society (RHS), this pest spells disaster. Affected plants must be destroyed and may not go in the compost heap, as this may facilitate further spread around the garden.
Commercial growers use a complex hot water treatment to eradicate it, but there is no feasible home cure.
The RHS recommends purchasing high quality bulbs and practicing hygienic garden practices as preventative actions. Avoid planting in affected areas for three years.
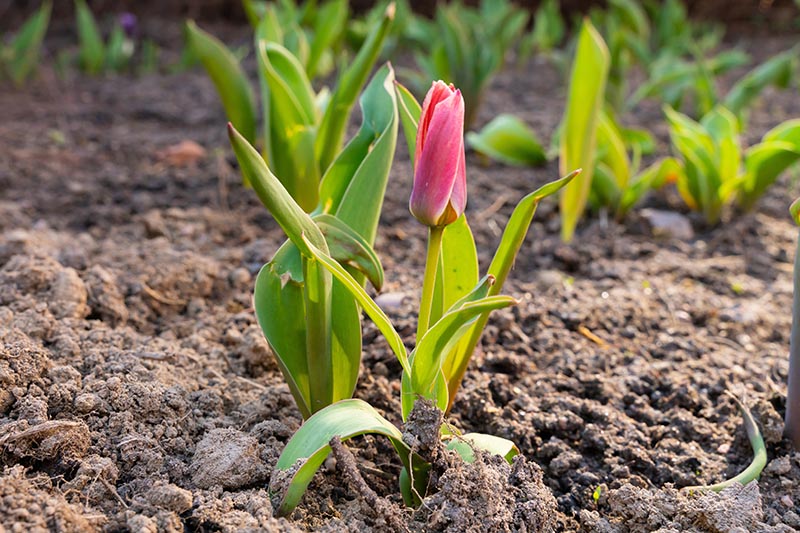
9. Shallow Planting
When bulbs are planted to the recommended four- to six-inch depth, they are less likely to succumb to heat and dryness.
Folks in warmer regions swear by planting even deeper than recommended, to a depth of eight inches, so bulbs are well protected from excessive heat.
However, sometimes even with best practices, bulbs end up in shallow placements.
This may happen because you inadvertently disturbed them when you planted other items in the same bed.
Or the activity of squirrels or voles may loosen them.
The alternating wet and dry conditions of winter can also cause them to rise up a bit, especially if they were newly planted the previous fall.
Take care to plant as recommended. Walk the garden in late winter. If you see that bulbs have risen to the surface, cover them with garden soil or compost before winter dormancy breaks.
Understanding and Adjusting
To recap, there are nine likely causes of tulip leaf yellowing that may be avoided with diligent cultivation.
By the time you notice yellow leaves, trouble may be well underway due to an overly alkaline soil pH, dehydration, disease, inadequate drainage, insufficient sunlight, a nutrient deficiency, pests, or shallow planting.
There may be one issue to blame, or multiple conditions working in concert. And any damage already incurred in the current season is likely irreparable.
However, an evaluation of your gardening practices, and consideration of each possible reason for the yellowing of leaves, gives you the opportunity to make adjustments.
The following actions are likely to result in a better experience next season:
- Monitor watering to ensure that planting soil is neither dried out nor oversaturated.
- Plant per the suggested depth and spacing.
- Contact your local extension at the first sign of plant deformity, discoloration, and wilting not reasonably attributable to other causative factors, to determine what diseases or pests may be present. Follow recommended courses of action.
- Amend the soil with sand or compost to ensure proper drainage.
- Fertilize as recommended by a soil test, to provide adequate and appropriate nutrition.
With an understanding of potential issues and working to make adjustments as needed, you can become an expert grower of tulips, well-versed and experienced in growing beautiful blooms year after year.
For more advice on growing tulips in your garden, check out the following guides next: