Those of us in cold USDA Hardiness Zones 2 through 5 seem to have the gardening odds stacked against us.
We must meticulously plan our gardens because our growing seasons are so short. We often spend much of the late winter and early spring months nurturing seeds and seedlings indoors.
Our homes begin to smell like potting mix and fertilizer, and the eerie purple glow of grow lights shines out from our windows, creating a Halloween vibe in the wrong season.
But what if we could make the whole process easier?
We link to vendors to help you find relevant products. If you buy from one of our links, we may earn a commission.
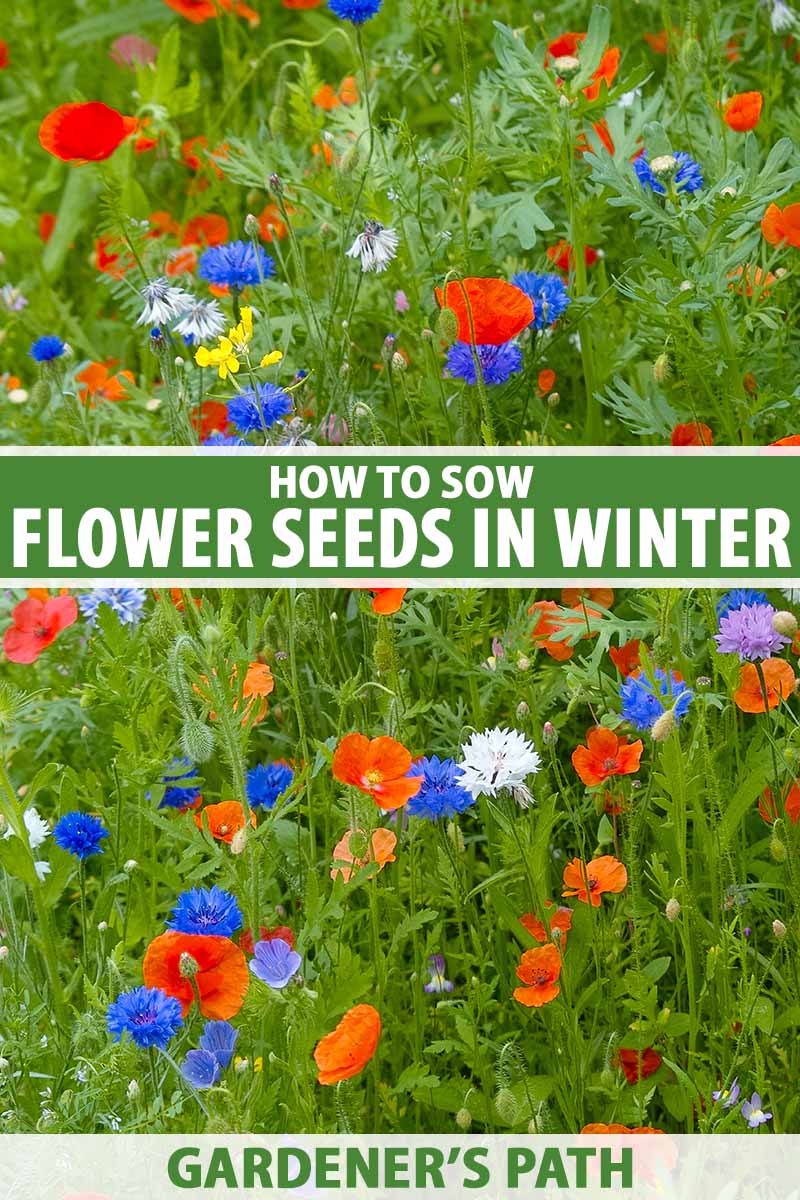
In our guide to pre-seeding the garden, we offer tips for sowing vegetables in the fall or winter for easy springtime germination. But did you know that you can sow flower seeds in winter for springtime blooms, too?
In this guide, we’ll focus on winter-sowing flowers so you can save precious space on your window sills and countertops – and precious time in the garden.
Here’s what we’ll cover:
What You’ll Learn
The Benefits of Winter Sowing
One of the best things about sowing seeds in winter for a spring bloom is that the plants will be hardier than they would if you had started them indoors.
Instead of beginning their lives in a warm, protected environment, the seeds will be outside instead, experiencing rain, snow, freezing temperatures, and wind – and they’ll only germinate when they’re ready.
Winter-sown seeds have a high germination rate, and they’re well suited to the climate they germinate in.
Another benefit is the space you’ll save. Sure, you can still start seeds indoors in late winter or early spring, but if your home is anything like mine, you only have so much room. And only so much time to care for seedlings, for that matter.
What better way to grow a robust flower garden than to shift much of your flower-starting responsibilities to Mother Nature?
Finally, winter sowing is a great way to recycle. If you choose to sow using the “mini greenhouse” method described below, you can recycle plastic milk jugs and bottles to use in the garden – a win for the planet!
When to Winter Sow Flowers
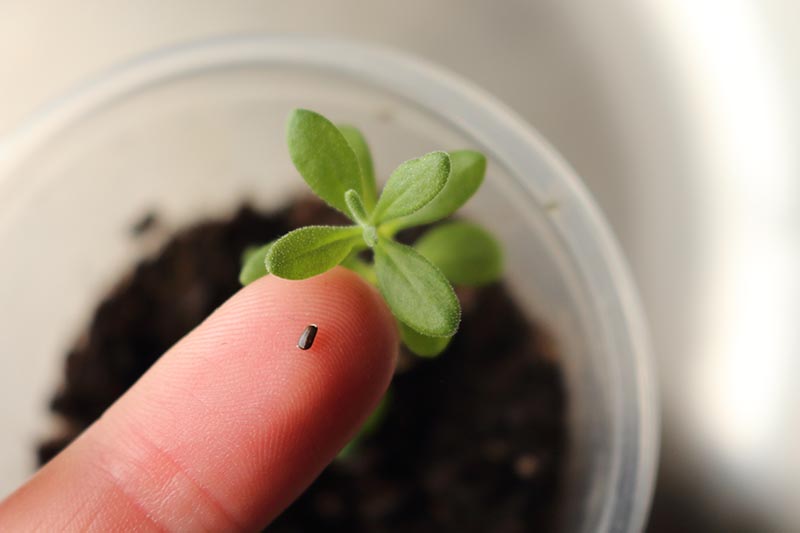
Here’s the skinny on seeds: they are, as the experts at the Penn State Extension say, living things with embryos and food reserves encased in seed coats.
The best flowers to sow in winter are perennials that require cold stratification, because the outdoor winter air will provide the conditions needed in order for those seed coats to break down. This, in turn, allows them to germinate.
If you live in Zones 2 through 5, the best time to sow flowers depends on the type of bloom you’re planning to grow.
Perennials that require cold stratification are best sown in January and February. In early to mid-March, you can put hardy annuals and biennials in the ground – or in your mini greenhouses. We’ll talk more about these in a moment!
In Zones 6 and 7, you’ll want to sow perennials in December, with annuals and biennials going in the ground or the greenhouses in late February or early March.
Zones 8 and 9 don’t tend to experience winters that are long or cold enough to make winter sowing count. Most perennials that require cold stratification need to experience at least four weeks of temperatures at or below 32°F.
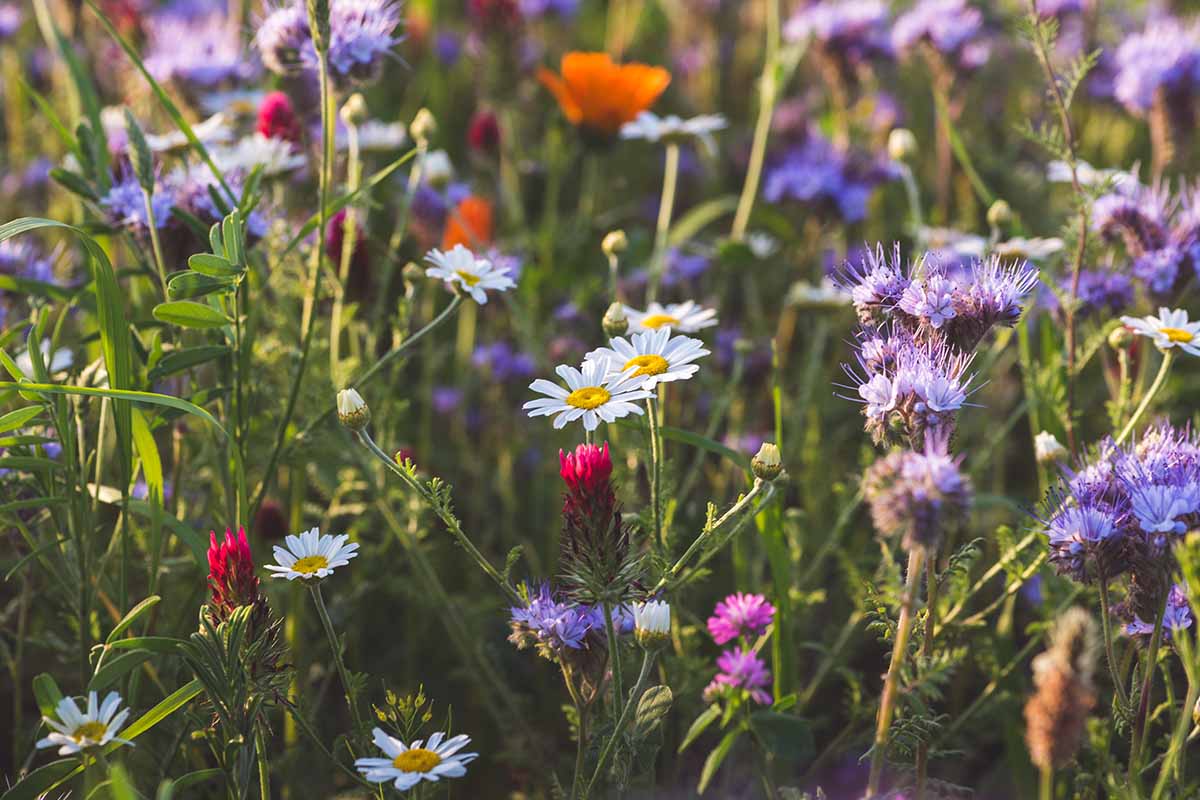
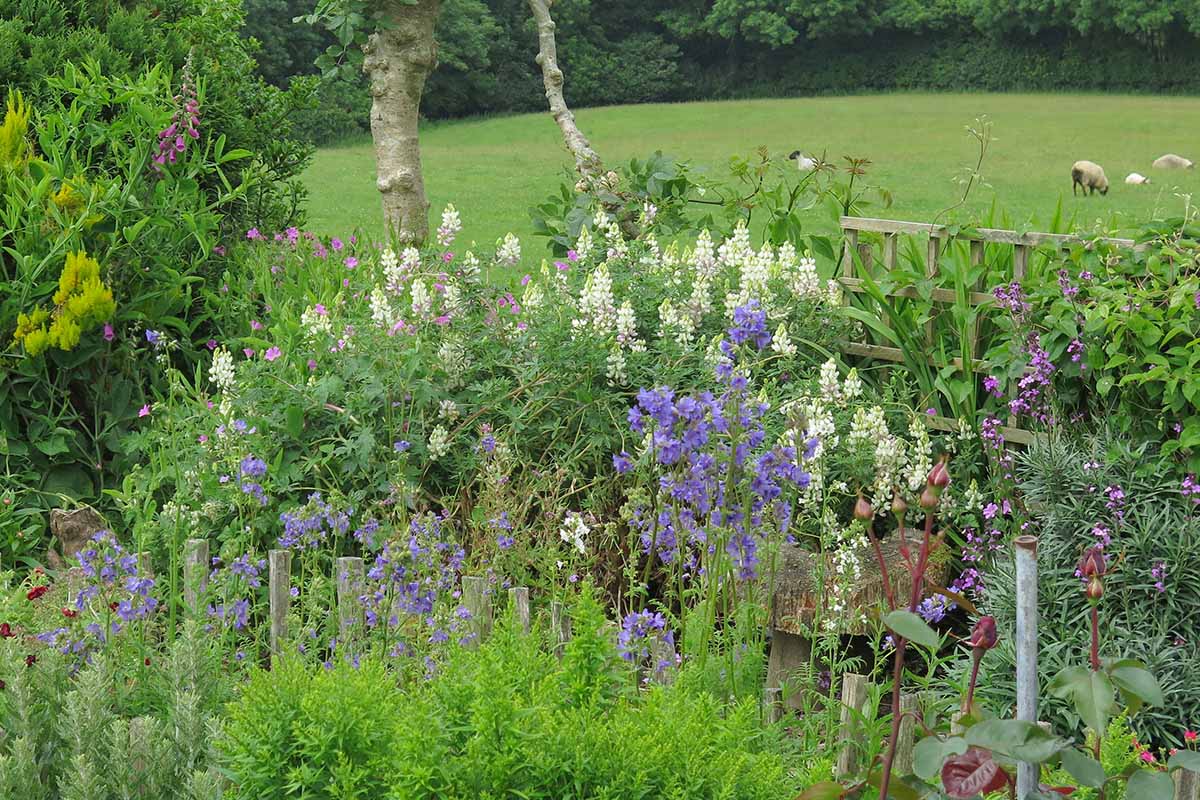
Some of my favorite perennials to winter sow require cold stratification, and combining three or more of these blooms in one garden space – as long as they have similar growing requirements – would be a sight to behold.
Start with this list when you’re planning which flowers to plant in the winter:
- Catmint
- Columbine
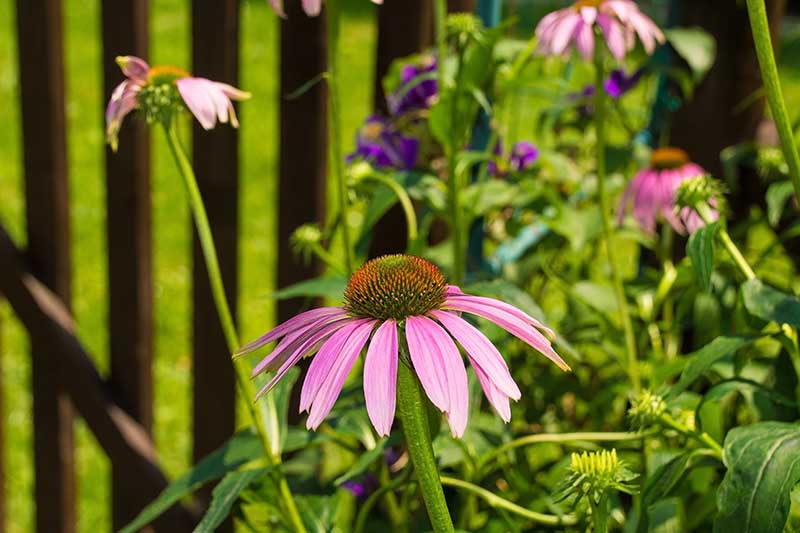
- Coneflower (Echinacea)
- Cranesbill Geranium
- Delphinium
- Lavender
- Lupine
- Milkweed
- Pincushion flower
- Poppy
- Prairie violet
- Primrose
- Shooting star
- Sunflower (perennial varieties)
How to Sow Seeds in Winter for a Spring Bloom
There are three ways to pre-seed your winter flower garden.
The first is to allow your existing annuals, biennials, or perennials to go to seed, allow the seeds to fall to the ground, and wait until spring for Mother Nature to awaken them.
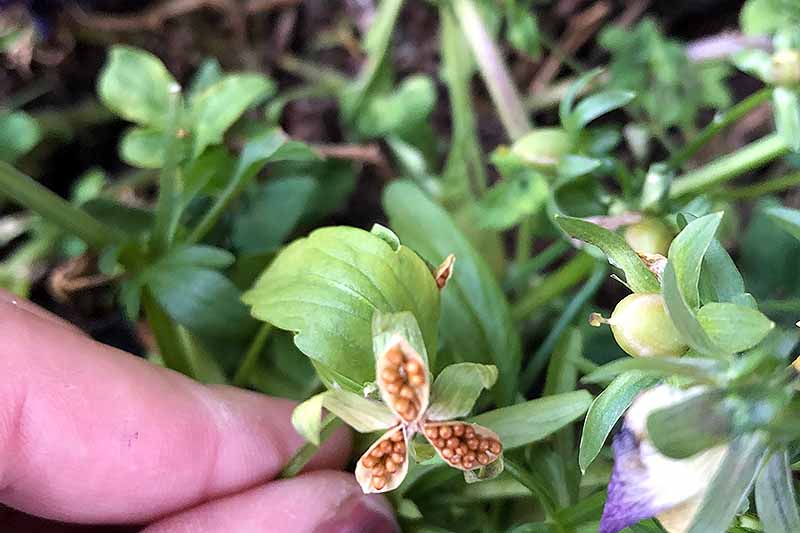
My violas do this every year. They tend to drop seeds several times throughout the summer and into the fall, resulting in new blooms in late fall that die back quickly once the frost hits.
But there are always plenty left behind in the soil, and they’re among the first flowers to grow and bloom in the spring.
The second way is to direct-sow saved or purchased seeds into a prepared garden bed.
And the third is to use containers you’ve saved, or seedling trays if you prefer those, and sow seeds in winter, leaving the containers outdoors.
We’ll cover all three methods below. Prepare your planting space in the fall or early winter, while the soil is still workable, before you sow your seeds.
Make sure the bed you’ll be direct-seeding – or the soil surrounding the plants you are allowing to reseed naturally – is cleared of debris, freshly amended with well-rotted compost or manure, and ready to support new growth.
Get tips about the supplies that you may need to start seeds.
Tips for Letting Flowers Reseed Naturally
This method isn’t much of a method at all, as it’s so hands-off. But I’ll take you through the basics and let you know which types of flowers readily self-seed.
If you love a natural look in the garden, this is the way to go.
First, you’ll need to have mature perennials, biennials, or annuals in your flower garden already.
If you didn’t get to plant readily-reseeding annuals this year, you can always winter-sow them in the garden or use the container method, transplant them out into the garden, and then allow them to reseed naturally next year.
In addition to the perennials described above, annuals that love to reproduce via seed that they spread naturally include:
- Alyssum
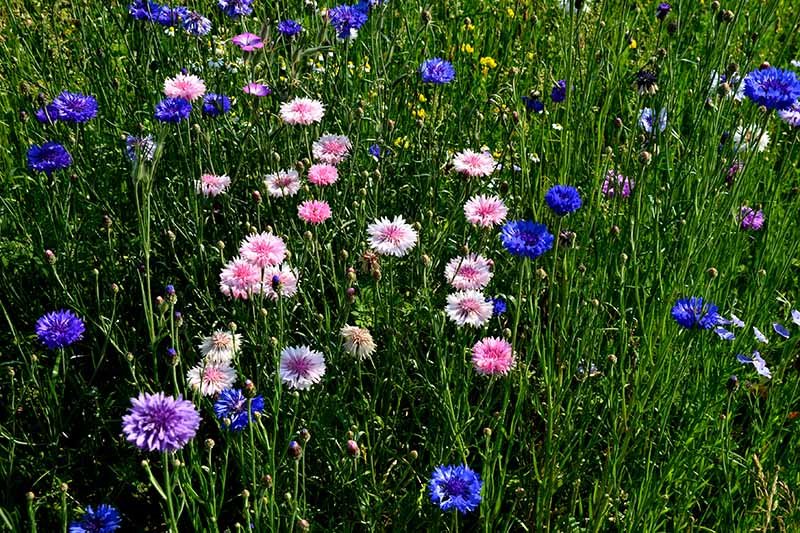
- Bachelor’s button (cornflower)
- Borage
- Calendula (pot marigold)
- California poppy
- Cleome
- Coreopsis
- Cosmos
- Love-in-a-mist
- Morning glory
- Verbena
Fantastic, happily reseeding biennials include:
- Alpine poppy
- Cow parsley
- Forget-me-not
- Foxglove
- Hollyhock
- Stock
- Sweet William
Guess what you have to do to make sure these flowers reseed? Nothing, that’s what. Literally.
In the early fall, stop deadheading them. They’ll stop forming new blooms and will instead focus on developing seeds, which will then fall from the flowers when they’re ready.
You can help the process along by scraping them out of the seed pod if you would like to – just let them fall onto the soil below.
Leave the area alone through the rest of the winter and spring, and watch them germinate come late spring and early summer!
Tips for Manually Winter Sowing Flowers
Want to play Mother Nature and direct-sow seeds outdoors into your garden beds, as though they had fallen off nearby flowers? You can do that, too.
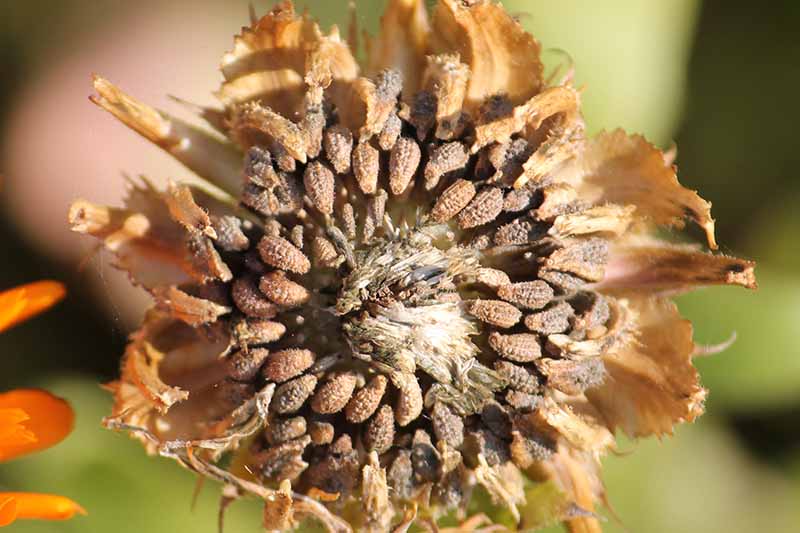
Our guide to saving flower seeds provides step-by-step instructions for how to collect seeds from your existing plants to sow elsewhere in the garden.
This is a helpful way to sow flower seeds in a hands-off way, especially if you don’t currently have the desired blooms growing in your planting area.
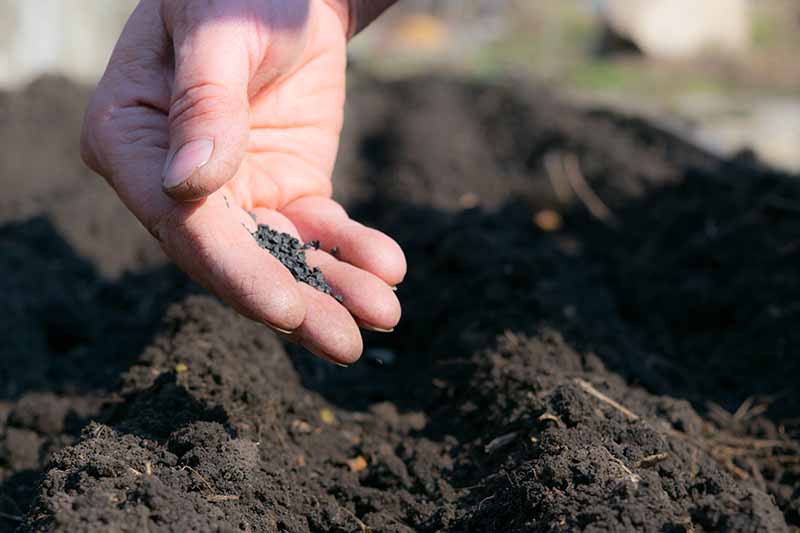
If you are using freshly harvested seeds from your own plants, broadcast them in the planting area immediately after collection to replicate the reseeding process.
For purchased seeds, the best time to do this is a week or two before your area’s average first frost date. You don’t want to encourage the seeds to germinate, but you do want to get them in the ground before it freezes.
Just sprinkle your chosen seeds over the planting site, giving them a nudge deeper into the soil if needed, according to the planting depth recommendation on your seed packet.
Give them a gentle watering after you broadcast them. Water them again in a week if there is no rain and the ground hasn’t frozen yet.
Once the ground freezes, stop watering and wait for the winter and spring temperatures to work their magic.
Sowing Flowers in a Winter Mini Greenhouse
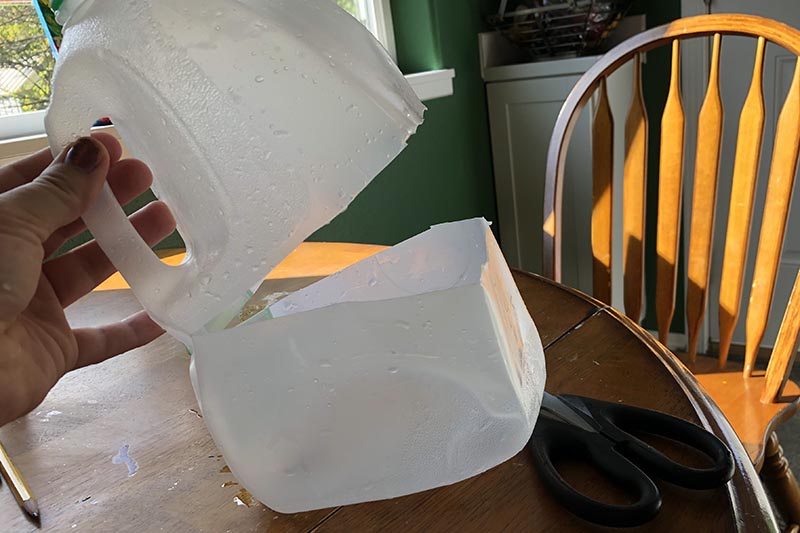
To get started with this “mini greenhouse” method, grab a few used, one-gallon milk jugs and cut them on three sides, leaving the fourth side intact to act as a hinge.
Remove the caps from the jugs, and punch three to four drainage holes in the bottom.
Or, get your seed-starting trays ready – this method works best if you use trays with adjustable humidity domes.
If the humidity domes don’t have holes in them, use a knife to poke enough holes in the top so that rain from the outdoors will be able to get inside the container.
Fill your chosen containers with seed-starting mix. I use this organic potting soil from Jiffy, which is available from the Home Depot.

Regardless of which type of container you use, you’ll want to fill it until there are just one or two inches of space between the potting mix and the rim of the container.
Water the potting mix until water comes out the drainage holes in the bottom. This prepares the soil and also helps you to ensure that the drainage holes are working as they should.
Decide which flowers are going to go in which containers, and label the containers accordingly with a weather-resistant paint marker.
Get your seeds ready to go, and plant them in their labeled containers according to the instructions on the package.
In general, the smallest ones only need to be sprinkled on top of the potting mix.
Slightly larger ones get pushed down about a quarter of an inch, and large ones should be planted between half an inch to one inch down in the soil.
Place the humidity domes on top of the seed trays, or close the hinged lids of your recycled containers.
Put the trays or containers outside where they’ll be exposed to the elements.
Now, sit back, relax, and watch the seasons change! When the weather begins to warm up in the spring, check your containers a couple times a week to make sure they’re getting rained on. They need that moisture in order to germinate properly.
If your area is having a dry spell, go ahead and give them some water about once a week, to keep the soil evenly moist.
You’ll also want to cut additional holes in the top and sides of the container to improve air circulation now that it’s warm outside. Make sure you leave the containers covered until two weeks after your area’s average last frost date.
Before long, you should see seedlings poking up from the soil. Sometimes they’ll germinate before the average last frost date and sometimes after, but regardless, they will be safe and warm inside their miniature greenhouses.
When each seedling has two sets of true leaves and is around four to six inches tall, prepare your desired planting location to receive its newest members by digging holes the depth and width of each root ball.
Carefully remove the young plants from their containers. You may need to use your fingers to gently tease apart seedlings if you planted them in a recycled milk jug.
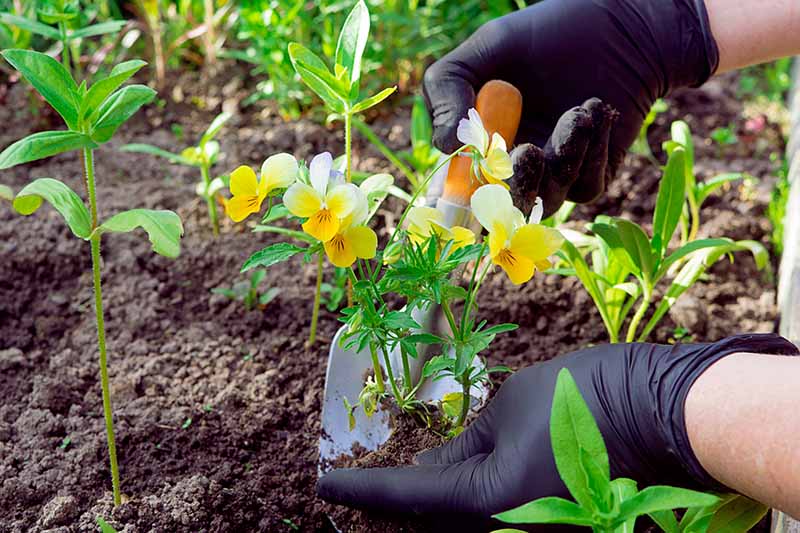
Transplant each young seedling into its spot in the flower garden and water thoroughly, and your hardy little flowers will be well on their way to blooming.
You may want to add a two- to three-inch layer of mulch in each transplant’s immediate planting area, extending by three inches in diameter around each plant, to help lock in that moisture and suppress weeds.
An Unabashedly Easy Way to Make Your Garden Grow
Winter sowing your seeds is a process that’s almost too easy to believe, but it works. It’s a mostly hands-off, space-conserving, time-saving way to create the flower garden of your dreams.
Have you ever sown flowers in the winter before? Which method did you use? We’d love to hear your stories and help answer your questions in the comments section below.
For more tips on growing your own flower garden, check out these guides next: