
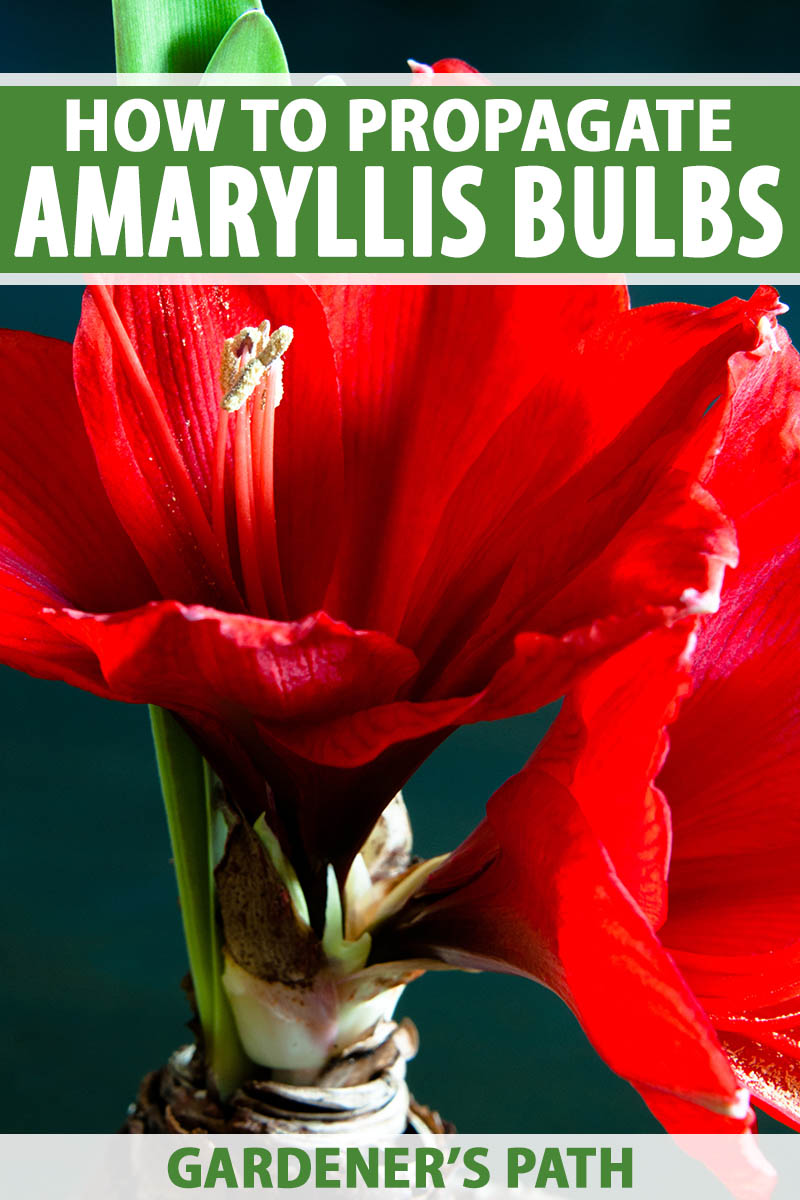
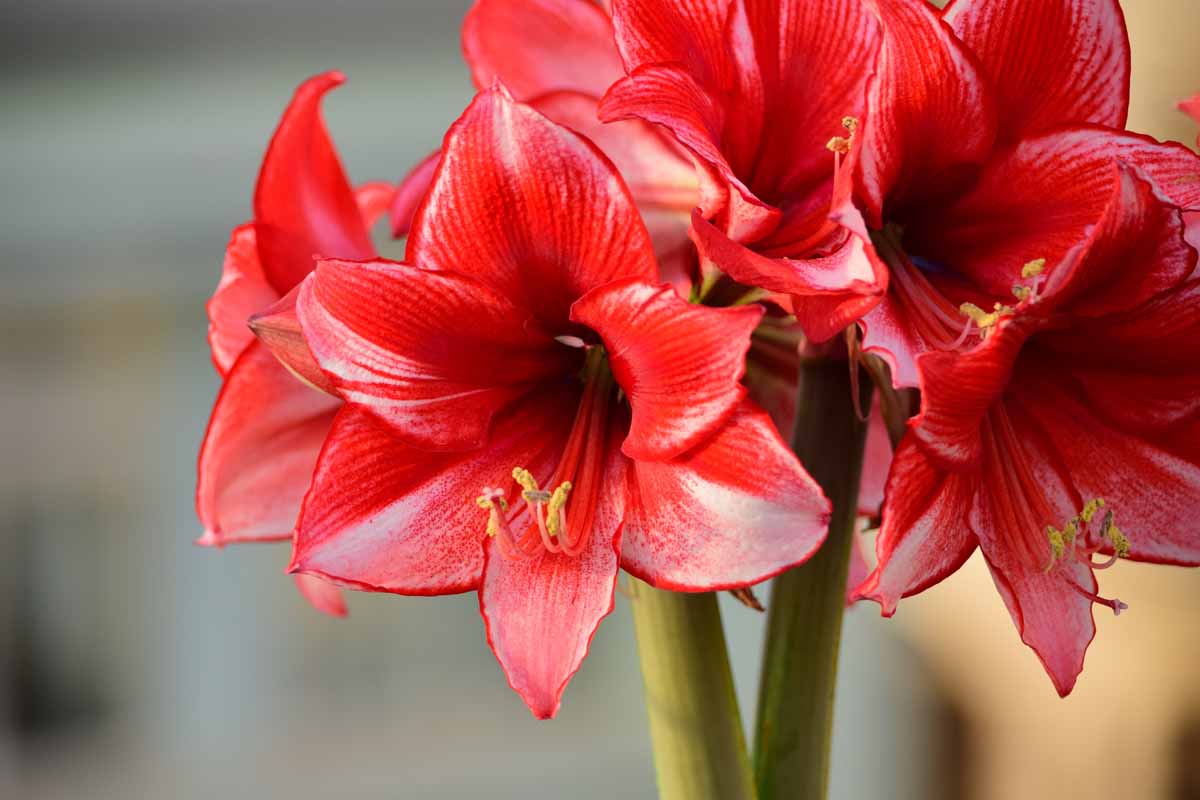
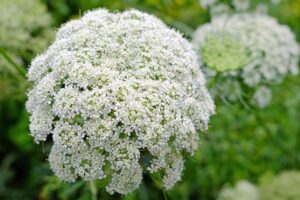
The stunningly unique blooms of amaryllis can add dramatic color to your home and garden.
Native to South America, tropical Hippeastrum can be grown outdoors in USDA Hardiness Zones 9-11, and indoors in colder areas.
These striking flowers are often forced to bloom in the winter, adding some sparkle to holiday decor.
We link to vendors to help you find relevant products. If you buy from one of our links, we may earn a commission.
Healthy, mature bulbs produce secondary “offset” bulbs which can be removed and repotted, providing you with new plants, and you can also propagate amaryllis by bulb sectioning, aka cuttage.
Ready to get started? Here’s what I’ll cover:
What You’ll Learn
Though it is possible to grow amaryllis from seed, the process from seed to flower is slow, taking from three to five years.

If you have seeds, time, and want to learn more about how to do this, check out our guide here.
But if you don’t have that kind of patience, there are other options. Instead, you can easily propagate amaryllis by dividing offsets from mature parent bulbs and by sectioning.
While these methods are certainly quicker than starting from seed, new plants can still take a season or two to flower.
Another benefit of propagating from offsets or by division is that they will produce a clone of the parent plant.
When to Divide
The time to divide your plants all depends on the bloom cycle, which can vary based on Zone and your growing preferences.

When plants are grown outdoors, they naturally bloom in the spring, after a period of winter dormancy.
Some gardeners grow amaryllis indoors and many of us choose to force the plants to flower during the winter holidays.
Learn more about this forcing technique in our guide.
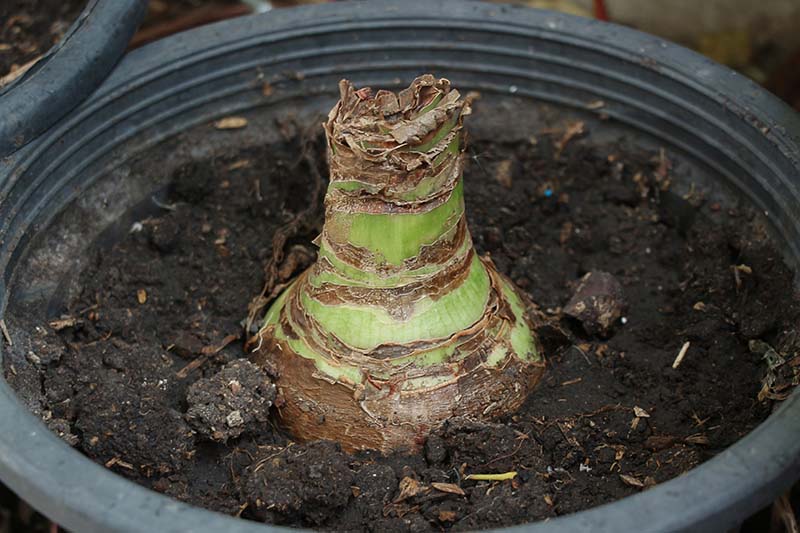
As a general rule, you will aim to divide after flowering, when the foliage has died back naturally and the plants are dormant.
It’s important not to cut off the leaves when the plant has finished flowering, as it needs the foliage to continue to create and store energy.
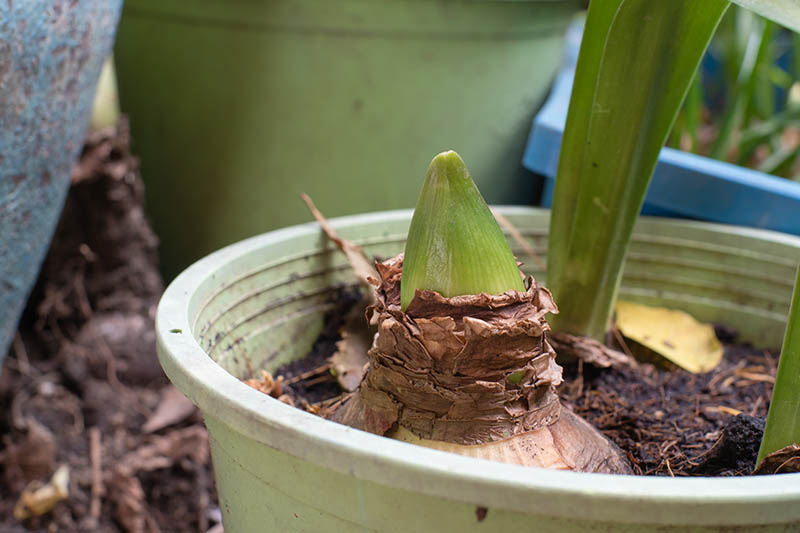
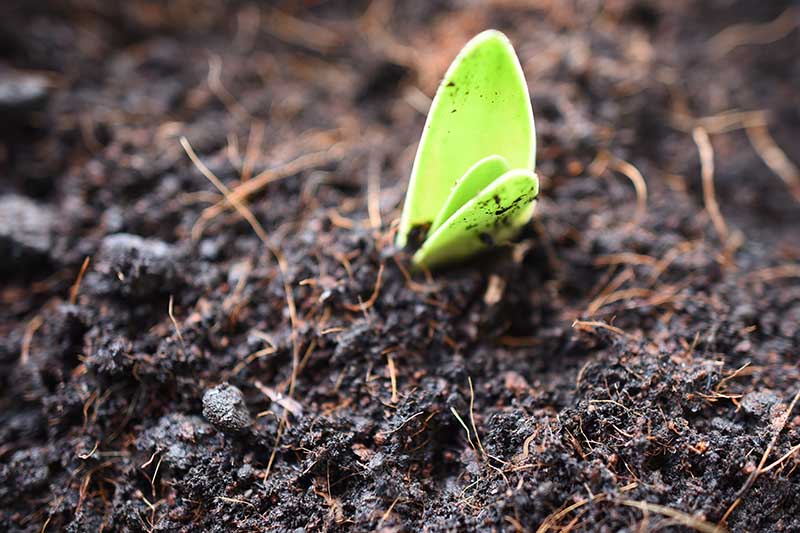
The ideal time to divide is towards the end of the dormancy period, just as you see new leaves start to appear.
Bulb sectioning can be done at any time after the foliage has died back and before the bulb breaks dormancy.
If you are growing plants outdoors in a warm location, the time to divide will typically be in late winter to early spring. For plants grown indoors, you can divide in early to late fall.
Dividing Offsets
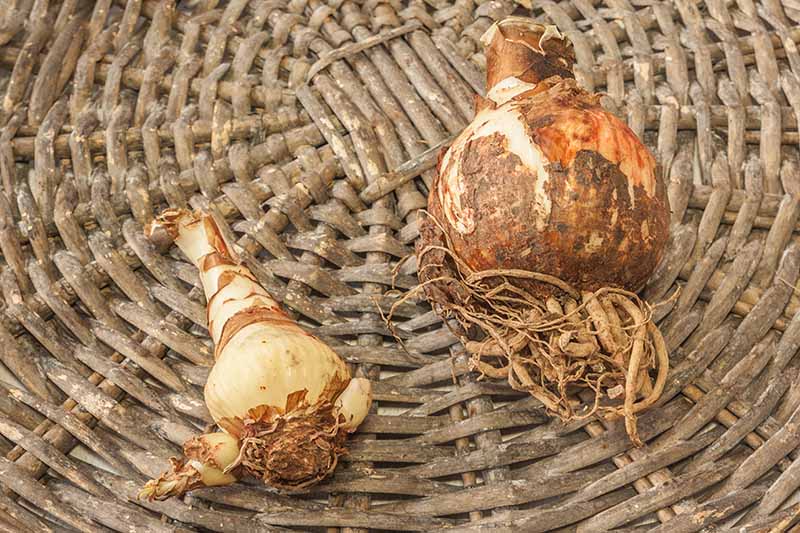
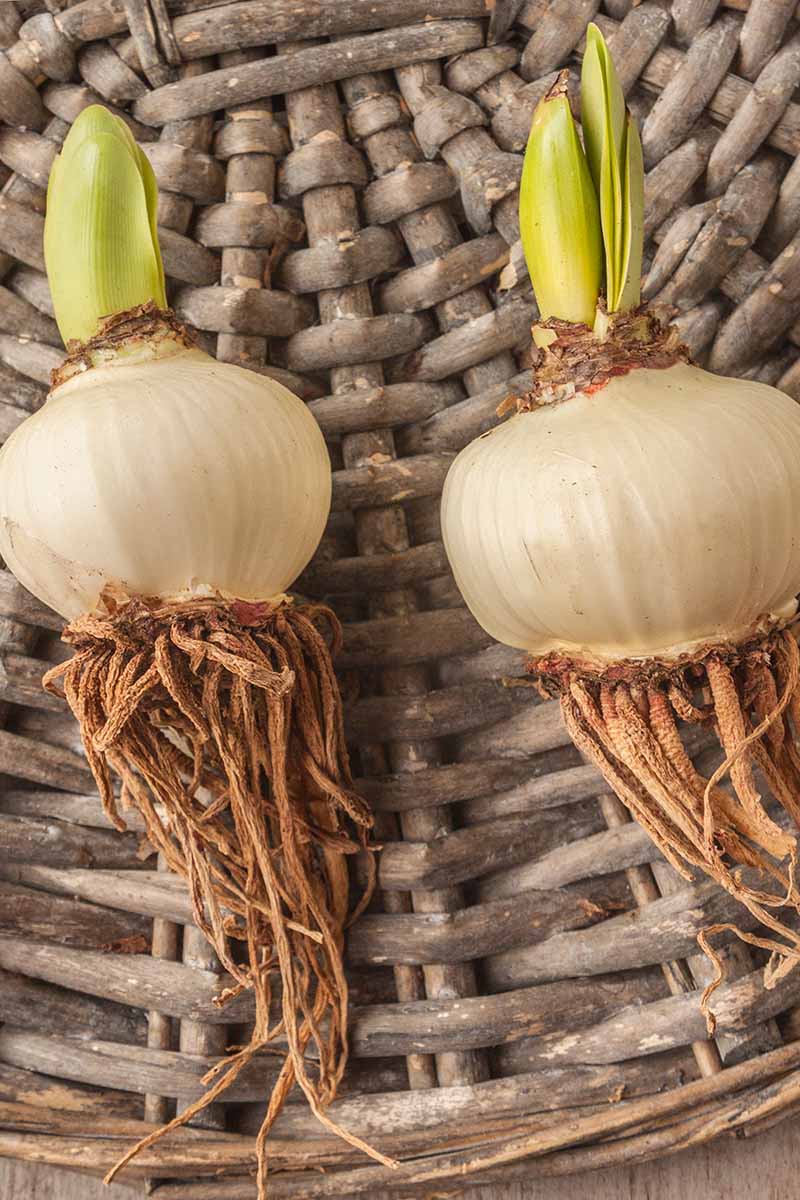
Mature amaryllis bulbs often produce smaller side bulbs, called an offset or bulblet, which can be found situated just next to the “mother” bulb.
These offsets can be carefully detached from the main bulb, to create new flowers.
To divide offsets, lift the entire plant from the ground or the container it’s growing in, being careful not to damage the bulb or roots.
If you are growing outdoors, you can use a garden fork or spade to carefully loosen soil around the base of the plant.
Gently remove the soil from around the bulb and roots.
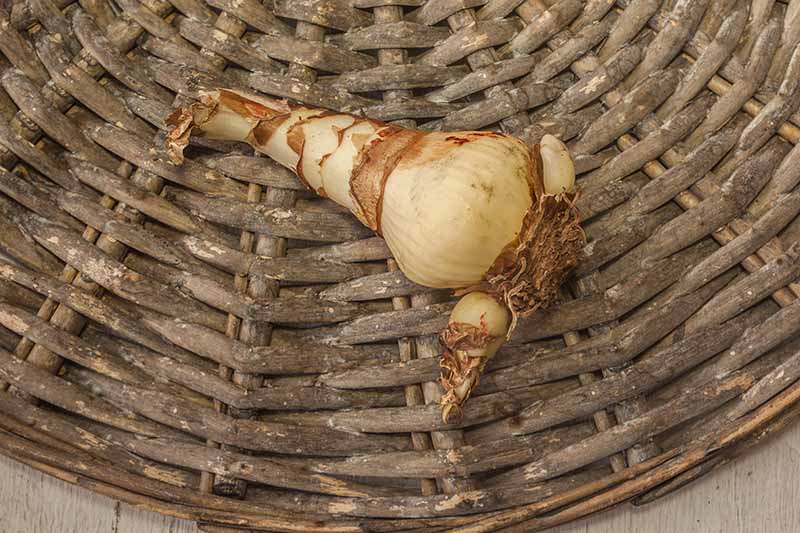
Next, locate bulblets that are at least one third of the size of the mother bulb and separate them by pulling them downwards or twisting carefully.
You can also use a sharp knife, scissors, or a screwdriver to gently pry them off. Each offset should have a few roots, and be careful to keep these intact.
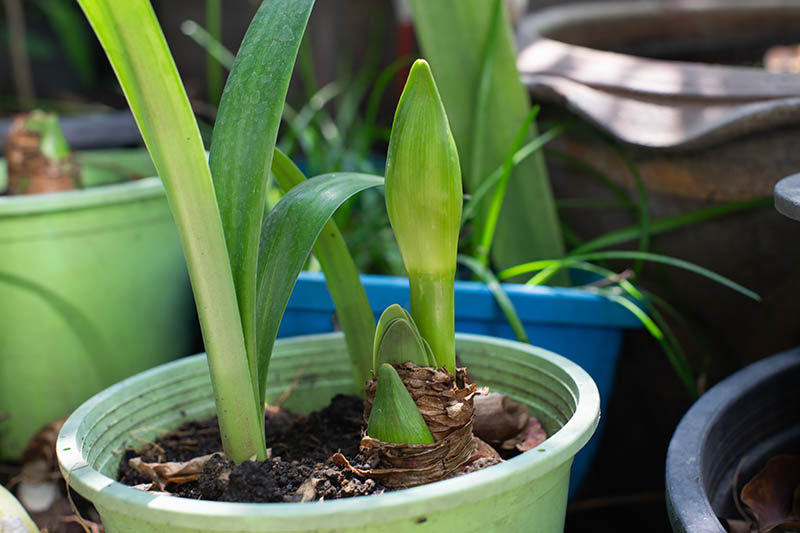
Leave any smaller offsets attached to the main bulb so they can continue to grow.
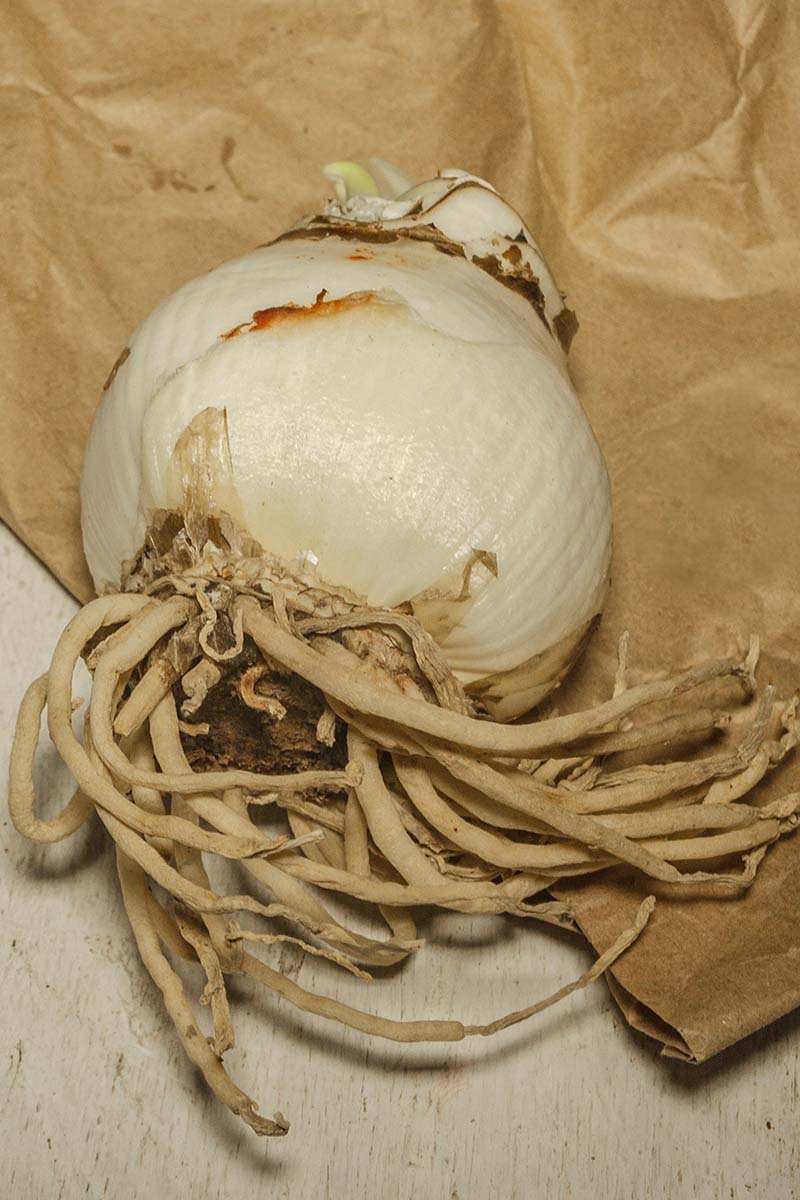
Replant offsets immediately in pots at least two inches larger than the diameter of the bulblets.
Repot in potting soil leaving the top third of the offset visible above the soil line. Use a well balanced potting mix containing plenty of organic matter and peat, mixing in a little sand or perlite to improve drainage.
Replant the “mother” bulb in the same place, or repot into a slightly larger container, if desired. There should be a maximum of two inches of space between the bulb and the side of the container, so don’t choose one that’s too large!
Place the pot with the offsets in a sunny window and keep it indoors until the bulb has grown to at least two or three inches in diameter.
Water regularly to keep the soil evenly moist but not waterlogged. You should see new growth starting within a few weeks.
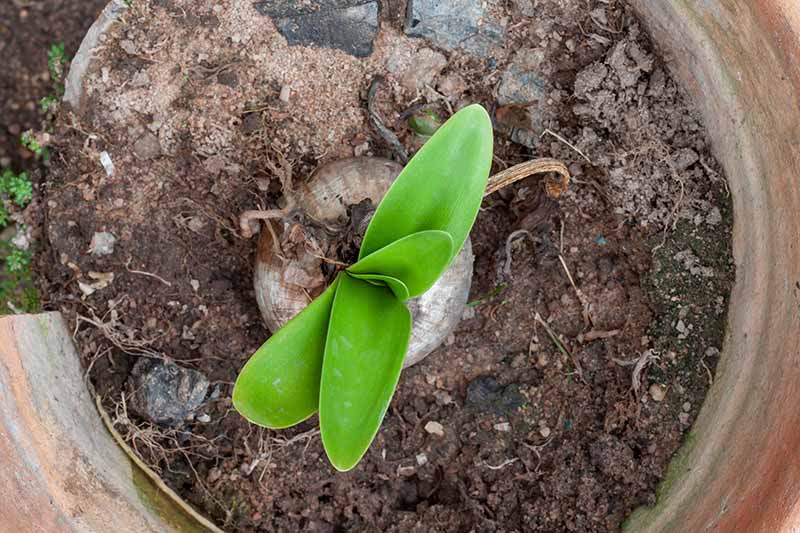
While some varieties will grow quickly and bloom the season after you have separated the offsets, others may take a couple of years to bloom.
If you are moving offsets outside, plant in a bed of well drained soil mixed with organic matter in a lightly shaded area.
Leave the top third exposed and keep the soil evenly moist until the plants have taken root and you see evidence of new growth.
Bulb Sectioning
This method involves making several vertical cuts through a mature bulb to create new plants. It’s also known as cuttage or twin scaling.
After it has finished flowering, dig up the established bulb and cut it vertically from the top to the base into four or more pieces, a bit like cutting a pie.
Make sure that each cut section has a portion of the stem tissue, or basal plate, attached at the bottom, and that each basal plate has at least two scales.
These “scales” should look similar to onion peels.
Dust the sections with a copper- or sulfur-based fungicide to prevent any fungal infections from taking hold on the new divisions.
You can plant each section in a four- to six-inch container filled with well draining potting soil, or a mixture of peat and sand or perlite. Be sure to plant it with the basal plate facing downwards.
Cover about two thirds of the way up with soil, leaving the top of the section exposed. Water well, and then maintain even moisture, but don’t let the soil become soggy or waterlogged.
In Zones 7 and colder, keep the pot indoors in a sunny windowsill through the winter.
Bulblets should begin to form between the scales in about a month or two, with leaves sprouting soon after, though you may still have to wait a couple of seasons for them to flower!
If you like, you can choose to transplant outdoors in the spring after all danger of frost has passed.
In Zones 9 and above, you can plant the divided sections in dappled sun or part shade in a well draining garden bed. Mulch during the winter to protect young plants from any potential freeze thaw cycles.
Fill Your Home with Flowers
Propagating amaryllis flowers is so simple! All it takes is one bulb and a little bit of patience, and you can easily transform a single flower into a massive bouquet.
You will soon be able fill your home with beautiful blooms, or even gift them to friends and family for the holidays!
Have you had success propagating amaryllis? Share your experience in the comments below!
And to learn more about amaryllis, check out these guides next:

Hi Heather, I’m sending you a picture. I got the bulb for Christmas. I could not use the pot that came with because there were so many “eyes” or rigid growths coming from the sides of the bulb. I plated it in the pot you see here , withe the coconut fiber on the botton and soil on the top. While it never bloomed, the leaves look very healthy. You’ll notice in the picture that 4 leaves are growing away from the bulb. Am I having babies? It seems from you article that we may be expecting. Any advice would… Read more »
Hi Fr. Amaro. To upload an image, please click on the paperclip icon, select your image, let it load for couple of seconds, and then hit “post comment.”
I have several bulbs that are over 40 years old. I also have them in a pot that has no drainage and when I water them I always include a tablespoon of Miracle Grow per gallon of water.
I move them in the spring to my deck outside and water with fertilizer and rest of the summer they get rainwater that often overflows in the pot and they continue to bloom. Sometimes 3 times a year.
I have removed small bulbs and repotted them and gifted them to others.
Wow! Over 40 years old, that’s remarkable!
Hi Heather, My mom had an amaryllis plant with many bulbs in one pot each, which would put out of stock and flour every year. It was very compacted. I never saw this process, but I believe that periodically she would separate the bulbs so she could give plants to friends. In 2020 I inherited this plant and it was healthy and living in my house. This weekend I decided to try to separate the bulbs and now I have about 40 bulbs with plants on each of them and I’m not sure what to do. Should I cut back… Read more »
Sorry for the typos. I used dictation and now I see that it’s a bit sloppy.
No worries, Niels, your question was quite clear.
Hello, Niels. It’s so nice to hear that you are carrying on your mother’s amaryllis legacy. It’s recommended to wait until fall to separate the bulbs, but since yours are already sprouting, I think they’ll be fine. Don’t cut back the leaves! Instead, plant the bulbs following the instructions for “Potting Loose Bulbs for Forcing Indoors” that appear in the “How to Grow” section of our main guide to growing amaryllis. You’ll note that a few paragraphs into that section, they give these watering instructions for folks like you whose bulbs have already sprouted ahead of replanting: If your bulb… Read more »
My Amaryllis bloomed and left what looks like a bulb. Could that be true?!
How exciting! That is a seed pod from the flower.
If there is a chance the seeds are fertile and you are interested in harvesting the seeds and using them to try to grow amaryllis from seed, our guide has step-by-step instructions.
Is this a built from flower
Yes! It is a seed pod produced by the flower. Thanks for sharing the cool photo.
I’m not sure about bulb sectioning and how to do it tomorrow inside so I love my flowers
I have an amaryllis that has a leaf about 15 inches long. I would like to propagate it by cutting it in fourths but do not want it to die. Please tell me what to do. It needs in bigger pot right now so I know I need to transplant it. Help!
This is the plant I just sent questions to you about
This article was a bit over my head. Basal plate? Scales? I don’t know what you’re talking about. The photos don’t help because they just show a bulb. A diagram showing these different parts would help.
Hey Paula, here’s a photo for you…
The basal plate is the flat bottom section where the roots grow from.
And the scales are modified leaf bases – the nubby bits growing around the edge of the basal plate, and usually covered with a papery tunic.
Hope that helps and thanks for reading!