
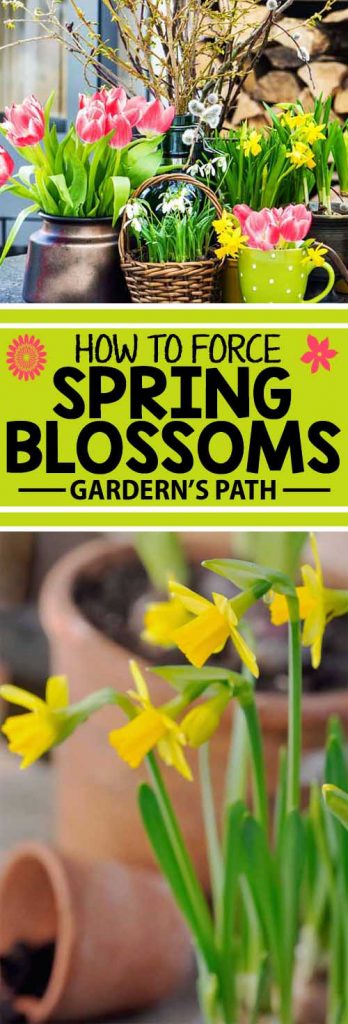

There’s no better way to brighten up a dreary winter day than with a basket of bright flowers or a vase of fragrant branches.
It’s especially gratifying when you cultivate them yourself in the dead of winter, with a process called “forcing.”
Forcing practices mimic the cold of winter, the warmth of spring, and the rain that falls, coaxing flowers to open earlier than usual.
Coaxing indoor blooming is a favorite pastime of gardeners who find it difficult to wait for the ground to thaw and outdoor gardening to resume.
I’m one of them.

We link to vendors to help you find relevant products. If you buy from one of our links, we may earn a commission.
My least favorite time of year is late winter, when the holidays are over, the skies are gray, and the wind is fierce.
That’s when I look longingly out the window to my dormant garden, and count the days ‘til spring. And that’s when I think about my dad.
He introduced me to forcing blooms as we walked through the yard on a pleasant winter day, snipping forsythia and willow branches to create an indoor display.
Do you have forsythia, pussy willows, fruit trees, or flowering shrubs in your yard?
Would you like to infuse your winter-weary home with the delightful colors and fragrances of your favorite spring bulbs?
Read on for all you need to know to defy spring and feed your gardener’s soul.
Here’s our lineup:
What You’ll Learn
It’s time for a little garden magic.
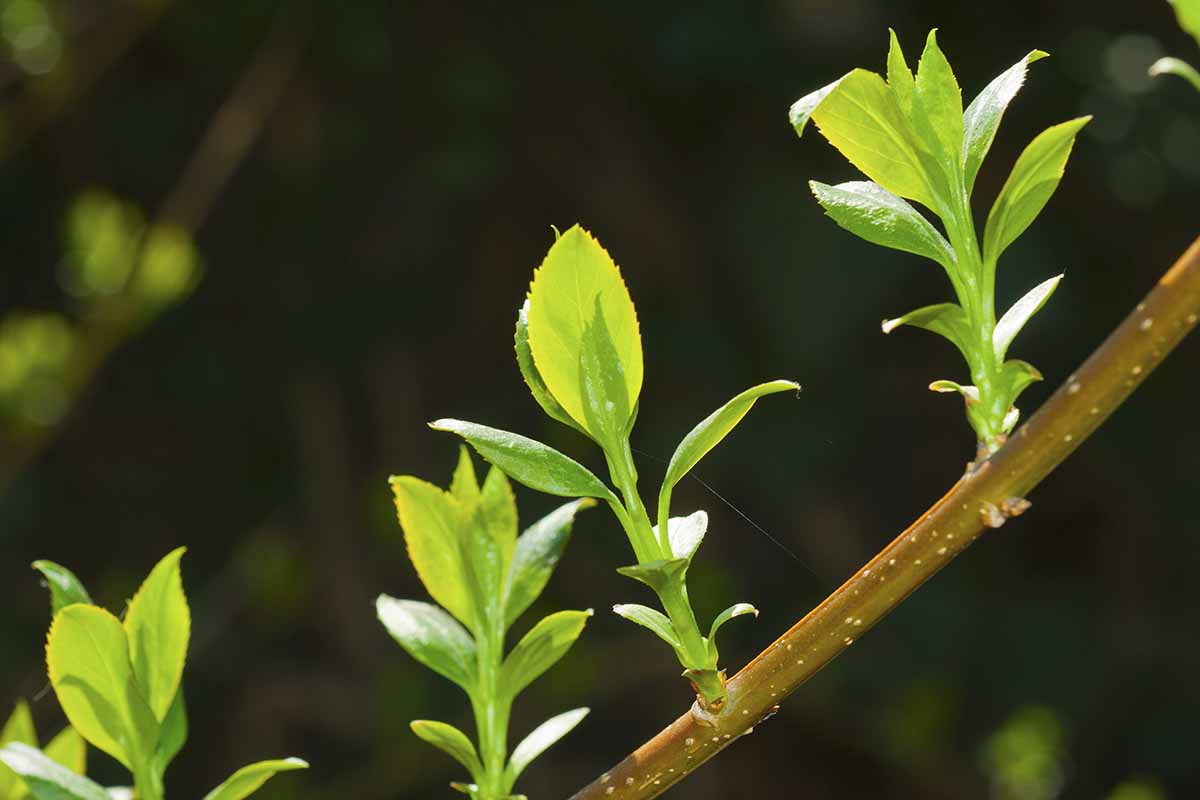
Forcing Budding Branches
Go outside on a nice winter day, when the sun is shining and the temperature’s above freezing.

Look closely at your shrubbery, and notice the nodules on the branches.
These are next season’s flower and leaf buds, and they’re dormant until they burst open in the spring.
You’ll Need:
- Bucket
- Citrus soda or antiseptic mouthwash
- Pruning shears
- Vase of your choice
- Water
How To:
1. Fill the bucket with four inches of warm water. Add two tablespoons of citrus soda or antiseptic mouthwash to nourish the branches and inhibit bacterial growth.
2. Select a vase or container half the height of the branches and wide enough to accommodate eight to ten without crowding.
3. Use your pruning shears to cut as many budded branches as you like. Cut at random to maintain the overall shape of shrubs and trees.
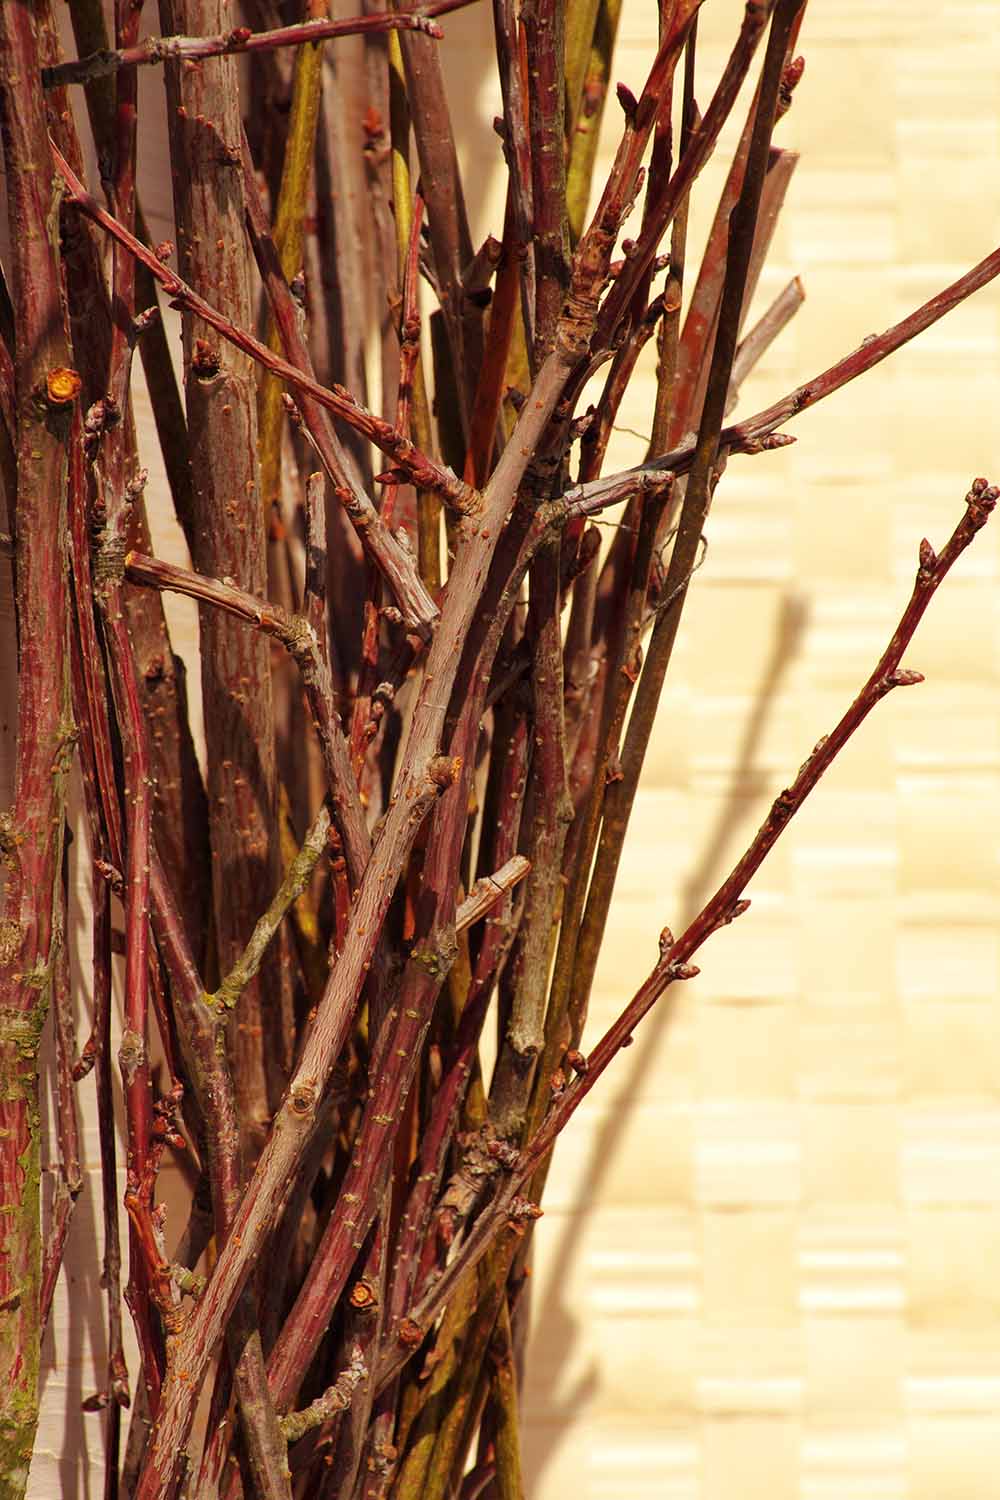
4. Under warm running water, cut each stem at a 45° angle. Then, cut upward into each stem approximately two inches to split the base and facilitate water uptake.
5. Place the branches into the bucket of prepared water.
6. Place the bucket in the coolest room in your home, away from direct sunlight, to give the branches a chance to acclimate to the indoors. Allow them to rest for a day.
7. Arrange them as desired in a vase of fresh water with one-half teaspoon of citrus soda or mouthwash added. Blossoms may appear as early as 10 days after gathering.
8. Snip the ends of the branches and change the water/soda mixture daily.

Forced branch material may grow roots and be suitable for planting outdoors. We’ll talk about that shortly.
If you think you’d like to let your branches grow roots, don’t snip them again, but continue to change the water/soda daily.
Learn more about forcing branches here.
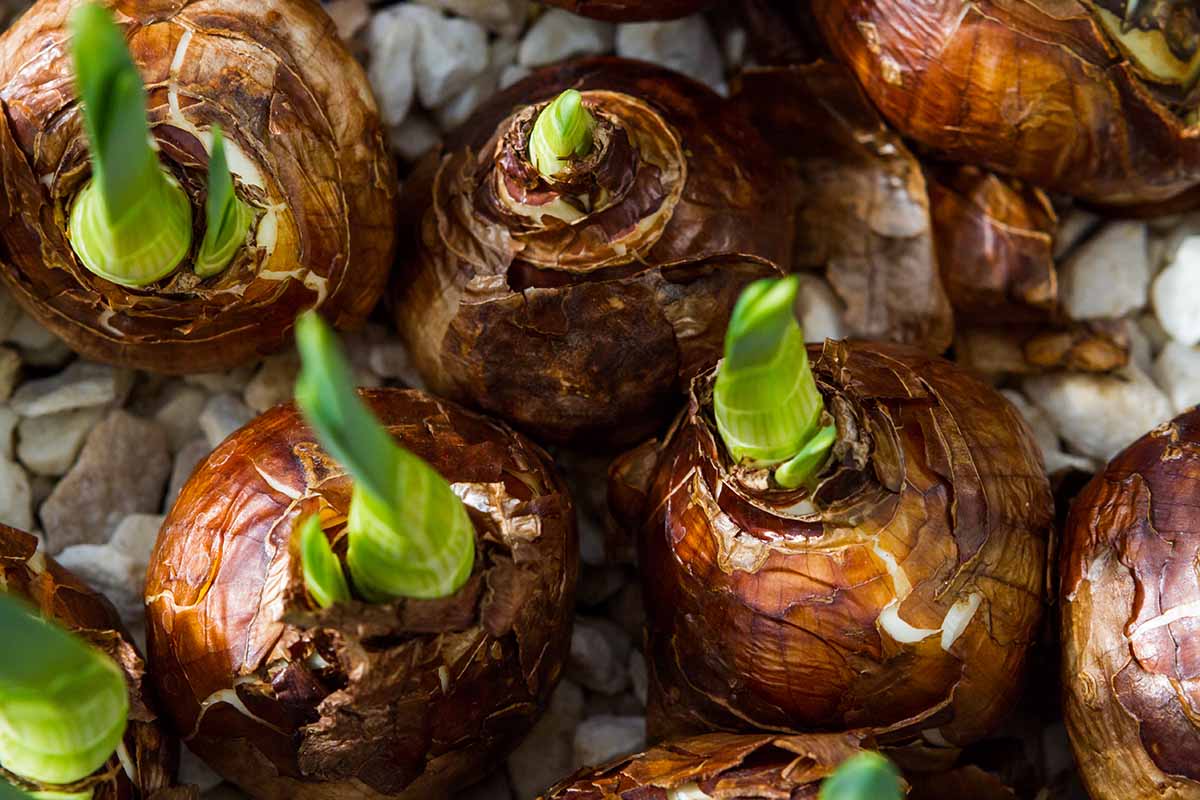
Awakening Hardy Bulbs
Another way to create the illusion of spring indoors is with flowering bulbs.
Hardy bulbs are available in nurseries and garden centers starting at the end of summer.

When shopping, choose those that are firm and weighty, with crisp, papery skins. If they feel spongy, brittle, or lightweight, keep looking.
It’s best to store your purchases in an unheated, dry location with good air circulation.
I keep mine outside in the shed, in a single layer in a rubber bin with a piece of metal screening for a cover.
The cover deters mice. Rodents love to snack on bulbs during the lean months of winter – except for daffodils. You may have to weigh the cover down with bricks to keep it in place.
Three of my favorite flowers to force are daffodils, hyacinths, and tulips.
Daffodils
Typically yellow, trumpet-shaped daffodils are hardy in Zones 3 to 9, where they prefer full sun and well-draining, sandy loam. They readily naturalize and are seldom disturbed by rodents.
‘February Gold’ is a miniature, frost-resistant cultivar that comes up right through the snow at a height of eight to 12 inches.

After 15 weeks of chilling, you can expect flowers in about four weeks.
‘February Gold’ daffodils are available from Burpee.
After enjoying them indoors, you can sow daffodils outdoors, where they will rebloom and readily naturalize.
Read about growing daffodils here.
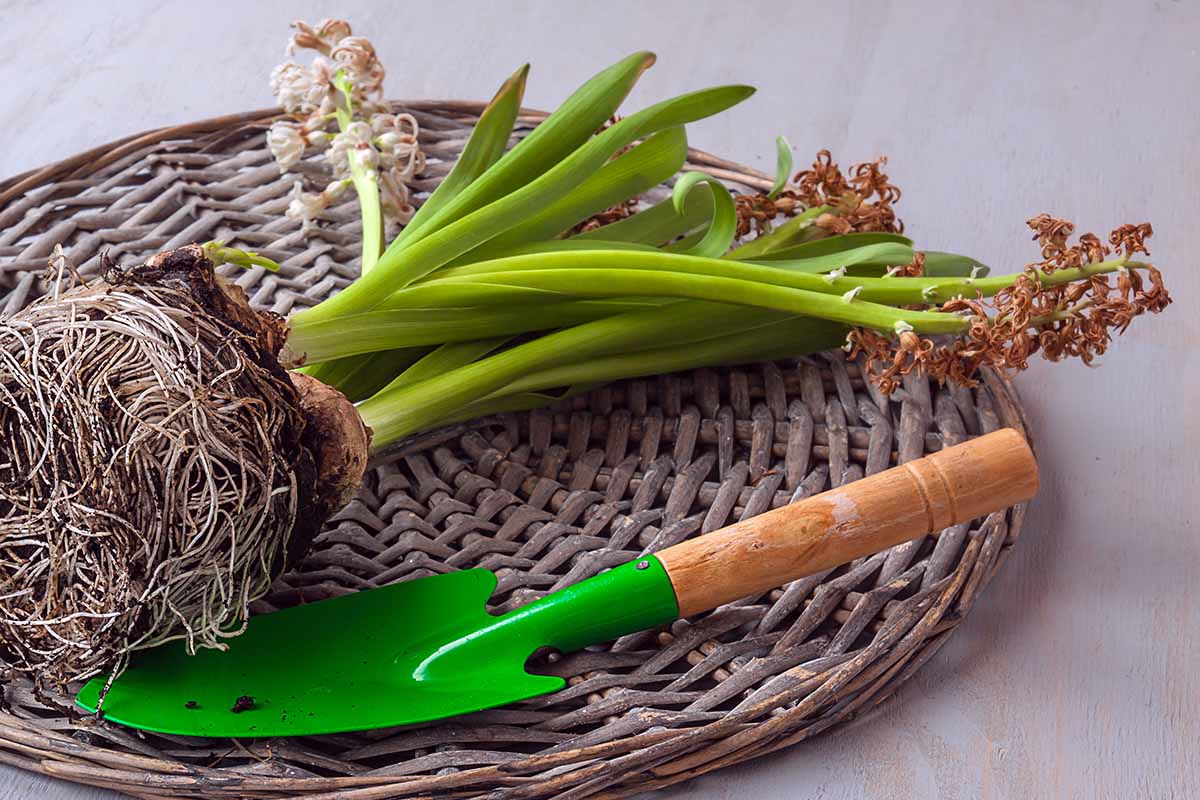
Hyacinths
Hyacinths are intensely-scented spike flowers with multiple blossoms. They come in equally vibrant colors, including hot pink and deep purple.
They are hardy in Zones 4 to 8 where they grow in full to partial sun with loamy, well-draining soil.
Hyacinths transplanted to the garden after forcing may not display robust blooms until the second year.

The ‘Blue Pearl’ cultivar requires a chilling period of 14 weeks and then blooms in about two weeks. You’ll love the sweet fragrance and dense clusters of violet-blue blossoms.
‘Blue Pearl’ hyacinths are available from Burpee.
You can read about growing hyacinths here.
Tulips
Tulips are available in a broad palette of colors and there are many scented varieties.
If you plan to sow them post-bloom, choose strong rebloomers, such as Darwin Hybrids.
They are suited to Zones 3 to 7 and grow in full sun with average, well-draining soil.
‘Red Impression’ is a lush scarlet Darwin Hybrid cultivar that reblooms vigorously.

Chill it for 16 weeks and expect flowers about four weeks later.
Red Impression is available from Eden Brothers.
Did you ever notice that perfectly arranged tulips don’t stay perfect for long?
They go every which way when no one is looking because tulips are very active flowers – even after cutting, the stems continue to grow.
Additionally, they reach for the sun, a phenomenon known as “phototropism” that causes bending unless growers rotate the container daily.
And if that isn’t entertaining enough, tulips open in the morning light and close again when darkness falls, like the perfect ending to a perfect day.
Read more about growing tulips here.
To Force Hardy Bulbs:
It is essential to mimic the winter cold with a chilling period.

Alternatively, buy pre-chilled varieties and skip this step. However, please note that when forced indoors, they are unlikely to bloom again.
You’ll Need:
- Shards of pottery or small stones
- Small trowel
- Water
How To:
1. In early October, line the bottom of each container with pottery shards or stones.
2. Fill the containers with a mixture of mostly potting soil, a handful of peat moss, and about a teaspoon of granular bulb food.

3. Put one type of flower in each pot so watering suits all of them.
Set daffodils halfway down into the soil, pointed side up. Bury hyacinths and tulips deeper, with only the tips showing.
You’ll fit approximately three hyacinths, five daffodils, seven mini-daffodils, or five tulips in a six-inch diameter, standard depth pot, not touching, to allow for expansion.

4. Dampen the soil, but don’t make it soggy.
5. Cover the pots with screening.
6. Place the container(s) in a cool, dark location, such as an unheated garage. The temperature should be 40°F to 45°F.
Chill daffodils and hyacinths for 12 to 15 weeks and tulips for 15 to 17 weeks.
7. Lift the screening to check the pots every seven to 10 days. Moisten the soil sparingly to keep it from completely drying out.
8. After the appropriate chilling period, bring the pots indoors to a sunny windowsill.
9. Once you see sprouts, water until it runs through the drainage holes.
10. When blooming begins, place the containers in bright, indirect sunlight, farther from direct light.
11. Rotate the containers frequently to prevent foliage from leaning toward the sunlight. Stake lanky stems if necessary, using twine and carefully inserted wooden chopsticks.
12. Water when the top two inches of soil are dry.
Coaxing Tender Bulbs
Tender varieties, including amaryllis and paperwhites, don’t withstand freezing.
They need to be planted outdoors in the spring and then lifted and stored for the winter in regions that experience freezing.
They are excellent options for forcing as they don’t require pre-chilling.
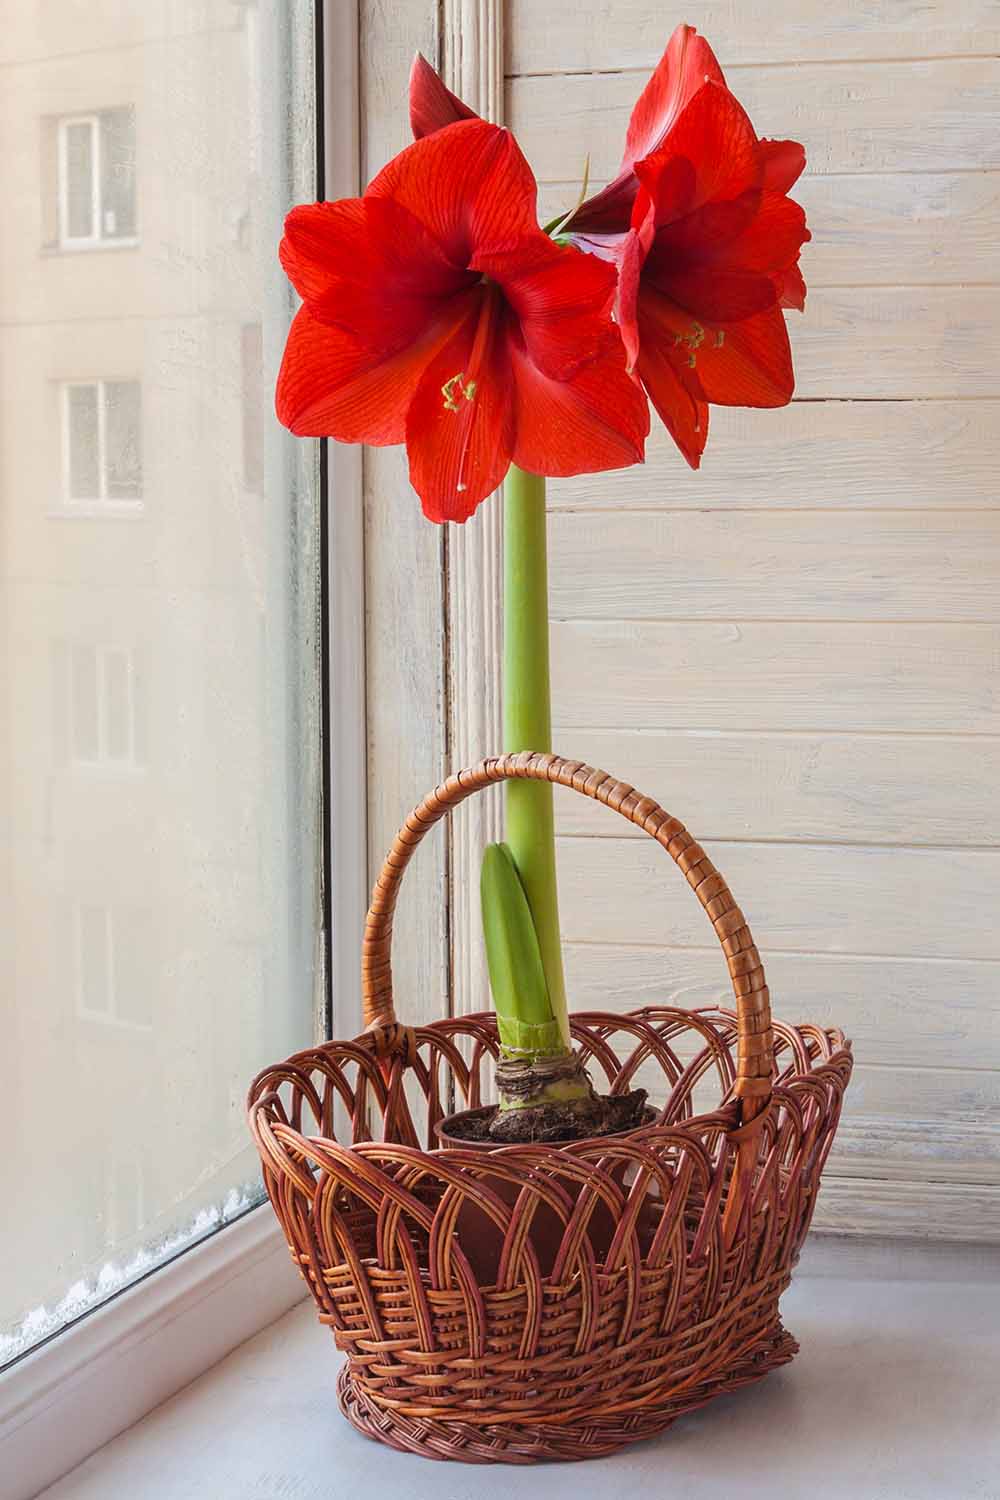
Amaryllis
Hippeastrum, commonly known as amaryllis, grows outdoors in Zones 9 to 11 in rich, well-draining soil. It can also thrive indoors year-round in a pot of soil.
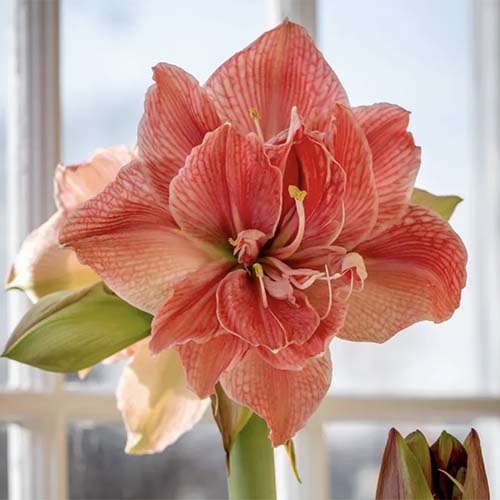
‘Sweet Nymph’ boasts four to five semi-double petal blossoms in refreshing, richly veined watermelon pink.
You’ll find ‘Sweet Nymph’ amaryllis available from Burpee.
A potted amaryllis needs only light watering until it begins to grow. Keep the soil moist, but not soggy.
During blooming, deeper watering helps to maintain even moisture. Stake with twine and chopsticks as needed to prevent leaning.
As the blossoms fade, remove entire stalks by cutting them down to about an inch tall.
When blooming ceases, care for your amaryllis as you would a houseplant, feeding, watering, and pruning as needed.
Read more about forcing amaryllis flowers here, including soilless options.
Paperwhites
Paperwhite narcissi, aka paperwhites, are a fragrant type of daffodil with multiple blossoms per stem.

They grow outdoors in frost-free regions of Zones 8 to 11, preferring full sun and well-draining, sandy loam.
Paperwhites are available from Burpee.
Because they require neither chilling nor soil, paperwhites are some of the easiest tender bulbs to force.
You’ll Need:
- A shallow eight- to 10-inch container about four inches deep
- Decorative stones
Here’s How:
1. Fill the container with sand, decorative pebbles, or marbles, the only potting medium you’ll need.
2. Place seven to nine bulbs, pointed side up, not touching, on top of the potting medium.
3. Fill the container with water until it barely touches the bottom of the bulbs. The water will need to be just high enough to keep the roots wet.
4. Place the container in a room that stays about 55 to 60°F.
5. Change the water weekly to keep it clear, fresh, and odor-free.
6. When you see roots below and sprouts above, move the vessel to a sunny location until blossoms appear. Once in bloom, move it into bright, indirect sunlight.
7. Maintain the water level to keep the roots wet.
7. Rotate the container to prevent leaning, and stake as needed.
How to Change the Water:
- Lift the bulbs out and lay them on paper towels. Take care to avoid breaking the roots and foliage.
- Use a strainer to pour the old water through and collect the gravel.
- Rinse the gravel and the vessel.
- Replace the gravel.
- Rinse the roots (if there are any).
- Put the bulbs back on top of the gravel.
- Add water high enough to barely touch the bottom of the bulbs.
Paperwhites are not likely to bloom again after forcing indoors.
Planting Rooted Branches
Provided you change the water daily, forced forsythia and pussy willow branches are likely to develop roots and leaves after blooming.
Move the stems into a larger container if necessary to accommodate them while the roots grow to a length of about four inches. Continue to change the water daily.
When the roots are at least four inches long, and the last average frost date for spring passes, it’s time to transplant the stems into the landscape.
You’ll Need:
- Gardening gloves
- Rooting hormone
- Water
- Weeding tool
Here’s How:
1. Use a weeding tool, like you would use for dandelions, to make a hole in the ground about three inches wide and six to eight inches deep.
2. Select a branch from your arrangement that has fine, white roots at the end.
Gently shake off excess water, and carefully dip the rooted end into powdered rooting hormone.
3. Push the stem into the hole deep enough to cover all of the roots and three to four inches of the stem.
4. Secure the branch in an upright position by patting the soil closely around it.
5. Water lightly and pat the soil down again.
6. During the first growing season, water weekly if it doesn’t rain. New growth signifies success.
You can read more about propagating forsythia here.
Sowing Hardy Bulbs
Because “hardy” means they can withstand winter’s worst, there’s no need to wait for the danger of frost to pass before planting.
You can do so as soon as the ground thaws, and you can work the earth to a crumbly consistency.
A rebloom outdoors the next year is hit or miss after forcing, but there’s nothing to lose by trying. Keep a gardening journal to document your results.
You’ll Need:
- Chicken wire
- Floral scissors/shears
- Garden gloves
- Garden marker and pen
- Granular bulb food or bone meal
- Ruler
- Trowel
Here’s How:
1. Discontinue watering when the flowers wither.
2. Cut spent flower stems near their base. Allow the leaves to remain in place to feed the bulbs until they turn brown and wither.
3. Lift the bulbs from the soil. Gently brush away remaining soil and withered foliage without damaging the paper tunics.
4. Lay them in a single layer on newspaper in a cool, dry location away from direct sunlight and rodents. Allow them to dry for a week.
5. Optional – wear a protective mask and dust the bulbs with a fungicidal powder.
6. Wrap them loosely in newspaper and store them in mesh bags or cardboard boxes away from rodents.
7. About six weeks before the first average frost date for your region, choose a sunny location where you would like to see spring flowers next year.
8. Use a trowel to dig a patch of soil to a depth of six to eight inches, and sprinkle in some granular bulb food or bone meal.
9. Allow four to six inches between tulips, hyacinths, and daffodils, and two to three inches between scilla, grape hyacinths, and crocuses. Calculate the depth as two to three times the bulb height.
10. Plant in a cluster for dense color, or individually for a random display.
11. Use your trowel to gently cover the bulbs with soil until the hole is halfway full.
12. Lay a piece of chicken wire over the soil to protect them from rodents.
13. Fill the hole the rest of the way, and pat the soil down firmly.
14. Place a marker near the bulbs that identifies their type and location.
Withhold watering until the following spring when the first green shoots appear.
Once sprouted, water weekly in the absence of rain and discontinue after blooming is finished.
Enjoy the Magic
I think you’ll enjoy forcing branches and bulbs indoors, especially when the skies are gray and the ground lies frozen beneath a heavy snowfall.
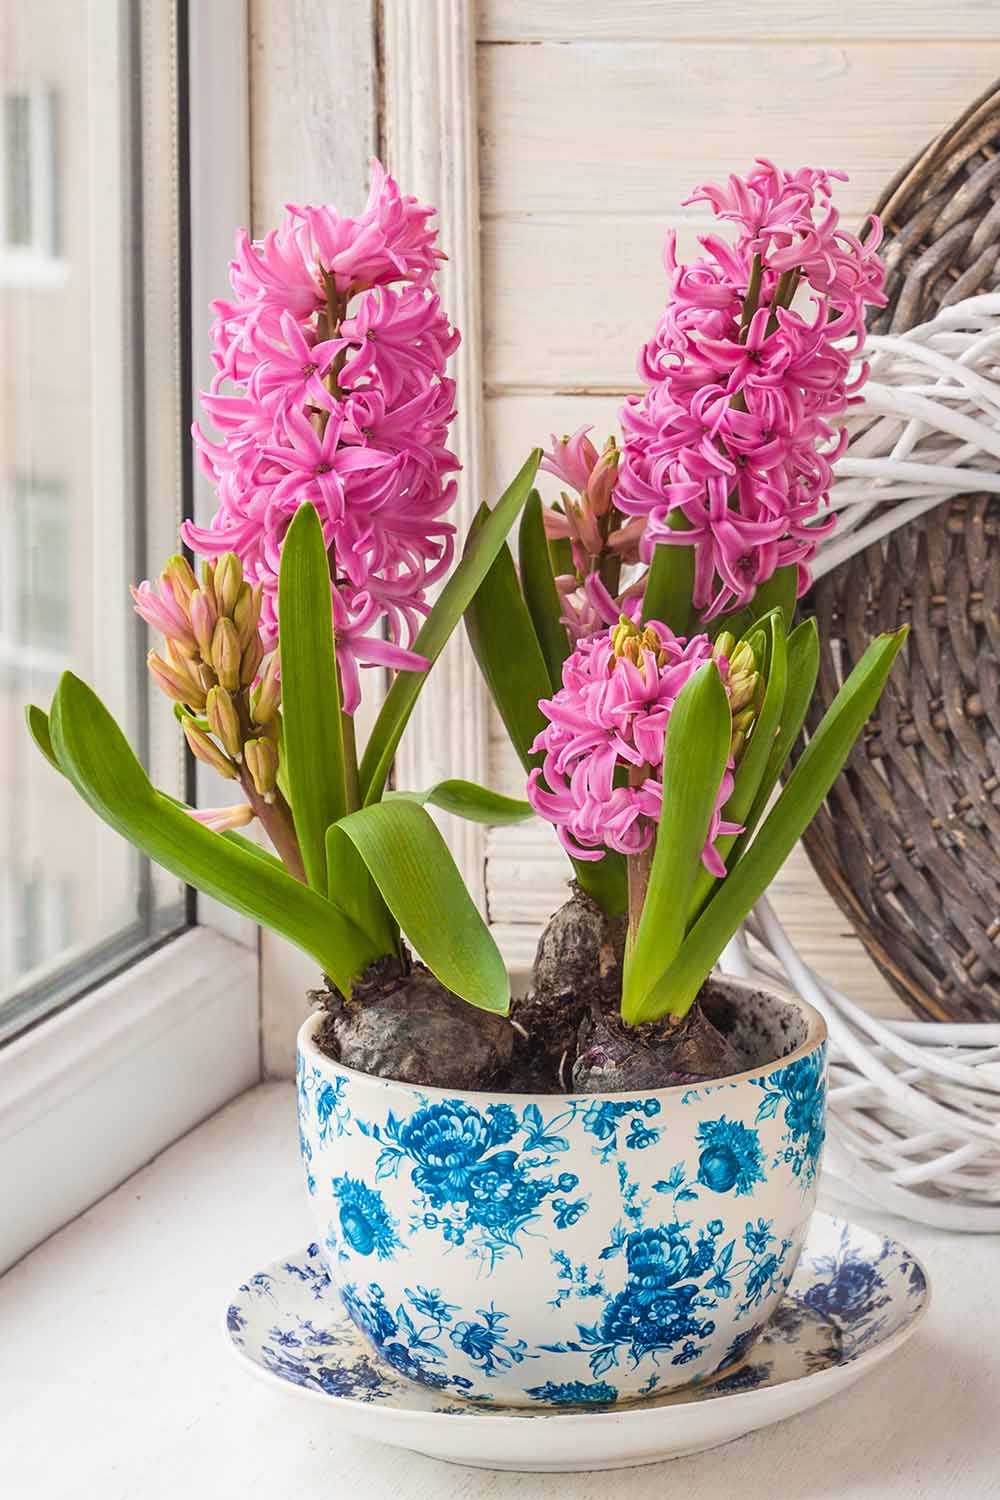
There’s something magical about waking up to the heady scent of hyacinths on a cold winter morning.
Other bulbs you may enjoy forcing indoors are the crocus, grape hyacinth, iris, scilla, and snowdrop.
You can also plant an onion or a head of garlic for pretty blooms and tasty additions to your favorite dishes.
Finally, consult our spring gardening checklist for a headstart on the upcoming growing season.
How do you keep your green thumb honed during the cold winter months? Please share your tips in the comments section below.
For more flowering bulb know-how, check out these guides next:
This was very helpful. I am planning a workshop. This article had lots of great info.