As the growing season winds down, it’s time to start planning your care and maintenance routine for fall, including how to prepare bulbs for winter.
Flowering bulbs add gorgeous blooms and fantastic foliage in a myriad of colors, shapes, and sizes throughout the garden, lending their charm, fragrance, and beautiful blossoms to the landscape throughout three glorious seasons, depending on the variety – and even a fourth season of indoor growth if you like!
We link to vendors to help you find relevant products. If you buy from one of our links, we may earn a commission.
There are the spring-flowering alliums, crocuses, daffodils, and muscari – and don’t forget the summer-blooming begonias, callas, dahlias, and lilies!
There are also fall-flowering autumn crocuses and spider lilies, plus the ones perfect for forcing indoor winter blooms such as amaryllis, hyacinths, and paperwhites.
With such a wide range of plants from different families, genera, and species, determining what’s needed for winter care might seem a bit complex or daunting – but it’s actually quite simple.
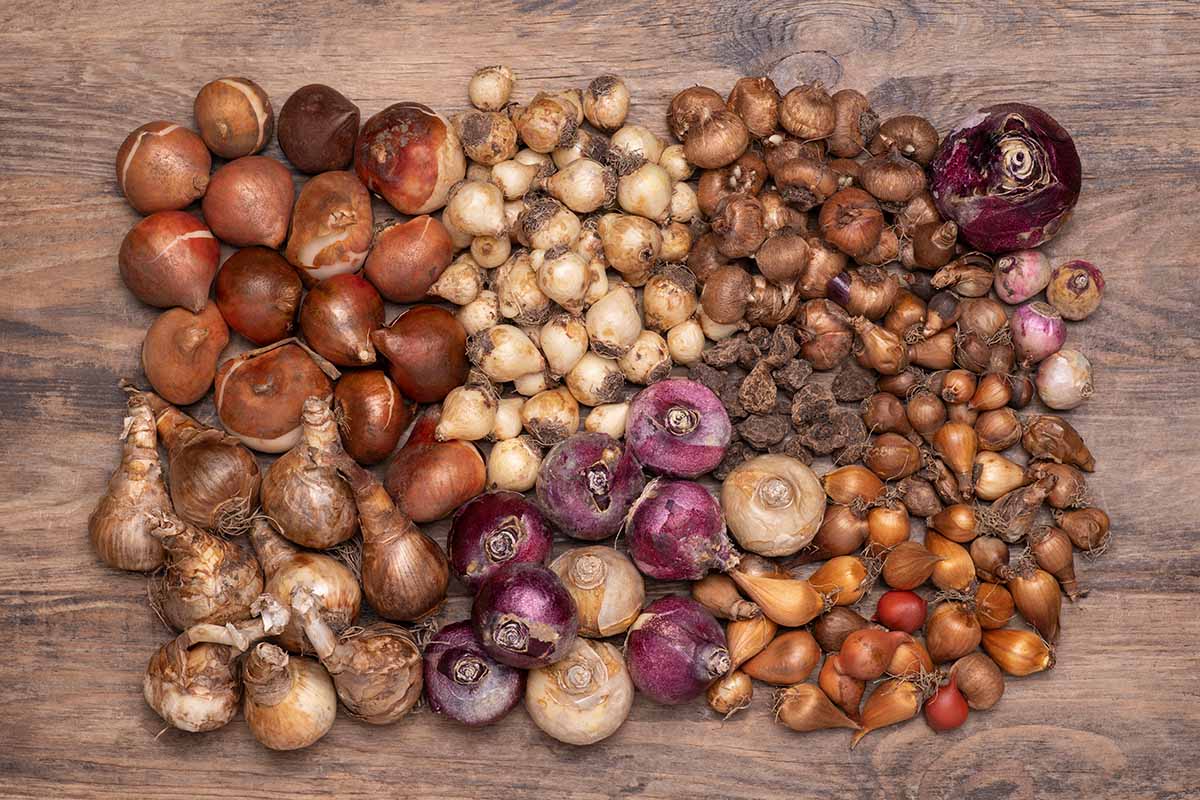
That’s because all bulbs, and similar underground structures such as tubers or rhizomes, produce plants that can be classified as either hardy or tender.
And an easy way to determine their hardiness or tenderness is by considering their flowering time.
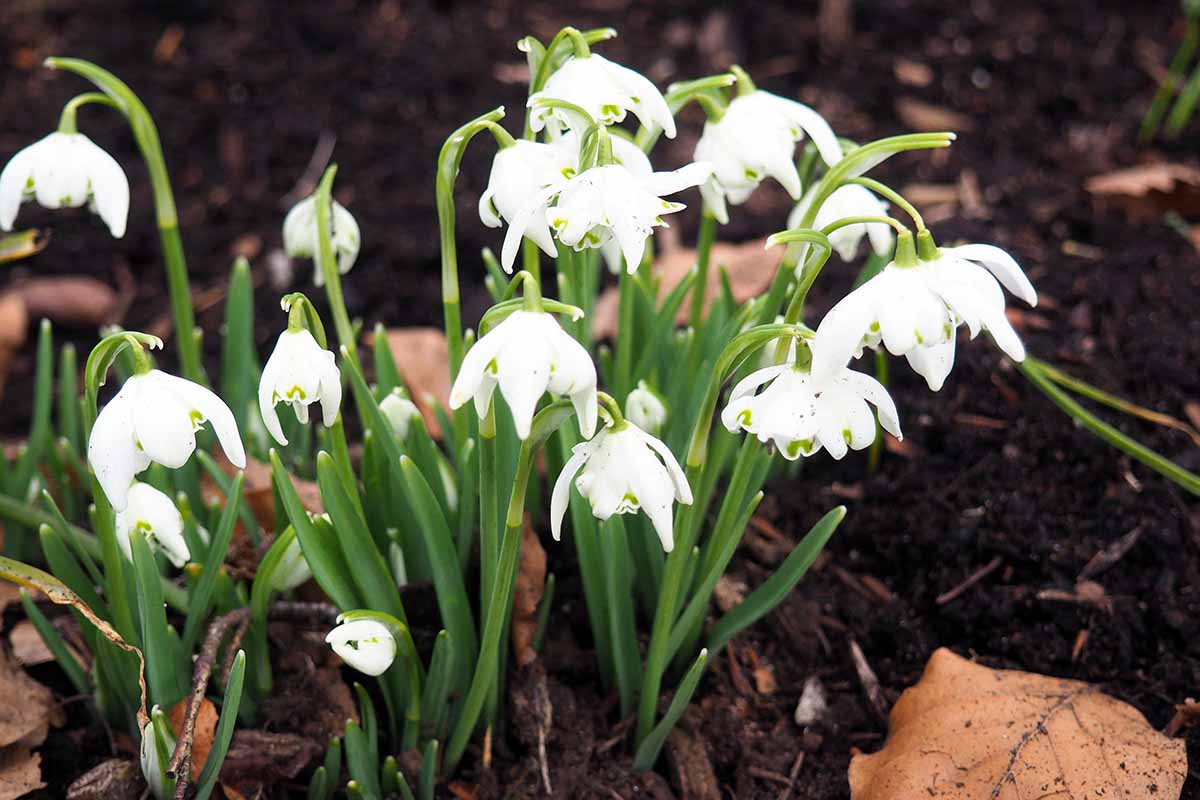
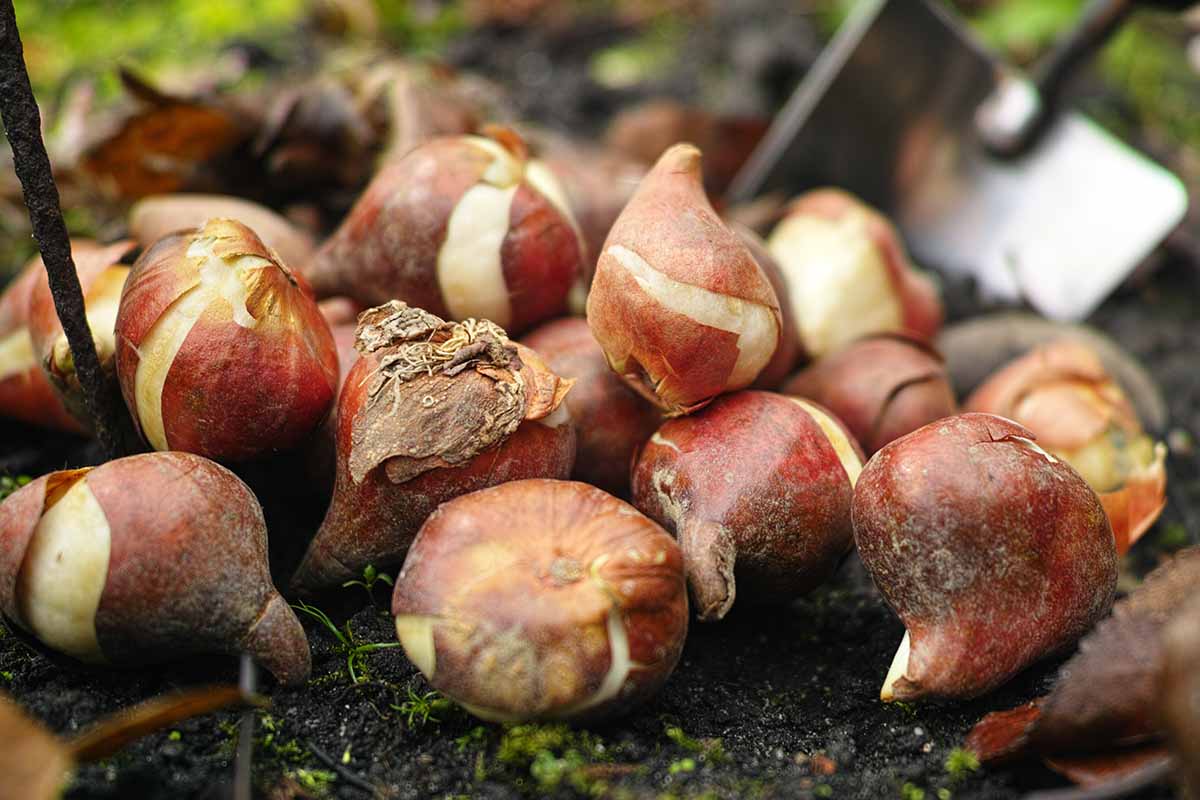
Hardy ones – such as hyacinths, tulips, and snowdrops – flower in spring and typically benefit from overwintering in the cold soil.
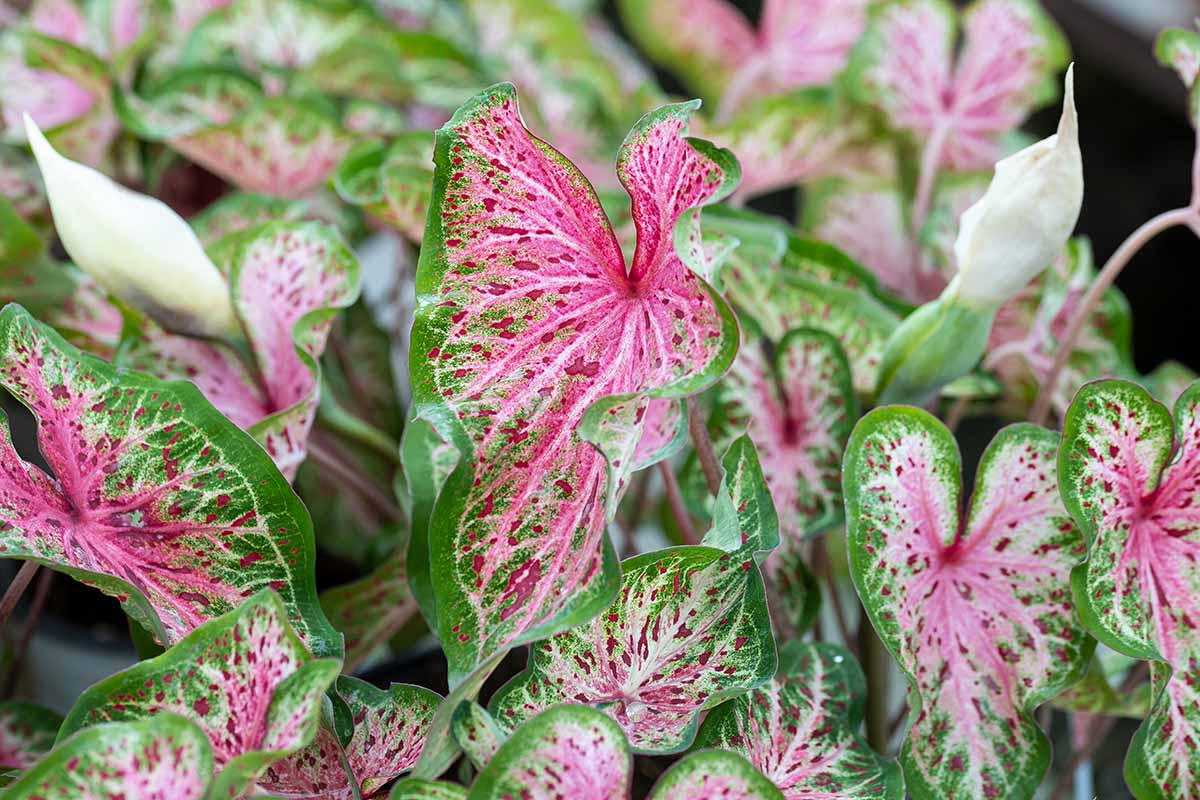
Tender varieties – such as cannas, dahlias, elephant ears, and gladiolus – are summer-flowering, and for the most part, won’t survive freezing temperatures or hard frosts when left in the ground.
These tender types need to be lifted for storage in a frost-free area when planted in gardens that experience extreme cold in the winter.
Lilies are a summer-flowering exception, with many types that are hardy down to USDA Zones 3 and 4.
For convenience, in this article the term “bulbs” may be used as a catchall to refer to all of the various underground rootstock systems found in these plants, including corms, rhizomes, and tubers.
If you appreciate showy plants that return to put on new growth and bloom again for years, join us now for a look at the steps involved to prepare bulbs for winter.
Here’s what’s ahead:
What You’ll Learn
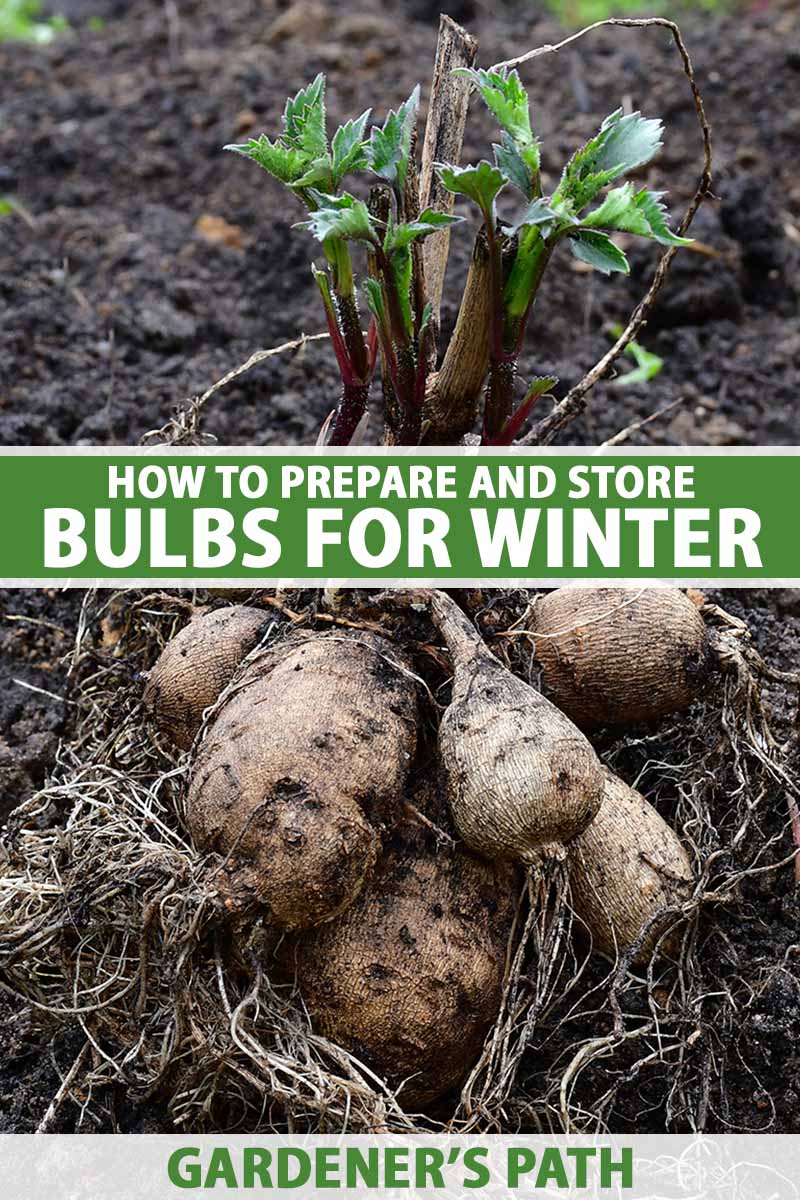
What Are Bulbs?
A bulb is an underground storage organ that remains dormant through the winter, holding the developing foliage and buds that will bloom in the next growing season – and these are truly remarkable.
These self-sufficient, tidy packets contain everything needed for future growth and reproduction, including the development of roots, stems, flowers, and seeds!
Most plants that produce them are perennials by definition, with a period of growth, flowering, and seed-setting followed by a dormant period. They survive dormancy by storing water and nutrients in these modified and enlarged fleshy underground sections of their stems or roots, which have a rounded or elongated shape.
And because they contain a great deal of water, tender varieties freeze quickly when left in the ground, resulting in rot and a quick demise.
To protect your rootstock from frosty or freezing temperatures, these tender varieties need to be lifted and stored in a frost-free area for winter’s duration.
In-Ground Overwintering
Hardy varieties of flowering bulbs, those that can survive cold winter soil and chilly temperatures, require little winter care and can be left in the ground during the cold months.
After foliage wilts, trim away and clean any debris from the soil surface.
If the region where you are gardening is subject to regular freeze-thaw cycles, adding a thick, six-inch layer of bark mulch, leaf mold, pine boughs, sawdust, or straw is recommended for protection.
Those grown in containers are more susceptible to freeze-thaw cycles and benefit from a protected site and a six-inch layer of mulch through the coldest part of the year as well.
Remove the mulch as soon as shoots break the soil in early spring.
Many gardeners do lift hardy varieties in fall if plants have become overcrowded and need rejuvenation – and if they don’t have time to replant immediately. Lift and store hardy types as you would tender ones, then divide and replant in spring.
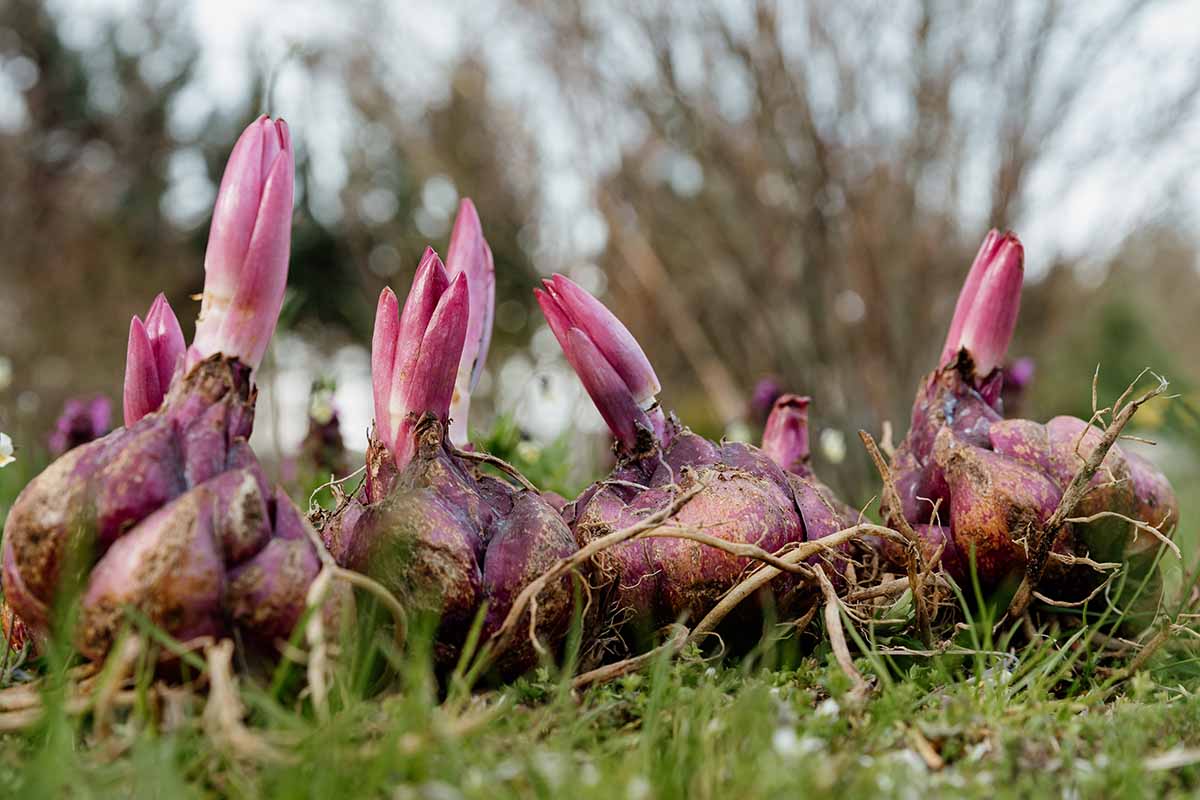
Lift, Clean, and Dry
Dig up tender varieties after the foliage has wilted and died back, but before the first frost.
Dahlias are an exception. These semi-tender plants can remain in the ground until after the first frost, to produce the biggest and healthiest tubers.
Trim any remaining foliage and stems to four to six inches in length.
Fully insert a garden fork or spade all around the roots, spaced four to six inches out from the stem, then gently pry up the root ball.
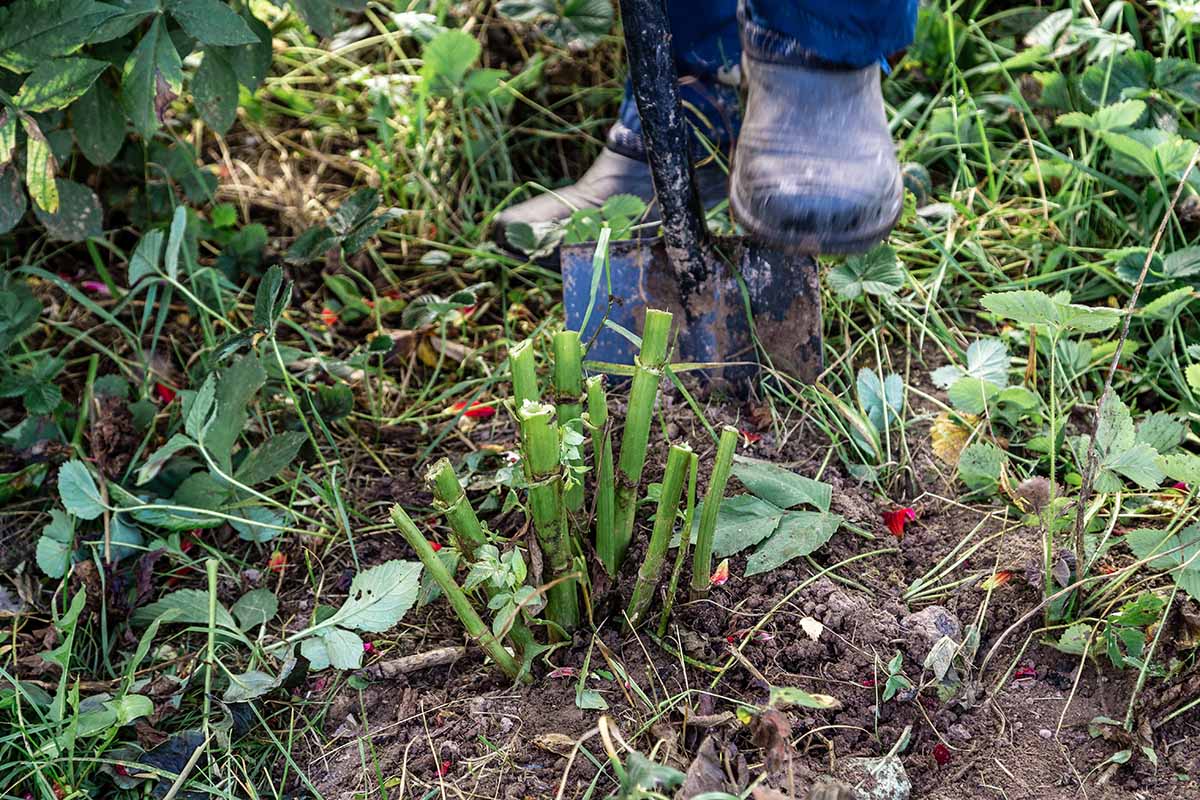
With your fingers or a soft-bristled brush, loosen, shake, or brush away any clumps of soil clinging to the roots.
Remove any damaged, soft, or mushy parts and discard them. If needed, use a clean, sharp knife to release damaged fleshy parts.
It’s tempting, but don’t wash your rootstock – adding extra moisture before storage can lead to problems like rot.
And it’s best not to break apart or divide large clumps at this time either – unless you’re replanting immediately. Cuts should be hardened before storage to protect against bacterial and fungal infections.
Allow the roots to air dry for one to two weeks by spreading them out on cardboard or newspaper in a single layer. Most will dry within a week, but irises can take up to two weeks, and gladiolus and callas may take up to three weeks.
For drying, choose a warm, dry location out of direct sun with good air circulation.
After one week, test for dryness by trimming a stem by one inch. If the cut end is still moist or green, give the bulbs another week of drying.
When thoroughly dry, brush off any remaining dirt before packing for storage.
Dust the bulbs with a fungicide or garden sulfur, paying particular attention to any areas with fresh breaks or cuts.

I like Bonide Sulfur Plant Fungicide, which is available at Arbico Organics.
Pack and Store
As mentioned, these underground storage organs contain a lot of water. And the goal of storing them is to prevent freezing and rot while retaining enough moisture to stay plump and healthy.
To that end, all rootstock needs to be stored in a breathable medium to allow air circulation – avoid plastic bins unless they’re perforated or slotted.
Instead, use ventilated cardboard boxes, mesh bags, paper bags, wicker or seagrass baskets, or wooden bins – really, anything that permits free air movement is fine.
Be sure to label what you’ve packed away, so you’ll know which is which if you’ve lifted various species or cultivars for the winter.
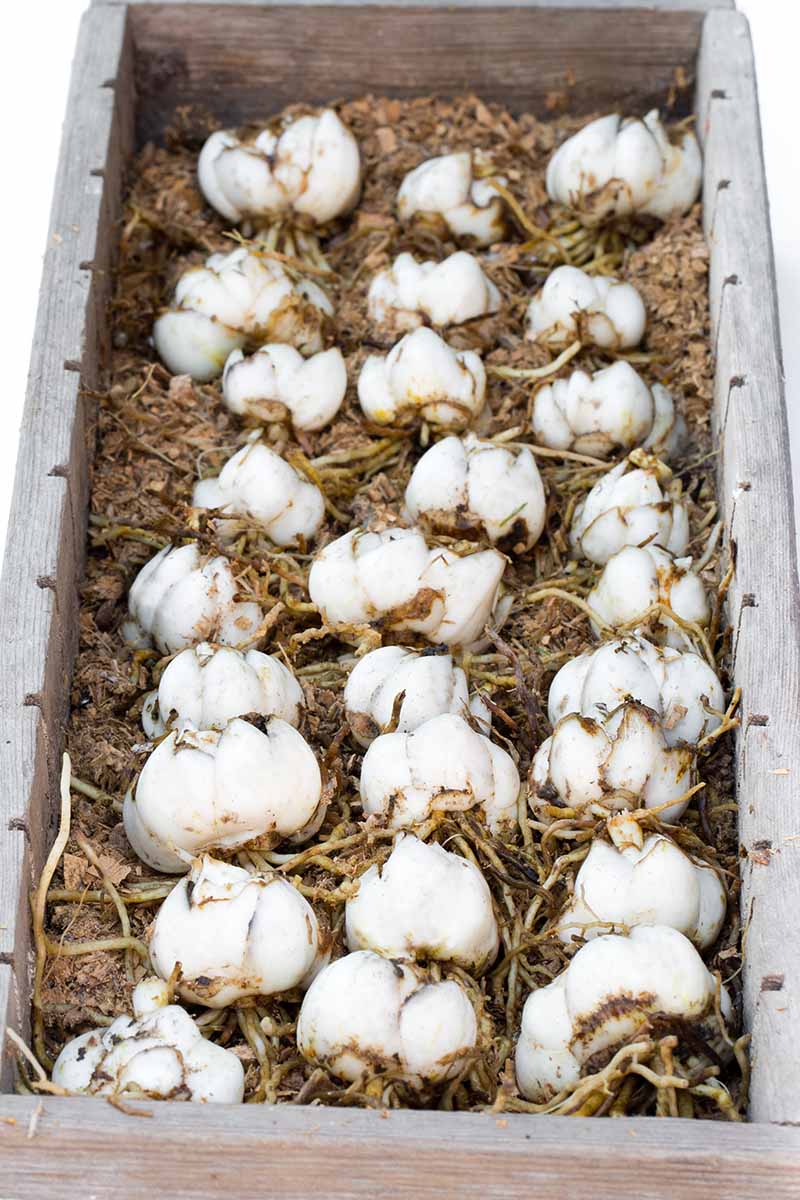
To each container, add a thin layer of an airy material such as shredded newspaper, peat moss, perlite, vermiculite, or sawdust.
Add rootstock in a single layer so they’re not touching. Cover with your chosen packing medium to a depth of about two to three inches.
For imbricate bulbs (those without a papery tunic), barely sprinkle the packing medium with a few drops of water – use your fingertips to flick on just enough to add a hint of moisture but not enough to make the medium moist. This helps to prevent the flesh from drying out.
Add another layer of bulbs and packing medium if desired, depending on the dimensions of your container.
Don’t add a lid to your container, which can trap moisture and cause mold or rot.
Move packed containers into their winter home.
Storage Conditions and Location
To keep the dormant bulbs healthy over winter, choose a location that’s cool, dark, and dry. Most tender bulbs require an average temperature of about 40°F during the dormant period.
But a few, like tuberoses and Peruvian daffodils, prefer temperatures in the low 60s for storage.
A basement, cellar, closet, garage, or shed will typically make good locations, provided they’re not sealed tight and air can circulate freely.
If you’re storing hardy, spring-flowering varieties, you may need to make room in the refrigerator to ensure they receive at least eight weeks of cold vernalization in order to bloom, depending on the type.
Monthly Spot-Checks
You know the saying about one bad apple spoiling the whole barrel?
The same holds true with bulbs, and scheduling a monthly checkup is a smart way to ensure they stay healthy.
Set a monthly reminder on your calendar for each month they’re in storage and lightly squeeze a few from various sections of your storage boxes. Discard any that have become soft, mushy, or smelly.
Divide and Plant
Planting time depends on the variety, but in general, the tender summer-flowering types should be planted in spring after the last frost date.
Carefully inspect each piece of rootstock after it comes out of storage, discarding any that are mushy, shriveled, soft, or smelly.
Divide smaller bulbils or offsets from larger parent bulbs before planting. Our guide on easy bulb propagation outlines the division steps for you.
Hardy, spring-flowering varieties should be planted as soon as the ground thaws.
Although these types are typically planted in autumn, trying to keep lifted bulbs healthy through the heat of the summer can be tricky and disappointing – they’re better off in the ground or in containers rather than keeping them in storage.
A Cozy Rest
By lifting and storing dormant rootstock, you can protect tender bulbs from the ravages of winter and enjoy their beautiful blooms for many seasons to come.
Remember to dig and lift before the first frost – except dahlias – and allow a brief drying period before packing them away in storage for the winter.
Then check each month to ensure they’re staying healthy. Come spring, you’ll love having a selection of vibrant and healthy bulbs at your fingertips, ready for planting!
Do you folks have any questions about storing bulbs? Drop us a note in the comments section below.
And for more info on overwintering flowering plants with bulbs, tubers, corms, or rhizomes, be sure to read these guides next:

Hi! We are relocating from San Francisco CA to Washington State, so I had to remove my bulbs from the ground in early June. I’m not sure how to store them for transportation and when to plant them after we arrive. Should I wait until Fall?
I’ve got paper whites, daffodils, grape hyacinths, freesia, Iris and Dahlias here. All advice would be welcome!
Hi Rain, to transport your bulbs, i suggest using cardboard boxes with some air holes punched into the top. Place a deep layer (four inches) of packing material, such as peat moss, coir, sawdust, or even crumpled newspaper on the bottom then layer with bulbs. Repeat until the box is about half filled, then top with an insulating material like crumpled newspapers – don’t use bubble wrap or plastic, which can trap condensation. Place you boxes in the coolest spot possible for transportation and wrap loosely with some old blankets for extra insulation – but don’t wrap tightly as they… Read more »