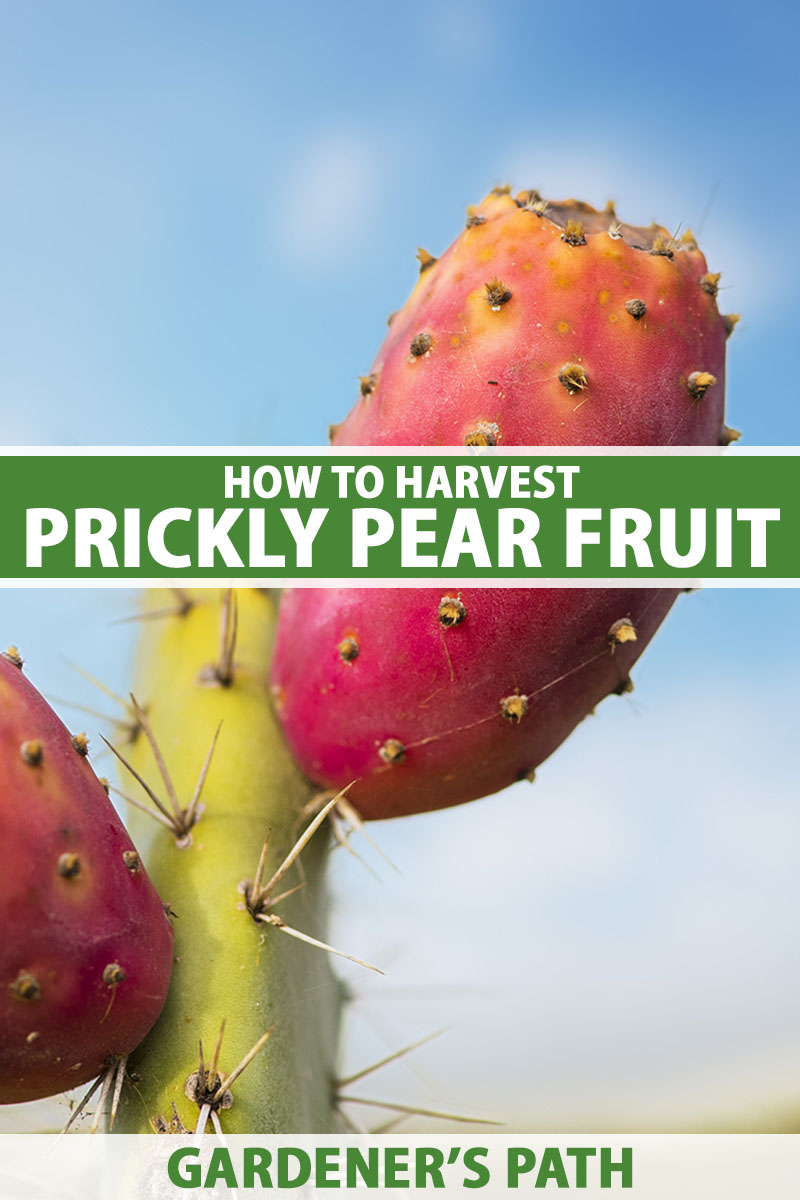
What’s the best way to harvest prickly pears, you might ask?
It’s not quite the same as plucking a ripe apple from the tree, after all, but it’s not as difficult as it may appear to be either.
We link to vendors to help you find relevant products. If you buy from one of our links, we may earn a commission.
Sometimes called tunas or cactus pears, they take a few extra steps to harvest due to the spines that appear on most species.
This might seem like a waste of time since they’re only about two to three inches in length and have a lot of seeds on the inside, but what they lack in size or require in processing, they make up for in flavor and versatility.
Perhaps that’s why they’ve been a mainstay as part of the diet of Indigenous people and others in North, Central, and South America for centuries. That kind of longevity always tips you off – there’s something special about these little fruits.
Since I have some personal experience with harvesting opuntia tunas, I’m going to share what I learned to help you avoid frustrating, wasteful, and sometimes painful mistakes. Here’s what we’ll cover up ahead:
How to Harvest Prickly Pears
If you have an unwanted crop or you’re debating destroying or trashing an unwanted specimen, then I have a suggestion.
Some gardeners may not love prickly pear cacti, but they’re definitely somebody’s thing, and it’ll take minimal effort to make sure the fruits – or even the entire cactus – end up in the right hands.
“Waste not, want not,” my Nana used to say. This is especially true with edible plants that can survive in harsh conditions like members of the Opuntia genus.
Indigenous Americans within the native range of these plants might be interested in gleaning the fruits or taking the whole cactus to a new home.
For a list of tribal leaders in your region, consult the Bureau of Indian Affairs website. Call or email the local leaders in your area to start the conversation, and coordinate paying them forward.
Animals also love these fruits, and a zoo or animal sanctuary that cares for tortoises may be eager to snap up a free food source since they relish them.
Or, simply make a post on social media offering them up, and I guarantee it won’t take long for someone to show up to collect. If you’re in my area, it might be me! I love prickly pears!
If foraging, be sure to only pick from areas where this is permitted. Never remove plants or fruit from protected areas, and do not eat fruit gleaned from locations that may be polluted or plants that may have been sprayed with toxic chemicals.
And now, it’s just about harvest time! The first question we’re going to answer is…
Are All Prickly Pear Fruits Edible?
Indeed, all species of prickly pear fruits are nontoxic and edible. In fact, all cactus fruits indigenous to North America are considered edible, and these are technically berries.
There are more than 150 species in the Opuntia genus, so it can take a little digging to figure out which one you’ve got if you’re unsure, but rest assured that they’re safe to consume no matter what.
One important consideration, however, is flavor. Some tunas have a stronger flavor than others, or a hint of a taste similar to other fruits, such as watermelon. Others are a bit tart or somewhat bland, even when fully ripe.
If you’re purchasing a cactus for the home, garden, or landscape, it’s a good idea to try to taste test or at least locate a description of the flavor before installing it, just in case it has a flavor you don’t care for.
Otherwise, it’ll produce an unwanted crop, year after year, potentially for decades.
A local garden center or farmers market may have some available to try in the summer months.
Anatomy of an Opuntia
Starting from scratch with an unfamiliar specimen might leave you with some unanswered questions.
Read about how to grow and care for prickly pear cacti in our comprehensive guide for complete information.
I cover the structure and life cycle of the cacti there, so I’m not going to go into great detail here. Instead, I’ll focus on key details to help in preparing for the harvest.
When Do Tunas Ripen?
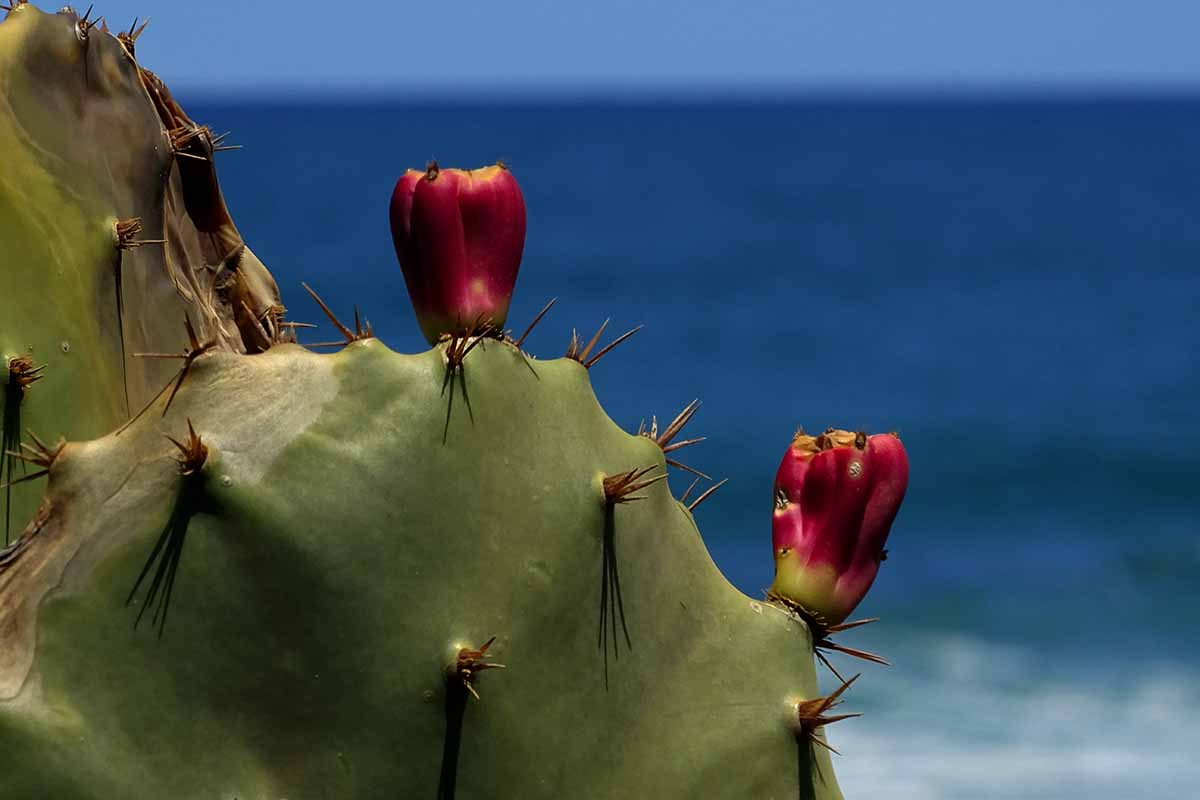
In the spring and summer, buds begin to set along the margins of the pads, also called cladodes or nopals. After pollination, the buds form fruits that start off green in color.
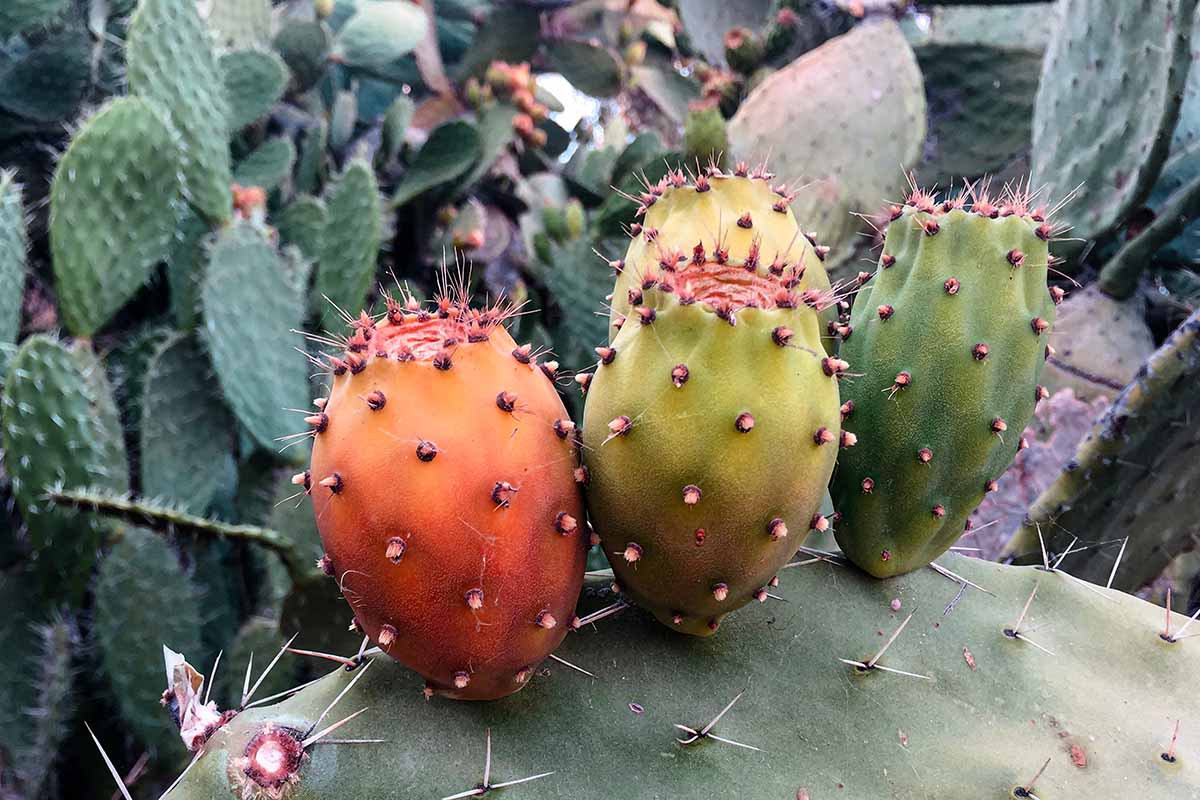
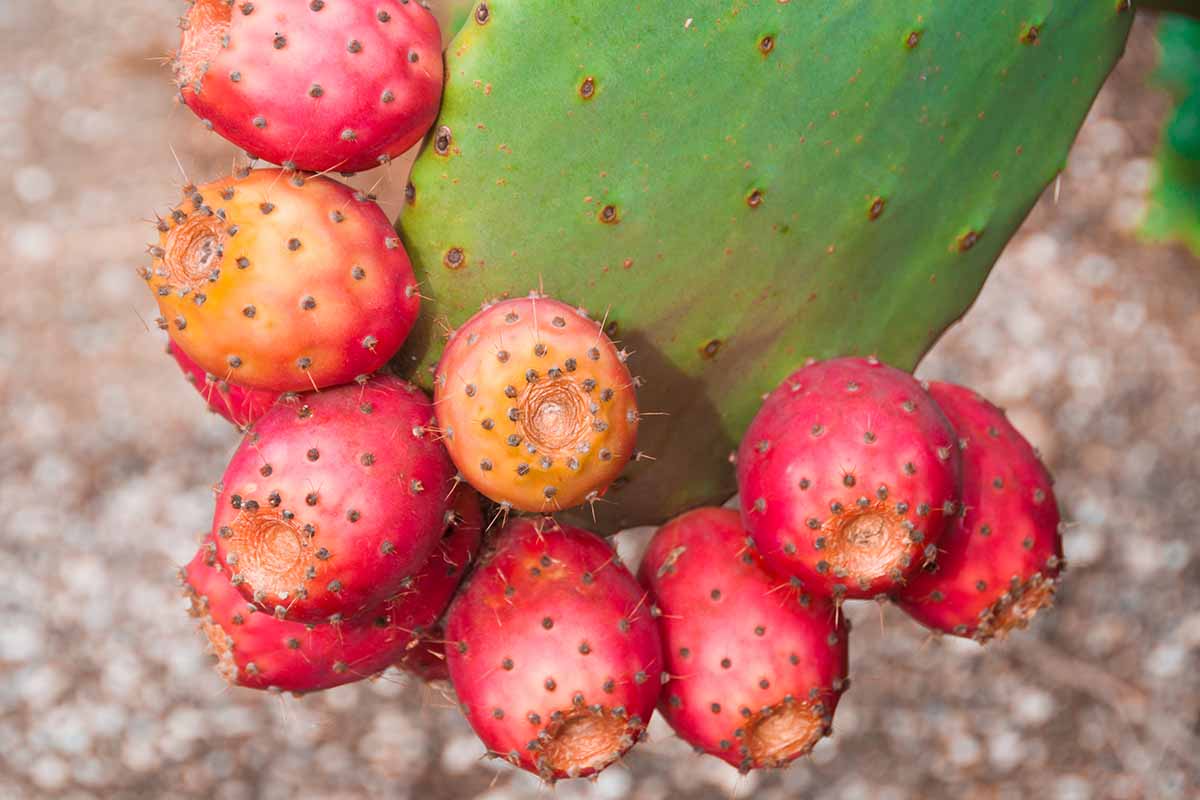
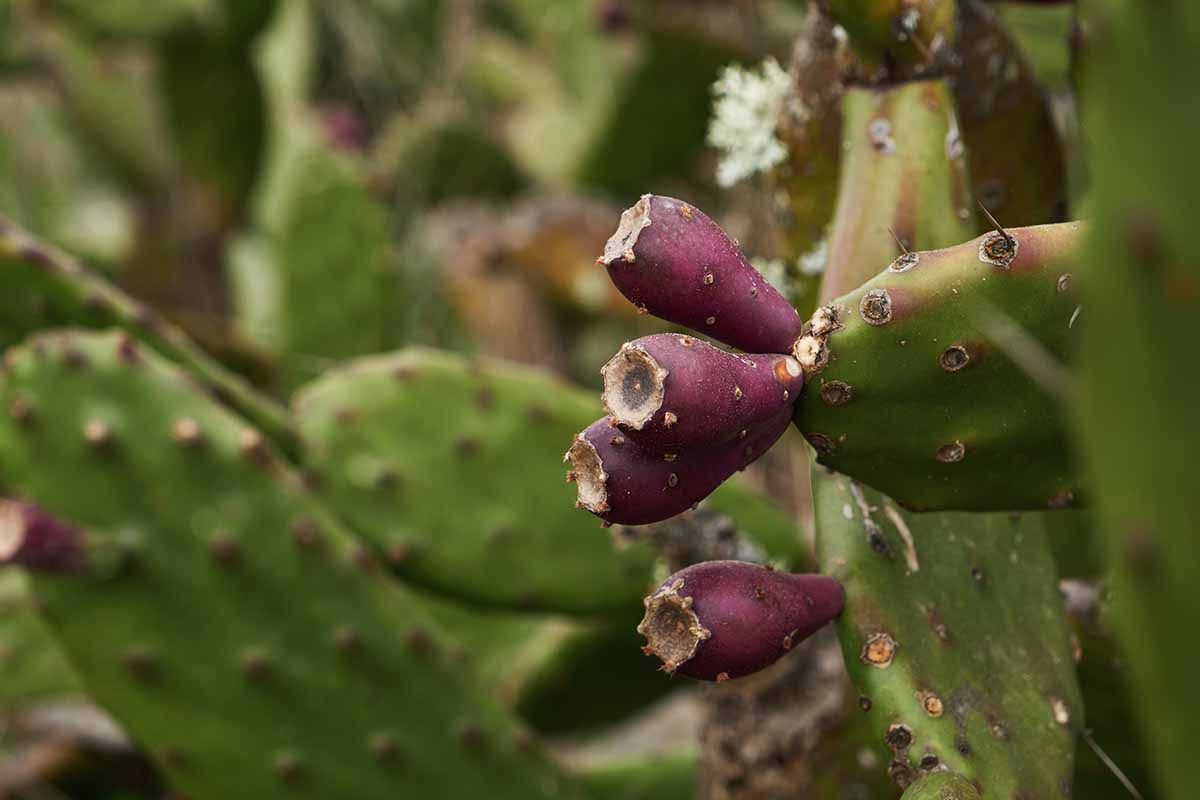
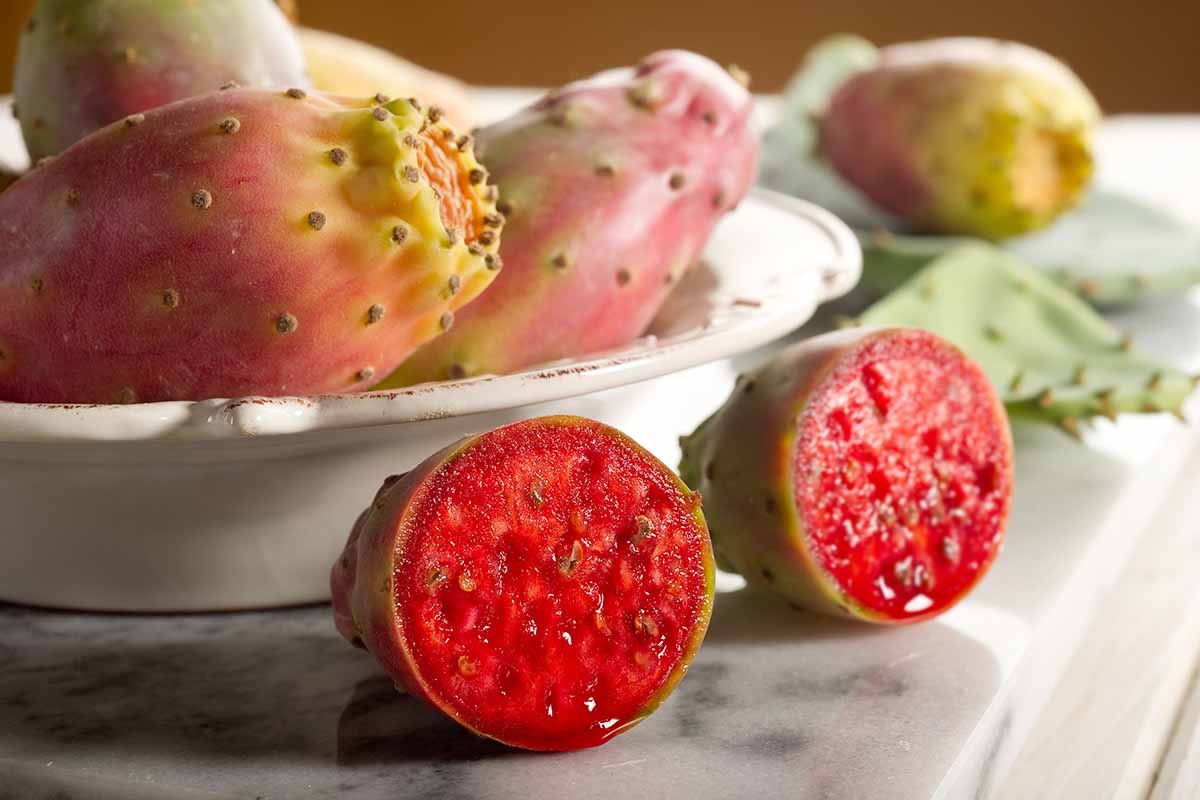
It takes about two to three months for tunas to ripen. Most turn deep red, but there are varieties whose ripe tunas remain yellow-green, and others that turn orange or deep purple when ripe.
Be sure to know what color they are when ripe for your specimen to avoid missing your chance to collect them or picking too soon.
While the pads retain their spines at all times, the fruits begin to lose them when they ripen.
Another indication that they may be ready to collect is the change in firmness that can be felt with a gentle squeeze. A ripe tuna will feel firm and solid when it’s ready to reap.
It also becomes very easy to detach ripe pears from the pads when they’re ready. Sometimes all it takes is a nudge, so if you’re being met with a lot of resistance, it’s probably too soon.
Once the fruit is removed, you should not see a fresh, green pit on the pad where it came from. That’s an indication that it wasn’t ready just yet.
Since these fruits don’t continue to ripen after picking, it’s better to pick when they’re slightly overripe rather than underripe.
How Many Tunas Should I Harvest?
In our guide to harvesting nopales, or prickly pear cactus pads, I mention that it’s best to take no more than about a third of the total number of pads at a time.
This is to avoid depleting parts of the plant that are necessary for photosynthesis, with the added risk of sending it into shock.
Reaping the tunas, however, does not pose this danger. They’re simply the edible vessels that contain the seeds of the cacti, so it’s not necessary to leave any of them behind for plant health.
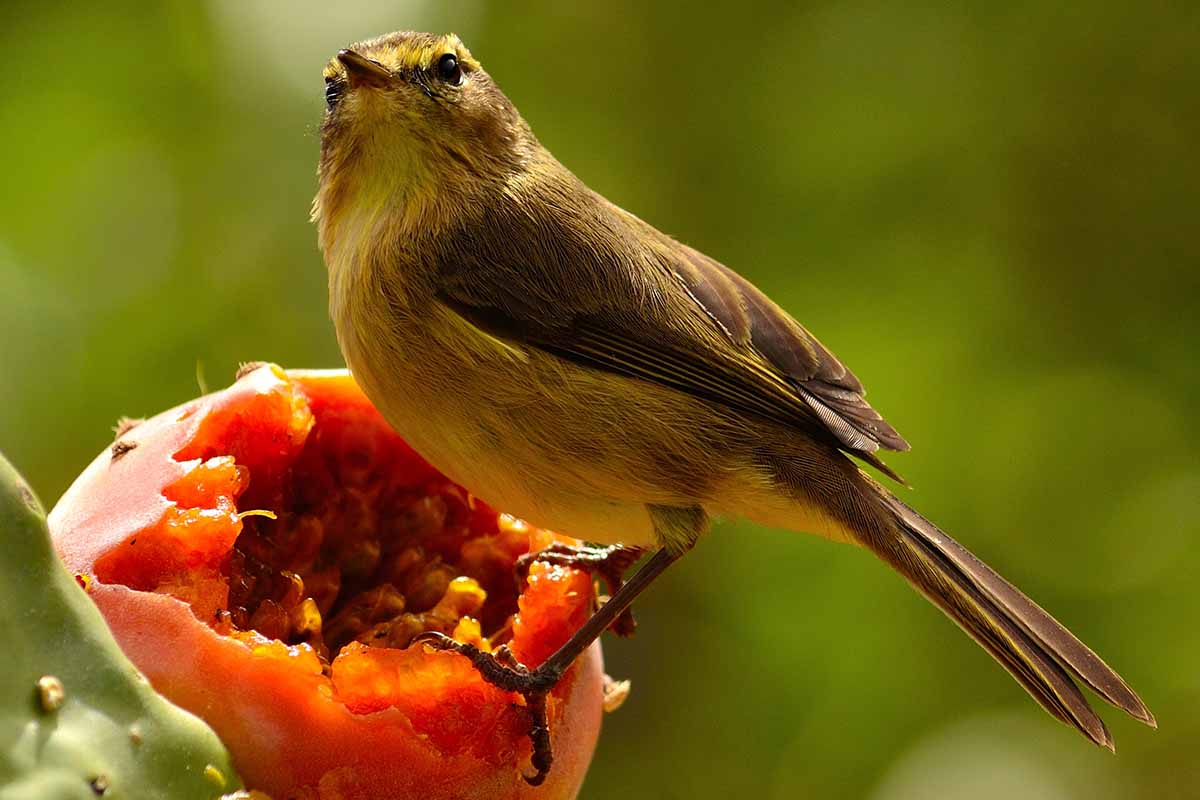
In regions where animals such as birds and tortoises enjoy them as well, it’s thoughtful and important to leave some behind for them to eat, as a means of support for the local ecosystem.
This is especially true when collecting from a wild source rather than one growing at home.
A Cautionary Note
Prickly pear cactus pads contain oxalates like many different vegetables, legumes, and nuts. These oxalates can lead to health problems in people who have preexisting conditions or who consume too much.
Fortunately, the tunas do not pose this particular risk. They do, however, carry a risk of their own.

The seeds inside the pears are hard as stones. They’re not chewable or digestible, so if you don’t plan to remove them prior to consuming the pulp, you’ll have to swallow them whole or spit them out.
They are small, so this isn’t such a big deal – unless you swallow too many. In some uncommon cases, people and animals who swallow too many seeds suffer from bowel impaction.
This can be avoided by simply removing them, as often as possible, prior to consumption.
How to Harvest Prickly Pear Tunas
I’m not one for long-winded anecdotes, but I want to share a story about the first time I stumbled upon tunas in the “wild.”
Years ago, I was at a funeral home of all places, when I saw a strange, new (to me) little cactus on the fringe of the parking area. I wouldn’t have noticed it at all if not for the bright red fruits that were perched along the margin of some of the pads.
After a quick search online to confirm their identity, I gave harvesting a try, and what ensued was a complete disaster.
I ended up wasting the fruits because they weren’t fully ripe, and I had to deal with a few glochids stuck under the skin of my wrist and thumb for weeks.
I’m stubborn though, and I tried again the following summer, with a much better result. So, let’s go over the method I learned to use to avoid injury (and embarrassment).
I highly recommend assembling a set of tools, so you have everything that you need. Collect these items ahead of time:
1. Thick gloves, long sleeves, and closed-toe shoes for protection.
2. A set of tongs for smaller cacti or a long stick, such as a broom handle, for larger specimens.
If you’ve got a very large specimen, a fruit picker with a longer reach can help – such as this 28-inch Fixed Length Fruit Picker, available from Home Depot.
These are great because you can find a use for them all over the yard.
3. A collection container with a handle. One with hard sides works best to keep spines contained.

A Tubtrug like this 11-gallon one works well – find it at Gardener’s Supply Company in lots of cheerful colors.
4. A butane torch or other flame-producing device that you can use to burn off any remaining spines, or a sharp knife to remove the skin and spines together.
Selecting Tunas
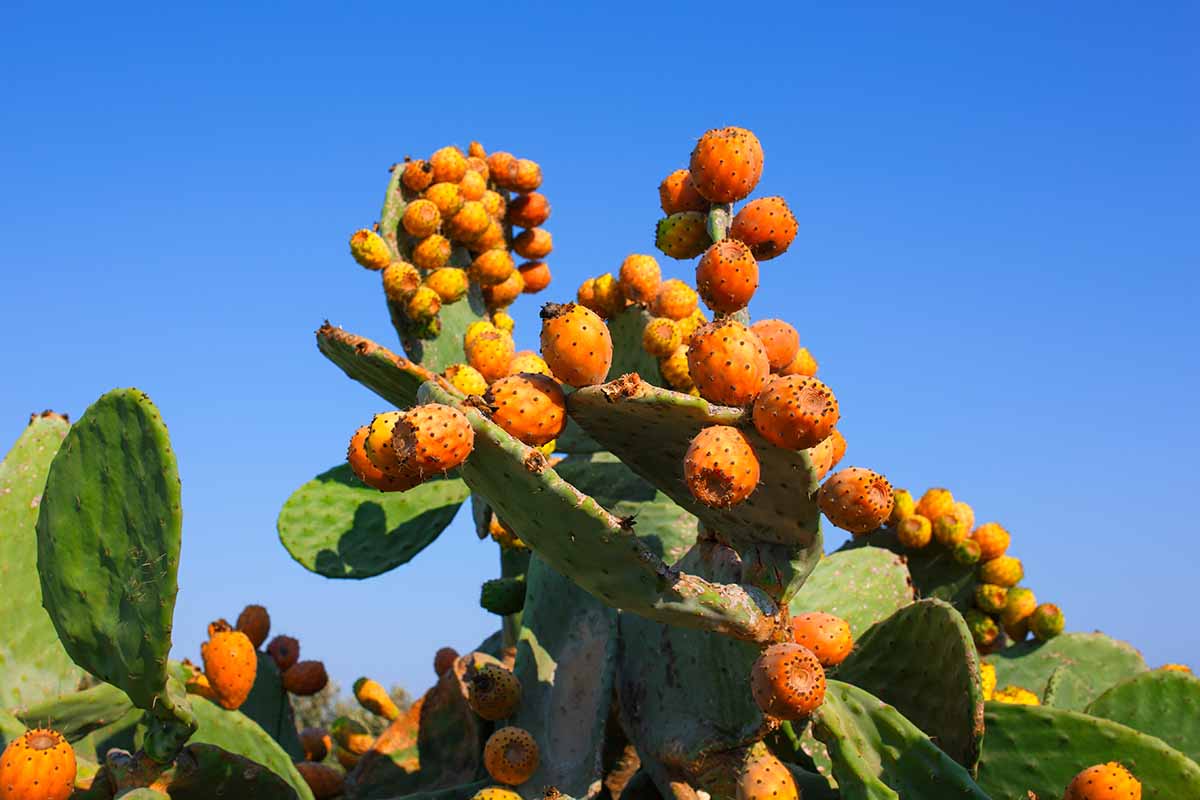
In most regions, the best time of year to start looking for signs of ripeness is late summer or early fall. Keep a close eye on them, because once they’re ripe, the birds in the area will be arriving soon, too.
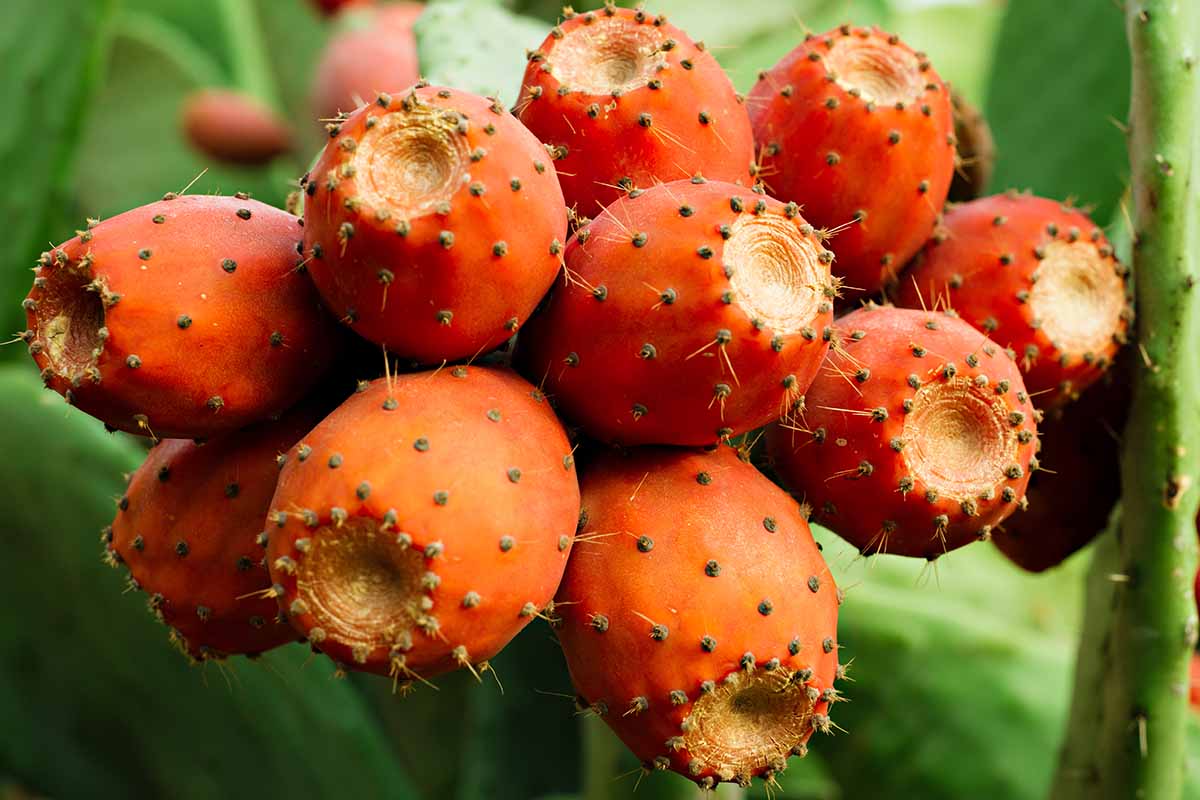
Begin by identifying fruit that exhibits the traits I described previously. Tunas should be deep and uniform in the color appropriate for the specimen, have few to no spines, and easily detach when nudged.
Give the ones that appear to be ripe a quick check for disease, pest, or wildlife damage. They should have no spots, holes, or deformities.
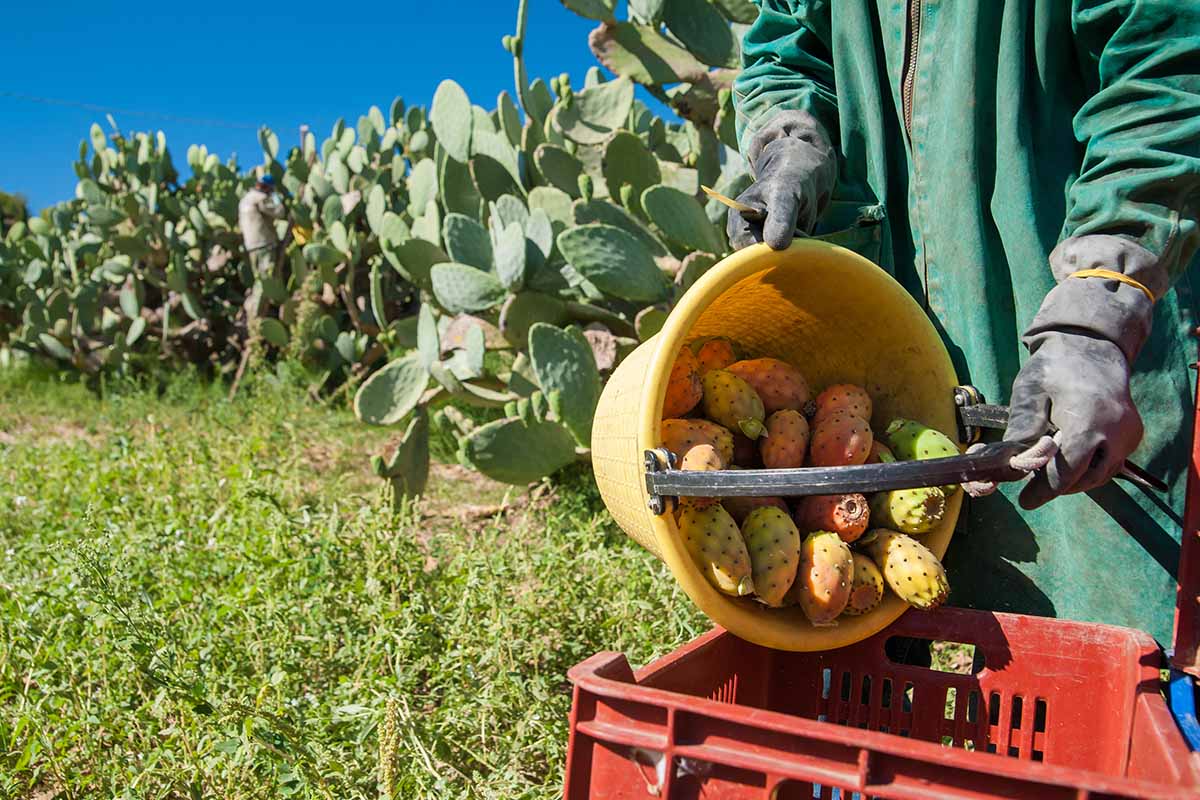
Collection
First and foremost, make sure to stand in a level spot where it’s easy to balance, especially if the size of the specimen makes it necessary to reach for the tunas. The last thing you want to do is fall into a cactus!
Be sure to watch out for spines and glochids on the pads surrounding your area of focus so you don’t accidentally brush up against them while you work.
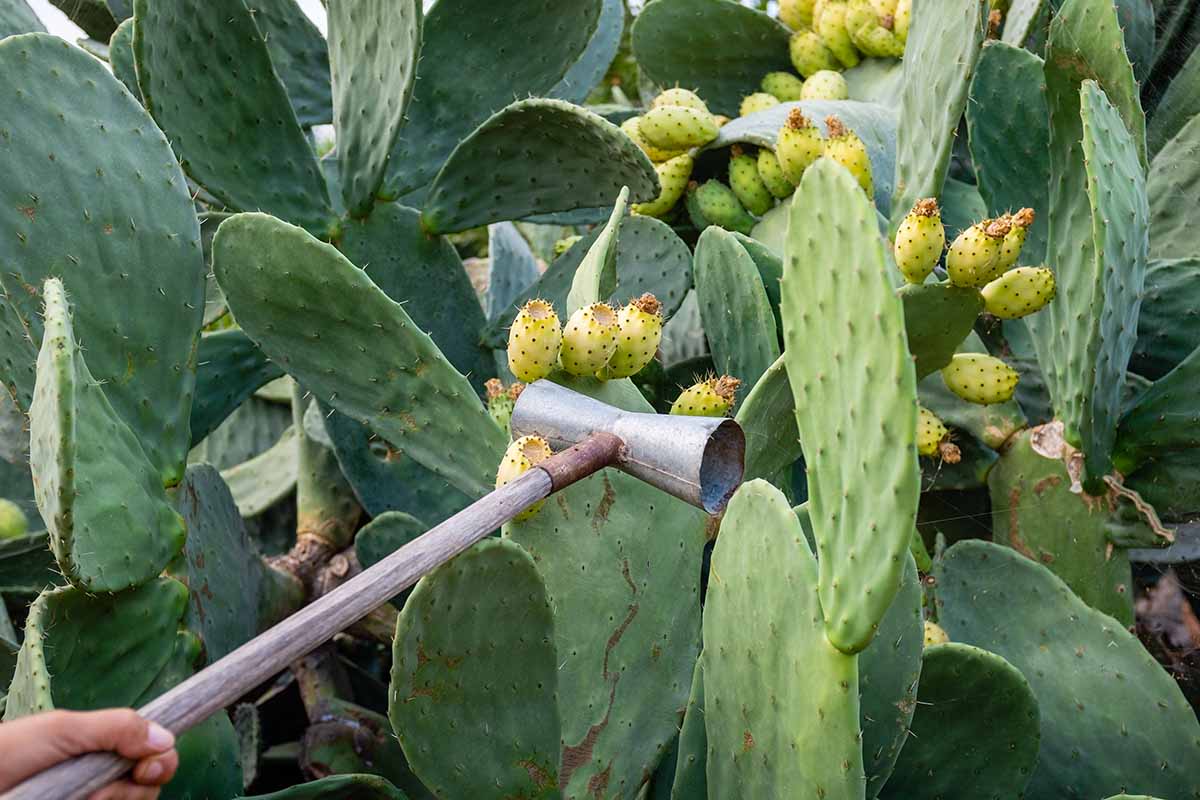
Bring a set of tongs, your broomstick or picker, a collection container, and gloves to the site. Traditional tools called apulia are used in farming, but they’re not as easy to come by.
Pull the gloves on and make sure your hands and arms are covered. Small cacti are easiest to harvest with tongs and a fruit picker works best with larger ones.
If a broomstick is what you’re using, sit the container alongside and beneath the fruits and gently tap them into it. If any miss the target and land on the ground, use the tongs to pick them up.
With a picker, the container can be left on the ground as the tunas are plucked and placed inside. This tends to be a more effective method if one is available for use.
If they are resistant to being picked, it’s best to leave them for next time. Bring the haul to the processing area of your choice – typically a gardening bench, patio, or hard kitchen work surface make the best places to work.
At the work area, use the torch to burn any remaining spines or glochids off and prepare them for use or storage. Hold each tuna with the tongs and continue to wear gloves until you’re finished with this step.
Using and Storing Harvested Fruits
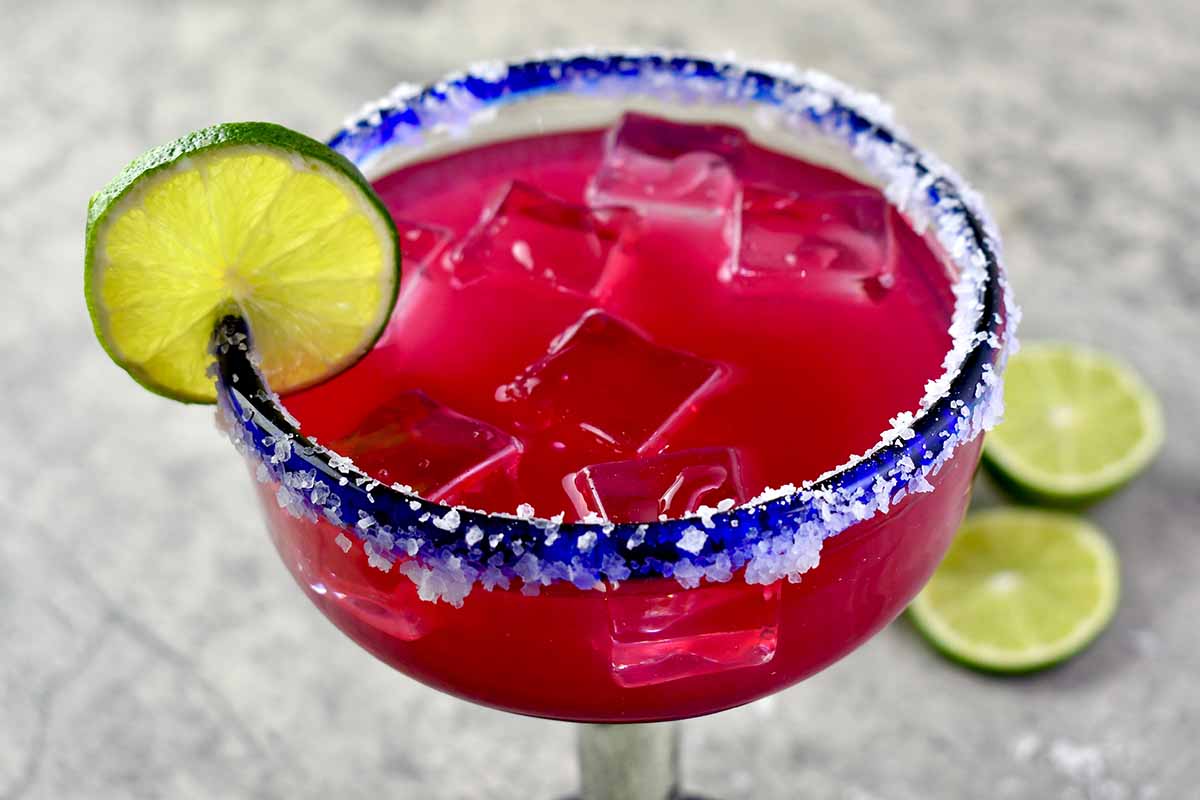
What can be made with prickly pear fruits? A better question might be, what can’t be made?
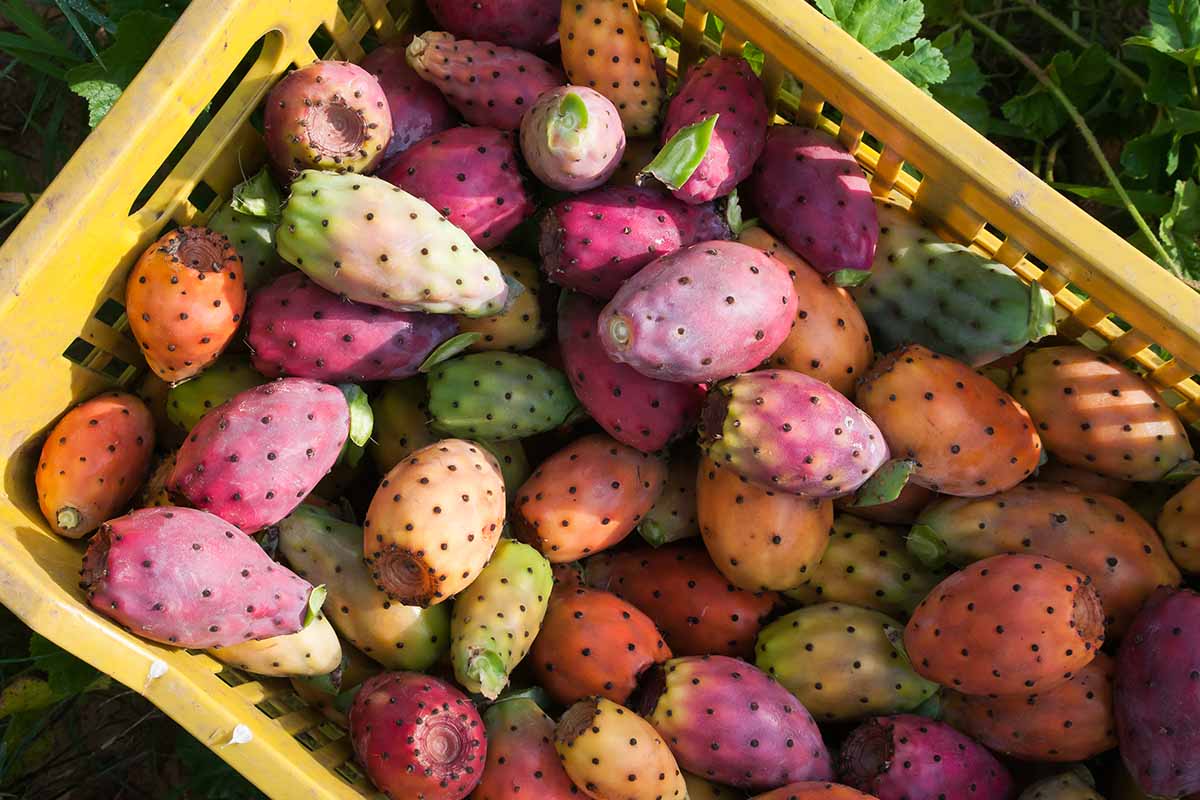
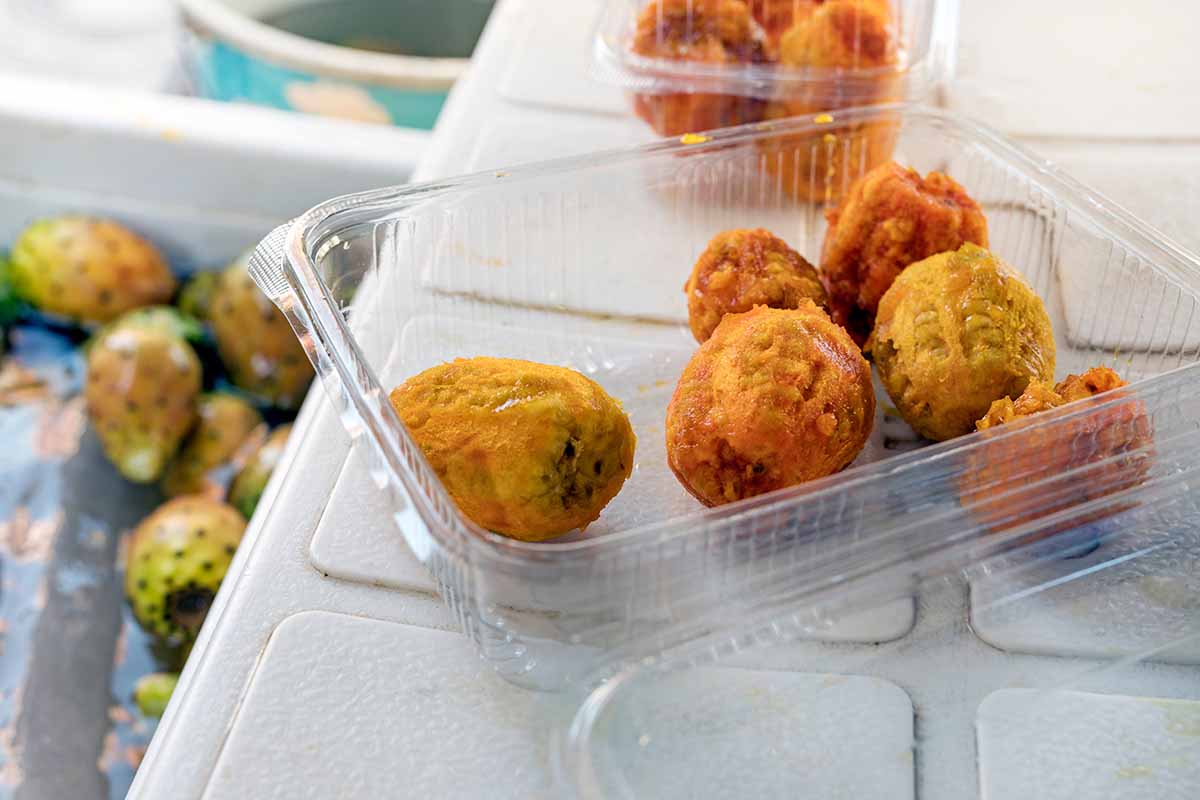
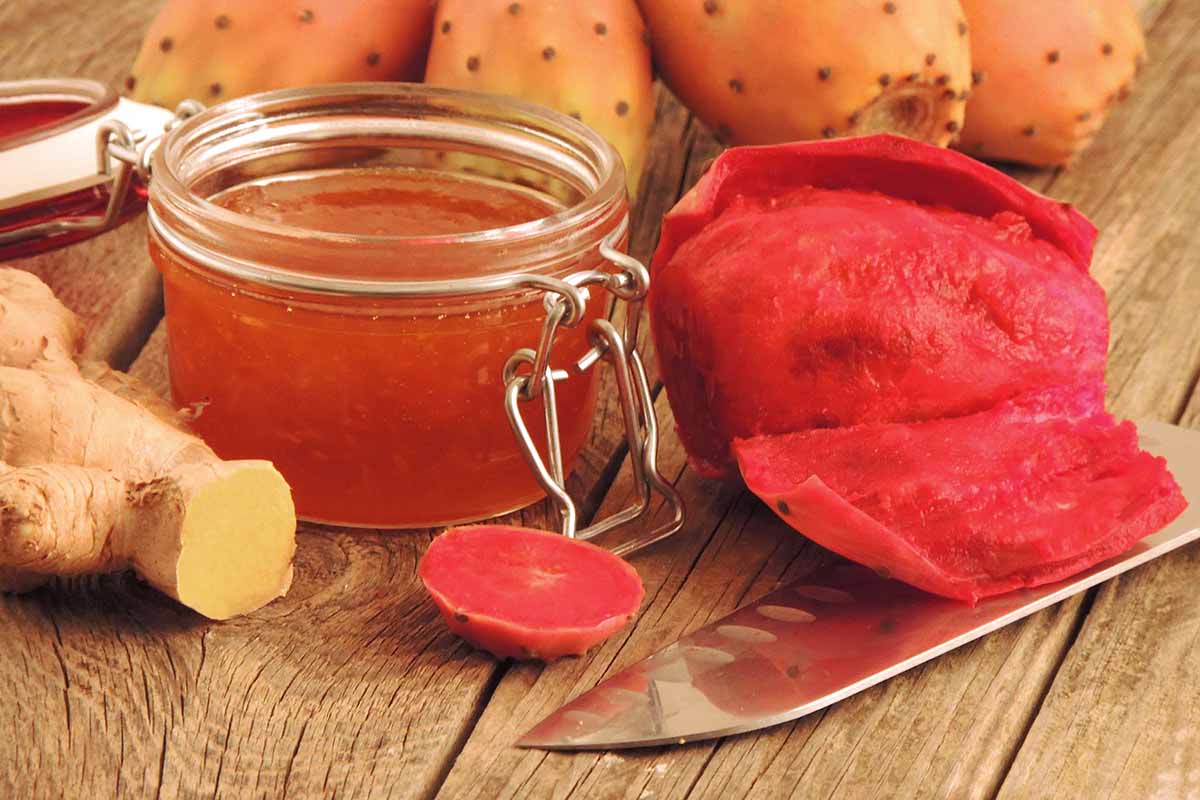
Sauces, syrups, candy, flavorings, puree, mash, or even juice – you have some decisions to make! Devise a plan for the number of fruits available and decide how much will be processed for each purpose.
If this is the first taste you’ll experience, collecting just a couple to try before committing to a bucketful may be the best way to go. They can simply be eaten fresh with a spoon to get the full flavor.
Peeling and Straining
Even though the skin is edible, it’s best to remove it to avoid the possibility of accidentally ingesting glochids that have gone undetected. They can sometimes be very small and hard to see.
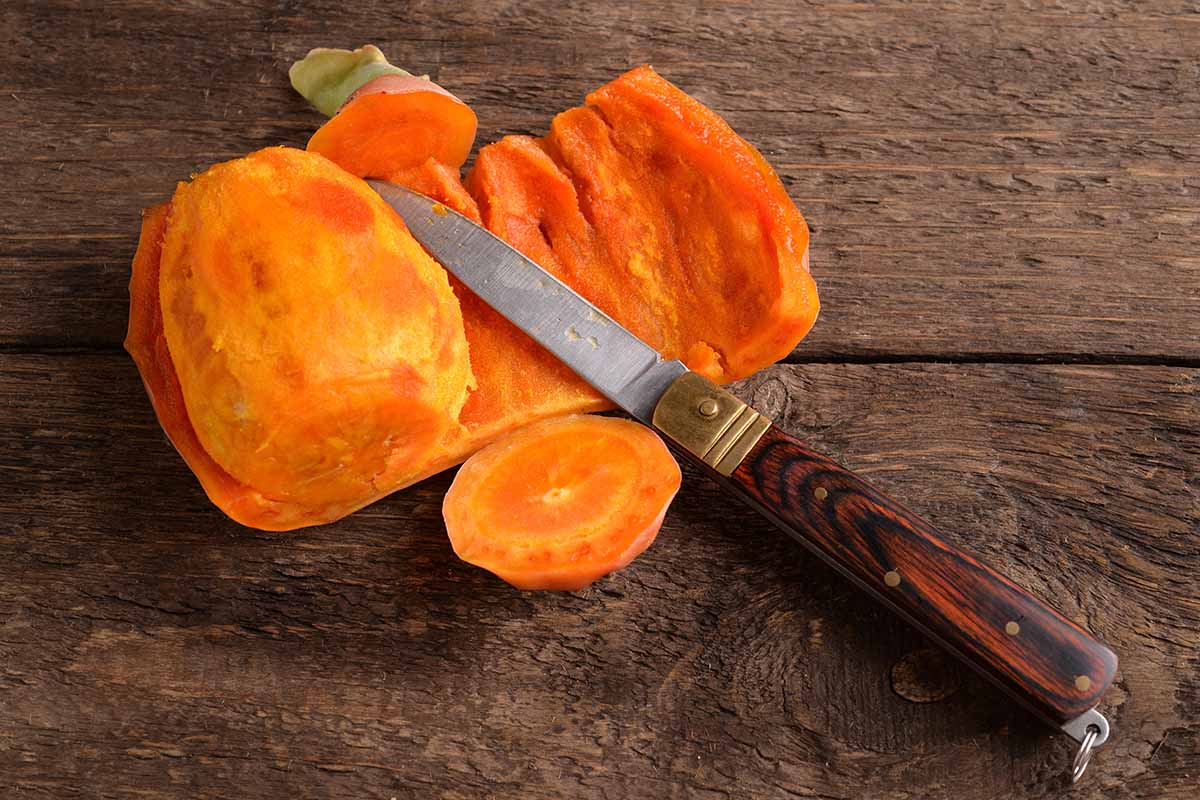
After all of the visible prickles are removed, use a sharp knife to cut the top and bottom off of each tuna. Make a slit through the skin from one end to the other and peel it back. A spoon can also be used to separate the pulp from the skin.
Discard the skin and place the peeled tunas in a bowl for rinsing in cold water.
If you’re still deciding which recipes to try, the pulp can simply be mashed through a strainer to remove the seeds.
The finished result will be a beautiful paste and a sieve full of seeds, the latter of which can be discarded if they’re not going to be planted at a later time.
Storage
Freshly harvested fruits can be stored on the kitchen counter for a couple of days, where they’ll soften a bit at room temperature.
Unpeeled, they can be stored in the refrigerator for one to two weeks. Peeled fruits or processed pulp should be used within a couple of days or frozen to prevent spoilage.
A resealable plastic bag can be used for storage in the freezer, or if you’d prefer to separate the pulp into portions for use in smaller quantities, an ice cube tray can be used instead.
Fill each section and then wrap the tray in a gallon-size storage bag to maintain freshness.
Frozen pulp typically lasts between six and 12 months, which is great because it leaves a lot of time to experiment!
Quick Tips
- Ripe fruits will lose their spines and deepen in color, but glochids can still be present.
- Choose only healthy-looking tunas for collection.
- Use tongs or a fruit picker to pluck them from the pads they’re attached to.
- If they don’t come off easily, leave them for a later harvest.
- Process and use fresh fruits within a few days or strain the seeds out and freeze the paste for up to one year.
Practice Picking Prickly Produce!
The same old foods can get a bit boring, day in and day out, can’t they? It’s so nice to have something new to try, even if it takes a little work to procure it.
Or maybe prickly pear is an old favorite, with a flavor that you’re eager to try again, or bring back into your regular rotation when in season.
Opuntia plants make for the perfect addition to one’s diet since they provide not only tunas, but crunchy, green-bean-like pads as well. Do you plan to try both or are you only interested in the fruit?
We would love to hear how the harvesting experience goes! Let us know in the comments below – and if you have some suggestions for new ways to prepare the haul, we’re all ears.
We have a whole collection of articles on growing cacti and succulents that you might want to check out! Here are some titles to consider reading next:


Thank you so much for the knowledge. God bless you.
Thanks for reading, Tera!