Are you planning to harvest some nutritious, tasty pads from a prickly pear, also known as nopal cactus?
Or are you debating whether it’s worth it to buy and contend with such a pokey plant for the potential of a future harvest?
A lot of people who have tried nopales think it’s well worth it, myself included.
We link to vendors to help you find relevant products. If you buy from one of our links, we may earn a commission.
Whether these succulents hold a place in your cultural heritage or not, their paddles have been used as a food source and as medicine by indigenous peoples and others throughout the Americas for a long, long time. They’re more than just a trendy food.
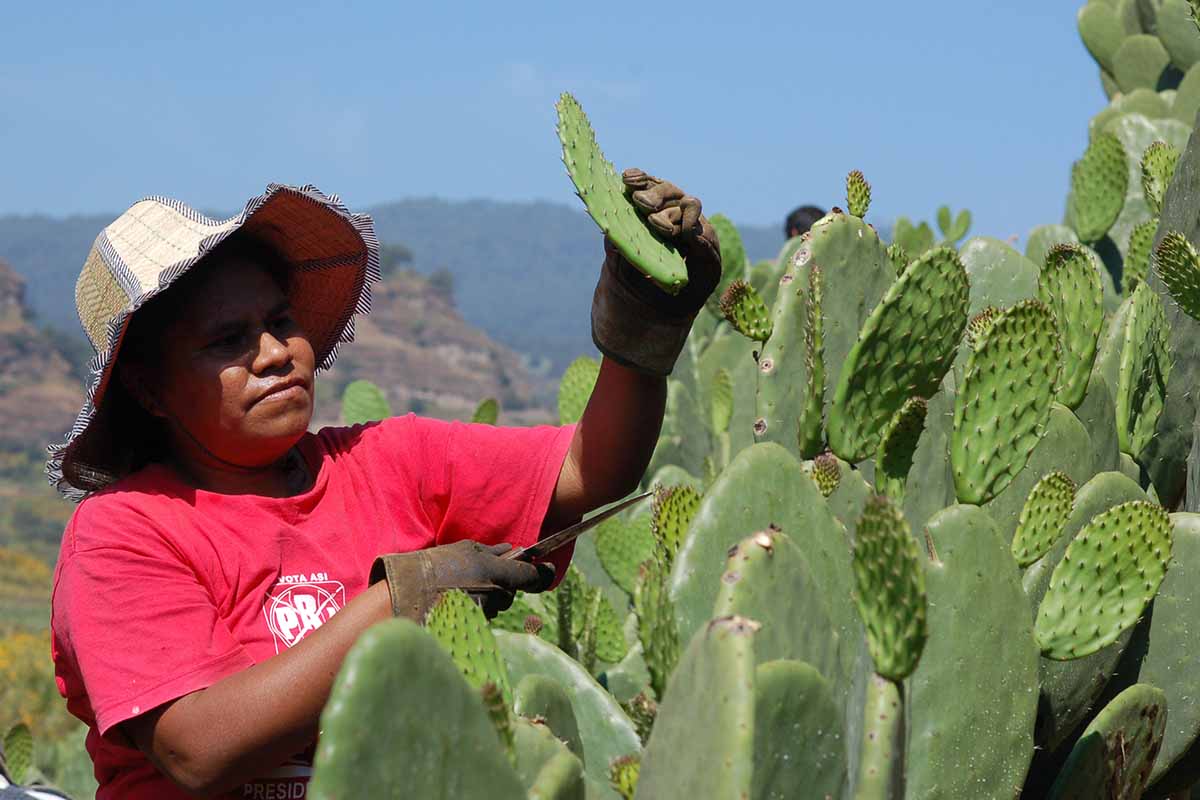
Harvesting pads, or nopales, from members of the Opuntia genus can be a little intimidating. Those spines are no joke! So how in the world can they be gathered if you can’t even touch them without a painful jab?
It’s not as hard as it may seem – although it can be if you’re unprepared. Reaching out with a gloved hand and grabbing a pad can quickly prove why that’s not the best method.
Once armed with some important details and recommended tools, you’ll gain the necessary know-how to feel more confident in the process.
Here’s what everything I’ll cover in this guide:
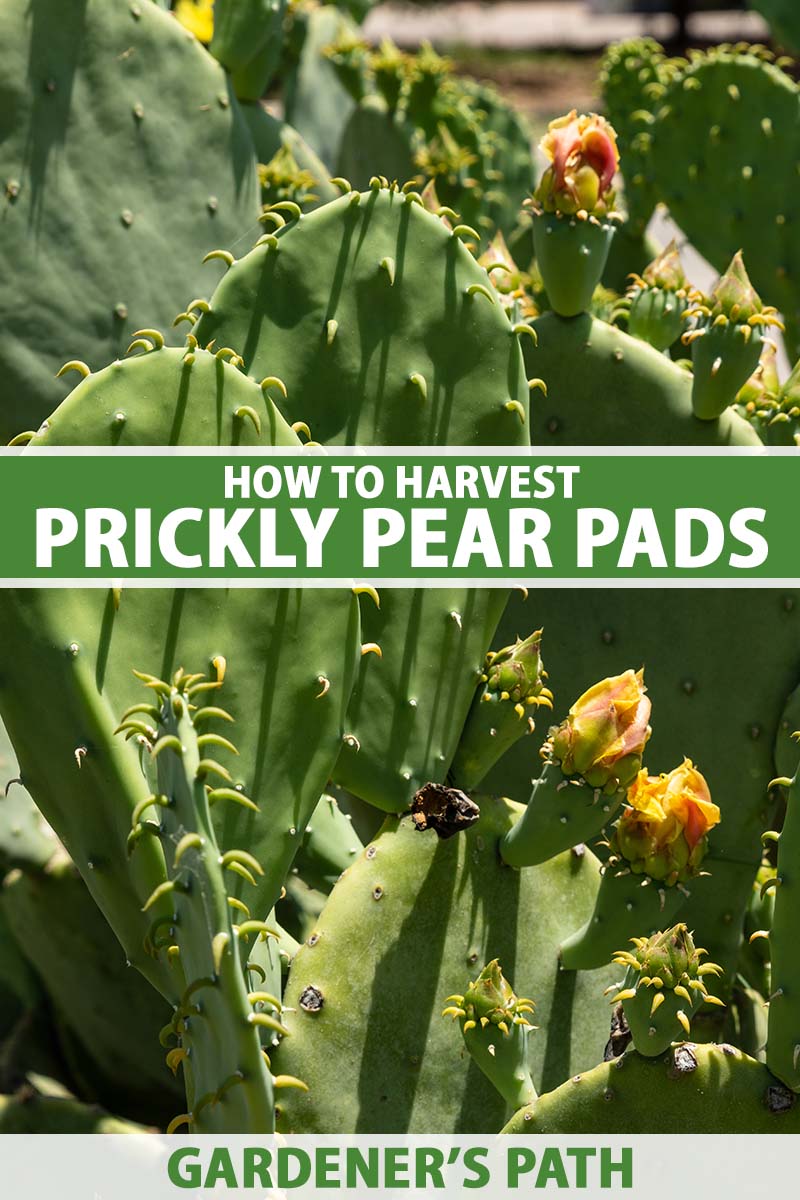
How to Harvest Prickly Pear Cactus Pads
Before we begin, I have one suggestion to make: If you read through this information and decide by the end that dealing with an edible cactus is simply not something you’d want to take on, consider who else might before removing, trashing, or destroying it if this is a plant that’s already growing in your garden or landscape.
One man’s trash is another man’s treasure, right?
No matter where you live, there may be others nearby who are happy to come and harvest what you’ve grown or even remove a specimen that is unwelcome on your property.
A quick post on social media can bring plant lovers out of the woodwork, many of whom will gladly swing by for a “porch pickup.” And even if you don’t want to eat them, these plants provide beautiful ornamental interest as well as food for wildlife.
And now, onto the show.
Are All Prickly Pear Cactus Pads Edible?
The short answer is yes – all 150 or so members of the genus are technically edible. But this doesn’t necessarily mean they’re delicious.
While all Opuntia species are nontoxic to humans and could be eaten, some make for a meal that isn’t very appetizing.
For example, O. humifusa, or the eastern prickly pear, which is found throughout North America, is tasty and robust. Its younger pads are thick and succulent, with firm flesh and a high water content.
Others, such as O. fragilis, or the brittle prickly pear, contain less water and have a tough, dry interior that is essentially inedible.
Before deciding to collect any part of the cactus available to you, be sure to identify the species and do your research to make sure it’s one that is good to consume – particularly if you’re foraging rather than collecting from a specimen growing at home.
Anatomy of an Opuntia Plant
Since we already have a complete guide to growing and caring for prickly pear cacti, I won’t rehash every detail of their fascinating anatomy.
However, there are a few key points that I want to touch on here so you’ll be well-informed and able to set out safely.
Spines and Glochids
First, you should know that there are some spineless types, such as O. cacanapa ‘Ellisiana,’ so purchasing one of these to grow at home could save you some work.
However, even spineless types may still require some additional processing before cooking and eating.
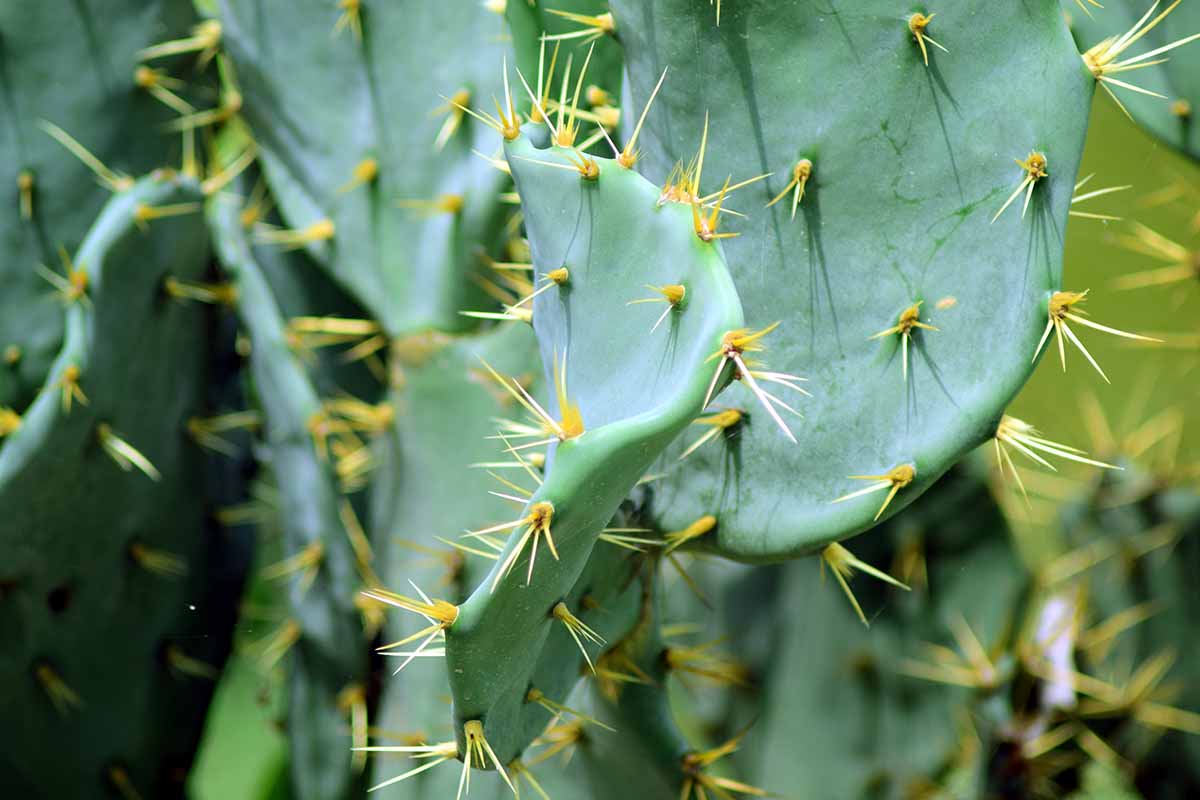
Note that glochids – or smaller, clustered spines with barbed ends – as well as larger spines appear on most species in this genus. Even the spineless types can still produce glochids, or they may even produce spines during periods of drought.
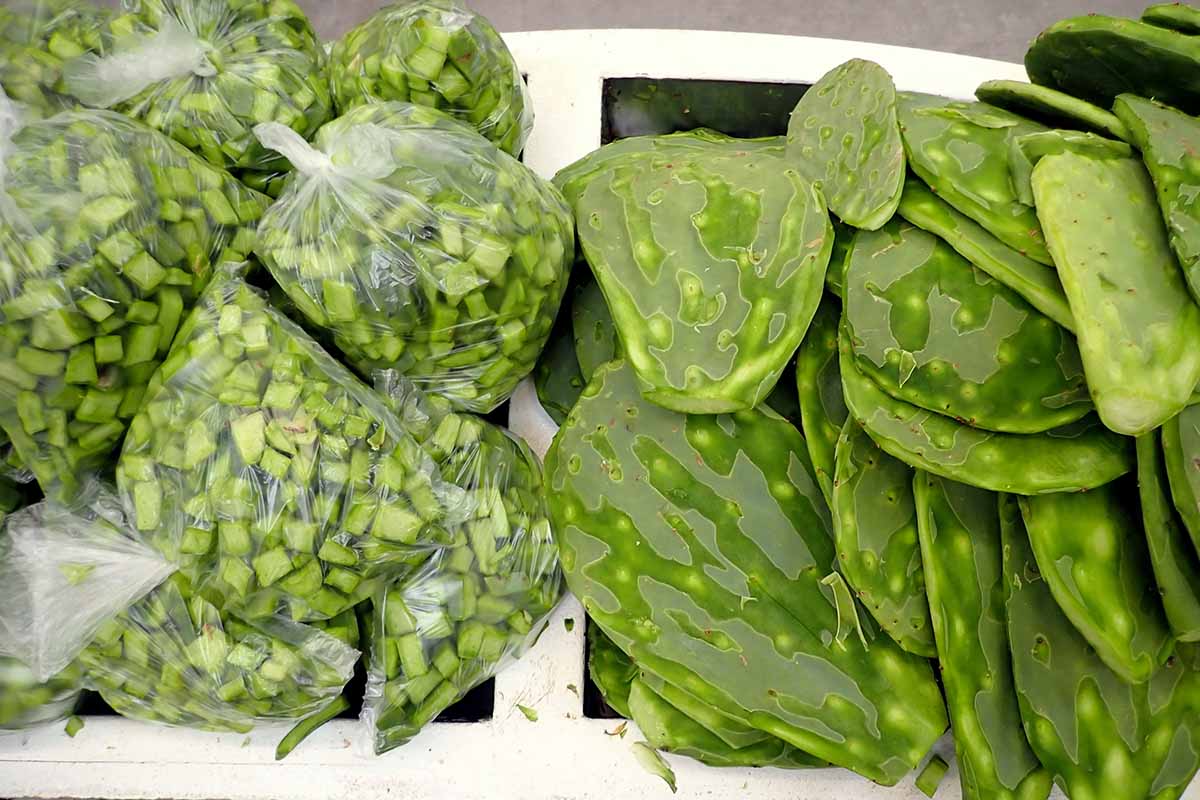
Unlike the fruits, or tunas, pads retain their spines rather than losing them when they ripen. There are other signs to look for to determine which nopals are best to collect, which we will cover below.
A Note of Caution
Like many wild plants that are commonly foraged, as well as cultivated plants that grow in our own gardens, prickly pears naturally contain calcium oxalate crystals and oxalic acid.
If you’re prone to kidney stones or digestive issues, it’s best to do some additional research or consult your healthcare professional before consuming prickly pear pads or fruits.
It’s also important to exercise caution when foraging from specimens growing somewhere other than your own yard. These may have been treated with chemicals or subjected to drift from areas sprayed with pesticides and herbicides.
Those growing by roadsides can be contaminated by chemicals and debris from passing traffic.
We also have a separate guide for harvesting prickly pear fruits or tunas that these cacti produce, if that interests you as well.
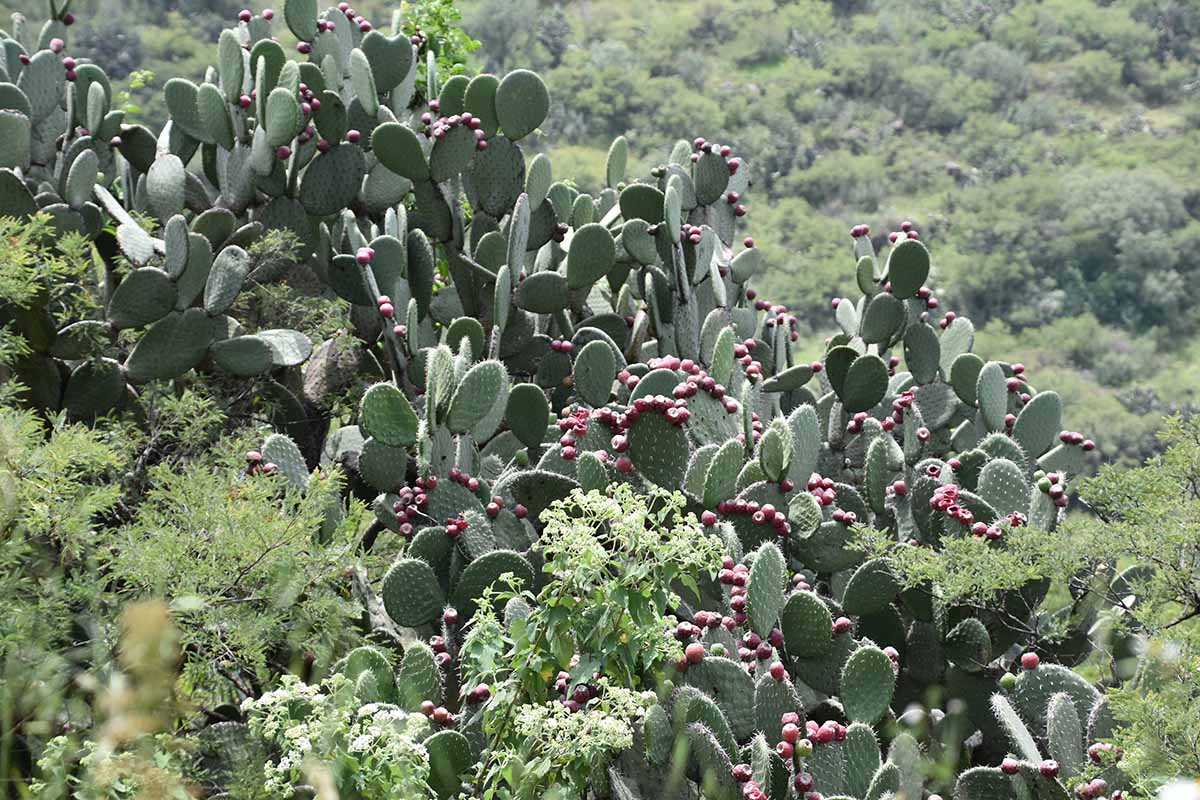
The Best Time to Collect
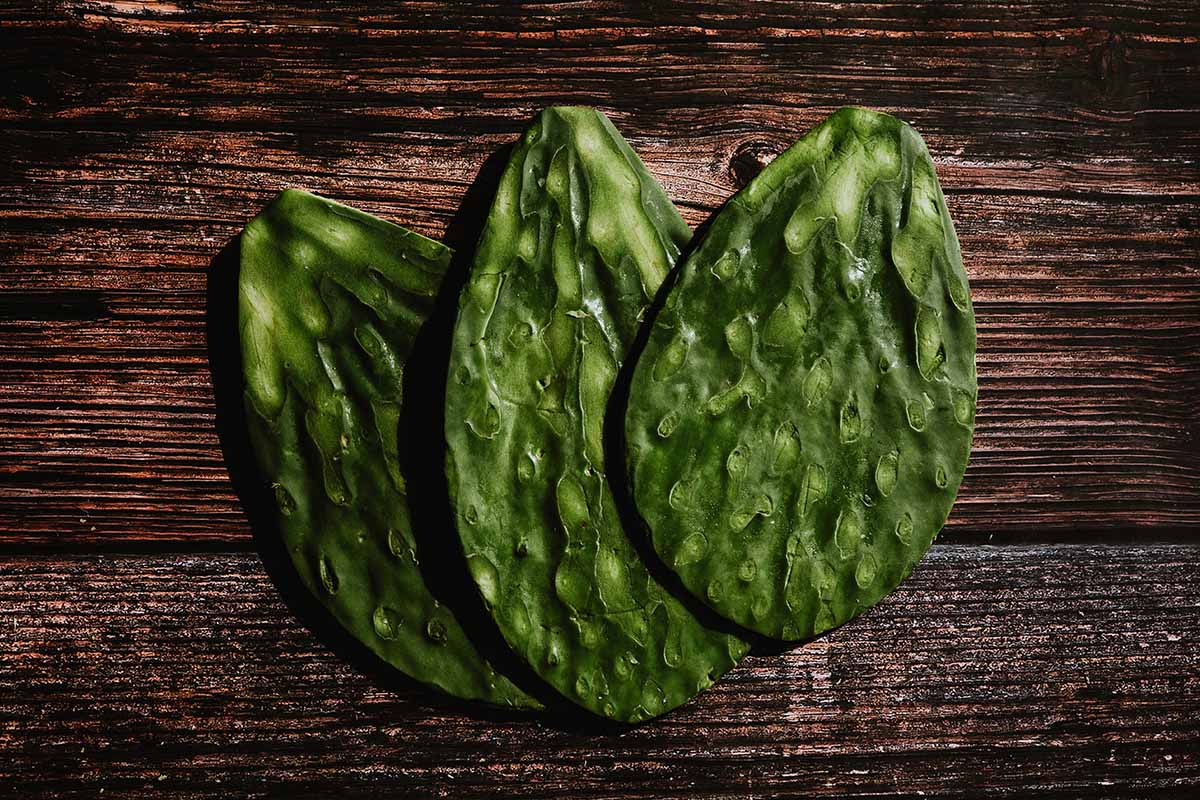
The pads of these plants are actually adapted stems known as cladodes. These are best harvested when they’re young, just a couple months after they form. Older ones are generally tougher and have a higher oxalic acid content.
The best time to harvest will depend upon regional weather conditions.
In most areas, the winter months are a time to avoid since that’s when water content in the pads is lowest. These cacti reduce water uptake to avoid freezing, so pad texture is very different and less appealing.
In regions that experience rainfall during the winter, and conditions are warm and humid, pads can be collected throughout most of the year.
Look for the development of new nopales to determine when they’ll be most tender, fresh, and often less spiny.
How Much to Pick
It’s best to avoid harvesting more than about a third of the total number of nopals present on a single specimen. Otherwise, there’s a risk of causing shock or reducing its ability to photosynthesize, which can kill the plant.
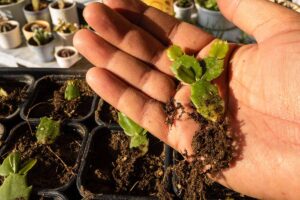
If you have a small cactus, it’s easy to cut off a couple pads to propagate rather than eating them to increase the available harvest later on. Read more about propagating cacti in our guide.
I’ll cover the best way to pick nopales to avoid unnecessary damage to the parent plant in the next section of this guide, so keep reading!
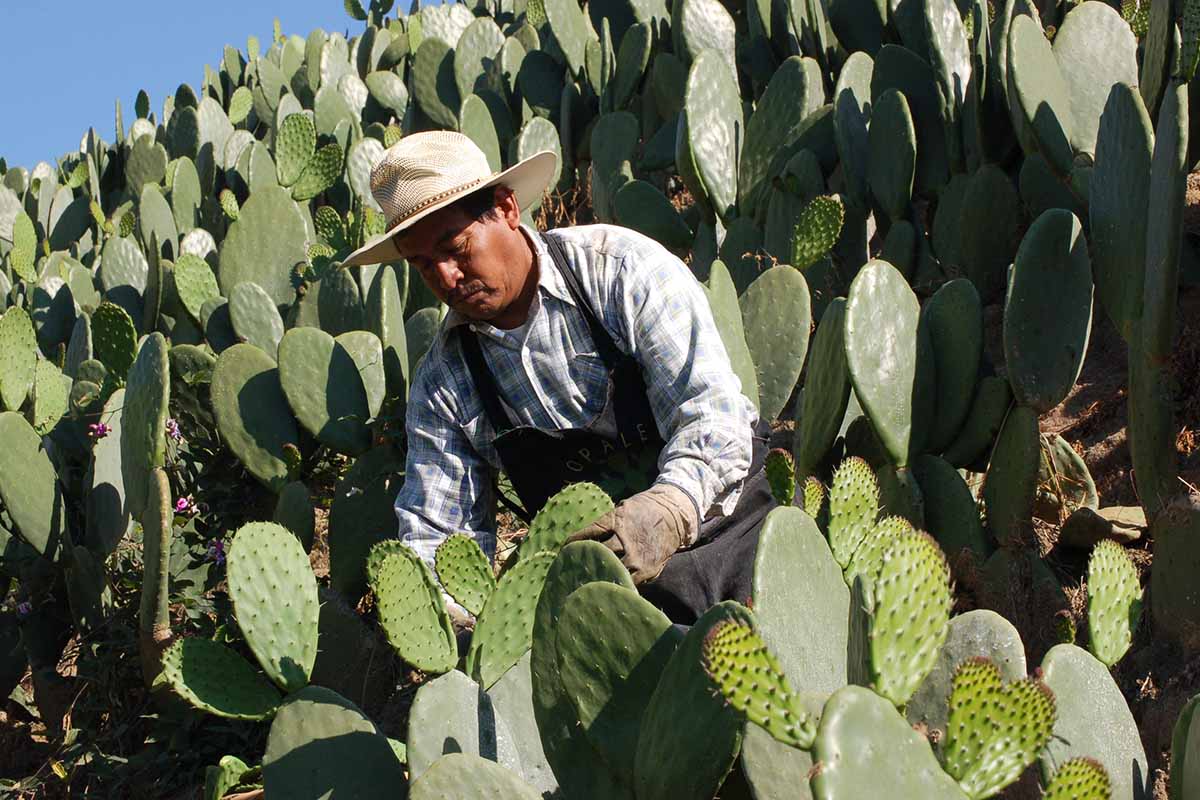
How to Harvest Nopales
First and foremost, begin by assembling a set of appropriate tools. Having these ready ahead of time can make the process faster and easier. Here’s what you’ll need:
- Thick gloves and long sleeves to protect your hands and skin.
- A set of long tongs.
- A knife or shears to separate the nopals from the cactus.
- A collection container, such as a bucket or other hard-sided option.
- A towel or absorbent rag to lay the collected nopals on.
Need some recommendations? We’ve got you covered:
Glosav thornproof gloves are made from thick leather, and feature a long cuff that extends up your forearm for added protection against sharp spines.
Glosav Thornproof Gardening Gloves
They’re available via Amazon.
A basket or container with spaces where spines can poke through the sides wouldn’t be a good choice. Instead, try this small flexible plastic tub from Red Gorilla.
Red Gorilla Flexible Plastic Tub
It has handles that make it easy to move, and firm, solid sides. It’s available from the Red Gorilla store via Amazon.
Rags placed in your collection container are essential since the pads may ooze a little fluid when cut, but you could also use paper towels. Keep in mind that whatever you use is likely to be impregnated with spines.
If you don’t have a butane torch, another variety of flame-producing device could be used to burn off the spines when you process your harvest.
Pliers or a knife can be used to remove the larger spines prior to burning or peeling.
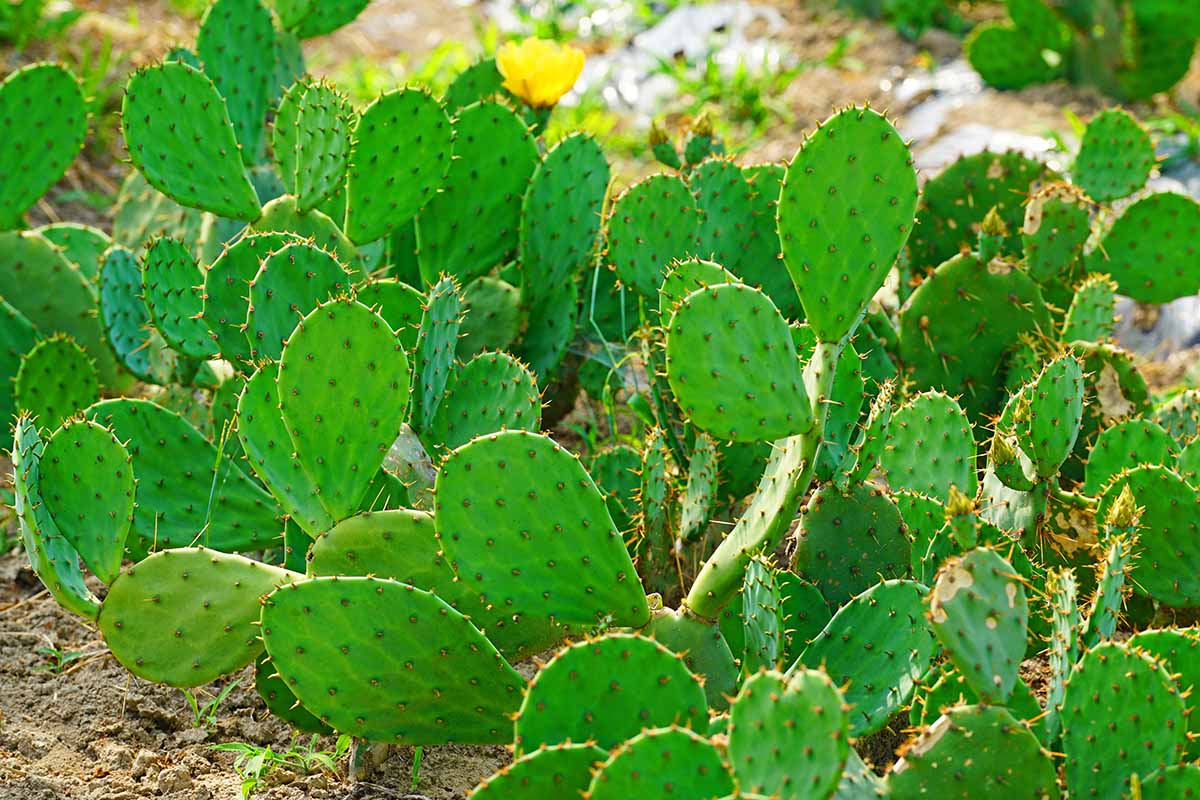
Selecting Nopals
Start as early in the morning as possible as this is when oxalic acid content is at its lowest.
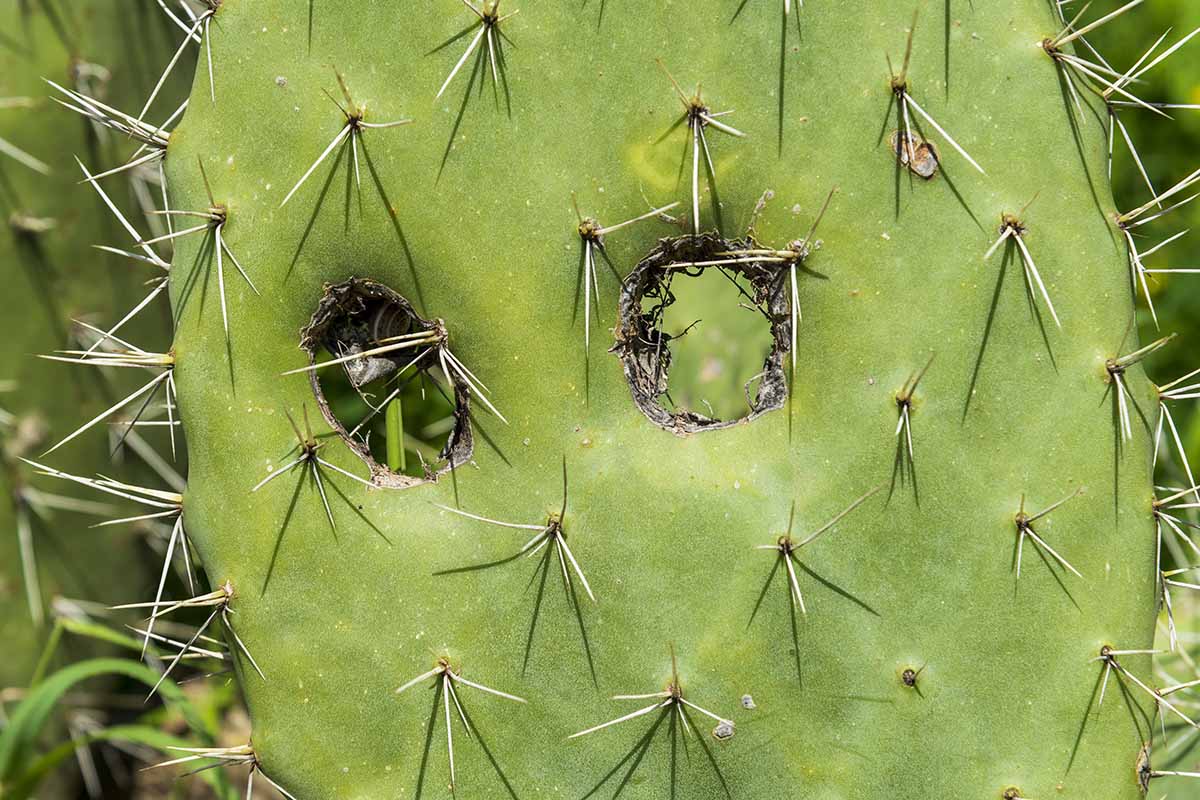
Look for healthy, disease- and pest-free nopals. They should be well formed and firm with a normal color for the species, with no spots or holes.
As I mentioned, the younger ones are the most tender. These will be located towards the top of each stacked column of cladodes.
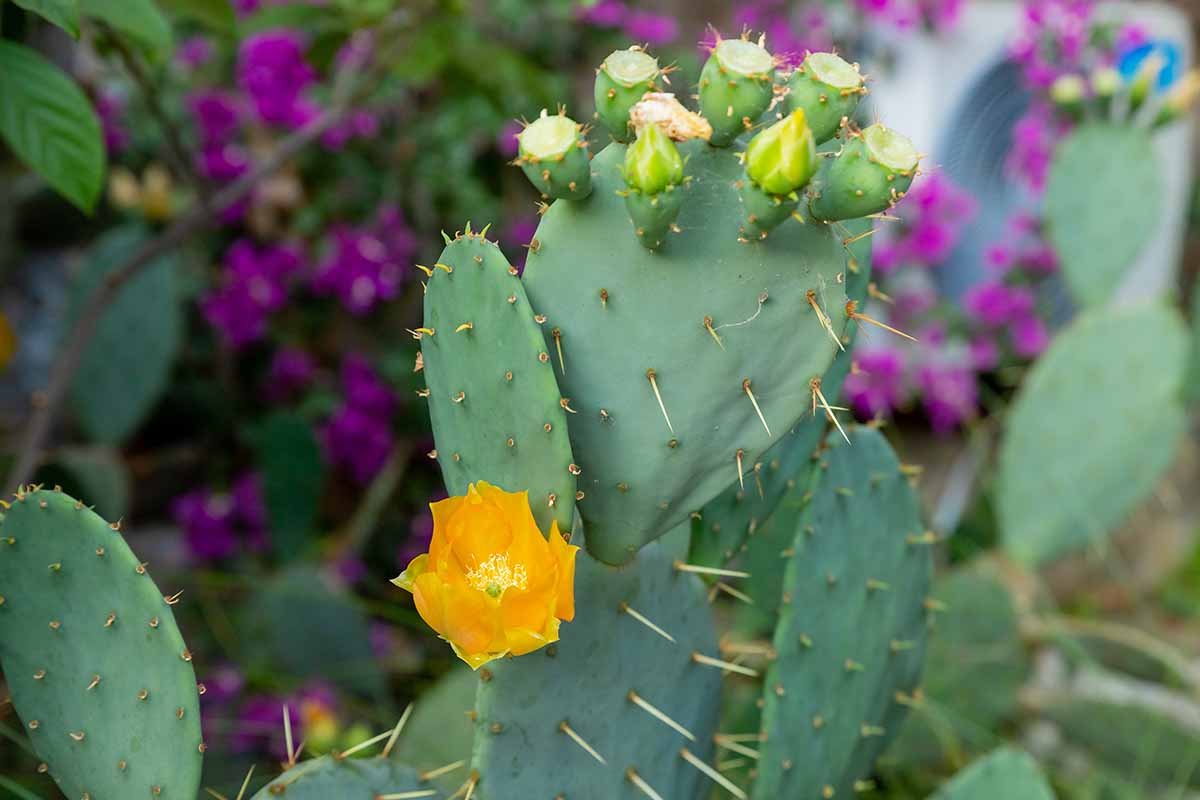
However, you don’t want to harvest the very young ones. If the pads have short, green leaves in place of spines they are best left to continue growing.
Instead, look for pads that have formed spines but are smaller than the more mature lower pads.
A lighter color can sometimes be an indicator, and typically, younger pads will be more pliable so you can use the tongs to bend them – if they don’t give easily, they’re too old.
If buds are forming along the margin of a nopal, skip that one and harvest one that isn’t budding yet so you can come back and collect the fruits at a later time, if you’d like.
Collection
Pull on gloves and avoid coming too close to the spines by using the tongs to hold the pad you wish to pick.
With the knife or shears, make a cut at the base of the pad where it meets the one below it.
Don’t cut them in half because the part that remains will callus over and won’t regrow, which is wasteful and unsightly. Trimming at the node instead will spur new growth.
Alternatively, you can use long-handled loppers to snip the pad free and let it fall to the ground. Use the tongs to retrieve it and place it in the container.
Place the pads on the towel or rag in the collection container and bring them to your prep area. Don’t wash them until after all spines and glochids are removed.
Wet glochids and spines tend to be difficult to locate and remove since they become almost transparent and can stick to the skin of the plant.
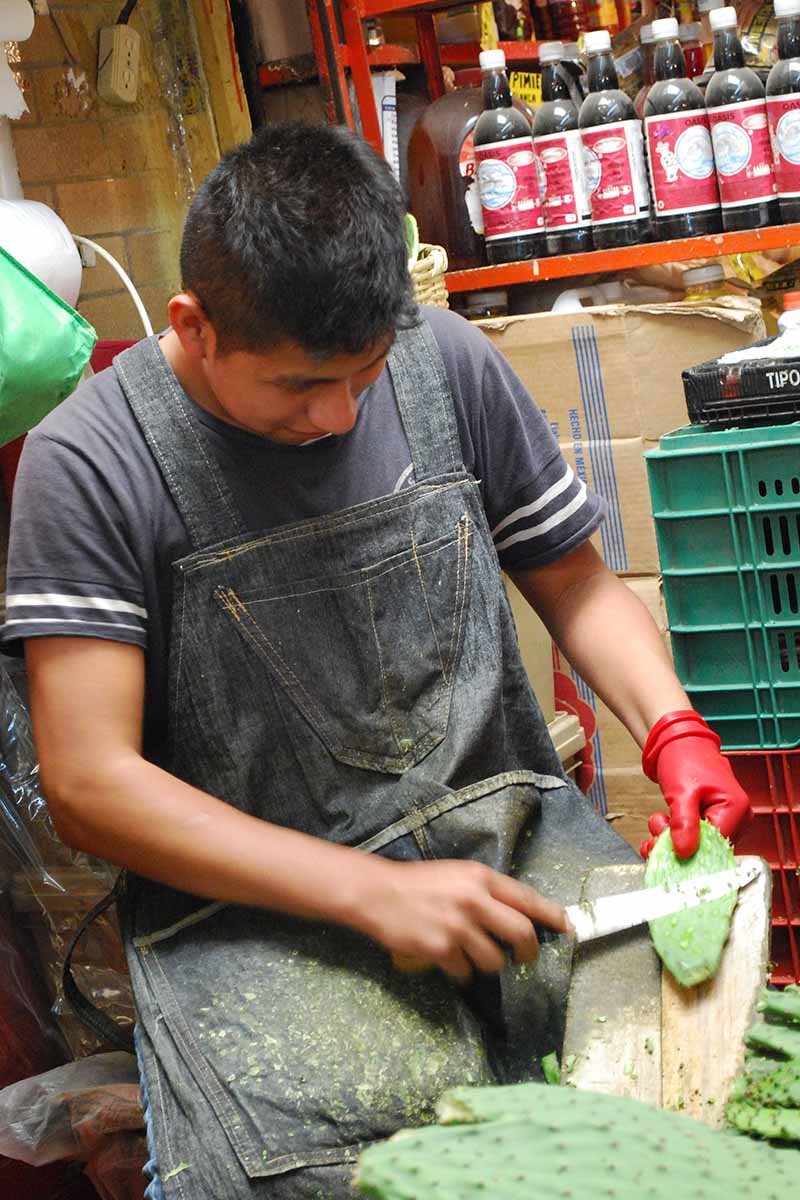
Use the torch, pliers, or a knife to burn, pull or cut all of the spines and glochids off. Trim the outside edges of the pad to remove the spines on the sides.
After all the spines and glochids are removed, if you wish to peel them, do so using a bottom to top motion, starting at the point where the pad was cut from the parent plant.
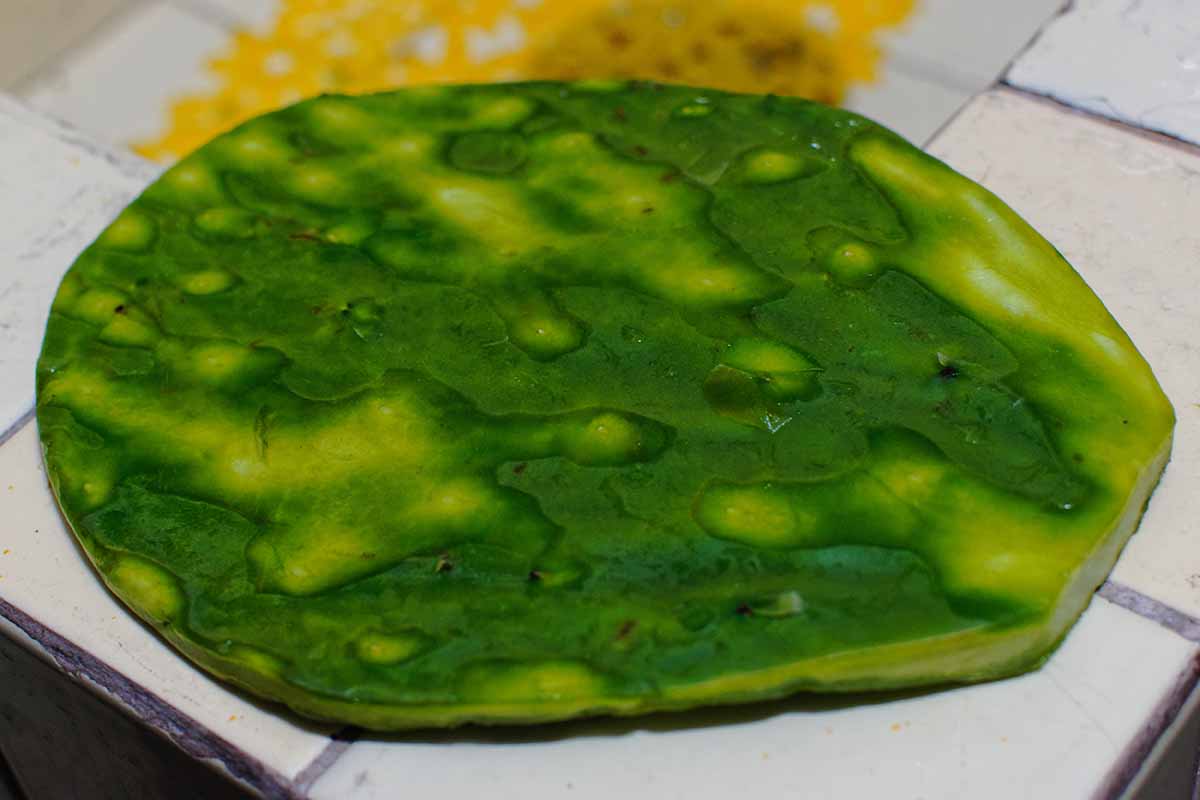
Note, however, that the edible skin gives them a firm texture that many people prefer when prepared fresh. You may want to skip peeling, depending on your intended use.
Now, they’re ready to be cooked or stored.
Using and Storing What You’ve Harvested
Nopals should be prepared and eaten immediately after harvest, or they may be refrigerated for about a week. They can be frozen for long term storage if you have too many to use before they’ll spoil, but freezing and thawing results in a softer texture.
Keep them fresh in the fridge by storing them in a container designed specifically for produce, like the Silvio Freshworks Produce Saver Containers available from the Silvio store via Amazon in sets of three or six.
Silvio Freshworks Produce Saver Containers
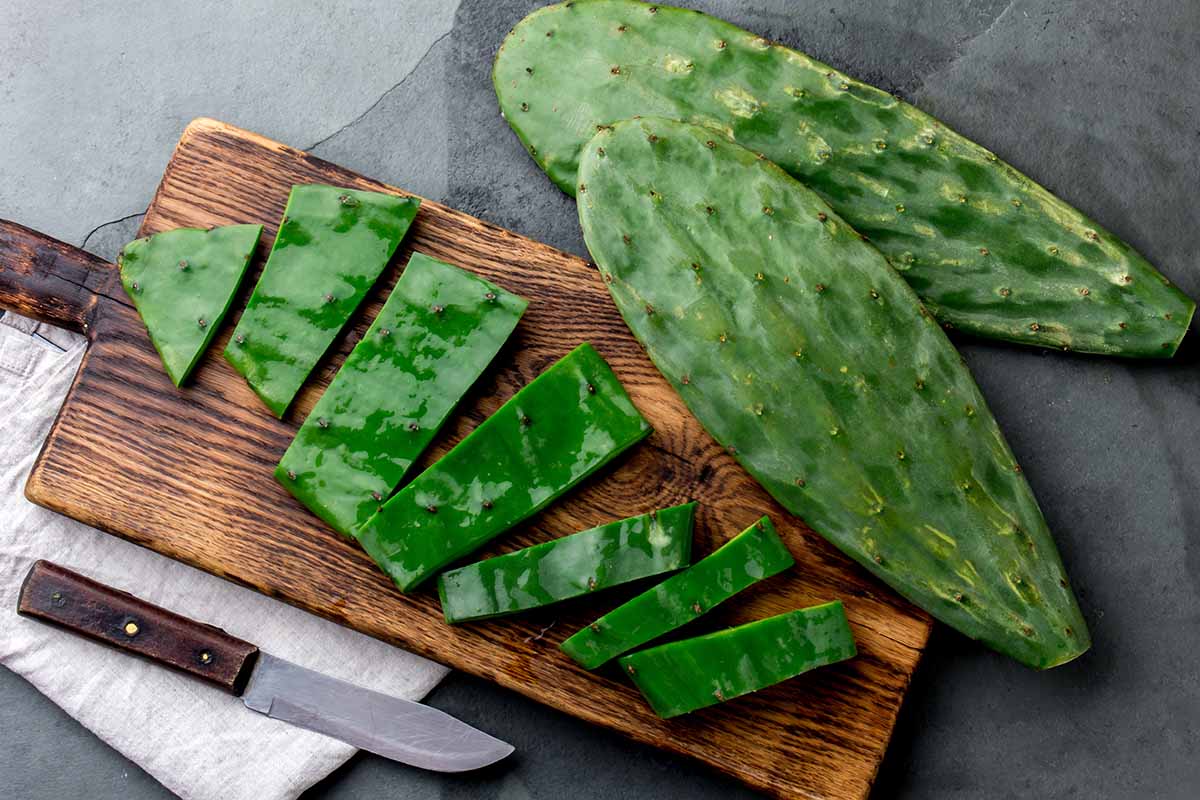
Give them a once-over to be sure that all spines and glochids have been removed, and then wash them under cold water. If you’re using them fresh, they can now be peeled if you like, and sliced or diced into pieces of the desired size.
If you don’t enjoy the mouthfeel of the slightly slick flesh when it’s cooked, which is similar to okra, you can parboil the pieces for eight to 10 minutes. In the last two to three minutes of cooking, add a pinch of baking soda to the water.
Drain through a colander and submerge the pieces in an ice bath to prevent them from cooking further. They can then be used in a recipe or stored for one to two days in the refrigerator.
Boiling in water can also leach out some of the oxalic acid content in the pads.
Prepared pads can be spread out on a cookie sheet lined with waxed paper in a single layer and frozen for about 30 to 45 minutes or until firm, then transferred to a zip-top bag for storage in the freezer for up to 12 months.
They can be stored whole, cut into strips, or diced.
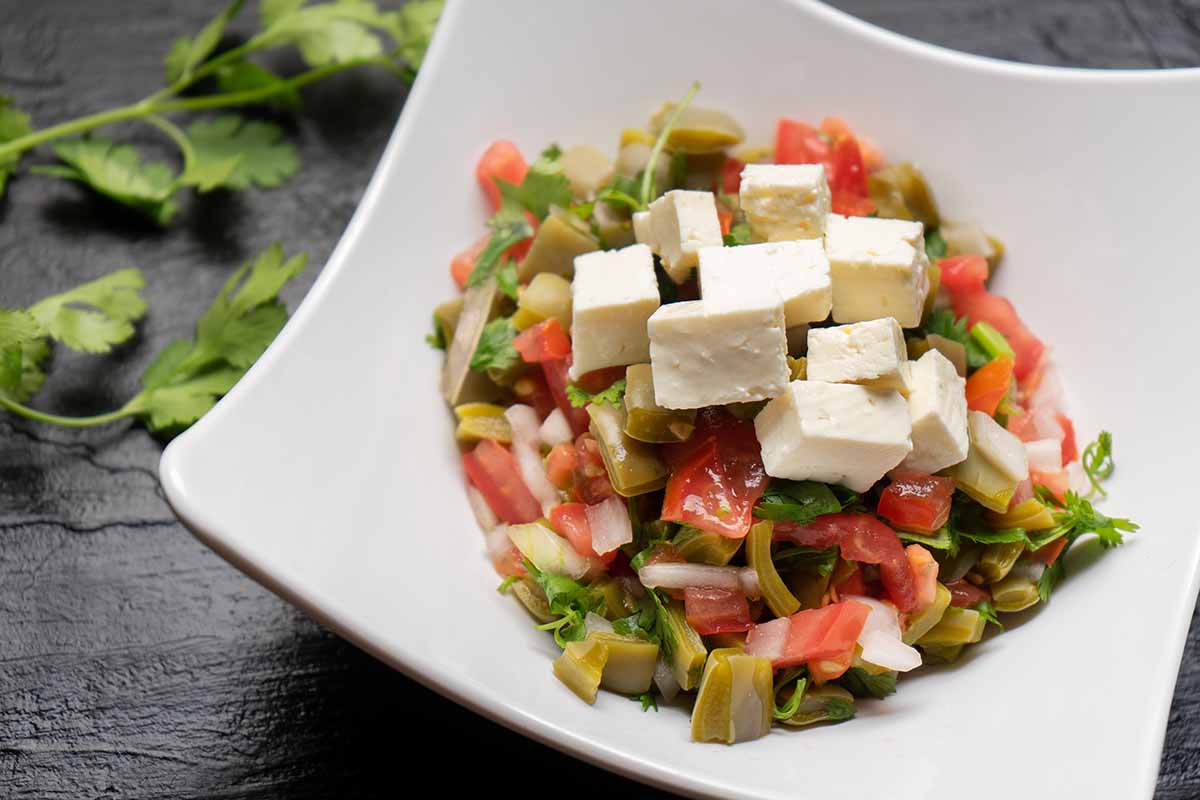
Pads have a green bean-like flavor. They can be breaded and fried whole or cut into strips or cubes; or sauteed in a pan with garlic, butter or oil, and salt or your favorite spices. It only takes a few minutes – a quick, delicious side dish or a main course in place of meat!
Diced nopales can be added to many recipes, either fresh or parboiled. They can be included in cold or warm salads, scrambled eggs, or jambalaya.
Grilling is another excellent way to prepare pads. Simply rub them with oil, add salt and pepper, and spices to taste – lemon pepper is amazing, but Greek or Asian spice blends work as well.
Strips can be pickled in vinegar, salt, and pickling spices, and pressure canned to last for several months, or used fresh after several days of brining.
You can find some additional suggestions on how to prepare your bounty in our complete guide to plants in this genus, along with recipes and suggestions from our sister site, Foodal.
Quick Tips
- Collect young pads early in the morning for the best taste and texture.
- Avoid consuming any plants treated with chemicals or foraged from polluted areas.
- Use long tongs and a knife or shears to remove pads to avoid accidental injury.
- Be sure to burn or pull off all spines and glochids prior to preparing nopals for eating or storage.
- Store your harvest in the refrigerator for up to one week, or in the freezer for up to 12 months.
Avoid a Hazardous Harvest!
If you’re a foodie, this is one experience that you don’t want to miss. Just as other types of fresh produce from your garden are often so much better in taste, texture, and quality than store bought, homegrown nopals will be, too.
Confidence is key! With a plan in place, each harvest will get easier until you no longer feel unsure of what you’re doing at all. You’re already several steps ahead of the game because you took the time to learn, and learning is half the battle, isn’t it?
We want to hear all about your harvesting experience and how you used the nopals. Let us know in the comments below – and if you have some suggestions for new ways to prepare them, we’re all ears!
To learn more about growing cacti and succulents at home, read these guides next: