If you’re considering transplanting or repotting your aloe, it’s crucial to do it properly to promote its health and longevity.
Whether you’re doing it for aesthetic reasons or because your plant has outgrown its current container, following the instructions in our guide will help ensure successful transplanting or repotting.

We link to vendors to help you find relevant products. If you buy from one of our links, we may earn a commission.
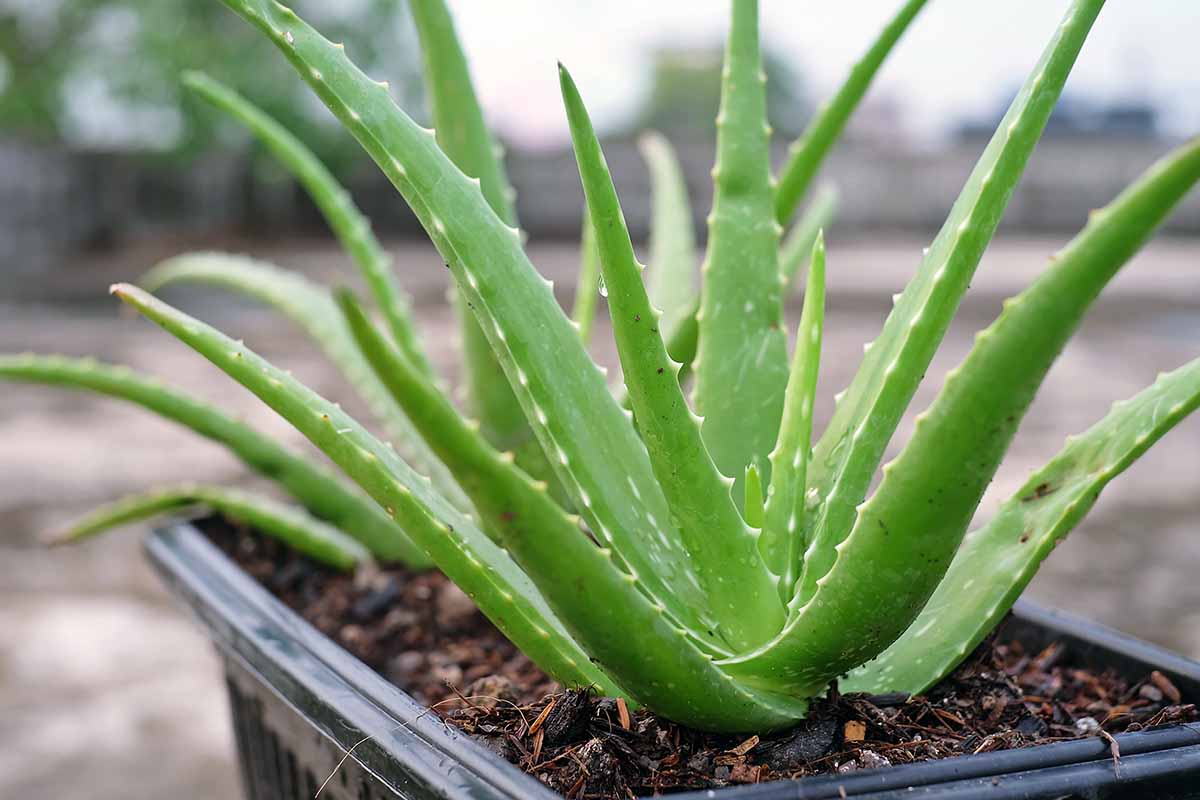
The type of aloe plants we are covering in this guide are the common ones that grow low to the ground. You can read more about these and other types of aloe in our roundup.
Continue reading below to learn how easy it is to repot your succulents in three simple steps.
Here’s what we’ll cover:
3 Simple Steps to Transplant or Repot Aloe
1. Getting Started
First, choose a pot slightly larger than the current one, and make sure it has drainage holes.
These succulents thrive in well-draining soil, so selecting a pot with proper drainage is essential. If you’re planting in the ground, choose an area with full sun and fast soil drainage.
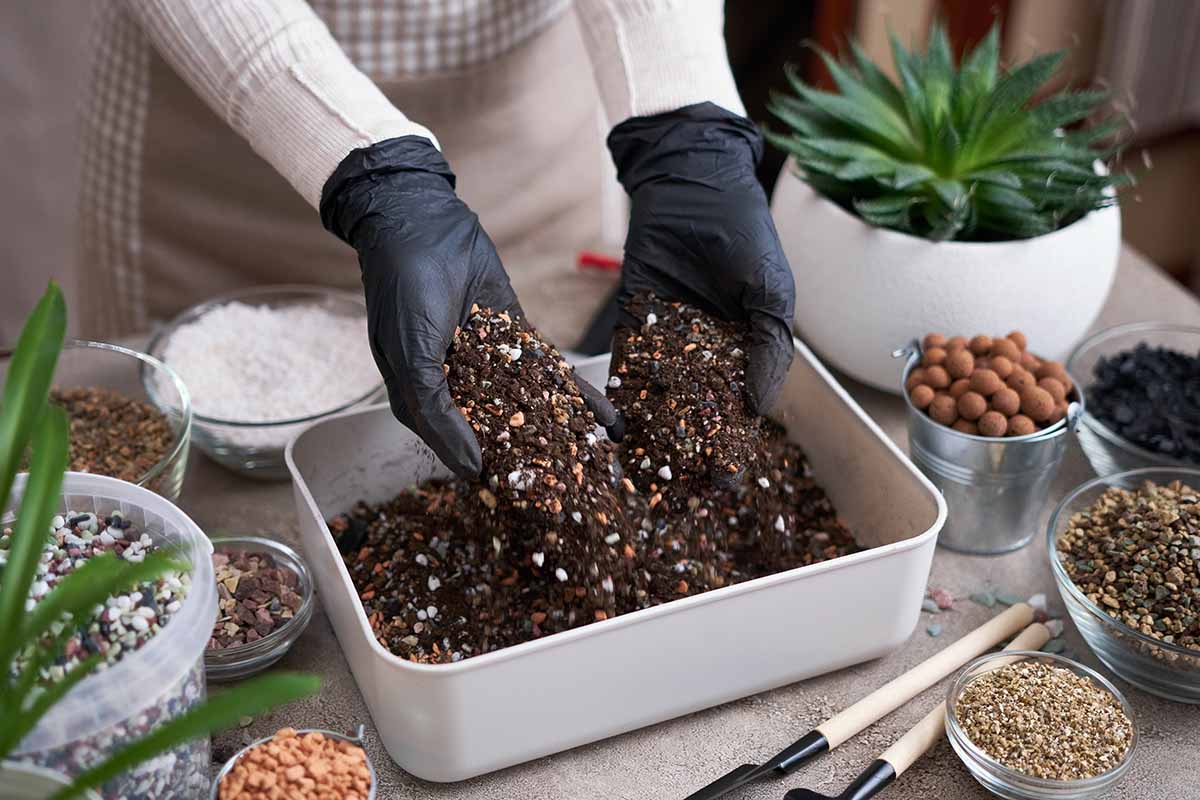
Next, for repotting, prepare the soil by mixing equal parts sand, perlite, and potting soil to create a well-draining blend.
You can read more about making your own succulent potting mix in our guide. Avoid using regular garden soil as it holds too much moisture, which can cause root rot.
Rosy Soil Cactus and Succulent Mix
If you’re looking to purchase the perfect soil blend suited for succulents, try this Rosy Soil Cactus and Succulent Mix, available at Terrain.
2. Dig It Up or Unpot
Most aloes will need to be repotted after a few years, especially if your plant’s growth is slowing down.
A few additional signs to look out for may indicate your succulent has outgrown its container or become overcrowded:
- The roots may appear from the drainage holes at the bottom of the pot.
- The plant may become top-heavy and begin to lean over.
- New leaves may be smaller and less vibrant in color.
If you notice any of these signs, it may be time to repot your aloe into a larger container!
The best time to transplant is during the spring season. This is when the plant is actively growing and can better adjust to its new environment – although, where I live in Southern California, these succulents can be transplanted at any time!
If your aloe is flowering and you want to transplant it, just cut the flower stalk before you start the process.
If you notice new plants, or pups, growing around your succulent, they can easily be divided to start new plants.
By doing that, you’ll give your plant more space to thrive before having to repot or transplant it. Learn how to propagate aloe pups in our guide.
When removing the plant from its current pot or growing space, gently loosen the soil around it with a hand trowel or shovel, depending on the size, and carefully remove it.
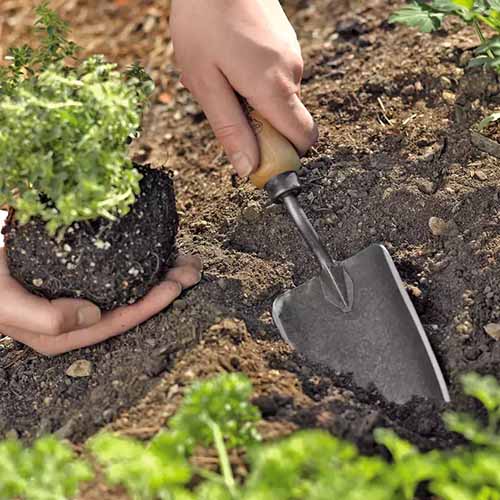
This Gardener’s Lifetime Trowel is super sturdy, making it the perfect tool for digging, planting, and mixing soil. You can get one of your very own from Gardener’s Supply Company.
If the roots are tightly bound, you can use a clean knife or pruning shears to cut through them.
Once the plant is out of the pot or its in-ground spot, check the roots for any damaged or brown, discolored, or soft portions and remove them with sanitized sharp scissors.
3. Transplanting or Repotting
Position the plant in the new pot, ensuring it’s at the same depth as in the previous pot. Add some soil around the roots and gently press it down.
If planting in the ground, dig a hole double the size of the root system and then place it in that space, filling in any extra space with the soil you dug up.
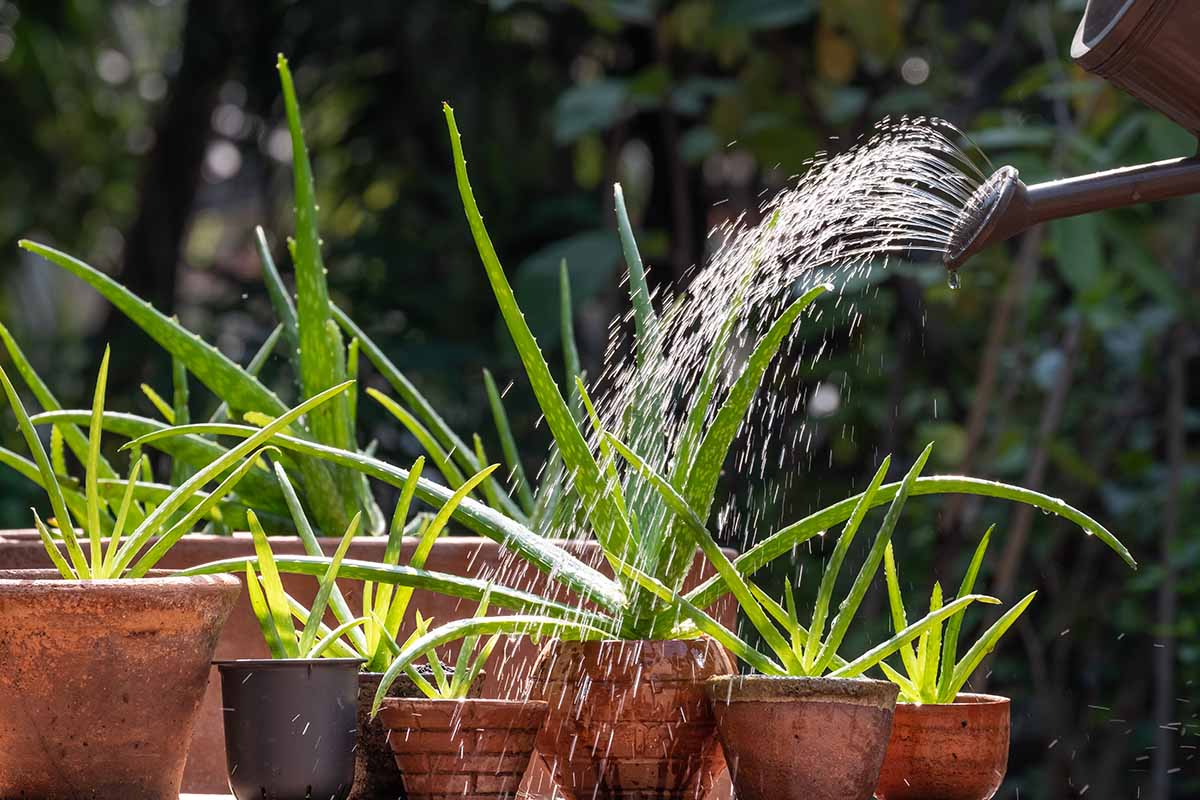
Give the plant a deep drink of water to help it settle into its new home.
Remember to choose a new in-ground location or place your newly potted plant in a bright spot with plenty of light. Aloes need bright, indirect sunlight to thrive.
Lastly, wait for the soil to dry out completely before watering again. Overwatering can harm these succulents by creating conditions perfect for root rot.
You can learn more about how to grow and care for aloe vera by reading our guide.
Give Your Aloe a Fresh Start
Following these simple steps, you can confidently transplant or repot your aloe and ensure its healthy growth by giving it a new lease on life.
Once you complete the process, you’ll be a pro able to help other gardeners do the same.
Do you periodically repot or transplant your succulents? Comment below with your experience to help inspire other gardeners.
Expand your understanding of aloe by reading these articles to gain more valuable insights about this incredible succulent:


I have a purchased aloe that needs to go into a bigger pot. When I pulled it out of the pot I discovered that the roots encircle the pot – they are going sideways around the circumference of the pot. Should I leave them like that and just put into new pot like that or should I try to move them to a more vertical alignment? Or cut them?
Hi, thanks for your question. When the roots are circling the pot it means the plant has become very rootbound. When this happens it’s best to try and tease them apart by hand or failing that use a knife to make careful vertical cuts to try and loosen them up a bit.