Are your Aloe vera plants starting to take up too much space?
That means it’s time to give them some extra room to grow and create new plants that you can share with others as gifts by dividing them.

We link to vendors to help you find relevant products. If you buy from one of our links, we may earn a commission.
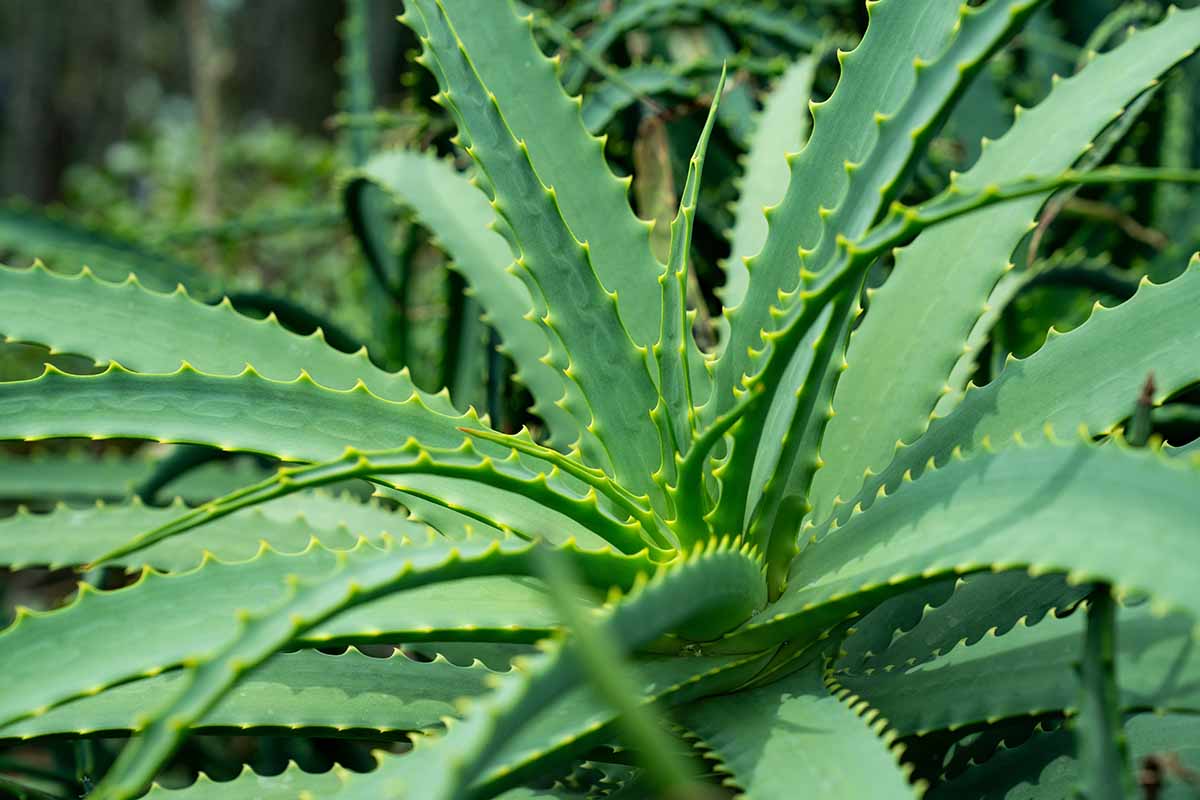
There are over 400 species of aloe. In this guide, I’ll focus on dividing the types that grow low to the ground, not the tree-like ones, which entails a different process.
You can learn more about the different aloe species by checking out our guide that covers various types.
Now, let’s dive into the step-by-step how-to that will show you how to easily divide these fantastic succulents.
Here’s what’s ahead:
How to Divide Aloe in 5 Simple Steps
By following these straightforward steps, you can easily divide your A. vera plants and keep them thriving for years.
This process is a great way to keep them healthy and looking their best.
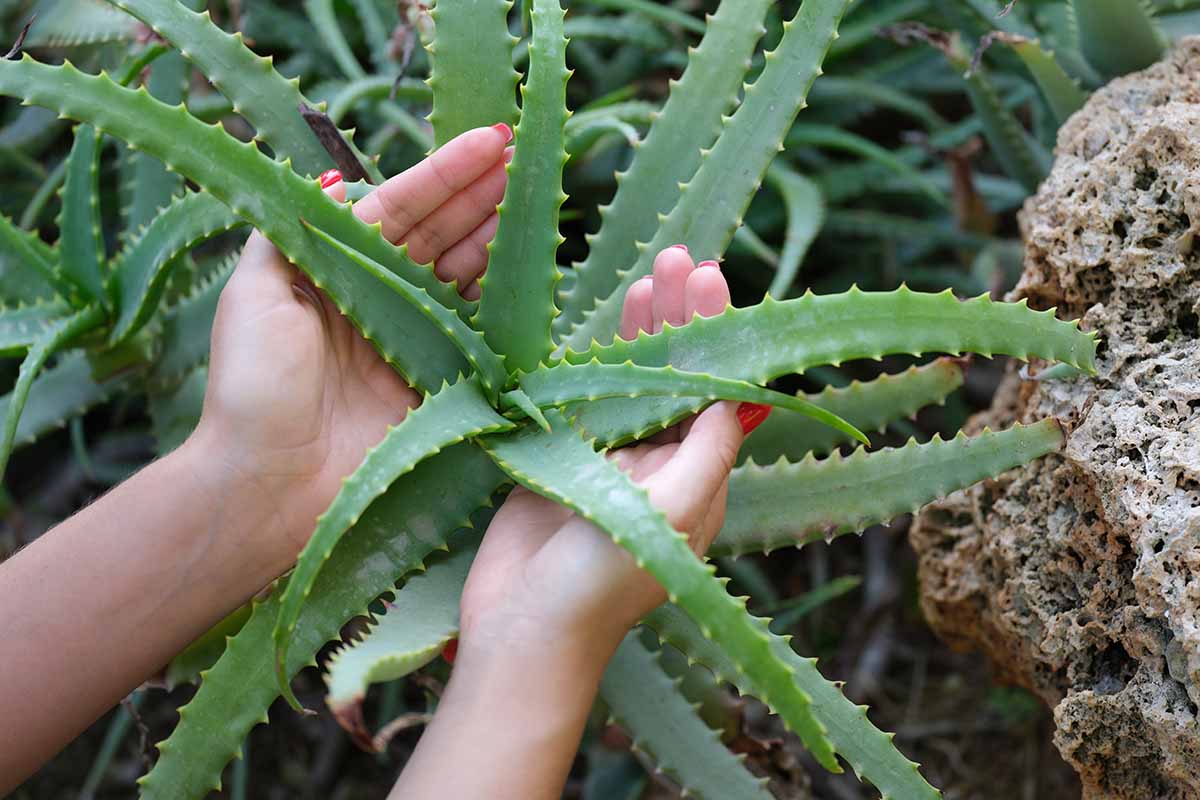
1. Select a Specimen
First, to determine when to divide your aloe plant, you should look for signs of mature pups starting to overcrowd and get cramped in the area where they are planted, either in the ground or in a pot.

Since these succulents are resilient, you can do this any time.
However, I like to divide them during late fall or winter in southern California since it can get sweltering here at other times of year.
I would have to water them more often to encourage root development at times when the soil dries quickly, so it’s better to divide when the weather is cooler.
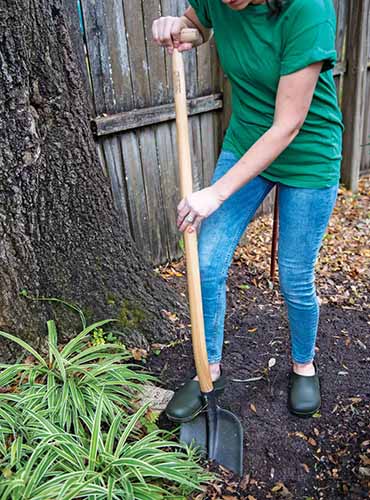
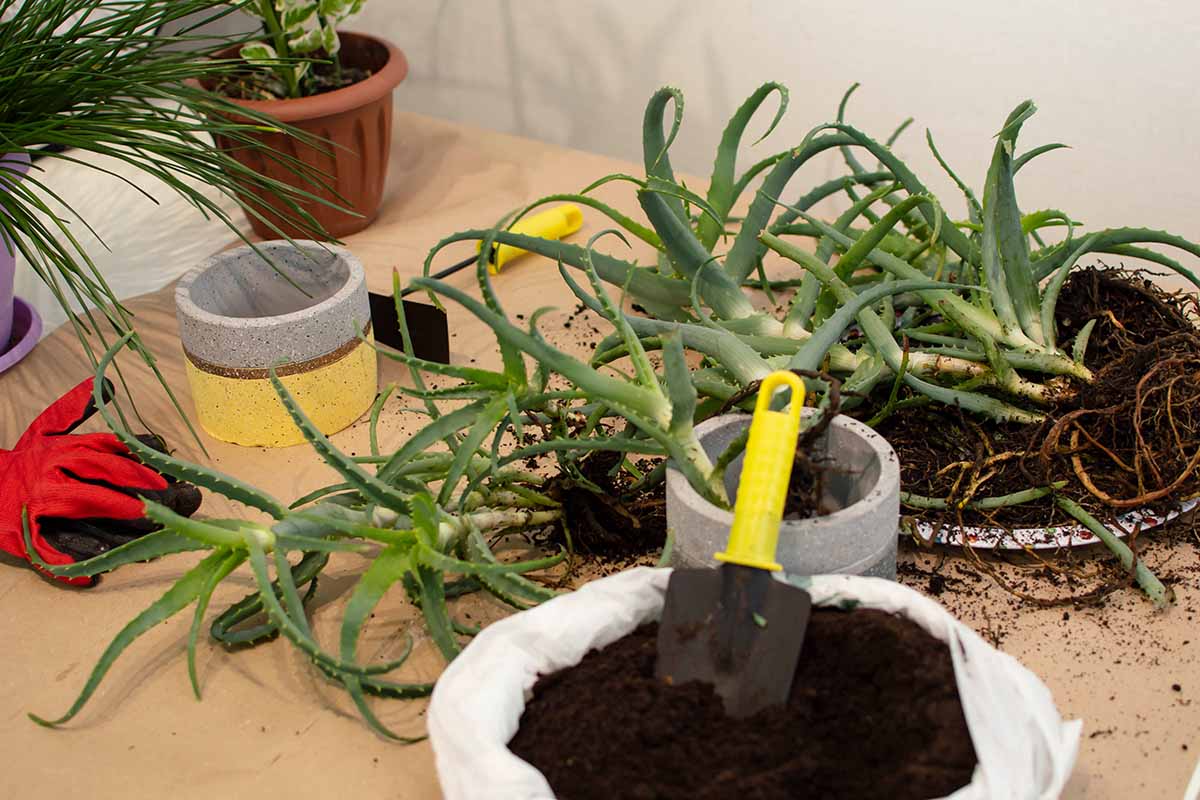
2. Unpot or Dig Up
Next, carefully remove the plant from its pot or garden bed.
If they’re growing in the ground, you can use a shovel to dig them up, and if they’re growing in a pot, you can either set the pot and its side and wiggle out the plant, or if the pot is larger, you can also use a shovel to uproot them.
The sharp, wide teeth of this Dig and Pry Tool available at Gardener’s Supply Company does an amazing job at cutting through the toughest perennial clumps in the garden, making separating or moving established plants a breeze!
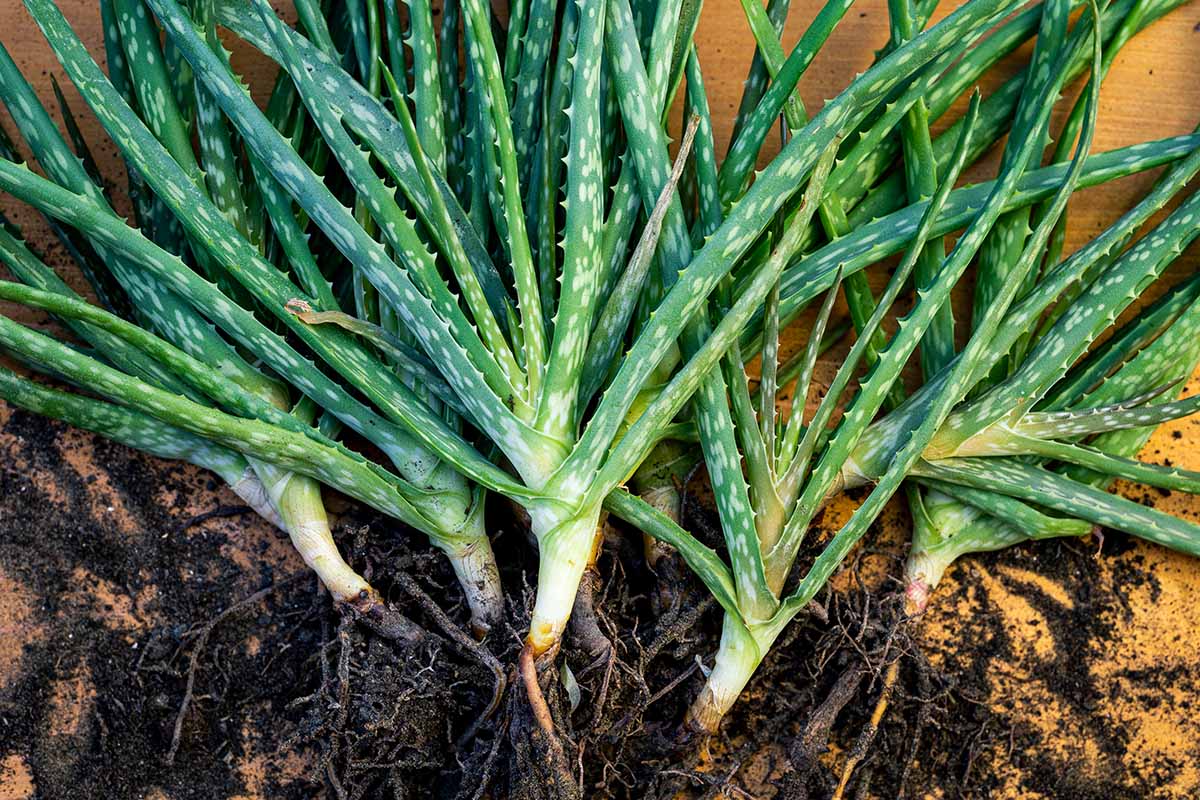
3. Locate Offsets or Natural Separations
Thanks to the resiliency of this succulent, its roots are not as sensitive as some, and it will be forgiving if you damage a few roots here and there.
Gently shake or brush off any excess soil from the roots and look for natural separations in the plant, such as offsets growing from the main section, to begin dividing them.
4. Create Divisions
Use a sharp, clean knife to cut through the roots and separate the offsets from the main plant.
You now have additional succulents that you can cultivate in new pots or garden beds. You may also share your divisions with loved ones!
5. Transplant
When transplanting your divided succulents, choose a pot with drainage holes in the bottom or a garden bed with excellent drainage.
Fill the pot with a well-draining soil mix, leaving about an inch of space at the top.
Why not transplant them into a stunning container like this authentic Talavera Chata planter from Plow & Hearth?
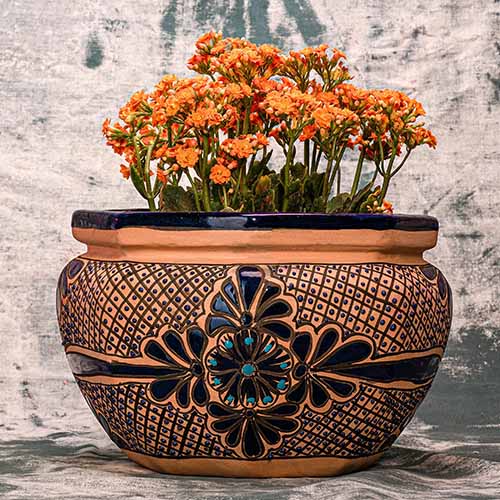
Its eye-catching shape with hand-painted details and texture will delight anyone!
Dig a hole large enough to accommodate the established roots and then place the division in the center of the new pot or garden area.
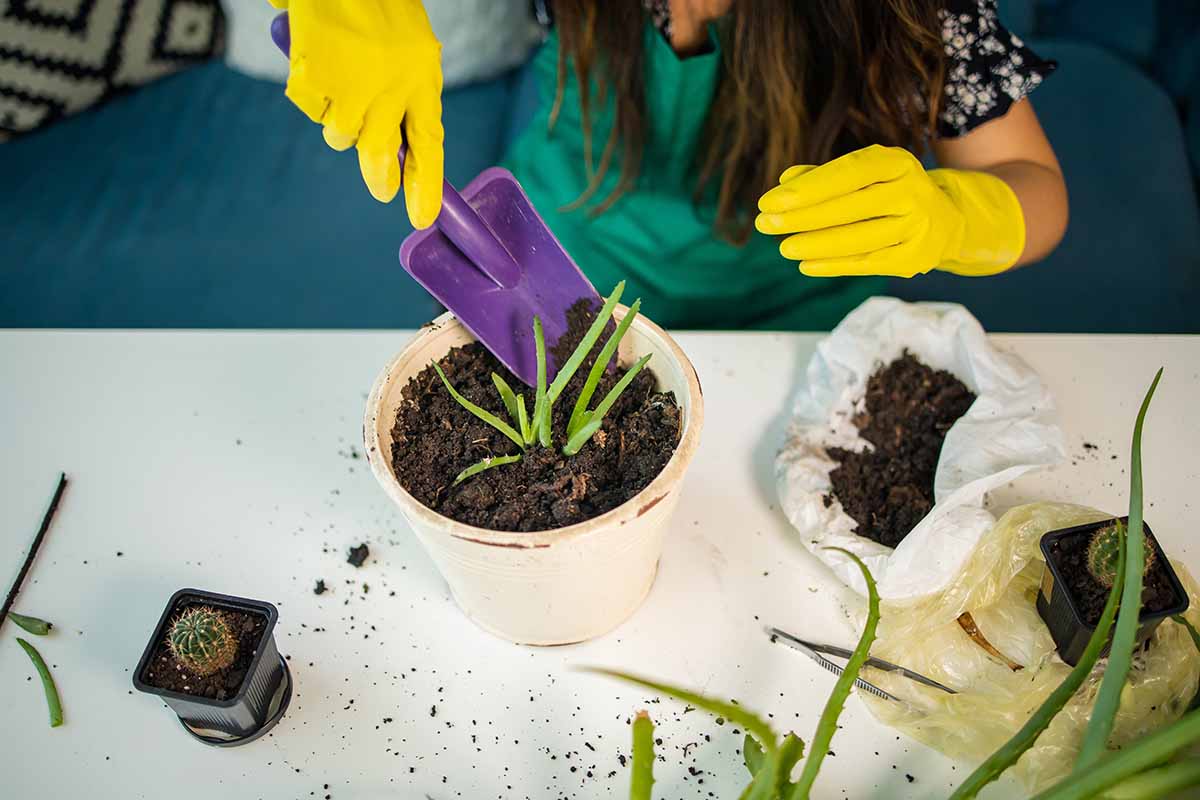
Fill any empty space with soil, gently pressing down to secure it in place.
Aloe prefers bright, indirect sunlight, so place the pot or cultivate them where they can receive plenty of natural light.
Be sure to water the plant regularly but avoid overwatering, as this can lead to root rot.
Allow the newly transplanted divisions to settle for a few weeks before resuming their regular care routine.
If you need a refresher on how to grow aloe, check out our guide.
Sharing Succulents
With this guide handy, your new A. vera succulents will thrive. Enjoy the beauty and benefits of these divided plants in your garden or share with family and friends!
Dividing plants ensures they have a long future, and by sharing them with others, we can help increase access to resilient aloes.
How often do you divide your aloe plants? Please share your experience with us in the comments below to help encourage other gardeners to do the same.
Ready to learn more about caring for aloe in your home and garden? Read these guides next: