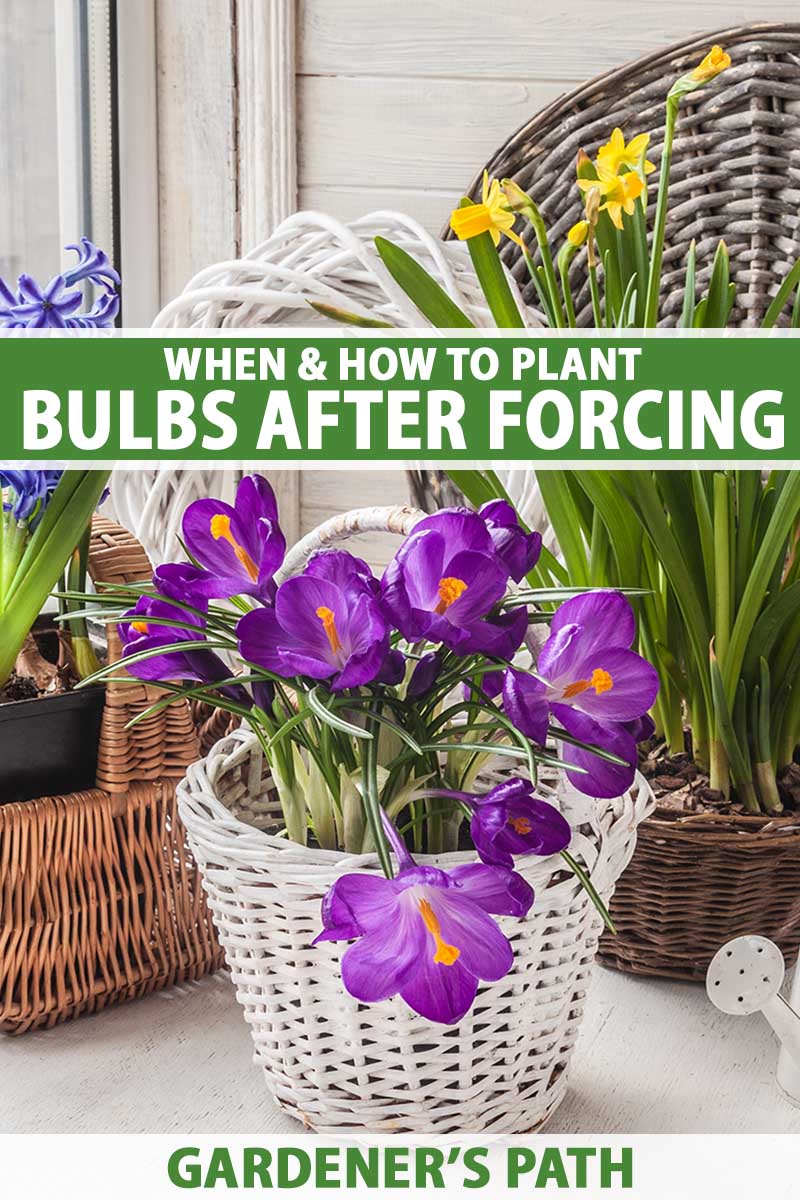
Forcing spring and summer bulbs to bloom indoors is a brilliant way to add color and fragrance to the winter homescape – and most forced varieties can be planted out in the garden after they’ve finished blooming inside.
Once they’ve been forced, they generally can’t be reused for indoor blooms again, with a few exceptions like properly cared for amaryllis.
But many can transition successfully into the garden and will produce outdoor blooms again in just a year or two, depending on the type.
We link to vendors to help you find relevant products. If you buy from one of our links, we may earn a commission.
After they’ve finished blooming, the bulbs need to replenish their energy through photosynthesis – the capture and conversion of sunlight into energy via their foliage.
This means that after-flowering care is an important step to refuel and recharge energy stores.
Unfortunately, tulip cultivars usually don’t do well after forcing, although limited success might be found with species or wild varieties.
Those forced in water will need to be tossed once they’re finished. Without a growing medium, they’ve exhausted their energy reserves and won’t recover sufficiently for good floral displays – compost or discard these once the blooms are spent.
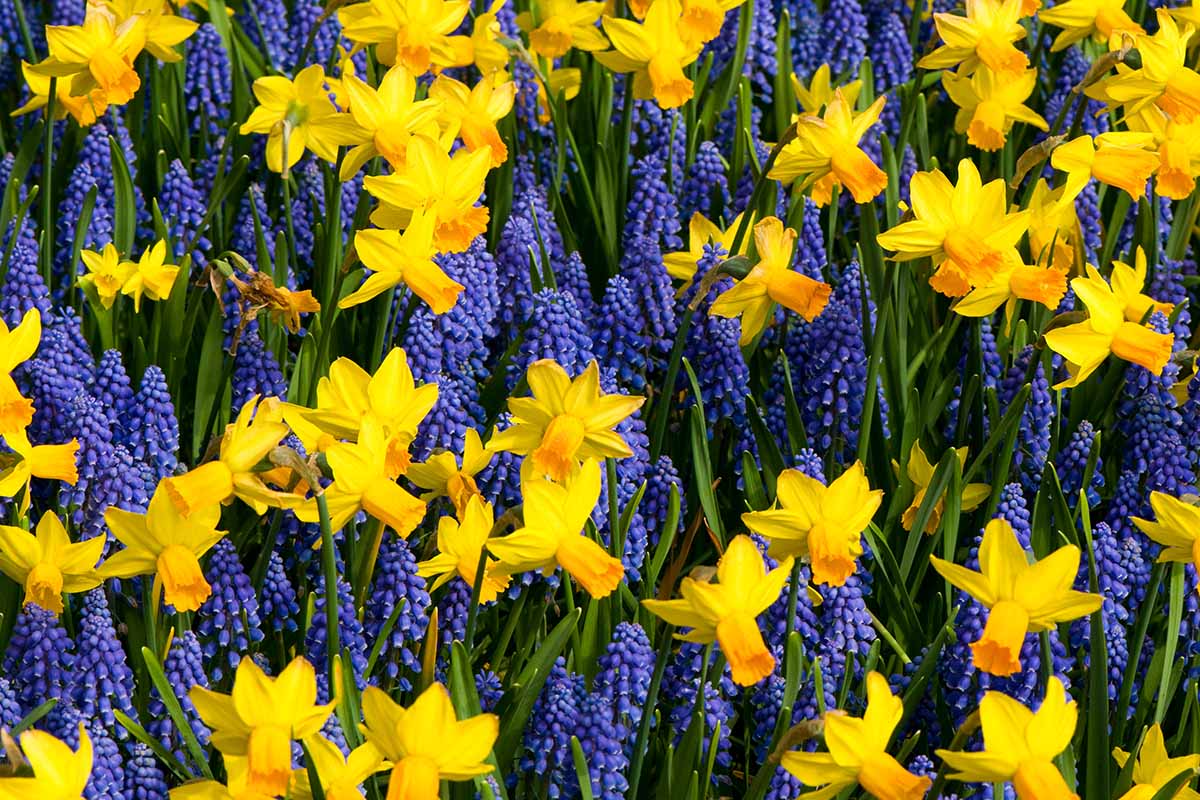
Plants like amaryllis, crocuses, daffodils, grape hyacinths, hyacinths, lilies, snowdrops, and many others are easily rejuvenated and revert back to their normal blooming cycles with a bit of care.
Are you ready to rescue some forced plants for the garden? Then let’s dig into how to plant flower bulbs after forcing!
Here’s what’s up ahead:
How to Plant Flower Bulbs After Forcing
Reset the Clock
Most of the bulbs forced for indoor blooms are spring- or summer-flowering varieties such as amaryllis, daffodils, or lilies.
Forcing them to bloom out of season typically involves an induced dormancy period followed by a spell of cold temperatures to break dormancy, then placement in a brightly lit location to begin another growth cycle.
Many varieties are easily tricked, or forced, into blooming out of season, but eventually they’ll revert back to their natural flowering cycles when planted outdoors.
Small varieties like crocus, grape hyacinths, and snowdrops respond readily to planting out and typically recover quickly, producing plenty of blooms.
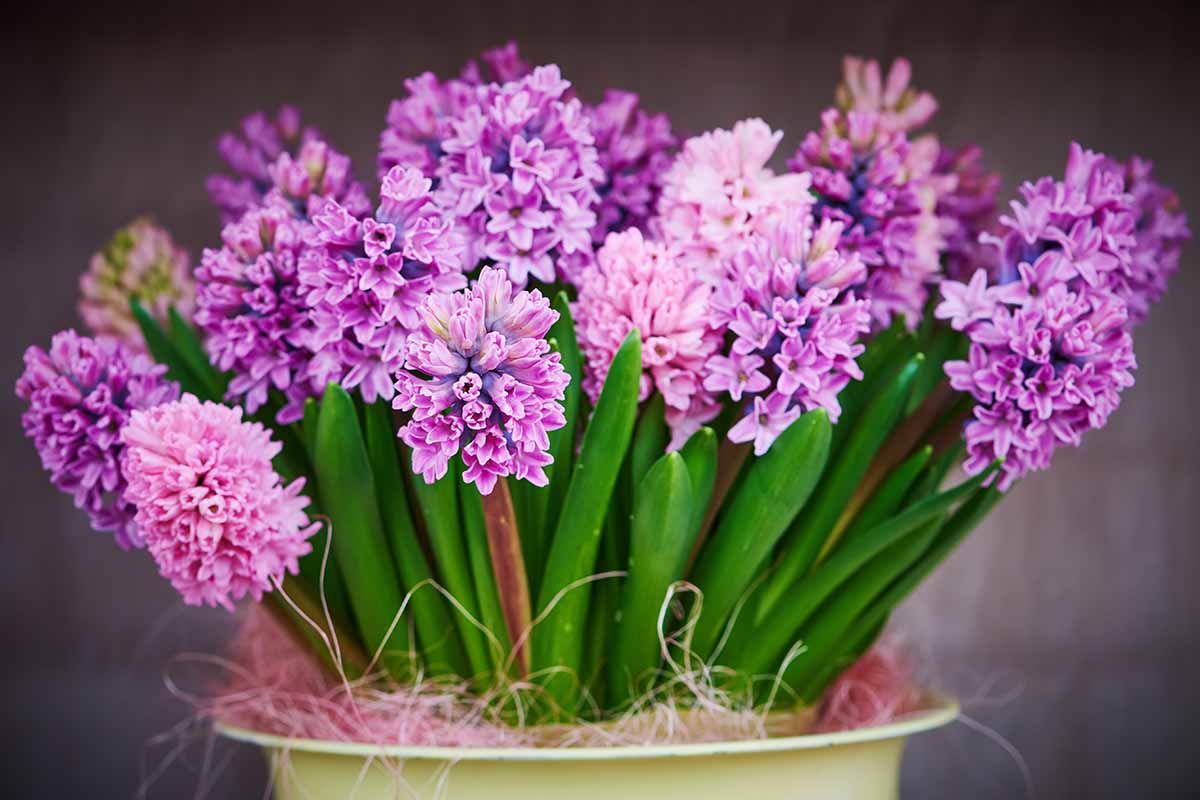
The same is true for mid- to large-sized ones like daffodils, hyacinths, and lilies.
Even extra-large types like the flamboyant amaryllis can be planted out in areas with mild winters or saved and re-forced indoors for many years to come.
However, the larger types can take a couple of years to reset their internal clocks and rebloom fully. They may produce only foliage in their first year or two back in the garden.
Be patient with them! if they’re producing healthy foliage, the storage organs are replenishing their energy stores and buds should appear the following season.
How to Save Forced Bulbs
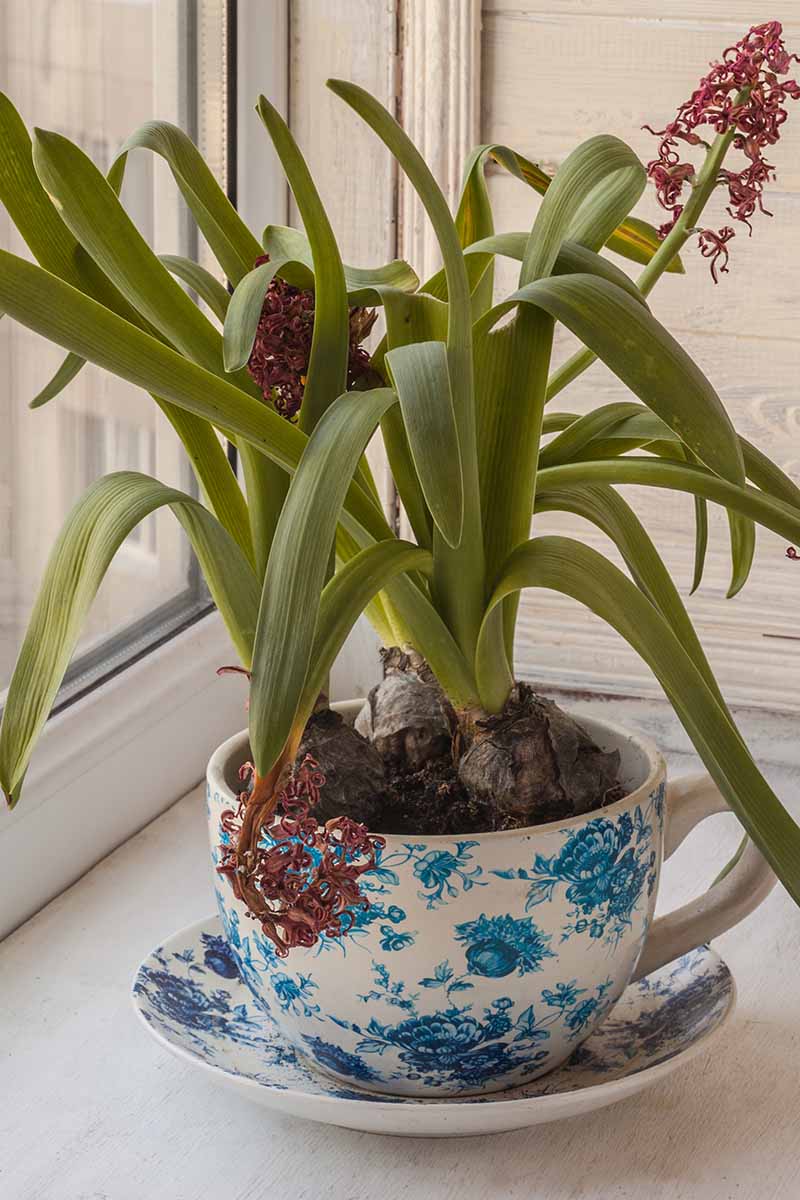
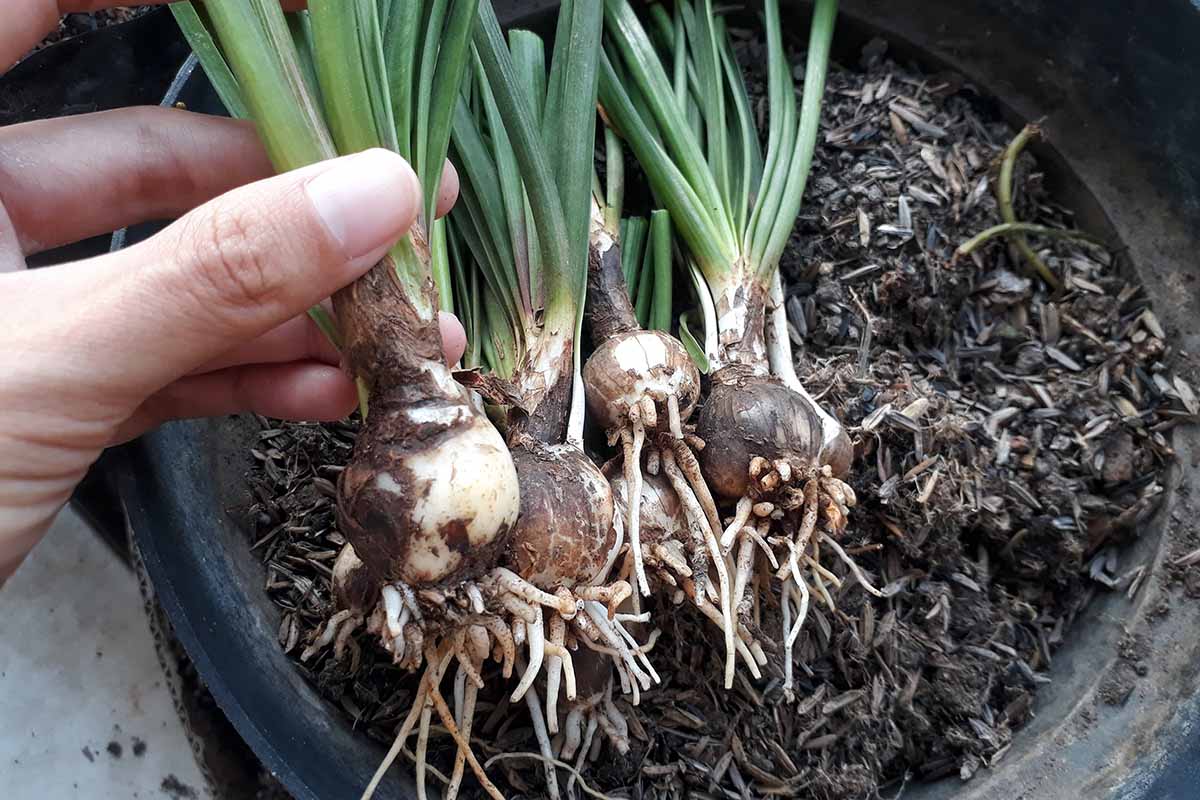
Once flowering is finished, deadhead or clip off the spent blooms, but leave stems and foliage intact.
Set containers in a bright location or sunny indoor windowsill in a cool room with temperatures between 55 and 70° F – a window in an unheated garage or enclosed porch is ideal.
Feed once with an all-purpose, balanced fertilizer with a formula such as 10-10-10 NPK. This organic granular fertilizer with a 4-4-4 NPK from Burpee is perfect for the job.

Continue to water as usual while the foliage remains green and thriving.
After several weeks, the leaves will turn yellow followed by brown, before withering, and finally dying back as the plant prepares for dormancy – the timing of dieback can vary by a few weeks, depending on the species.
Remove dead foliage by cutting it off at soil level with sharp scissors, and once all the leaves are gone, allow the soil to dry out completely.
For spring-blooming varieties, set the pots in a dry, cool location, such as a basement, garage, or shed until it’s time to plant out in fall.
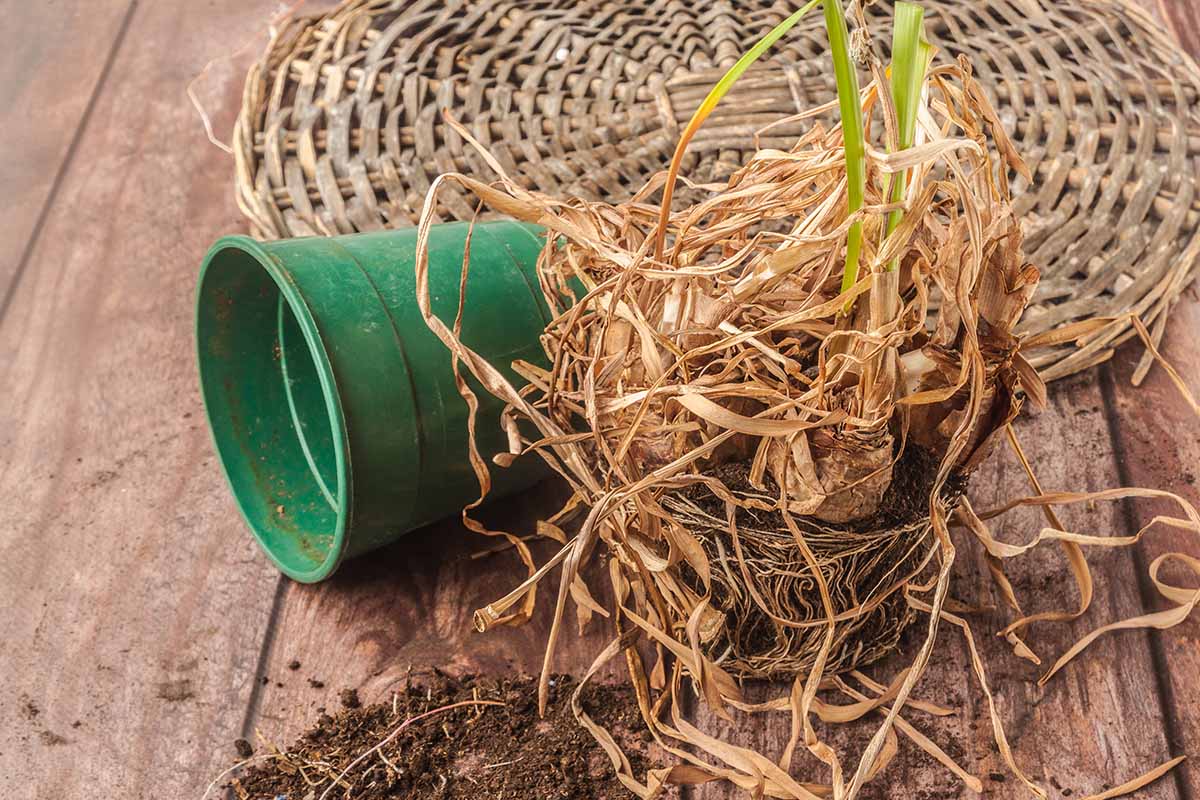
Alternatively, before storing, you can remove the bulbs from their containers, shake off the soil, and clean away dead leaves before placing them in a paper bag or cardboard box lined with coconut coir, peat moss, or vermiculite.
Summer budding types can be left in their pots until spring temperatures have warmed enough for planting out into the garden.
When and How to Plant Out
It takes a lot of energy for plants to grow and bloom out of season.
For a successful transition to the garden, they’ll do best when planted in nutritious and well-draining soil amended with plenty of organic material such as compost or well-rotted manure.
And in general, most prefer a slightly acidic to neutral pH of 6.0 to 7.0.
They also benefit from the addition of phosphorus mixed into the planting site in the form of bone meal, bulb booster fertilizer, or rock phosphorus.
Whichever product you choose, be sure to apply per package instructions.
Phosphorus is an important mineral for promoting strong cells and roots, energy storage, and bud development.
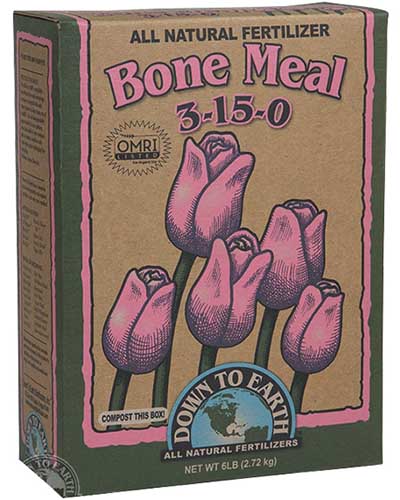
Down to Earth bone meal is an excellent source of phosphorus with a formula of 3-15-0 NPK and is available at Arbico Organics.
But phosphorus is slow-acting and doesn’t move through the soil, so the product should be mixed into your planting medium at root level where it can be easily accessed, and not sprinkled on the surface.
Plant bulbs at a depth that’s two to three times their height.
For example, a daffodil that’s two inches tall can be planted to a depth of four to six inches.
However, if you experience cold winters with frozen soil for several weeks, go deeper and plant them at three times their height for greater protection. In areas with mild winters, planting at twice their depth is sufficient.
Spring-blooming varieties should be planted in early to mid-fall, about six weeks before the ground freezes, or by the end of November in regions with mild winters.
Wait until mid to late spring to plant out summer blooming types, or until after the soil warms up to 60° F – planting too early in cold, wet soil can lead to root rot.
After planting, water deeply but gently.
Once new foliage emerges, feed monthly with an all-purpose liquid fertilizer or apply slow-release granules in early spring and again in early summer. Stop fertilizing when the first flower buds are about to open.
Color and Fragrance
Few things can brighten winters’ short days better than the brightly colored, fragrant blooms of forced bulbs!
And once they’ve finished blooming indoors, most can be saved and planted out in the garden to flower for years to come.
Remember to keep the foliage in place to replenish energy and water regularly until the leaves die back for dormancy.
In spring or fall, plant out into nutrient rich soil and your plants will soon return to their natural rhythms, restoring their pretty blooms to the garden once more.
Now that you know how, will you plant your forced bulbs outdoors this year? Tell us in the comments section below.
And for more ideas on how to force flowers indoors, add these guides to your reading list next.