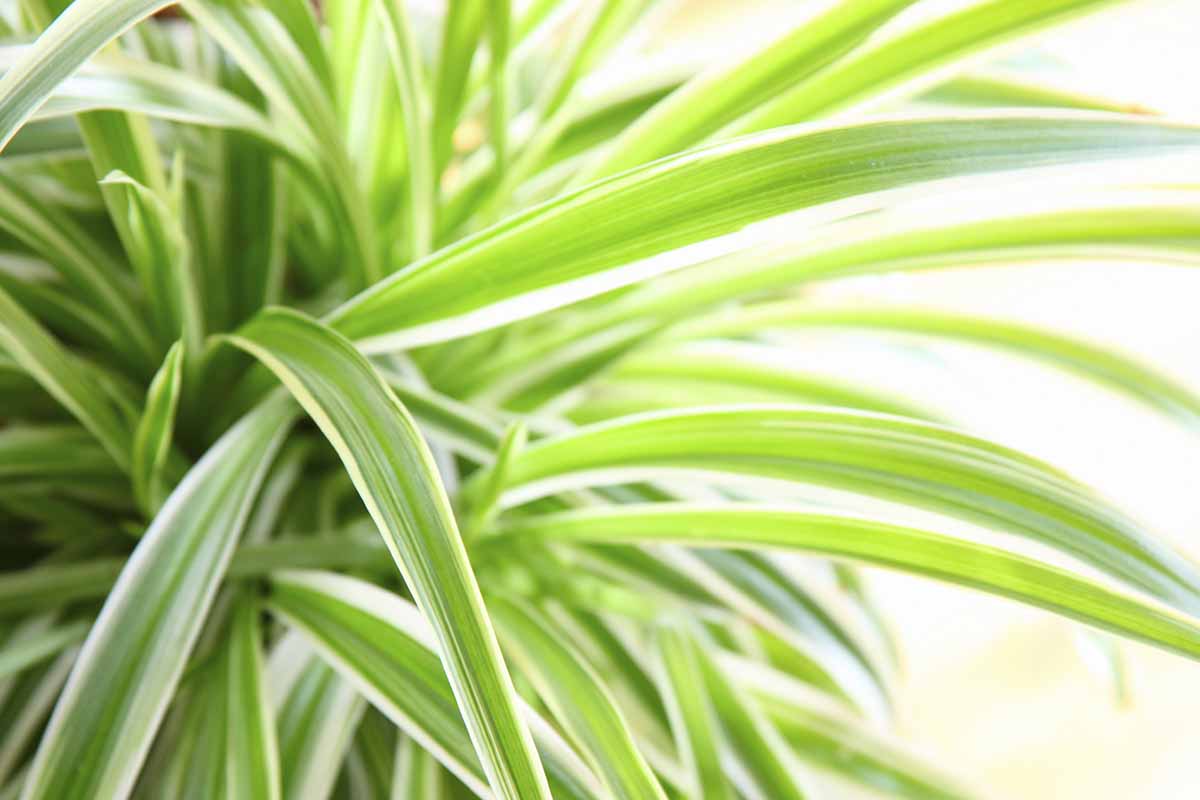
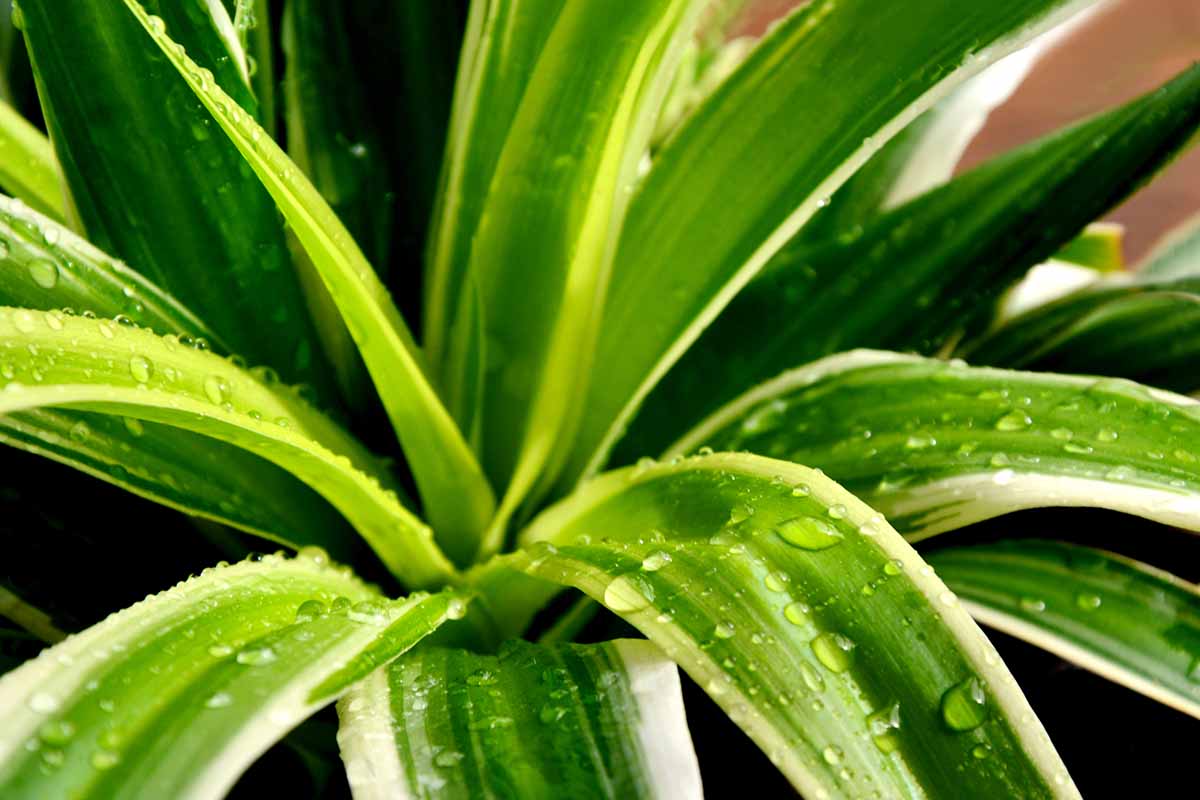
Spider plants (Chlorophytum comosum) are reliable, easy to care for houseplants that need little maintenance.
However, as fast growers, these plants do require repotting every one to two years. And when you repot a spider plant, you’ll want to make sure you do it right!
We link to vendors to help you find relevant products. If you buy from one of our links, we may earn a commission.
Repotting this easygoing houseplant, also known as “spider ivy,” “ribbon plant,” “airplane plant,” and “St. Bernard’s lily,” isn’t difficult, but you might have some questions as you work through this indoor gardening task.
This article will provide you with step by step guidance, answering commonly asked questions along the way.
Here’s a sneak peek of what I’ll cover:
Repotting Spider Plants in 5 Steps
In this article we’re going to cover the process of repotting spider ivies to different containers.
If you’d like to know more about caring for these houseplants, read our article for a full guide to growing spider plants.
1. Make Sure You Need to Repot
When was the last time your spider ivy was repotted? Generally it’s a good idea to repot small specimens once a year, and larger ones every two years.
However, before you transplant your houseplant into a new container, make sure that you do indeed need to repot. One way you can do this is by inspecting the specimen’s root ball.
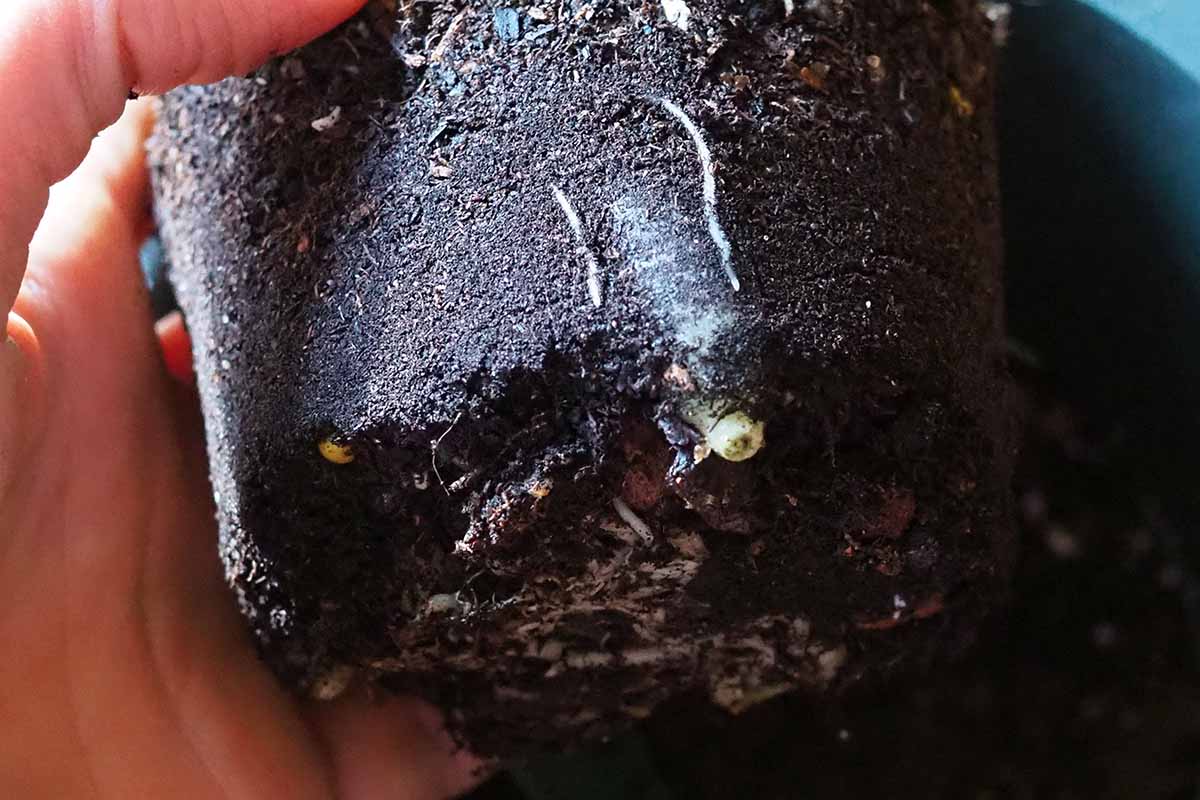
Specimens without much sub-soil growth, where there is more growing medium than there are roots in the pot, still have plenty of room to expand in their current containers.
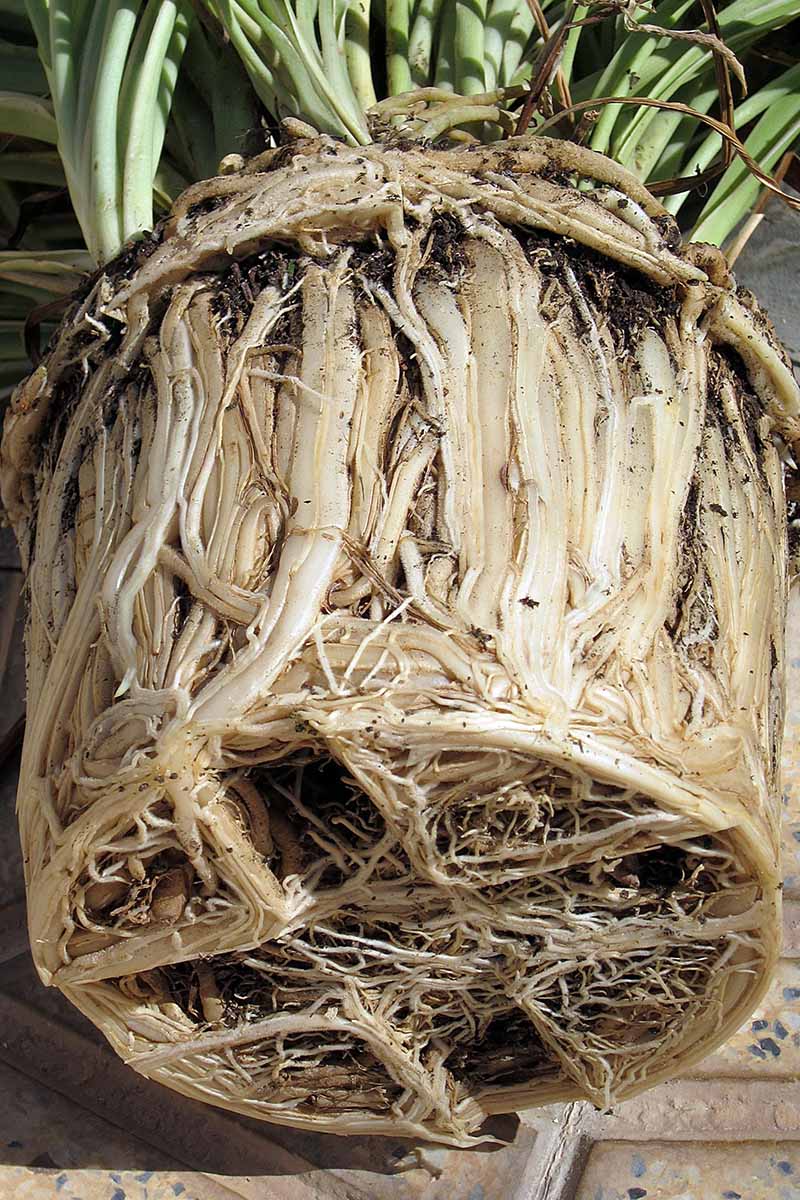
On the other hand, if roots are emerging from either the top of the soil or out of the drainage holes, or if the plant is potbound – when the root system fills up most of the space in the container – then it’s a good time to repot.
Making it exceedingly clear that a change of container is in order, some ribbon plants will even burst their pots as they grow!
Beyond root considerations, the best time to repot a spider ivy is in the spring, at the start of an active period of growth, so if your specimen hasn’t yet cracked its container, try to wait until then if you can.
Finally, there are a few other situations when you might want to repot into the same sized – or an even smaller – container no matter the time of year:
If your specimen is growing in a container with no drainage holes, this constitutes a houseplant emergency – replant it asap!
You might want to consider splitting your plant at this time to make two separate specimens. This is one of several propagation methods for spider plants.
Another cause for immediate action is if it’s planted in an oversized pot – such as a two-inch specimen transplanted into an eight-inch container.

The growing medium in oversized containers will take a long time to dry out between waterings. This is a situation that can make your houseplant vulnerable to the disease known as “root rot.”
If your specimen is in an oversized pot, go ahead and repot to one that is a tighter fit – there should only be about an inch of growing medium between the edge of the rootball and the edge of the container.
Finally, if overwatering, poorly draining growing medium, or an oversized container have caused root rot, try to salvage the houseplant by transplanting it to the same sized or smaller container, with fresh growing medium, after trimming off any rotting roots.
2. Gather Your Supplies
The list of supplies you’ll need for this project is fairly short: a new pot and houseplant growing medium. If your specimen is quite root bound you may also need a butter knife, which can be used to help pry the plant out of its container.
Additionally, you’ll need a pair of sterilized scissors or garden pruners if there are any roots emerging from the drainage holes.
As for growing mediums, my personal favorite for spider ivy, as well as for many of my other houseplants, is De La Tank’s from Tank’s Green Stuff.
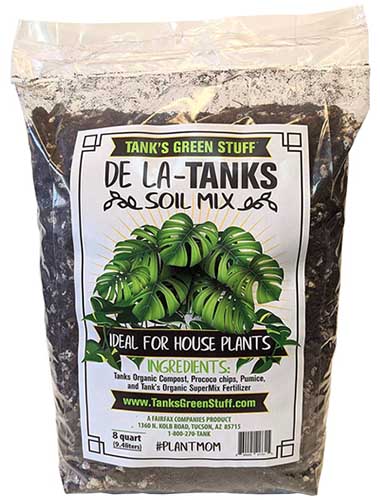
This growing medium contains pumice, compost, and coconut coir, and is peat-free. It’s available in a choice of bag sizes from Tank’s Green Stuff via Arbico Organics.
You may also want to use a repotting mat for this project, to help keep your work surface clean.
This large, green, plastic repotting mat folds up for easy storage. It unfolds to a size of 39.5 inches by 31.5 inches, and is available via Amazon.
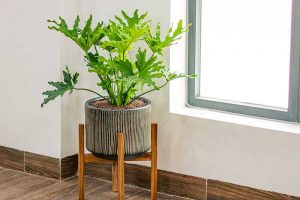
3. Choose a New Container
Now let’s talk about choosing the best containers for these houseplants.
There are two main features you’ll want to look for when choosing a new pot.
Whether you’re looking for a decorative option, or are fine using a simple plastic nursery pot, the first requirement is that the new container must have drainage holes.
If you already have a plastic container you’d like to use, but it doesn’t have drainage holes, or it has inadequate drainage holes, you may be able to drill holes in the bottom.
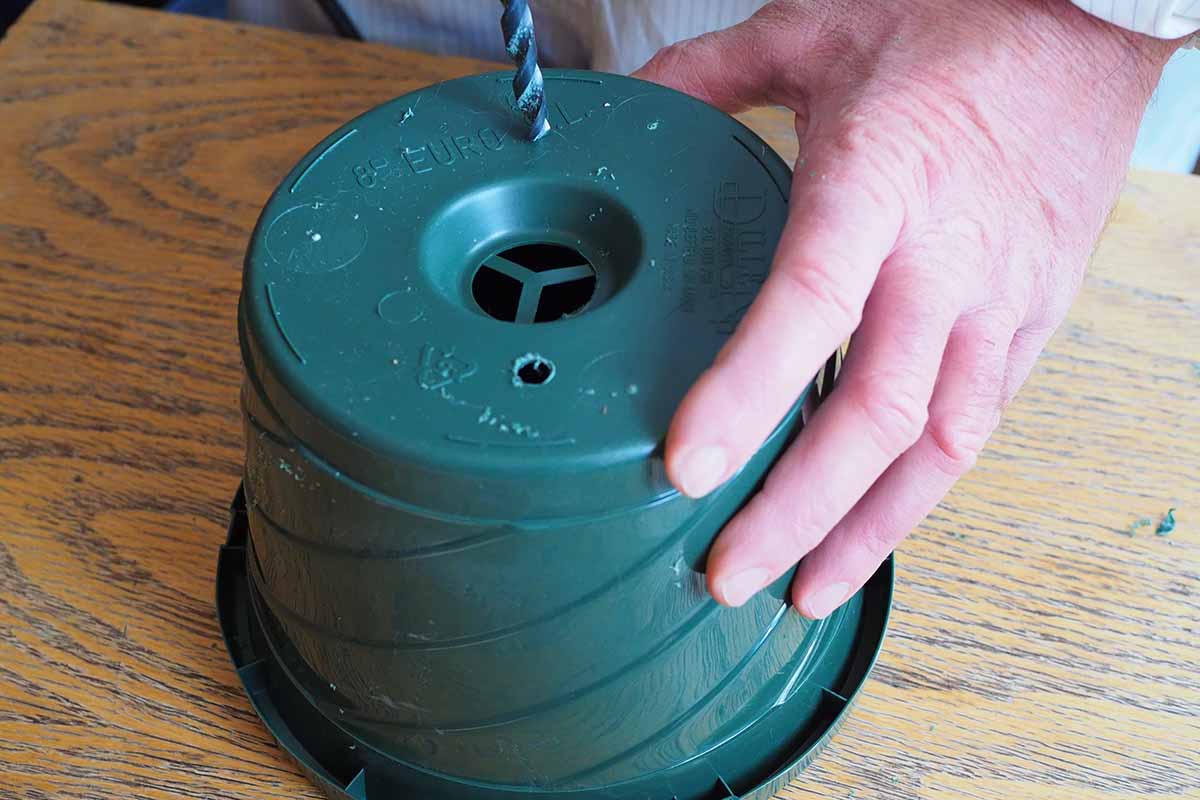
Be sure to wear safety goggles and to handle power tools with caution!
While you can also use a drill to add holes to ceramic and terra cotta containers, this requires a masonry drill bit. Go slowly, drilling only in short bursts if trying this method, and make only one hole in the bottom of the pot.
When choosing new containers for houseplants that have outgrown their pots, the second feature to look for is that the new ones are just one size larger than the old ones.
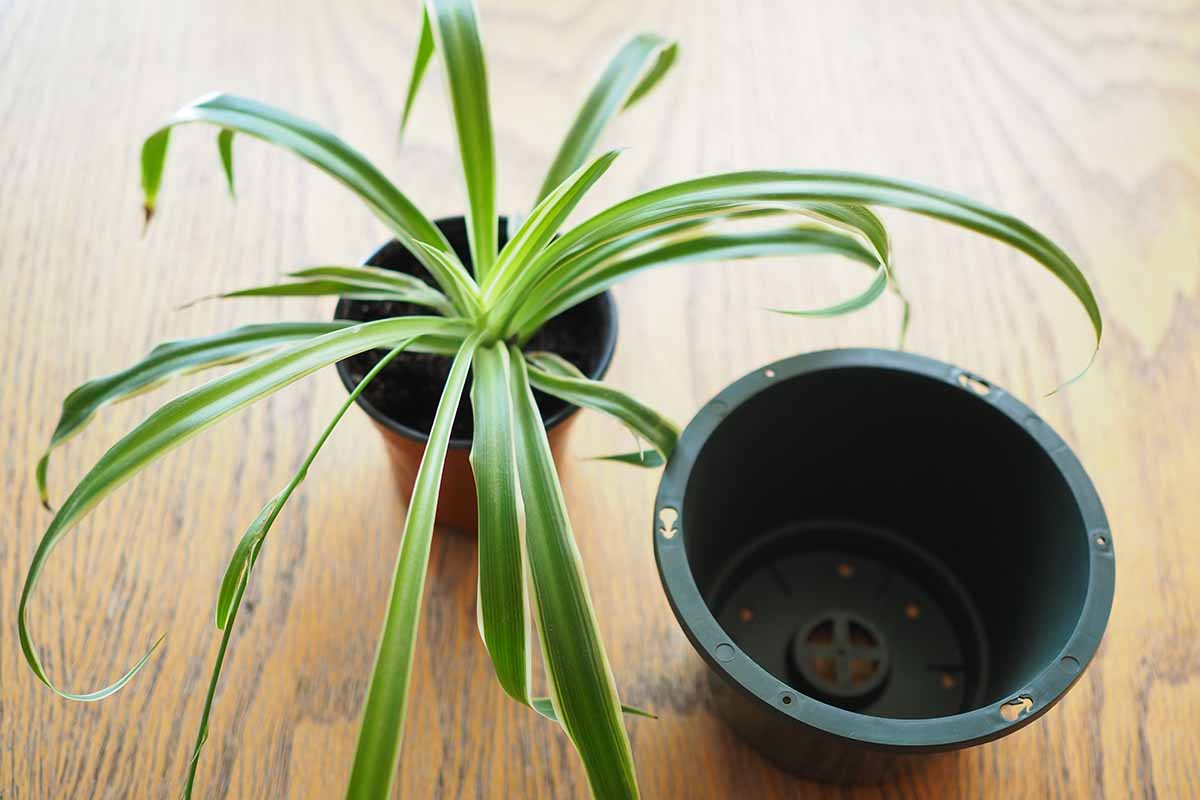
You might think, “I’ll save myself some work and go ahead and move my spider ivy to a much bigger pot, giving her plenty of room to grow and skipping a few years of repotting.”
Well, friend – this is not such a good idea. That’s because oversized pots often lead to root rot – a problem that can cause a spider plant to wilt, before eventually killing it.
So go ahead and be prudent when choosing that new container. If you have to choose between one that’s just a little bigger or one that’s a lot bigger – go with the smaller option.
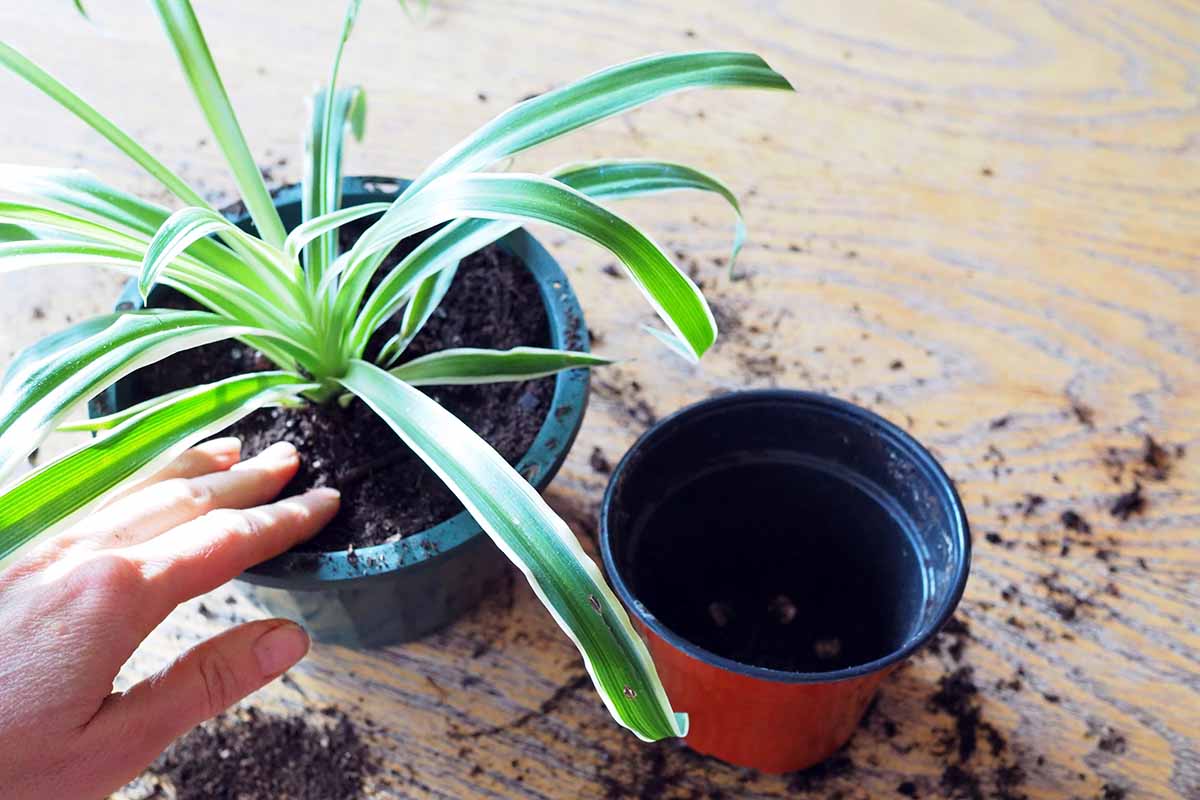
4. Unpot Your Plant
Now that you know you’re transplanting at the right time for your houseplant and you have a new container as well as some fresh growing medium, it’s time to get your hands dirty!
Well, okay, if you prefer you can wear gardening gloves.
Unfold your repotting mat onto your work surface, if you’re using one, and grab your bag of growing medium and new pot.
Before you unpot your spider ivy, get the new container ready by placing about an inch of growing medium in the bottom of it.
Now let’s inspect the spider plant in its old pot.
If roots are emerging from the drainage holes in the bottom of the pot, trim them off with scissors or garden snips.
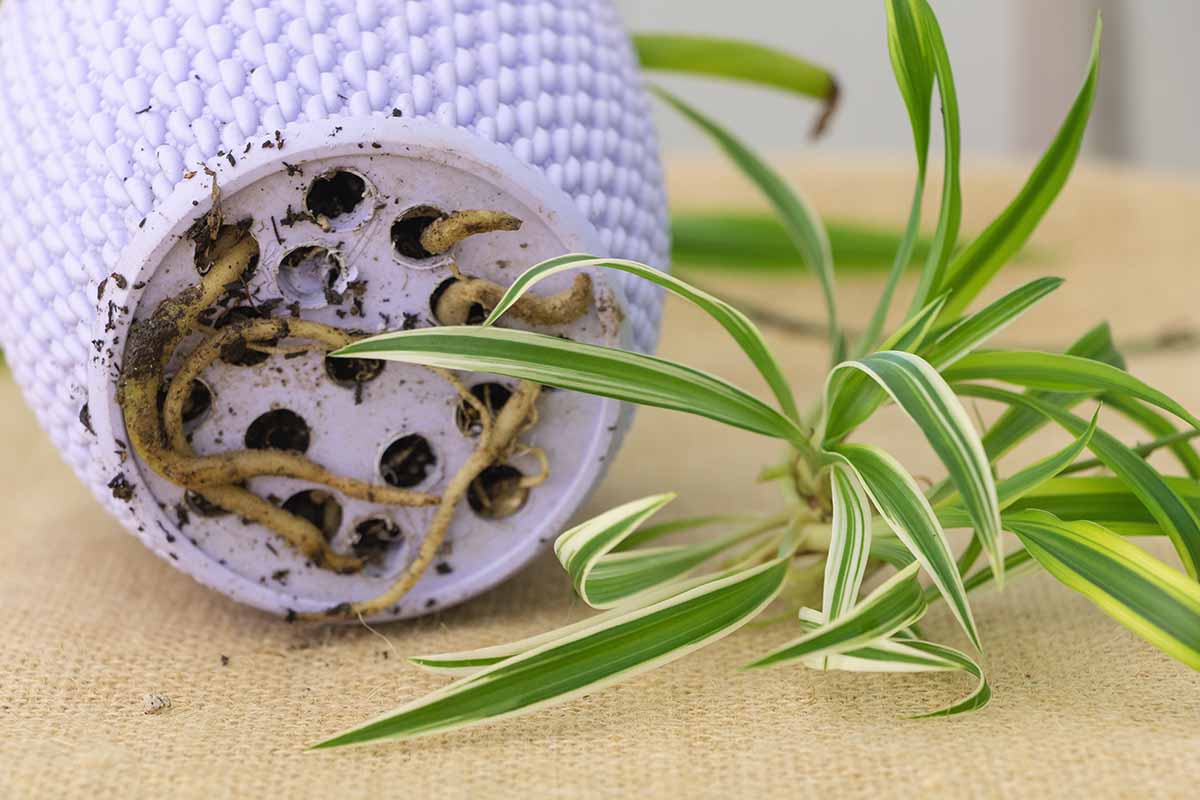
Next, remove the root ball from the container – you may need to slide a butterknife between the root ball and the inside of the container to free it and pry it out.
For very potbound plants, you may even need to break the old pot to remove the plant.
Once the plant is out of the old pot, rub the sides of the root ball to loosen the roots. This ensures they will be able to grow into their new potting medium more easily.
5. Transplant Into New Container
Once the spider ivy has been removed from its old container and its outer roots have been loosened up a bit, it’s time to situate it in its new pot.
Place the specimen into the new container. There should be about an inch of space between the top of the root ball and the rim of the pot. Adjust the amount of soil under the spider plant to achieve this level.
Once the plant is at the right level, fill the sides with growing medium, then gently tamp down the top of the soil.
After tamping down the soil, you may need to add a bit more growing medium as air pockets are filled in.
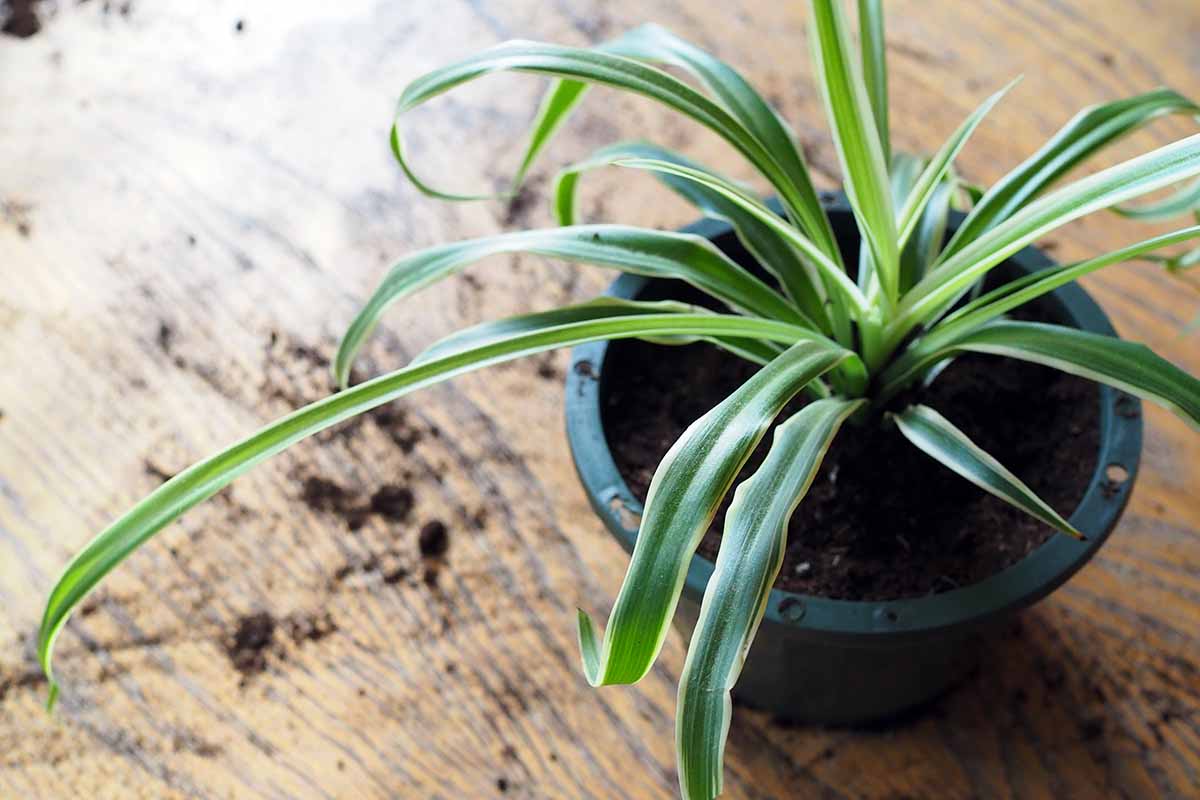
Once the soil is level, go ahead and water your houseplant, and then return it to its usual location in medium to bright, indirect light.
Just Enough Room to Grow
Voila, you’re done! Just five simple steps and you have repotted your spider plant – providing it with more room to keep spreading its roots and continue producing a glorious fountain of grass-like leaves.
Did you follow the steps outlined here? Use the comments section below to let me know if you run into any unexpected trouble. And if the process was a breeze, I’d love to know that too! Or if you just want to gush about how much you love spider ivies, I’m all ears for that as well.
Now that you know how to relocate them from one container to the next, if you’d like to learn more about caring for spider plants, keep reading right here:

Beautiful ideas. Great job
Thanks for reading, Jane!
Thanks for your kind words Jane! Happy indoor gardening!