Chlorophytum comosum
If you want to fill your home with lush greenery fast, the spider plant should be at the top of your list.
This easy-care houseplant is both quick-growing and nontoxic, making it an ideal choice for busy plant lovers.
Though they are fairly commonplace as far as houseplants go, for me, spider plants have always instilled a sense of awe.
We link to vendors to help you find relevant products. If you buy from one of our links, we may earn a commission.
Chlorophytum comosum is an herbaceous tropical evergreen perennial enjoyed for its abundant foliage and ability to produce masses of plantlets.
It’s known around the world by several other common names as well, including “airplane plant,” “ribbon plant,” “spider ivy,” and “St. Bernard’s lily.”
I’m going to guide you through the best care tips for this lovely and easygoing foliage plant, so you can keep yours happy and healthy.
Here’s what I’ll cover:
What You’ll Learn
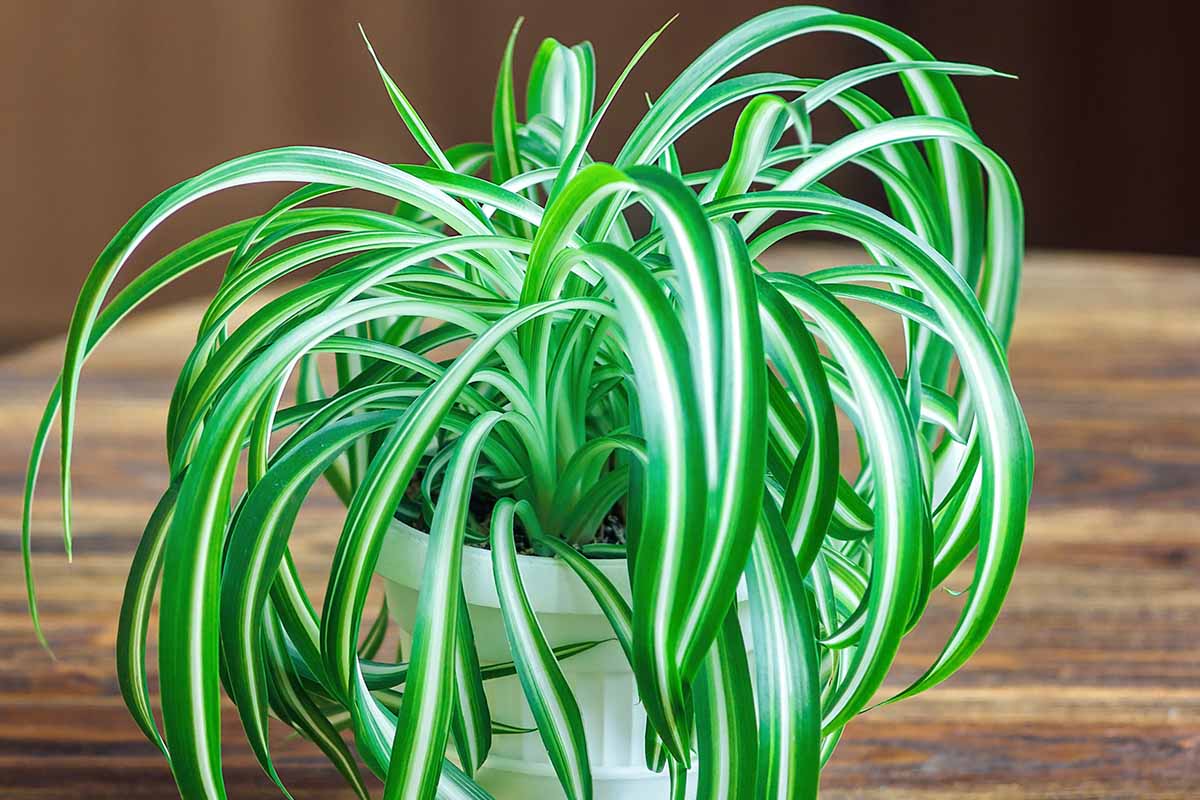
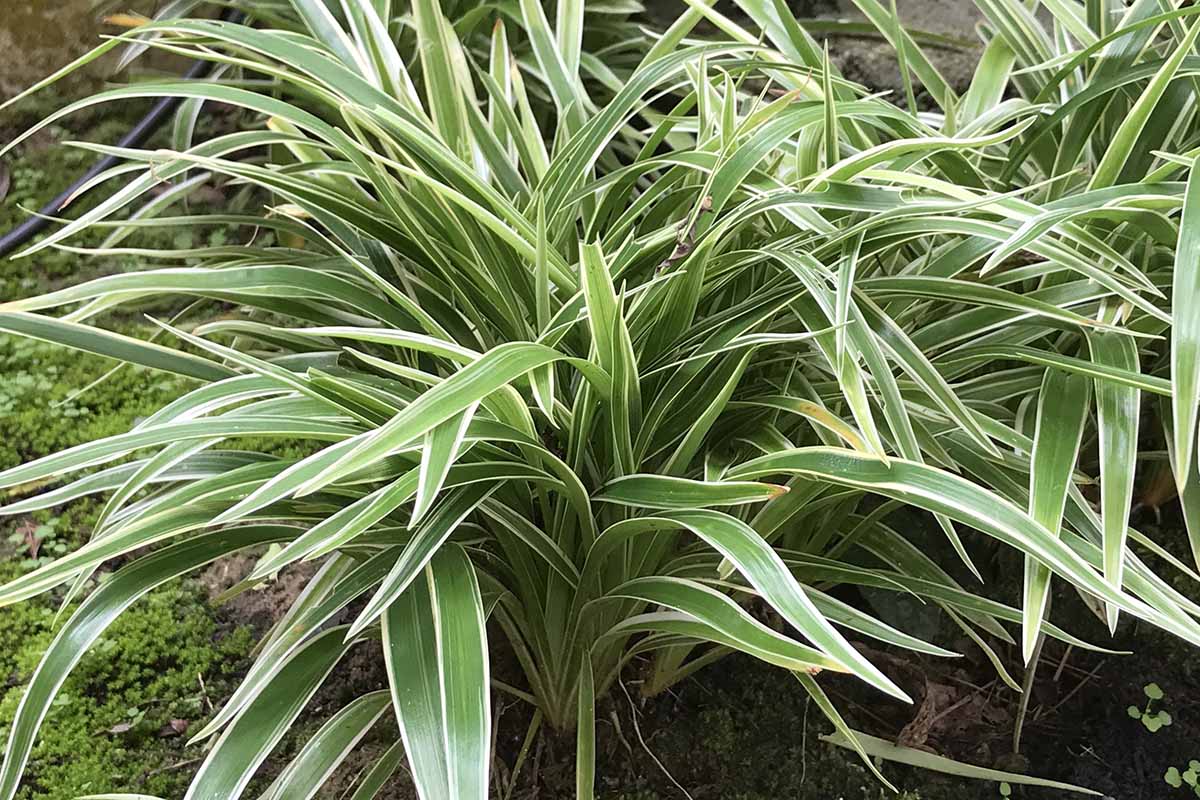
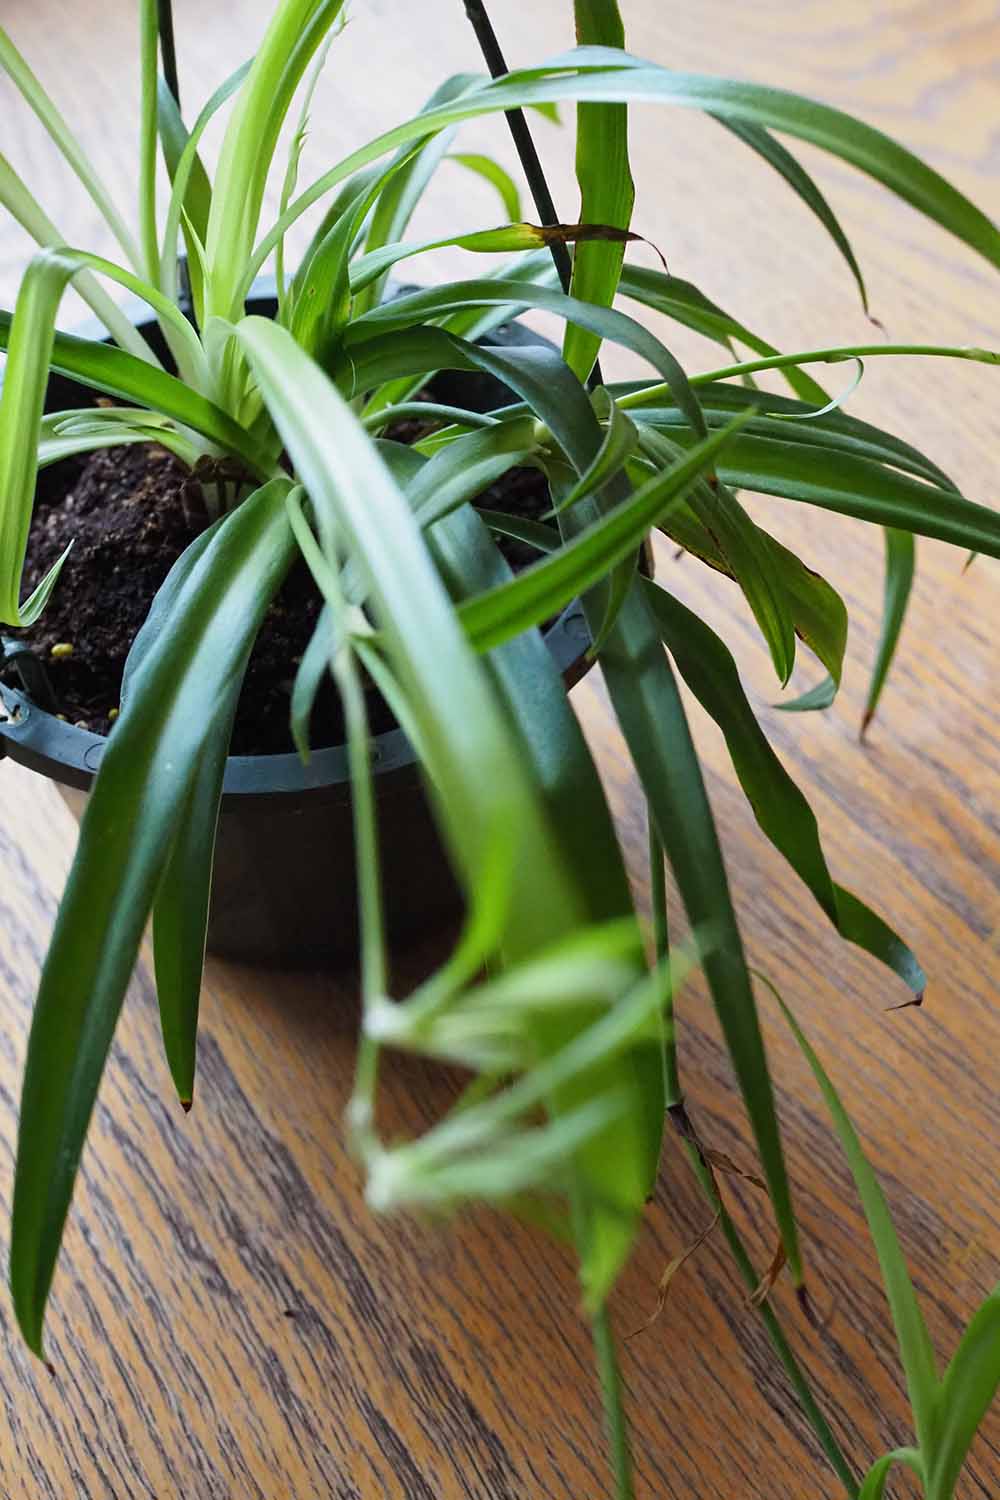
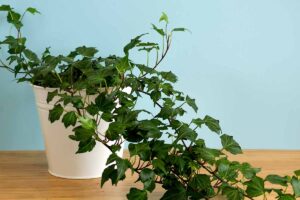
This tropical species is grass-like, with slender, arching leaves that grow in a rosette form.
The leaves are either solid green or variegated in either green and white, or sometimes green and yellow, depending on the cultivar.
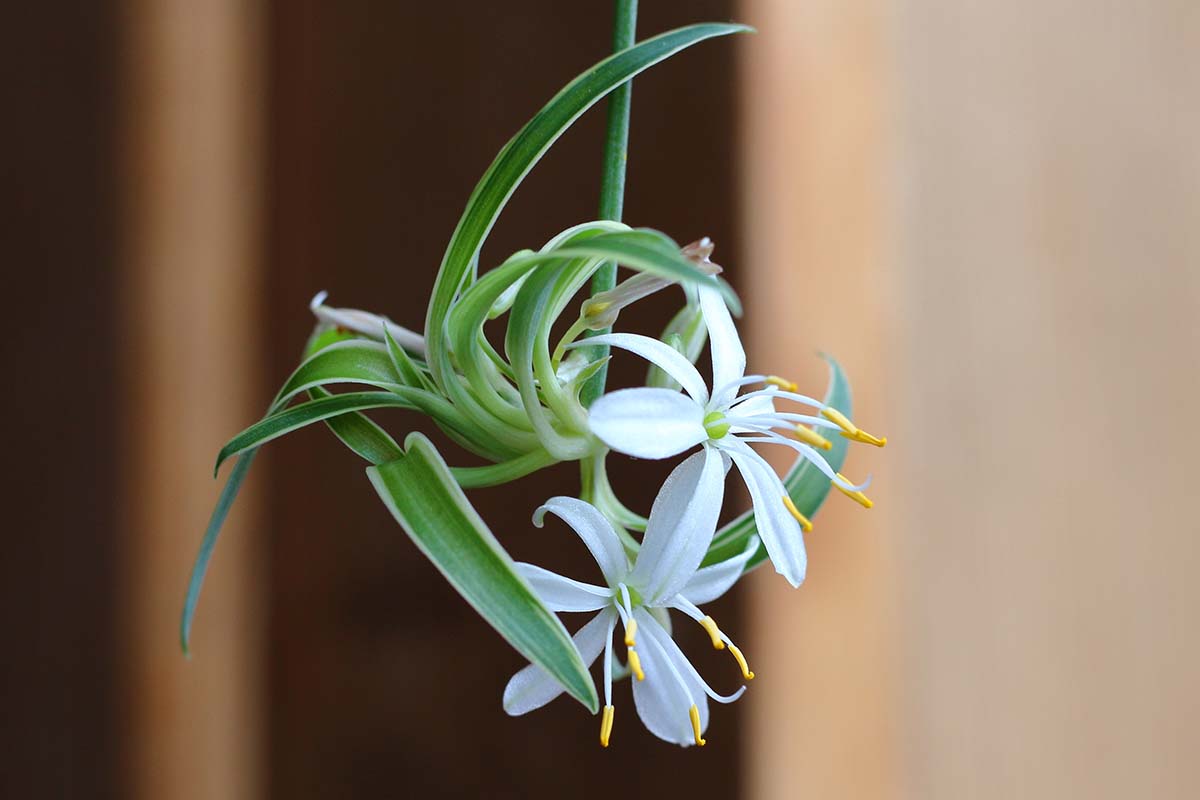
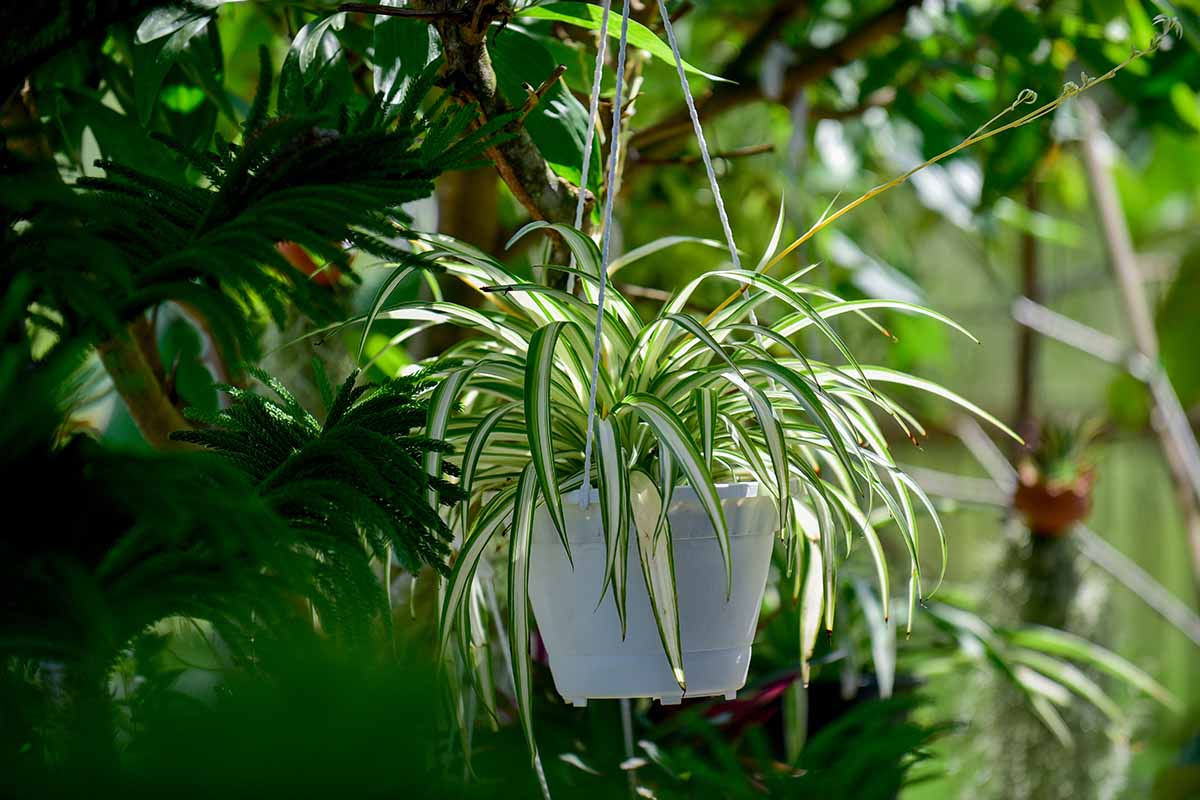
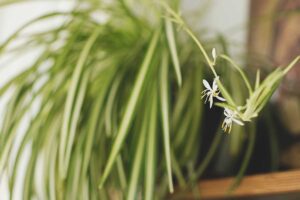
Long stalks produce small, white, star-shaped flowers, as well as tiny offsets or “spiderettes.”
This characteristic of producing offsets that remain attached to the mother plant gives C. comosum yet another name, “hens and chicks” or “hens and chickens” – not to be confused with the various succulent species that go by the same common name.
C. comosum is native to a wide swath of sub-Saharan Africa, ranging from Cameroon and Ethiopia all the way down to South Africa.
In its native habitat, the species has adapted to a diverse range of locations – growing on cliffs, in river valleys, and in flat thickets – as well as in a variety of different soil types and water conditions.
Quick Look
Common name(s): Spider plant, spider ivy, airplane or ribbon plant, St. Bernard’s lily, hens and chickens
Plant type: Herbaceous evergreen perennial
Hardiness (USDA Zone): 9-11 (outdoors)
Native to: Africa
Bloom time / season: Spring and summer
Exposure: Medium to bright indirect light
Soil type: Loamy potting mix, well-draining
Soil pH: 6.0-6.5, slightly acidic
Time to maturity: 5-10 years
Mature size: 1-2 feet tall by 2-4 feet wide
Best uses: Ornamental houseplant, evergreen ground cover
Taxonomy
Order: Asparagales
Family: Araceae
Genus: Chlorophytum
Species: Comosum
This adaptability is what makes it such a resilient houseplant.
As for its common name, some sources suggest that its long, thin leaves are the inspiration behind the name “spider plant,” while at least one writer claims the nickname is inspired instead by the offsets, which resemble spiders rappelling down from a spiderweb.
C. comosum has been enjoyed in the home since at least the early 1800s.
The Nguni people, who live primarily in South Africa, use spider plants medicinally, administering extracts to new mothers and young infants in particular.
In addition to its traditional medicinal use, this species is also considered edible and can be consumed like a vegetable.
While fibrous foliage can be consumed, the real edible interest lies in the fleshy, tuberous roots.
These roots store nutrients and water, and are the secret to this plant’s resilience.
C. comosum has naturalized in some countries outside of Africa, and researchers have published studies looking into this species as a potential source of locally available food.
A paper published in the “Journal of Medicinal Food Plants” in 2009, claims the tubers of C. comosum contain “good sources of plant fibre, potassium, zinc, lipid, protein and carbohydrates.”
Spider plant is grown primarily as a houseplant and may be one of the most commonly cultivated specimens in the world.
It’s enjoyed for its foliage and extensive populations of pups, but the small delicate flowers can appear throughout the year and add to its overall delightful appearance.
While most of us will enjoy this species from the tropics indoors, it can be grown outdoors as an evergreen perennial in USDA Hardiness Zones 9 to 11.
It can also be treated as a perennial in Zone 8, but the foliage will be killed back in winter, and it will start producing new growth in the spring.
How to Grow
Here are a few tips for what to look for when choosing your first spider plant:
- Make sure the foliage is free of pests, such as scale or mealybugs. You’ll learn more about these pests below.
- Look for specimens without any browning. They should also be free of yellowing leaves, unless the cultivar is supposed to have yellow variegation.
- Pick the best size for your needs, and remember that these houseplants grow quickly.
When you find a healthy-looking specimen, check the pot to make sure it has drainage holes.
If not, make sure to repot as soon as possible.
Light
Spider plants can adapt to conditions ranging from part sun to full shade. But for best results, choose a location in medium to bright indirect sunlight.
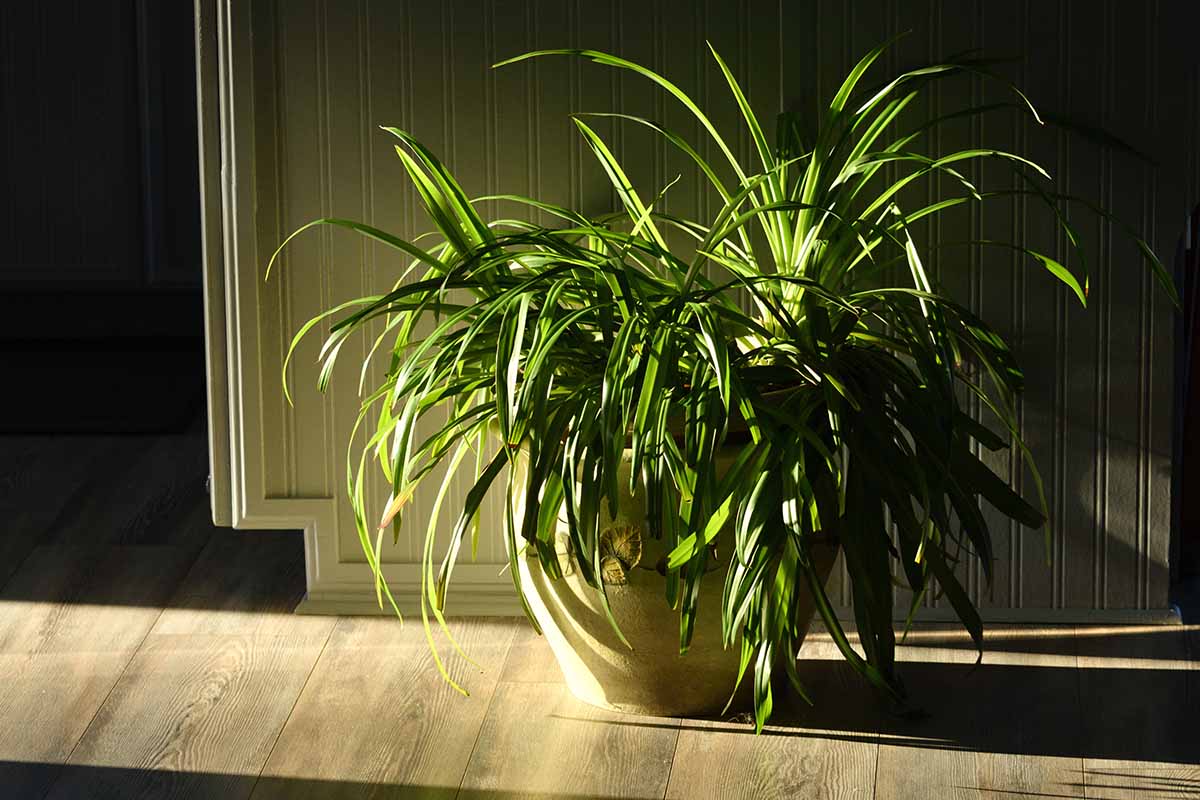
Some direct sunlight is okay, just make sure your spider plant isn’t sitting in full sun all day long, or its leaves will scorch or even fade and loose its variegation.
And while they can tolerate shade, the leaves will not be as vibrant when grown in very low-light conditions.
Bright, indirect light is also what you should aim for if you want your spider plant to produce lots of offsets.
Temperature
Being from the tropics, spider plants thrive in temperatures between 65 and 75°F.
Specimens spending the summer outdoors need to be brought indoors before nighttime temperatures fall to 55°F.
C. comosum is not cold hardy, and can be killed when temperatures dip below freezing.
Avoid drafty locations such as areas next to exterior doors or drafty windows, as well as spots near heating and cooling vents.
Soil
Spider plants like well-draining, moisture-retentive potting medium that has a pH of around 6.0 to 6.5.
Standard commercial houseplant potting soil will work fine. I like De La Tank’s Houseplant Mix.
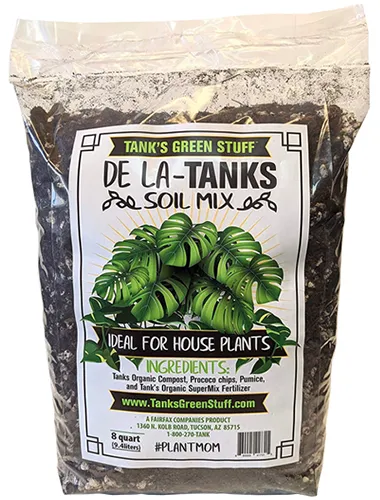
It contains pumice for drainage, coconut coir for water retention, and it’s peat-free. You can purchase it at Arbico Organics.
Water
C. comosum is able to store water in its roots, making it more tolerant of inconsistent watering than some other types of houseplants.
You should water when the top inch of soil has dried out.
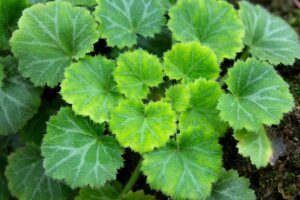
Spider plants are sensitive to fluoride so if you are using municipal water treated with fluoride, you may notice brown tips on the foliage.
Watering with rainwater instead, or filtered or distilled water, can help to prevent this.
Humidity
Spider plants will thrive in environments where the relative humidity is between 25 and 49 percent.

If you live in an arid climate or your indoor air is extremely dry during the winter, go ahead and give your spider plant a morning mist from a spray bottle.
Fertilizer
There is no need to fertilize your spider plant and in fact applications can be detrimental.
Spider plants are sensitive to the buildup of salts and other minerals that can occur if it is fertilized heavily, and it can exhibit brown leaf tips as a result.
Cultivars to Select
C. comosum is the uncultivated species plant, and it sports no variegation. The long leaves are medium to dark green, and it produces plantlets readily.
Surprisingly, the pure green species is now quite difficult to get hold of – the variegated spider plants are much more common.
Most of the differences between C. comosum cultivars are fairly subtle. Here are a few to get started:
Bonnie
‘Bonnie’ is a cultivated variety with unique, curled leaves!
The foliage is variegated, with green on the margins, and white running down the centers.
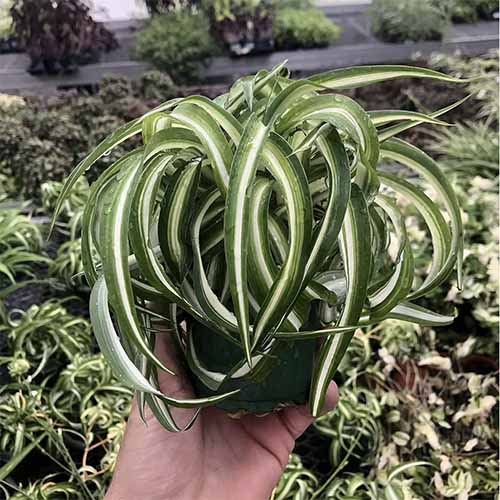
You can find ‘Bonnie’ available in four-inch pots via Walmart.
Ocean
‘Ocean’ is a newer cultivated variety that has streaky green leaf margins, and a white stripe down the center of its leaves.
A more compact variety, the foliage reaches just eight to 12 inches long at maturity.

Thanks to its shorter, broader leaves, ‘Ocean’ has a somewhat spiky appearance.
You can find ‘Ocean’ in four-inch pots available via Amazon.
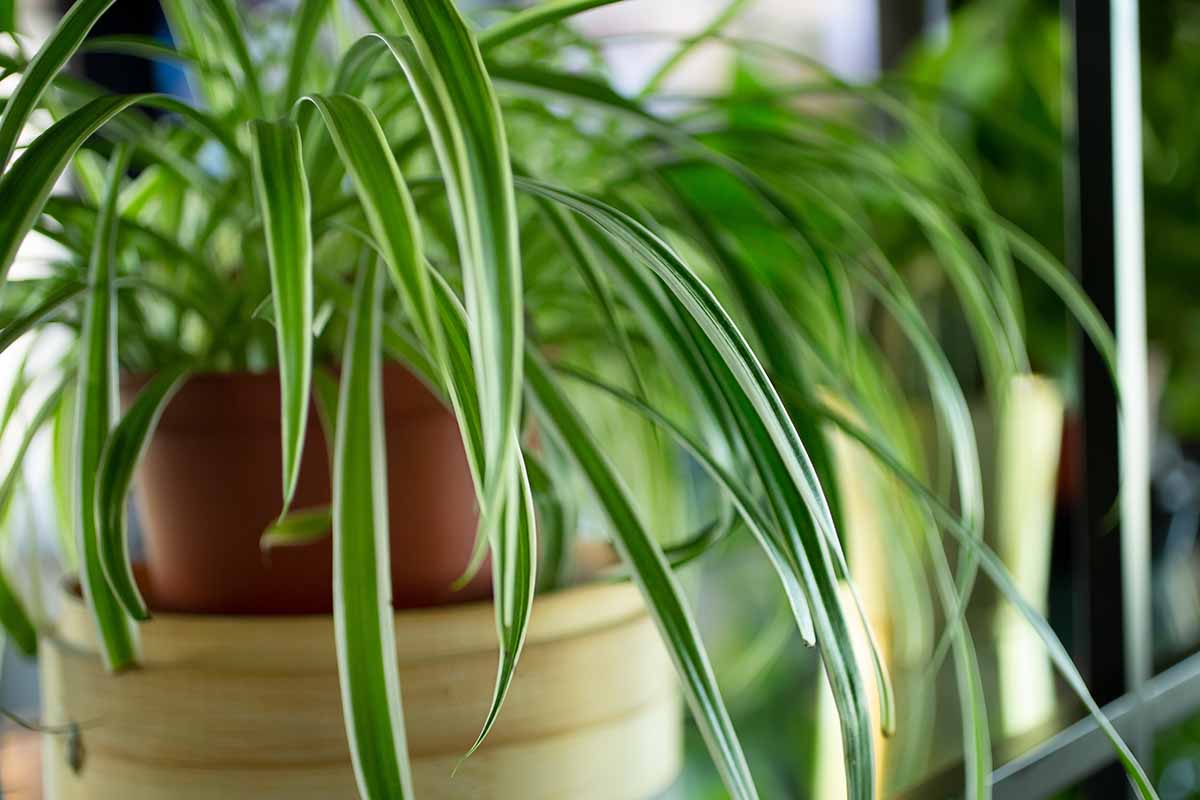
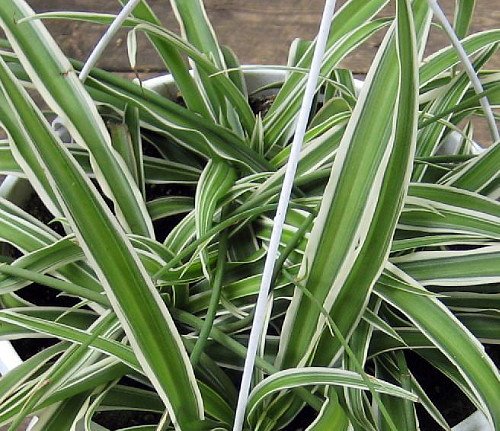
Variegatum
‘Variegatum’ is a cultivated variety that has green leaves with thin white margins. Its long, graceful leaves can reach 10 to 16 inches long.
This cultivar is also called “reverse variegated” because its markings are the reverse of the most common variety, ‘Vittatum.’
While this type can handle more direct sun than most others, it does not produce a lot of offsets.
‘Variegatum’ won the Royal Horticultural Society’s prestigious Award for Garden Merit in 1993.
You can find ‘Variegatum’ four-inch pots from Hirt’s Garden Store via Amazon.
Maintenance
There are a few ways to encourage offset production in spider plants.
They respond to changing day length, much like poinsettia and Christmas cactus.
When C. comosum is exposed to short days and long, dark nights for at least three weeks, it takes those long nights as a cue to reproduce.
These conditions will trigger your plant to send out a long stalk, on which it may produce both flowers and offsets.
To replicate these natural conditions, try to keep your spider plant in a location where it isn’t exposed to artificial light in the evening and throughout the night.
To encourage offset production, refrain from repotting frequently. Specimens that are slightly pot bound are more likely to produce offsets.
In general, you should plan to repot young plants once a year and more mature specimens every two years.
Choose a pot that is only about one or two inches larger than the current container and ensure it has adequate drainage holes.
Place a little potting soil in the bottom of your new pot.

Remove your plant from its old pot and gently loosen the roots.
Set your plant into the new pot with the crown about half an inch to an inch below the rim.
Fill in with potting soil around the edges of the plant but avoid burying the crown.
Water in well.
Need more advice? Read our guide to repotting spider plants here.
You do not need to prune spider plants but you can trim off any brown tips that appear.
Propagation
While propagating C. comosum from offsets is the most common method, it can also be propagated through division and by sowing seeds.
From Seed
For the flowers to produce seed heads, they will need to be pollinated. After pollination, fruits will form, containing seeds that you can harvest.
Wait for the fruit to dry out to ensure that the seeds are fully matured.
Sow the harvested seeds in sterile potting medium and water gently with a mister to avoid oversaturating the soil.
After germination, repot the young plant as needed, as indicated in the repotting section above.
From Offsets
Propagating offsets is probably the easiest way to create new spider plants.
If the babies have roots growing, all you need to do is to snip off an offset from the stalk and pot it up.

Sometimes, your spider plant may have offsets that don’t yet have roots of their own. In this case, you can help a spiderette grow roots in a few different ways.
One option is to snip it off and set it in a small glass of water. Make sure the base of the offset is touching the surface of the water.
Another method is to mimic what would happen in nature and root the offset while it is still attached to the parent plant.

Simply place a small pot with potting soil under the offset and allow it to root while it’s still attached.
Or you can snip it off from the stem and pot it up, letting it root in the soil on its own.
Once your offsets are rooted well, begin caring for them as you would for a potted plant.
Get detailed step-by-step instructions for rooting spiderettes.
By Division
Division can come in handy when your plant is outgrowing its pot and you want to limit its size.

Rather than letting it continue to grow wider, you can divide it, creating two smaller specimens – or more, depending on your preference.
To divide, you’ll want to remove your plant from its pot and then work a clump away from the main plant, with both leaves and roots intact.
Find more tips on dividing spider plants here.
Continue by potting up as described in the repotting section above.
Pests and Disease
These easy-care houseplants aren’t terribly prone to pests or disease. However, it’s important to know what to be on the lookout for.
Pests
Common pests include:
Mealybugs
Mealybugs are one of the most common houseplant insect pests.
Luckily, they’re easy to recognize, so you’ll be likely to catch them before they cause much damage.

Mealybugs will latch onto and feed on your houseplant, stealing valuable nutrients. This will weaken the and can eventually kill it if the problem goes on too long.
You can control these pests by wiping them away with a paper towel moistened with rubbing alcohol. Be sure to inspect the base of the leaves as well as the leaves themselves.
If rubbing alcohol isn’t enough to wipe out an infestation, you can try an application of neem oil, according to the packet instructions.
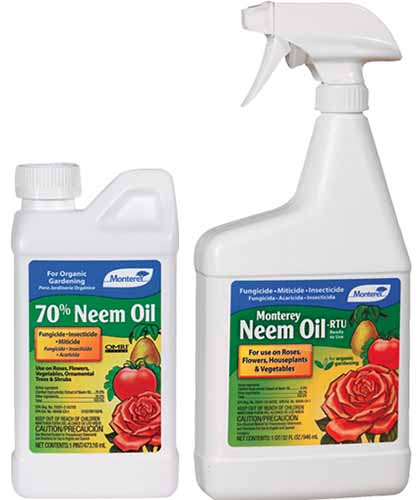
Need some neem? You can find this product from Monterey available at Arbico Organics.
Read more tips on controlling mealybugs.
Scale
Scale are insects that masquerade as little brown lumps.
Just like mealybugs, they will suck nutrients out of foliage, weakening your plant.

Yellow leaves are one of the telltale signs of their presence.
These pests can be treated in the same way as mealybugs, with rubbing alcohol or neem oil
Find more tips on identifying and controlling scale insects.
Spider Mites
It would seem fitting, wouldn’t it, if the spider mites found your spider plants?
If you notice yellow spots on the foliage – or worse, webs – inspect the spider plant closely.
You may be able to see tiny colonies of red or brown mites moving about the webs and the undersides of the foliage.
These pests also suck nutrients from the leaves, and can leave your plant sick and malnourished.
To treat an infestation, first wipe them off of the foliage with a damp paper towel, then treat with rubbing alcohol or neem oil.
Read more about combating spider mites.
Other Insects and Pests
Aphids, root-knot nematodes, whiteflies, and fungus gnats can all infest spider plants.
Disease
C. comosum isn’t very prone to disease, but it does sometimes exhibit signs of illness. Here are a couple of problems to look out for:
Root Rot
If the foliage starts to turn yellow or wilt and the soil looks a little wet, root rot may be the problem.
Root rot is often caused by overwatering, insufficient drainage, poorly draining soil, a pot that’s too large – or all of the above.
When the roots sit in soggy soil, they can’t absorb the oxygen they need. Ironically, plants with oversaturated roots that succumb to root rot will eventually start to suffer from dehydration.
Meanwhile, pathogens can easily proliferate in the soggy soil, making matters worse.
If you suspect root rot, remove the plant from its pot, inspect the roots, and trim off any that are rotten or mushy.
Then switch out the potting soil to remove any pathogens that have been given a foothold.
If you’re reusing the same pot, sterilize it with some hydrogen peroxide before repotting.
Southern Blight
Southern blight is a disease caused by a fungus, Sclerotium rolfsii, which can affect many garden species, such as apples and tomatoes.
Symptoms of Southern blight include wilting or collapse of the foliage.
The fungus is more active in hot weather, so keeping your houseplant indoors in its preferred temperature range is a good preventive measure.
If your specimen is infected, remove all infected plant material, and switch out the soil.
And if your specimen is wilting and you’re not sure why, be sure to check out our article on why spider plants wilt!
A Houseplant of Uncommon Resilience
Caring for your spider plant doesn’t need to be a challenging task – just provide it with medium or bright indirect light and let the top inch of soil dry out between waterings.
And above all, enjoy the bountiful spider babies that are bound to come!
Are you growing spider plants? Let us know in the comments section below.
And if you’re interested in learning about other low maintenance houseplants, here are some more articles that you might enjoy:
I just got the curly spider plant. Will buy a reg one later. I liked how it looks. I thought it was neat looking. I’m excited to get the off shoots this year.
Hi Becky,
You know, the curly variety is starting to grow on me! Enjoy your new plant – and feel free to come back and show us some photos of your curly spiderettes later!
Thankyou so much for such a thorough article. I’ve kept spider plants all of my life and it is great to have all of the information in one place, and learn some new things as well 🙂
Hi Megan,
Thanks for your kind comment – I’m really glad that a seasoned spider plant grower like yourself appreciates the article.
Happy indoor gardening!
Great article! I found one poor spider plant discarded next to a rubbish bin and brought it home for a rescue. The information here helped get it back on track! The pictures are of it’s two week progress 🙂
Hi Bryan,
Thanks so much for sharing your comment and photos – this is so heartwarming! It looks like you have done a great job reviving this little guy. Thanks for giving him a second chance. Keep up the good work!
Thanks for such a good article. I’ve got a spider plant recently. This info would be great help. But I’m having another problem with it. My cats seem to like this spider plant very much and they’re pruning it like a goat! How can I stop them eating this?
Hi Ashraf,
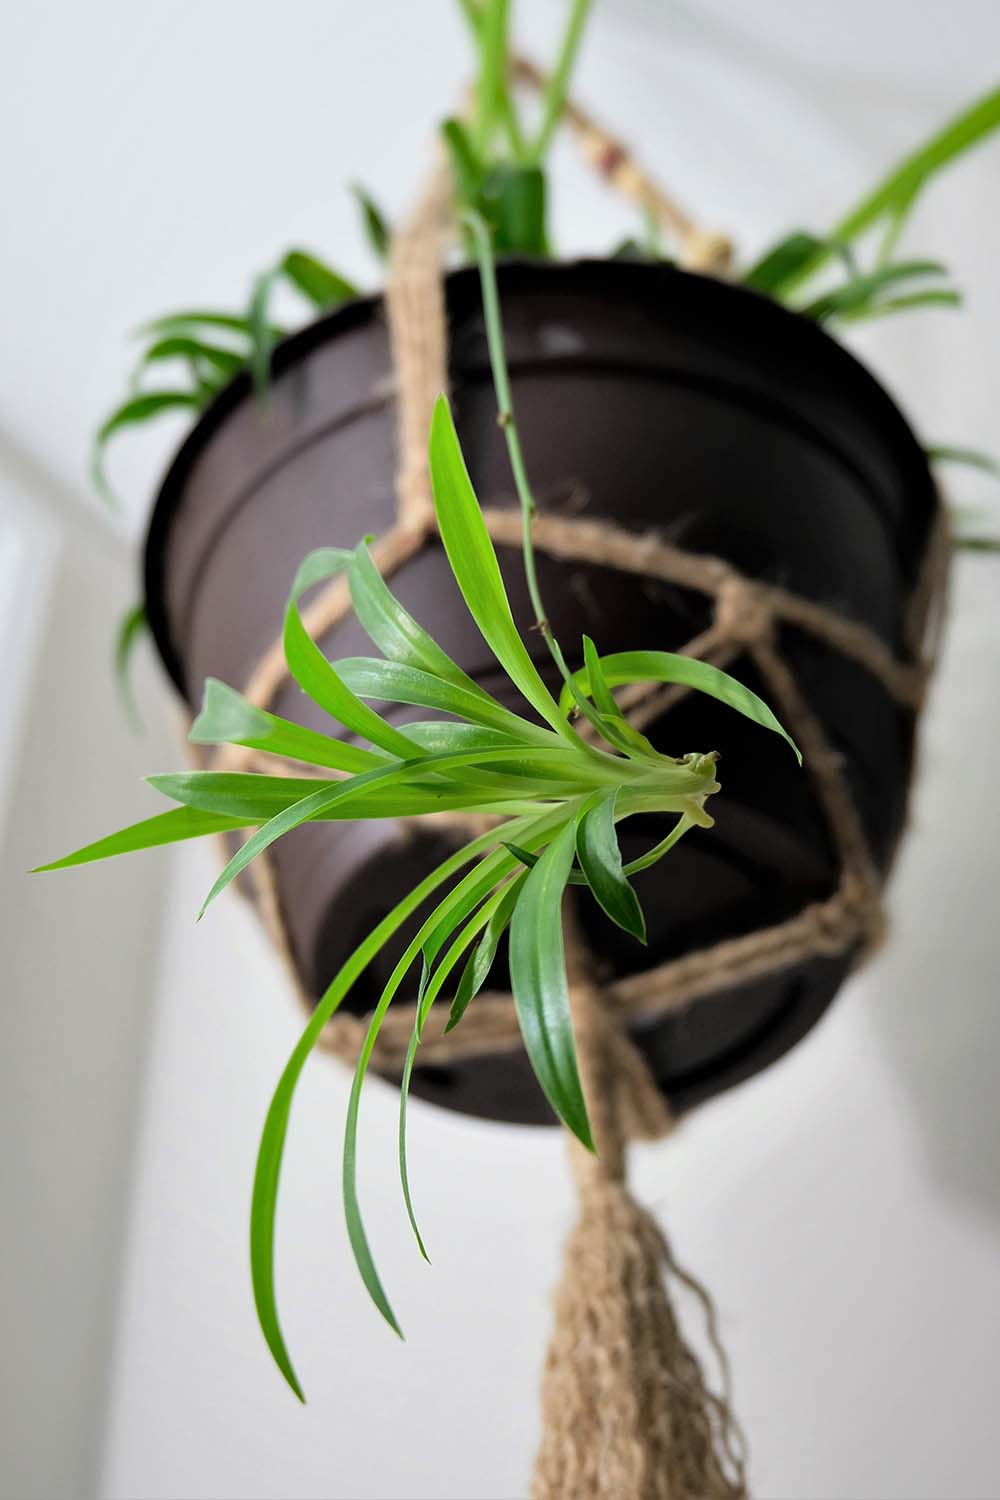
Oh, I totally know how you feel. My cats love to try to eat my spider plants too. In fact, I wrote another article about cats and spider plants – you can read it here. The only way I have managed to keep my cats from eating my spider plants is to put the plants out of reach in hanging baskets. And then I offer my cats some cat grass to nibble on instead, which they like even more than spider plant.
Thanks for your message – and good luck keeping your plant away from your cats!
Thank you for all your tips and tricks to grow spider plants. I have 3 of them now and 2 have lots of babies. As soon as they are big enough I am going to pot them up and give them as gifts to my friends. My neighbour’s name is Bonnie so of course she will get one of the curly ones. Plants have been a source of joy to me during this ongoing pandemic. Thanks again for your detailed information.
Hi Carolynn,
Thanks for your comment, I’m glad you found this article useful. How sweet you are to plan on sharing your spider babies with your friends! I bet they’ll be thrilled. And I agree with you 100% about plants being a source of joy during these difficult times! Feel free to let us know if any questions ever pop up for you. Take care and enjoy your spider plants!
I love love my spidey plants!!!!!!
Thank you for this article! My mom always had hanging spider plants and now I do. I actually have so many to separate and tons of babies to share. This is the second year they have flourished so well and I don’t know what to do with them all. There are at least 25 to separate and 40+ babies!
Hi Valerie,
Thanks for adding your comment and sharing your photo! This is certainly a fun problem to have – not knowing what to do with all our spider plant babies! Just a reminder that you don’t have to remove them if you don’t want to, you can just leave them attached.
Keep up the great work as a plant parent, looks like you’re doing a great job!
When I cut the babies off , should I cut the whole shoot off?
Hi Vickie,
That is a good question!
No, you don’t need to cut the whole shoot off – it might continue to product more spiderettes, so I would leave it on the plant.
Hope this helps – happy propagating!
Amazing! I’ve much enjoyed & interesting. I love spider plant.
Thanks for letting us know you enjoyed the article!
I have what I think is a spider plant it stands about 4ft tall she’s beautiful but her leaves keep falling off please help her stems are really long I’m worried she’s not getting enough water because of the size of her stems please help
Hi Lina,
Could you please share some photos of your plant? Please include a photo of the soil. This will help me diagnose what might be going on – and verify your plant’s identity.
Thanks!