I vividly remember the day I became a new houseplant parent.
Of course, I’d grown up with flora in the house – along with brown shag carpeting, dark wood wall paneling, and plenty of macrame. It was the late 70s and early 80s after all.
But through college and my mid-20s I was too busy traveling around and moving house to think about keeping a plant alive in the fleeting moments between adventures.
So when I finally settled down long enough to give another living being (besides myself) attention, it was a momentous occasion.
A friend of mine was splitting up overgrown specimens in their indoor jungle and before I knew it, they’d thrust a freshly potted baby spider plant into my arms.
We link to vendors to help you find relevant products. If you buy from one of our links, we may earn a commission.
To discerning, rare plant collectors, that scraggly little ragamuffin wasn’t the prettiest specimen in the world. But to me this ugly duckling was the most exquisite creature I’d ever laid eyes upon.
That first houseplant was just the beginning of my love story with plants.
I’ve learned an awful lot about being a plant parent since then, and I know a thing or two about spider plants in particular. Lucky for you, I’m here to pass on my knowledge, from one spider ivy parent to another.
Spider plants can be propagated in different ways and shared with family and friends, as my friend shared with me.
And in the same way my friend did, these houseplants can be divided, or split. But how will you know if you should divide your specimen? And when is the best time to do this?
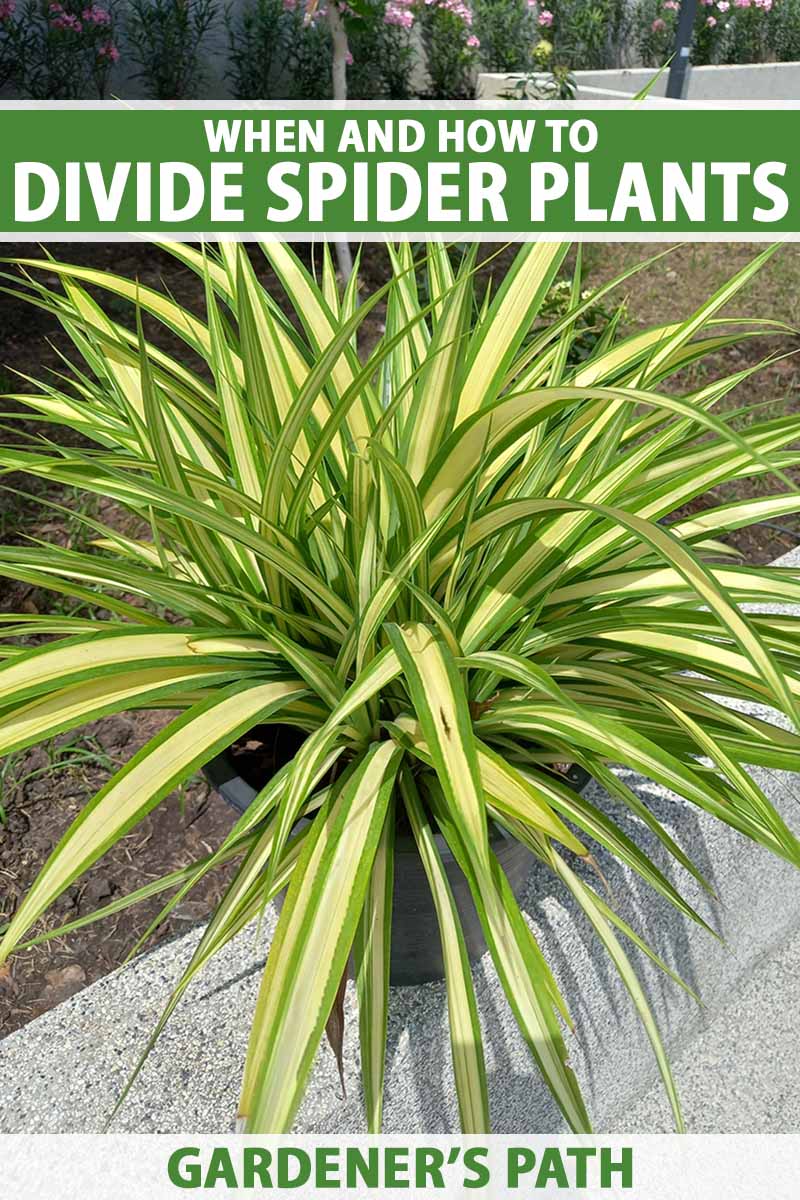
This article will specifically address dividing spider ivy – why, when, and how to do it.
For the whole story on caring for these houseplants, read our comprehensive spider plant growing guide.
Here’s what’s ahead:
What You’ll Learn
Let’s get cracking!
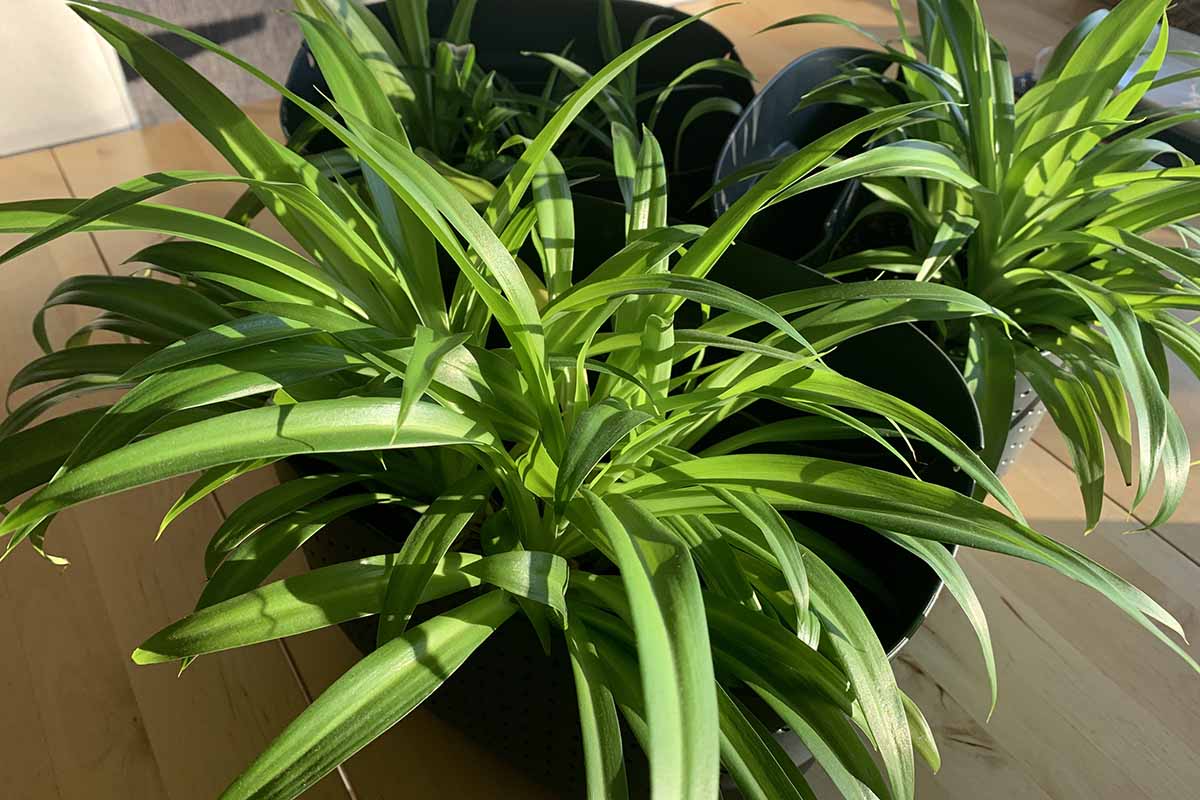
Why Split Spider Plants?
There are three good reasons to divide spider plants: to manage the size of an overgrown specimen, to encourage healthy growth, and to propagate new plants to share or add to your collection.
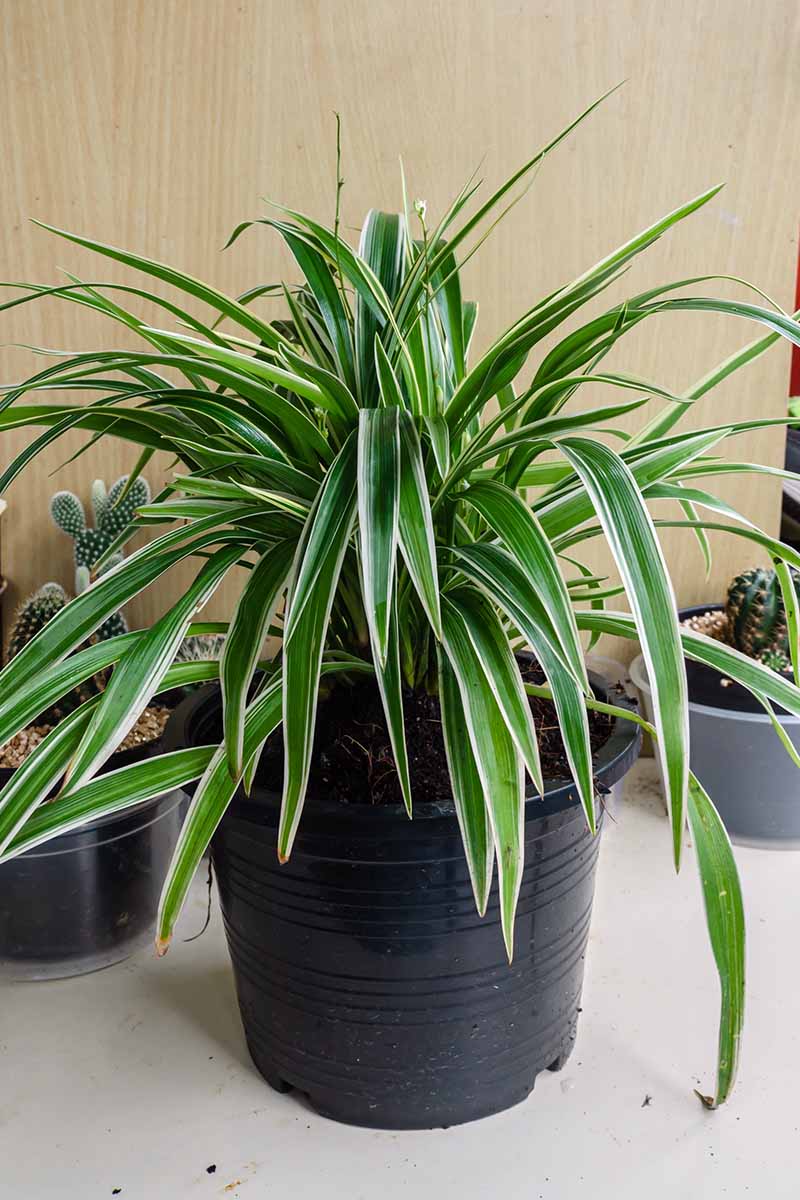
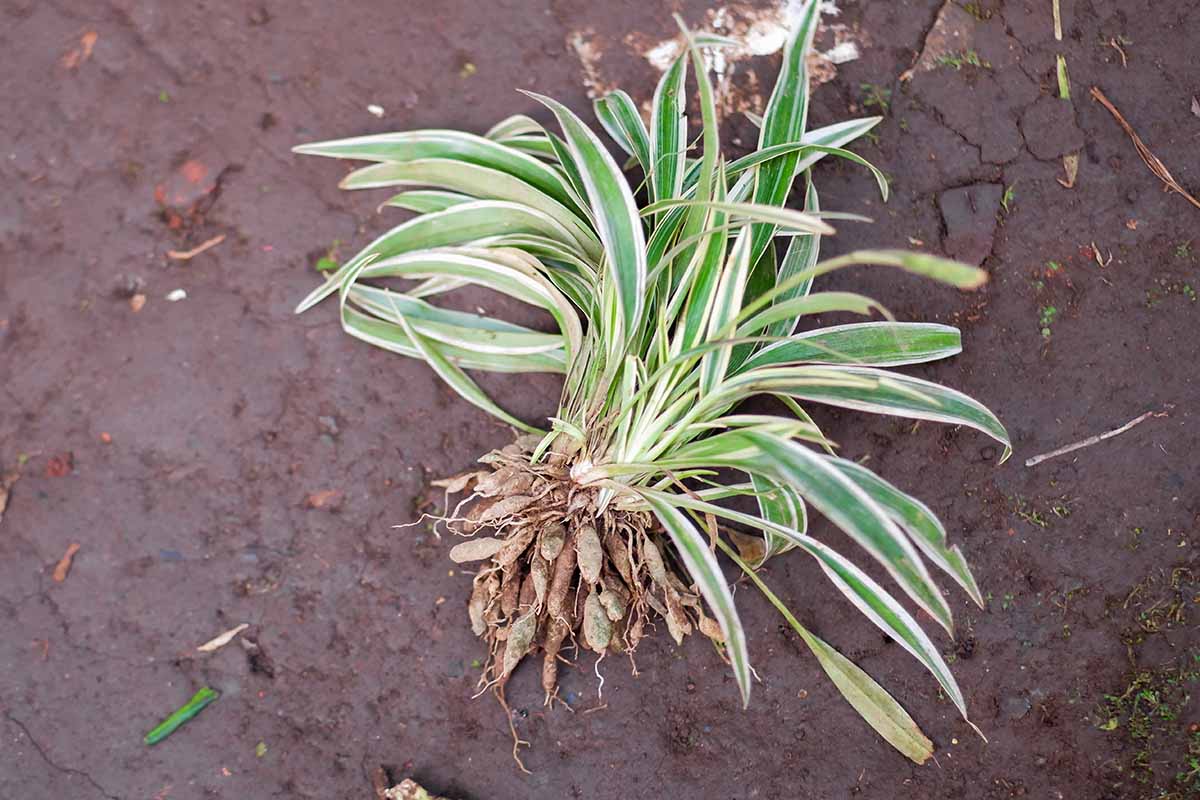
If given enough room, mature spider plants can grow more than two feet wide! And the thick, fleshy tuberous roots and rhizomes of these houseplants grow quickly.
Although they prefer to be slightly pot bound, the roots can eventually become too crowded, so dividing and repotting will keep them healthy, happy, and looking their best.
If the roots and rhizomes get too cramped and crowded, the central, inner section of the root ball can become damaged. You may notice signs of stress like leaf yellowing or browning, withering, and poor health in general.
Splitting the roots and potting up the divisions rejuvenates the plant and keeps it at a manageable size, so you don’t need to keep repotting into larger containers as it grows.
If you’re a thrifty or generous houseplant parent, you know that propagating at home is the best way to fill more pots with new specimens to green up your space and to share the love with family and friends.
This is the way I became a plant enthusiast, after all. Why not pay it forward to someone else?
When to Divide
Spider plants can be divided at any time of the year. If you notice the rhizomes pushing up out of the soil, or if the roots have filled the pot, it’s time to repot into a larger container or divide the specimen.
This could be every one to five years, depending on the size of your specimen, the size of its original pot, and your plant’s conditions and growth rate.
If you need advice on how to repot your spider plant, check out our guide.
These houseplants do best when they’re snug in their pots. But it can seem like a fine line between “snug,” or comfortably pot bound, and too darned cramped.
If your specimen looks healthy and it has some room in its current space to grow, there’s no need to disturb it – unless, of course, you decide to propagate new plants!
So if your spider ivy is busting out of its pot, or if you want to make some baby plants, read on to learn how to divide your spider plant.
How to Divide
Before you begin, gather up the items you’ll need. It’s best to plan ahead, so you’re not scrambling around looking for the right tools when you’re in the middle of performing surgery.
You’ll need a sharp, clean knife for cutting through tough roots, a trowel or scoop, and a pair of garden pruners.
You’ll also need some fresh potting soil.
Something like this Organic Potting Mix from Gardener’s Supply Company, available in 20-quart bags, would be ideal.
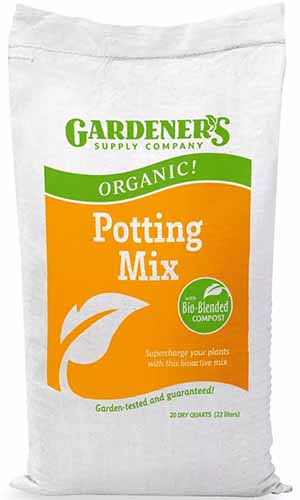
It’s blended with compost and specifically formulated for container growing.
It doesn’t bother me to walk around with soil under my nails, but if it bothers you, grab your gloves. If you don’t have a pair, read our guide to the best gardening gloves for recommendations.
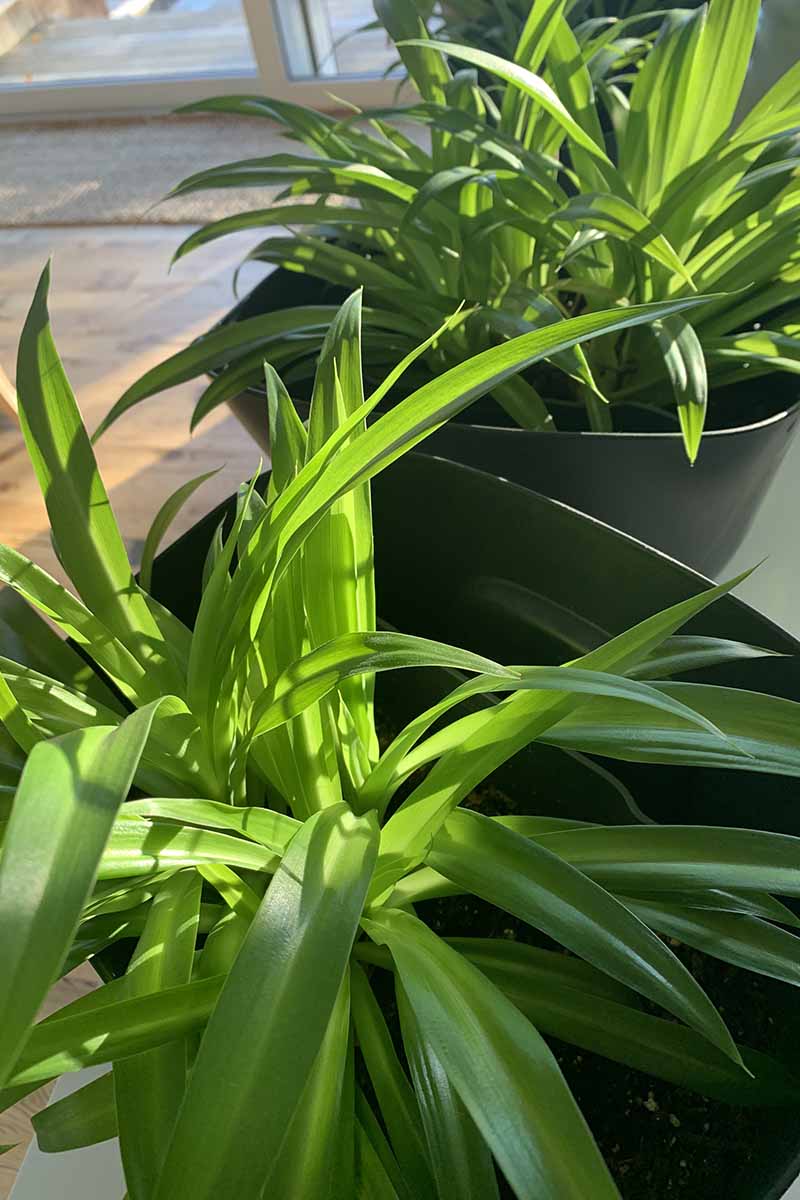
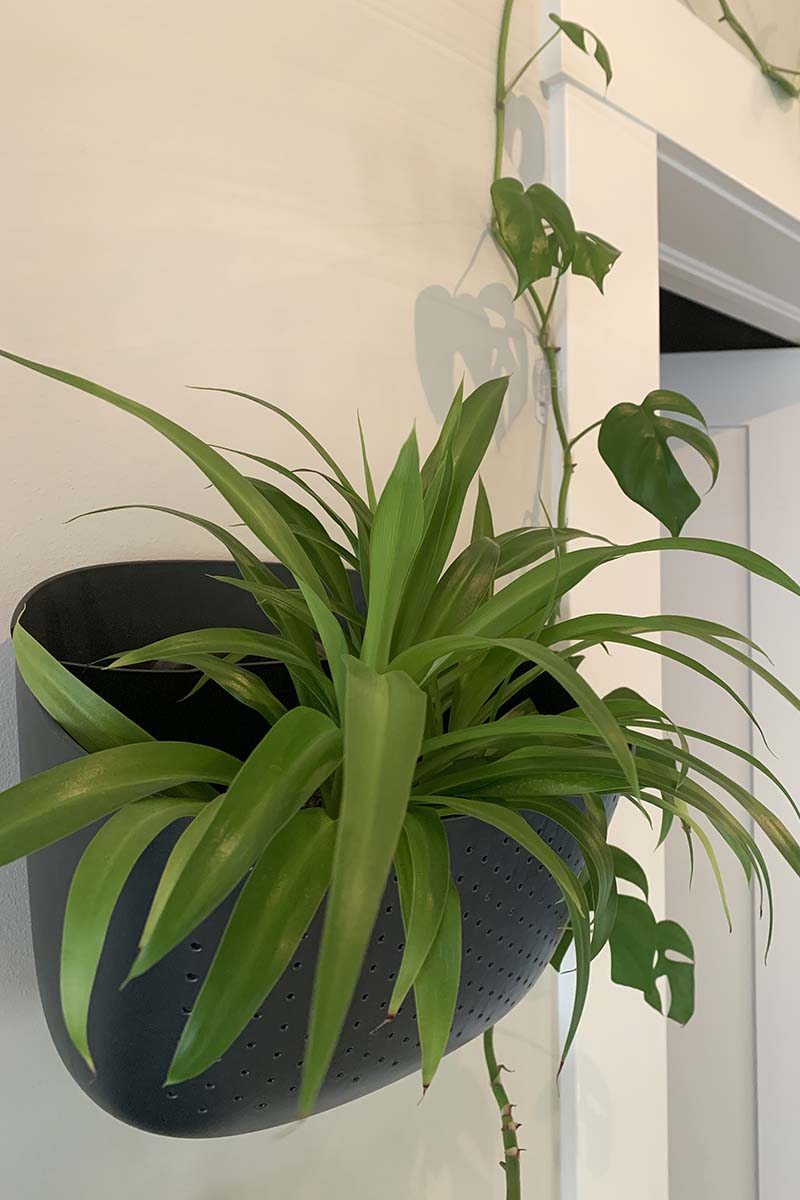
You’ll also need extra containers for the divisions. The choice of container is up to you, but I think they look great in hanging baskets and planters. I’ve got mine in containers that are designed to mount on a wall.
Take a look at these Manhattan Wall Planters made by Ecopots.
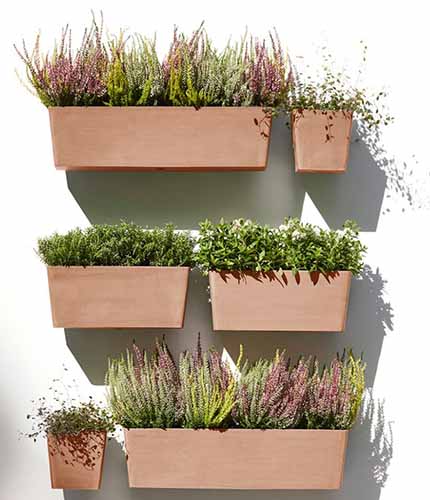
Ecopots Manhattan Wall Planters
They come in three different sizes, and a few tasteful, neutral color options.
They have a hidden mounting system for a clean and modern look, and they’re made from 80 percent recycled materials. Perfect if you appreciate Scandinavian decor like I do!
The new containers should be a minimum of three to four inches wide, or larger, depending on the size of the divisions – and remember that spider plants like to be a little snug in their pots, so keep this in mind when making your selections.
And whatever containers you choose, make sure they have adequate drainage holes.
When you have everything you need, prepare a space where you don’t mind getting things a little messy. I like to work at my kitchen table, but a counter or the floor works too.
In the basement, or in the garage, wherever you decide to work, set yourself up for a smooth and efficient workspace.
Put down some old newspapers or find a tray to work over to make cleanup a little easier. Or, if you don’t mind a little dirt, just go for it! That’s what brooms and vacuums are for.
Now you just need to rustle up your plant and you’re ready to go. I don’t know about you, but I talk to my houseplants. I tell them how beautiful they are and how much I love them.
I also like to keep them informed. This would be a good time to explain what you’re about to do and reassure your spider plant that everything will be ok. Because it will. You got this!
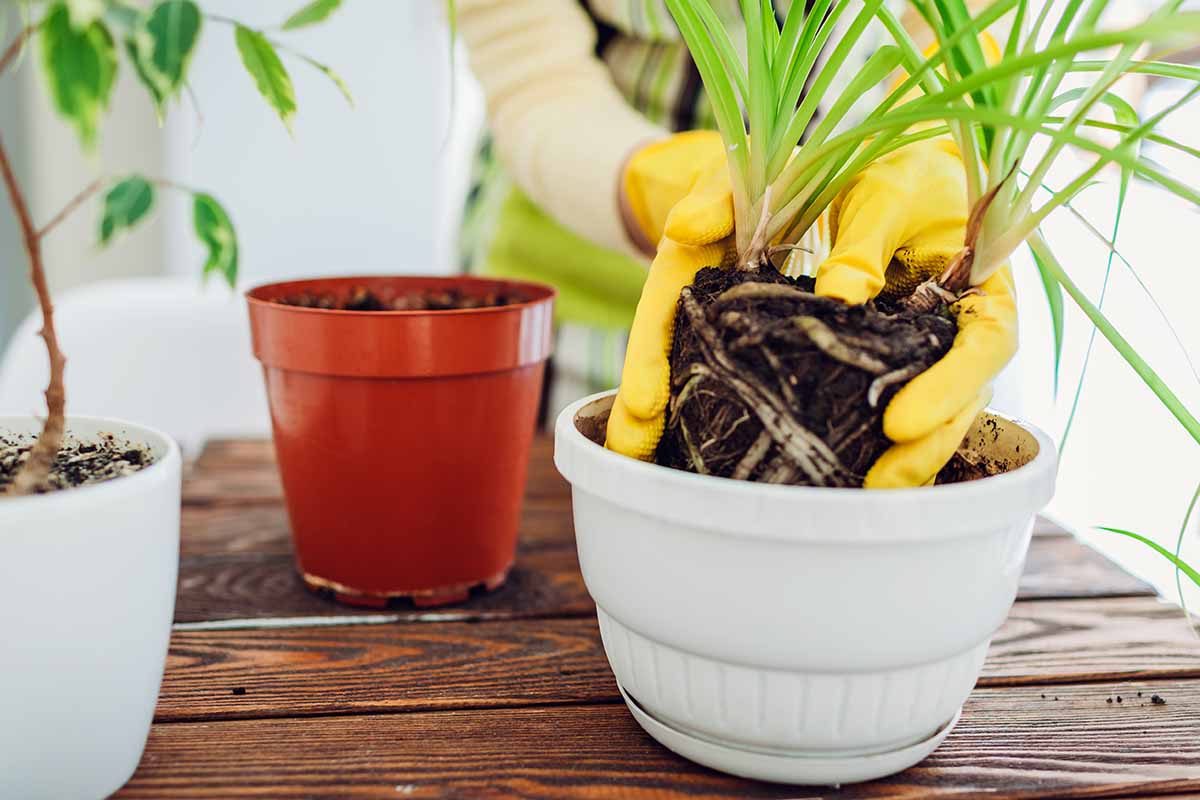
Start by removing your spider plant from its pot.
Squeeze the sides of the pot to loosen it, then while supporting the plant at the base of the foliage near the roots, gently wiggle it out of the container.
Try not to damage the roots. Set the spider plant on its side so you can inspect the root ball.
Next, using your hands, shake out most of the soil from around the roots so you can see what you’re working with. Trim off any damaged or dead roots.
Depending on the size of the specimen you have, and the size of the divisions you’re aiming for, decide how you’ll split it up.
It’s important not to make your divisions too small. If the new root balls are too small, it will take longer for the spider plants to recover and put on new growth.
When you’re ready, use your hands to separate the roots into sections. If the roots are tough or dense, use your knife to cut them. Each section should have a good amount of healthy foliage and rhizomes.
When you’ve got your new divisions split and ready to pot, prepare the containers. Scoop some fresh soil into the bottoms of each pot. Set the new division in the pot, and support it while carefully adding soil around the roots and gently firming it into position.
The top of the soil should end up being about an inch from the top edge of your pot, and just covering the roots and rhizomes, leaving a bit of the crown exposed. Adjust the plant’s position if necessary and add more soil.

When you’re satisfied with your work, give your divisions some water.
This will settle the soil around the roots. If it settles quite a bit, and the roots are exposed, add some more soil and then water it a little more. Repeat the potting process with all of your divisions.
That’s it! You did it! Congratulate yourself and reassure your new divisions with a few soft words of encouragement.
Avoid fertilizing for at least a month to allow your little spider plants time to root in their new containers and recover from any stress.
Make and Share Memories
Spider plants are forgiving and easy to manage for beginners. The fact that they’re absolutely adorable makes them a favorite for experienced houseplant parents as well.

Dividing your spider plant when it has outgrown its container or when you’re in a giving mood will keep your specimen happy and healthy.
Share the love by gifting a spider plant division. You never know – you might just be creating memorable moments for someone else too.
Do you remember your first houseplant experience? Share your memories and drop your story in the comments below. I’d love to hear from you!
And to learn more about spider plants and how to care for them, check out our other articles next:

We have a Spider plant in our hallway and, even though it’s December, it has produced 3 long shoots with 11 tiny Spiderettes forming so far
Hi Ron, that’s awesome! Houseplants often get confused about the time of year and will flower or reproduce themselves at unusual times. All that artificial lighting and constant temperatures can be confusing to plants. Humans, too!