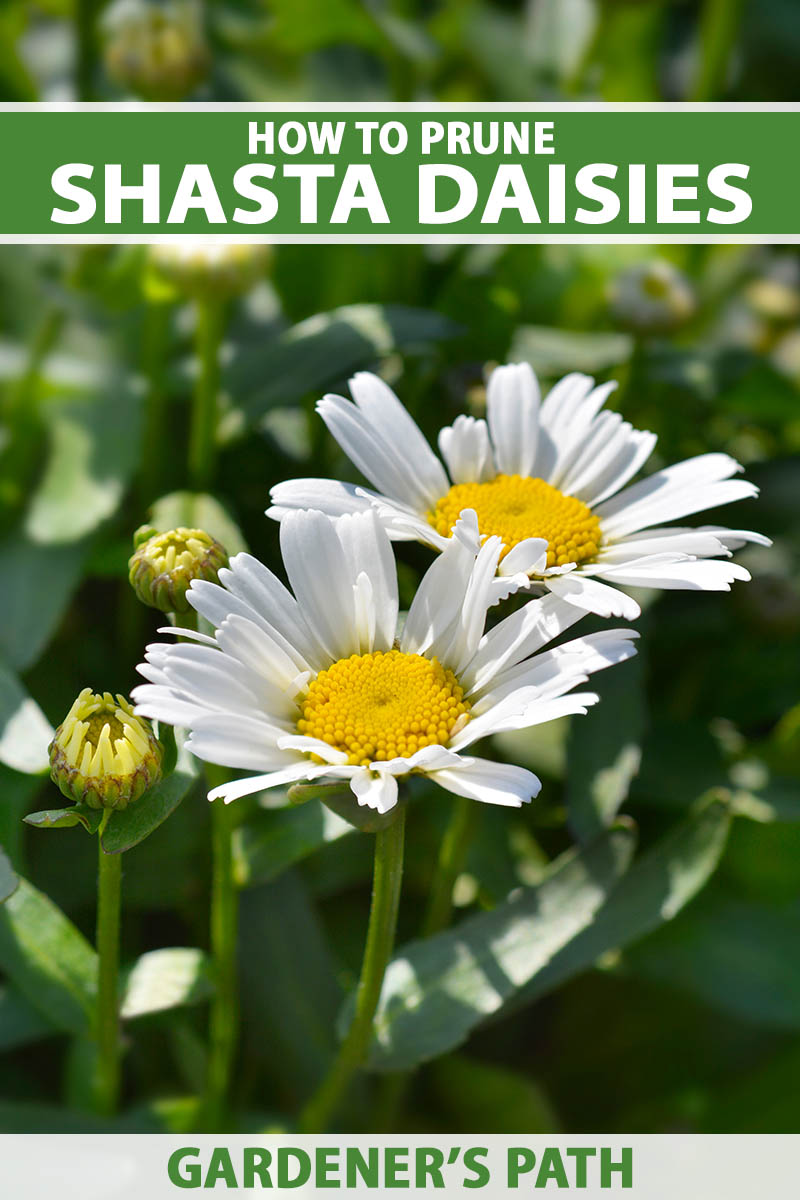
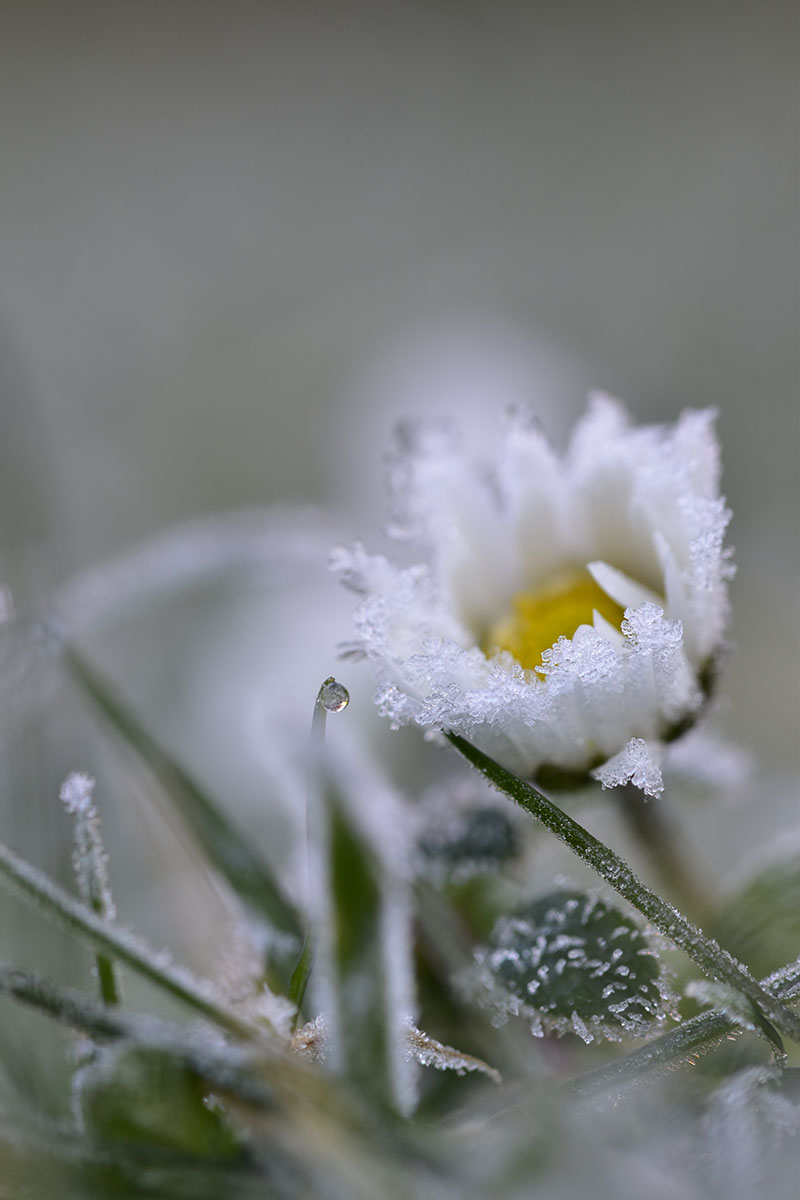
Shasta Daisies, Leucanthemum x superbum, are herbaceous flowering perennials suited to USDA Hardiness Zones 4 to 9.
These prolific summer-to-fall bloomers top out at two to three feet tall. They grow in average, slightly acidic, well-draining soil, full sun, and moderately moist conditions.
We link to vendors to help you find relevant products. If you buy from one of our links, we may earn a commission.
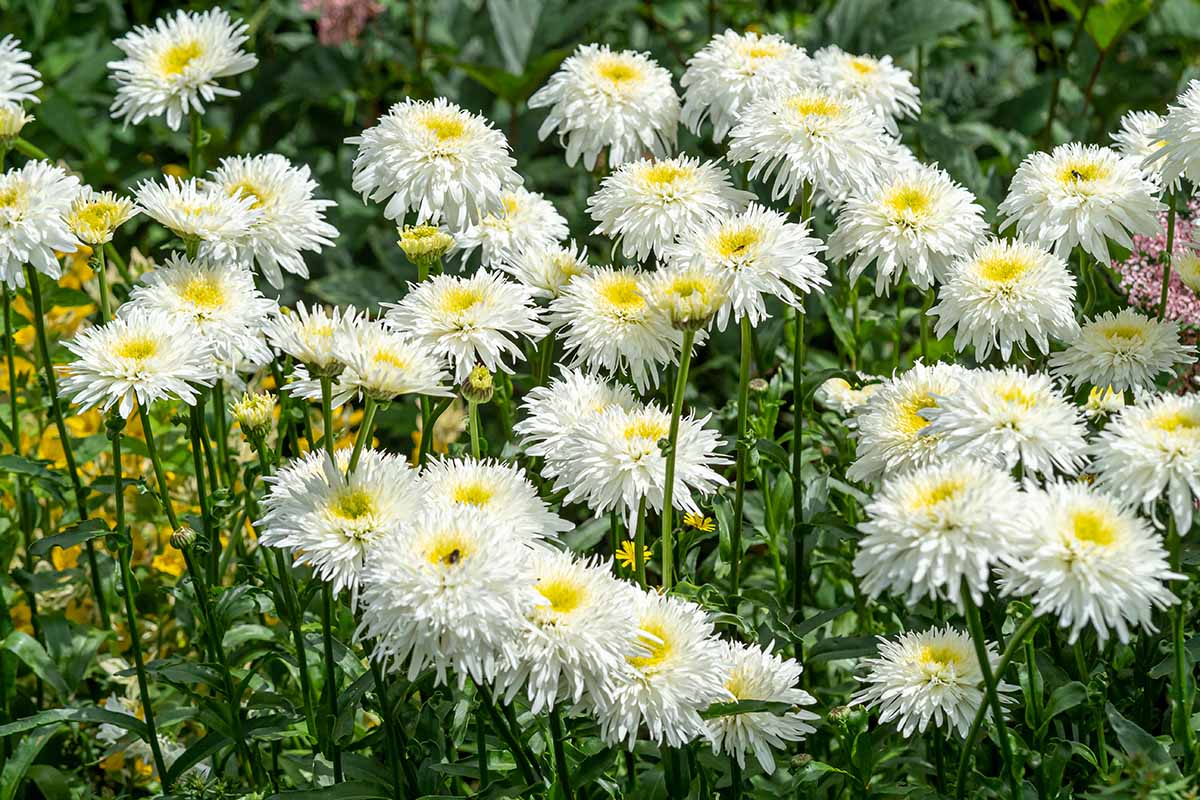
With their substantial height, Shastas are the perfect choice for back of bed placements in cutting gardens, center positions in cottage garden borders, mass plantings in drifts, and focal specimens in rockeries.
In our guide to growing Shasta daisies, you’ll find all you need to know to fill your gardens with their sunny faces.
This article discusses three methods of pruning Shasta daisies during the growing season.
Here are the topics we’ll cover:
Shasta Daisy Pruning Methods
Let’s head out to the garden!
Chelsea Chop
The Chelsea Chop is a pruning technique used to remove one-third to one-half of each stem in late May or early June.
It was so-named by the Royal Horticultural Society (RHS) because it coincides with the world-renowned Chelsea Flower Show held annually in London each May.
There are several reasons for deep trimming early in the season.
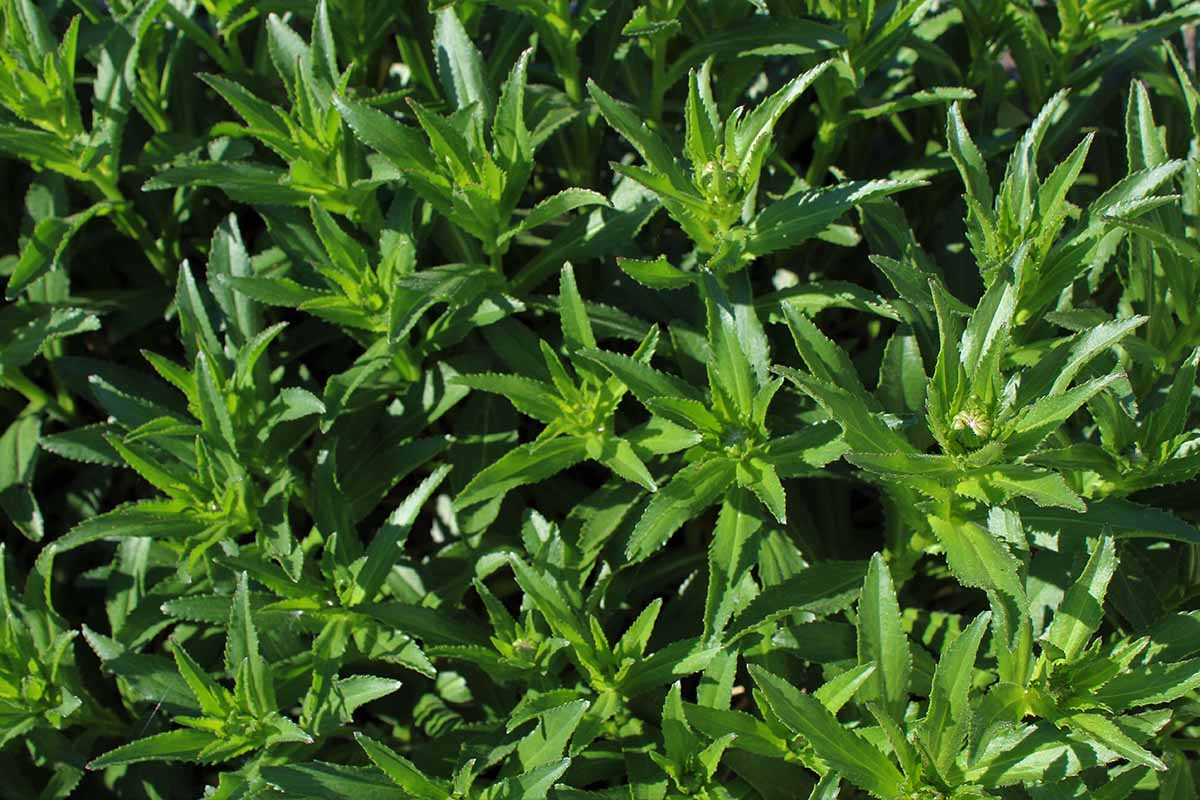
Plants that top out at three feet or more tend to become leggy and flop outward, leaving a gaping hole in the center of the clump and flower heads that point sideways, making desperate attempts to right themselves and face the sun.
Early season pruning creates more lateral growth and may eliminate the need for staking as plants mature.
In addition, some folks like to delay flowering or vary it. By cutting all plants by the maximum recommended – one-half of the stem length – bloom time can be delayed by a month or more, which affords the ability to coordinate garden color as desired.
Another option is to trim some plants by one-third, others by one-half, and leave a few to reach full height.
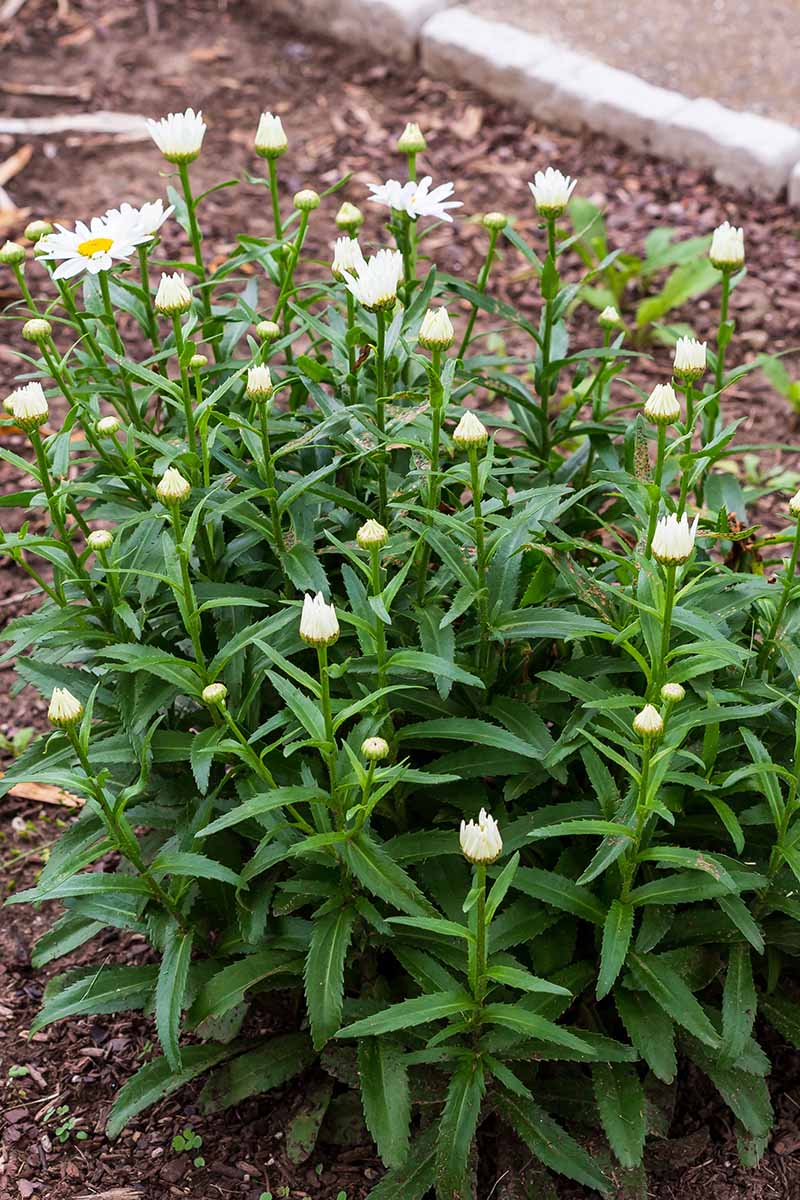
You can choose to prune all the stems in one clump to the same height, or vary them. A bonus of varying the height is that the shorter stems will help keep taller ones upright.
Cutting in this way does have one drawback: Manipulating the stems to grow outward instead of upward results in more more stems but smaller flowers. This is another reason for allowing some stalks to reach full height – to enjoy the largest blooms possible.
You’ll need a pair of clean, sharp bypass pruners to trim in the RHS style. These tools have a sharp, curved upper blade that crosses a corresponding lower counter blade to make a crisp slice, leaving no ragged edges.
If you’re looking for a new pair, please see our review of the classic F-2 Pruners from Felco.
There are two ways to do the Chelsea Chop. You can use long-handled loppers to gang-cut an entire clump at once or pruners to selectively trim individual stems.
I prefer using pruners because they allow me to vary heights and trim each stem just above a leaf node or pair of leaves, a natural growing point that regenerates quickly.
Please see our guide to the Chelsea Chop for more information on this pruning method.
Deadheading
Another type of cutting is deadheading, the removal of faded blossoms before they set seed. This is a task to do throughout the flowering season.
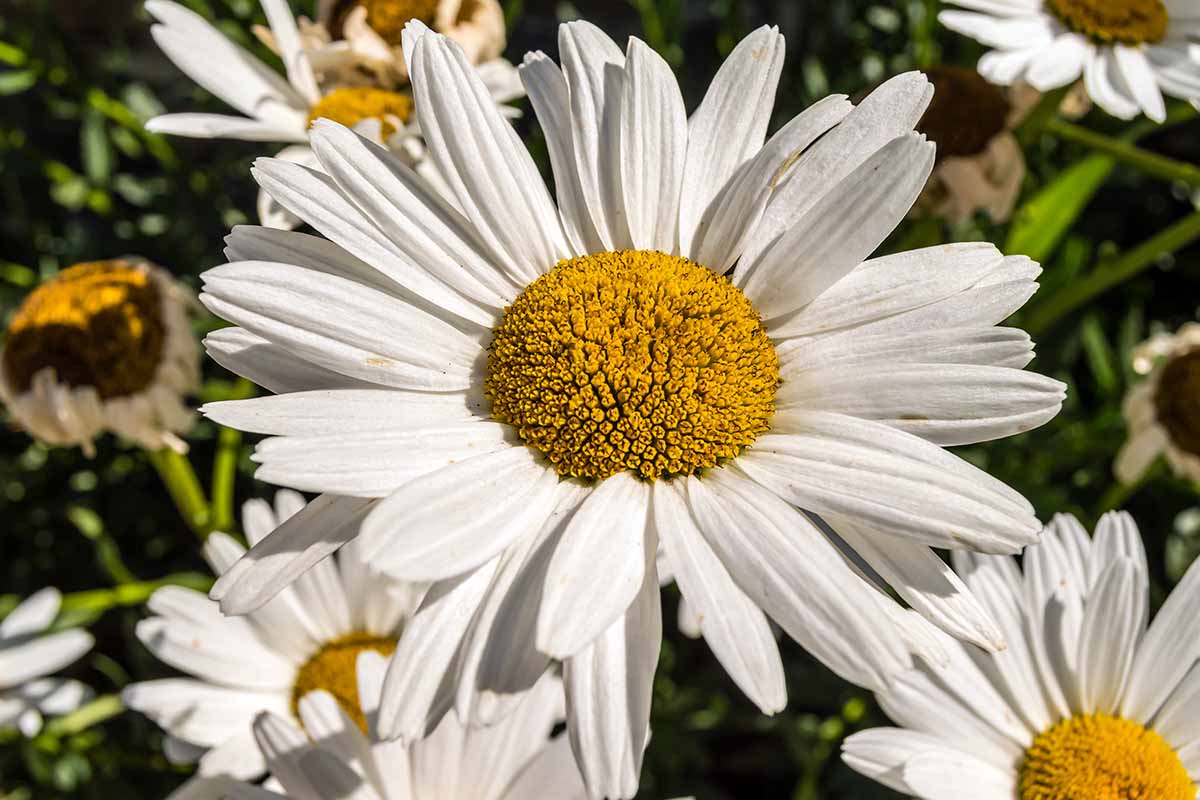
Deadheading stimulates more flower production, removes unsightly debris, and inhibits self-sowing to control the plant’s footprint in the landscape.
The best time to deadhead is when you see a blossom shriveling, but before it completely loses color.
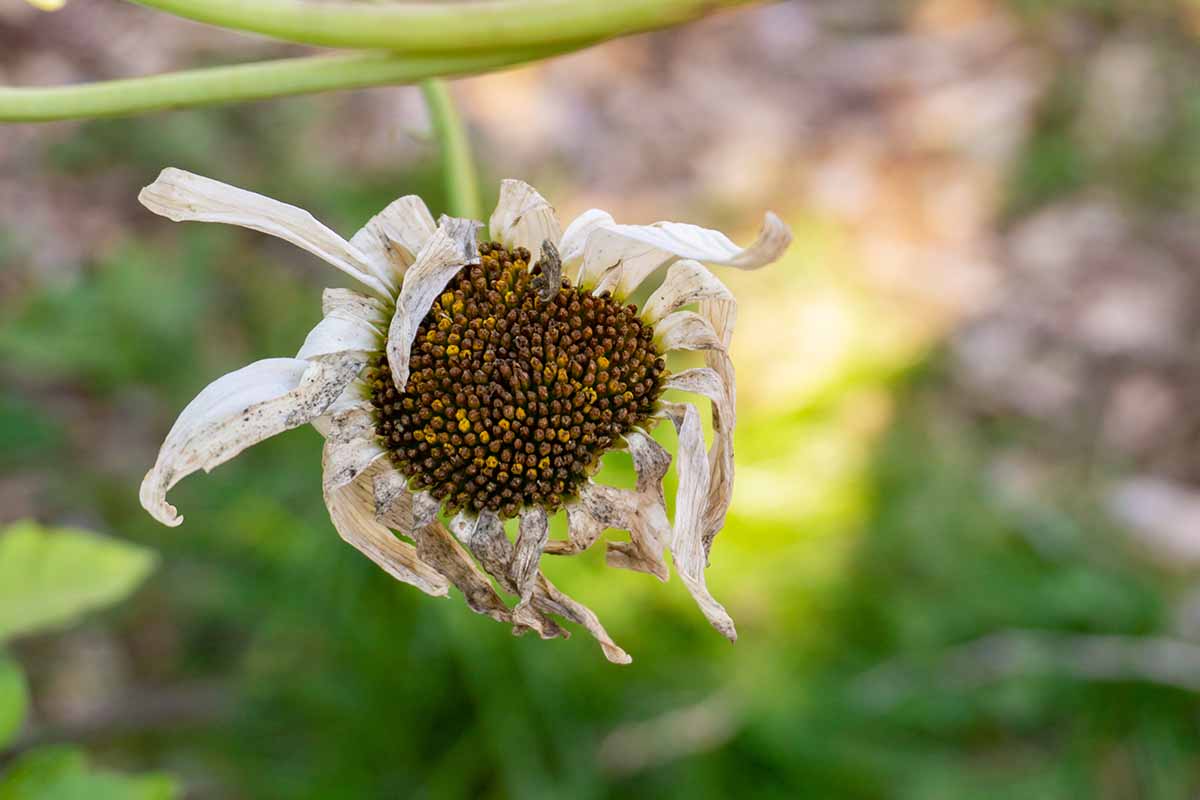
Use pruners to snip the spent stem just above the first leaf node or first pair of leaves beneath the blossom. Use the same technique to remove broken or damaged stems.
See our guide to deadheading for more information.
A Note on Clipping Stems for Vase Arrangements
The method of harvesting fresh flowers for floral arrangements is similar to deadheading.
Choose the desired length and use pruners to sever the stem just above a leaf node or pair of leaves to ensure rapid regrowth.
Select blossoms at random to avoid leaving some clumps flowerless.
Yearly Cutback
In the fall, the flowers finish blooming and the foliage turns brown.
One morning, you’ll likely awaken to find that the first frost has reduced the clumps to soggy masses and the growing season at an end.
This is the time for the yearly cutback.
Because perennials return the following spring, it’s essential to remove all plant debris to prevent it from harboring pathogens and pests over the winter months.
Once removed, you’ve got a clean slate for next spring’s new growth.
Use loppers or pruners to reduce each clump to a height of about three inches above the crown – where the stems and roots meet – at or slightly above the soil surface. Cutting above leaf nodes is not necessary.
You can then cover the planting area(s) with a three-inch layer of mulch to provide extra insulation over the roots during the coldest months of the year.
Showstopping Shastas
Let’s recap.
Pruning one-third to one-half the height of your daisies in late May to early June, aka the Chelsea Chop, results in compact lateral growth, less need for staking, more blossoms (with a smaller diameter), and later blooming.
Cutting some plants and not others enables you to stagger bloom times.
Varying the pruning heights in an individual clump results in taller, earlier, larger flowers and shorter, more abundant, later-blooming blossoms in the same clump.
It also provides taller stalks with built-in structural support.
Other beneficial pruning techniques include deadheading spent blooms throughout the growing season to promote repeat blooming and limit self-sowing, and post-season clean-up to prevent the overwintering of pests and pathogens.
If you’ve fallen out of love with your daisies because they flop over and display faded blossoms, it’s time to add “prune the Shastas” to your garden planner and reap the rewards of showstopping late-season flowers that take center stage as the growing season draws to a close.
Do you prune your Shasta daisies? Tell us about your experience in the comments section below.
If you found this article helpful and want to learn more about how to grow Shastas in your outdoor living space, we recommend the following guides:

This site is full of information!
I would like to know why my daisies are brown and withering. It’s only mid summer in the Midwest. I’d to know the answer because I am trying to create a daisy garden. What am I doing wrong? Thank you
Hi Roberta – Welcome to Gardener’s Path! We are experiencing unusual weather patterns that are adversely affecting our flora. In my region, we have had excessive rainfall, and in the Midwest, it has been very hot and dry. Shastas can tolerate drought to some degree, but they prefer moist conditions. Our guide to growing Shastas has more information. In addition to providing supplemental water, you can help your daisies perform well by deadheading spent flowers before their color completely fades. Without deadheading, the flowers set seed and stems die. And finally, another approach to growing Shastas is to do an… Read more »