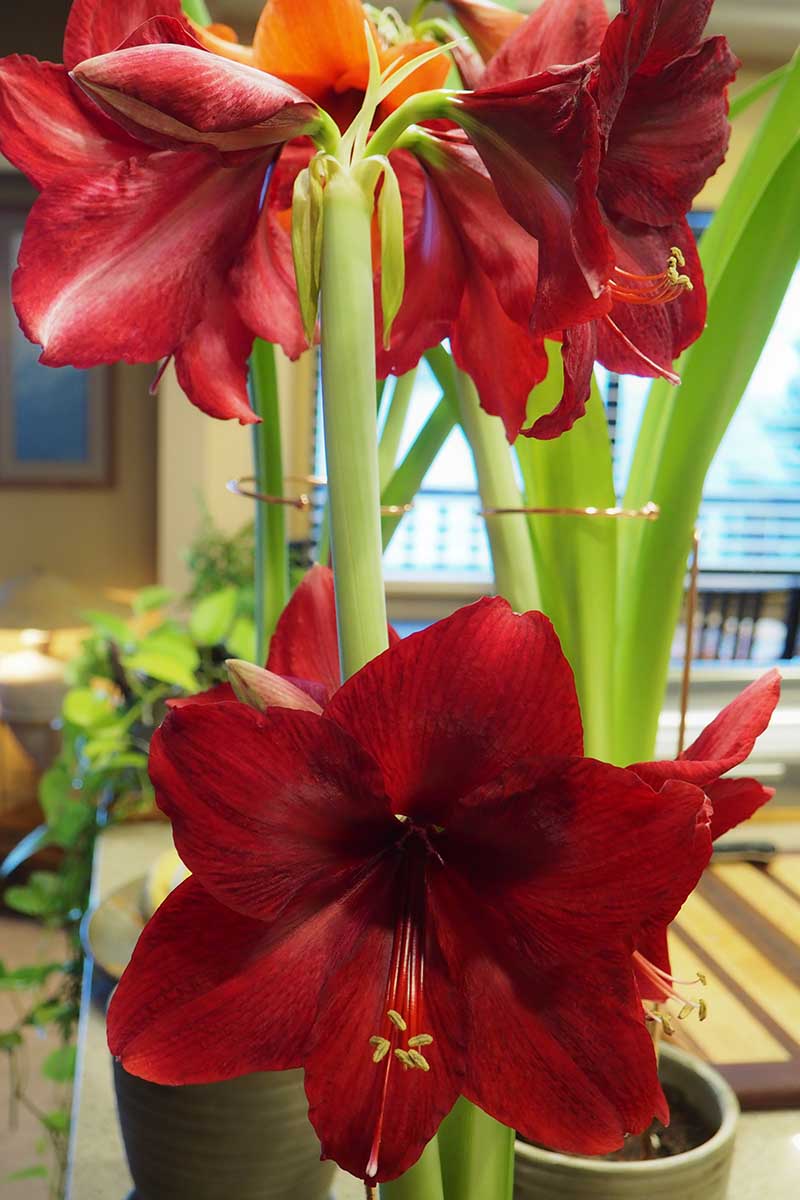
Prized for their glorious trumpet-shaped flowers borne on tall stalks, amaryllis benefit from repotting as the bulbs grow and mature.
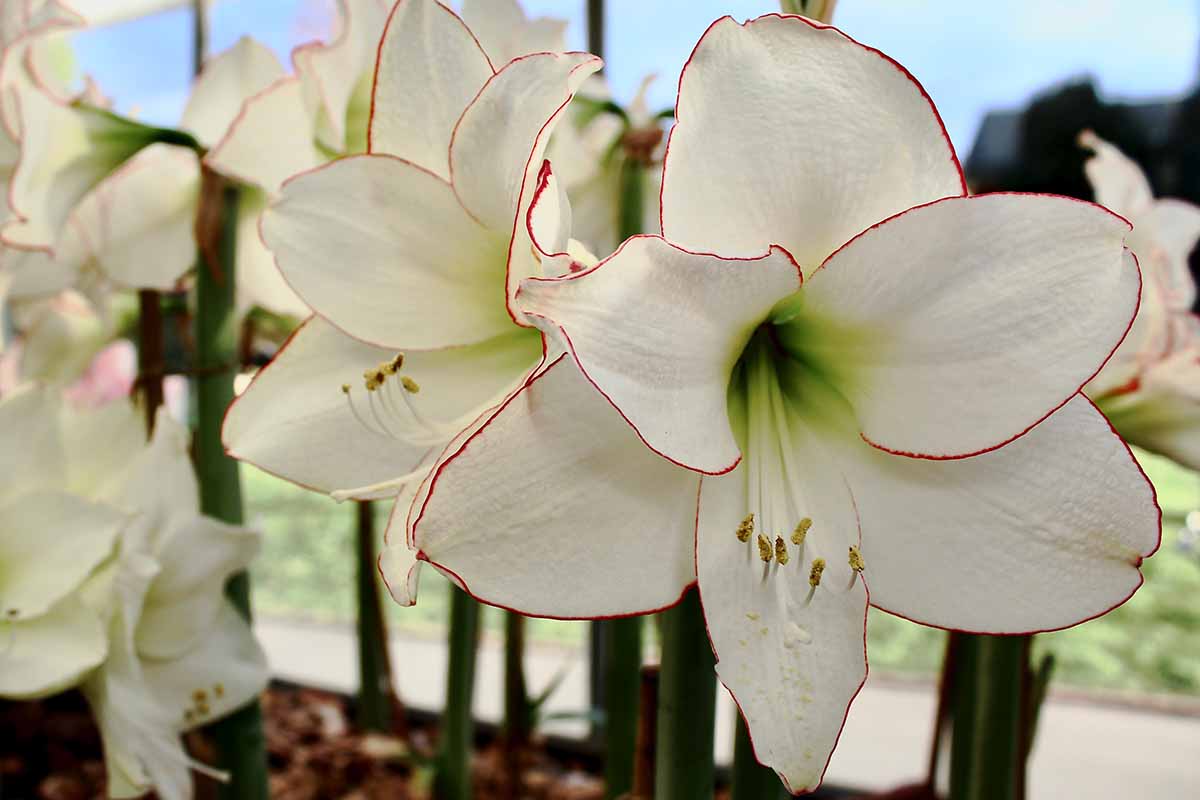
These vividly hued, tropical blooms are often grown for indoor forcing, and flower for weeks in saturated shades of burgundy, coral, pink, rose, salmon, scarlet, and white, plus bicolor combinations.
Each bulb produces one to three tall, erect stems with up to five flowers per stem that add scintillating drama to the home in the short days of winter – with larger, mature bulbs producing the most flowers.

We link to vendors to help you find relevant products. If you buy from one of our links, we may earn a commission.
They’re also naturally long-lived, reblooming for years with the right care – like repotting.
Moving them needs to be timed carefully to make it minimally disruptive to their growing cycle.
And the new pot can’t be too big, because for the most abundant flower production, they do best when somewhat rootbound in tightish quarters.
So are you ready to brighten another winter with their big beautiful blooms? Then let’s dish the dirt on when and how to repot amaryllis!
Here’s what you’ll find ahead:
What You’ll Learn
Bulb Basics
The beautiful, large-flowered amaryllis bulbs of the winter season are hybrids in the Hippeastrum genus of the Amaryllidaceae family.
Hippeastrum species are native to Central and South America, and the large, exuberant flowers add exceptional color to indoor decor for several weeks – a perfect counterpoint to winter’s short, dark days.
And while many tend to think of them as a one-season-wonder, the bulbs are wonderfully long-lived and can be regrown for decades with proper care.
Learn how to do that in our guide to growing amaryllis.
The strappy foliage appears at the same time as the flower stems, or sometimes shortly after flowering, and tending the sword-like leaves is important for the bulbs longevity.
After flowering, the extensive leaves are used for photosynthesis, providing the bulb with nutrients and stored energy to survive dormancy and re-energize it for the next growing season.
Once the bulbs are primed with energy, they enter into dormancy for a rest period. The foliage and flower stems first turn yellow, then brown as they die back and wither.
This makes them unsuitable as a decorative houseplant, but many smart growers save their bulbs to regrow the following year, storing them in a cool room in a bag of peat moss.
Others simply allow them to die back in their pots, tucking everything away until the next growing season.
With each successful growing season, the bulb grows a bit larger and will eventually require repotting to provide optimal growing conditions.
When and How to Repot
Only repot the bulbs when they are fully dormant.
If your bulbs have been stored loosely in peat moss, lift them out and brush them gently until they are clean.
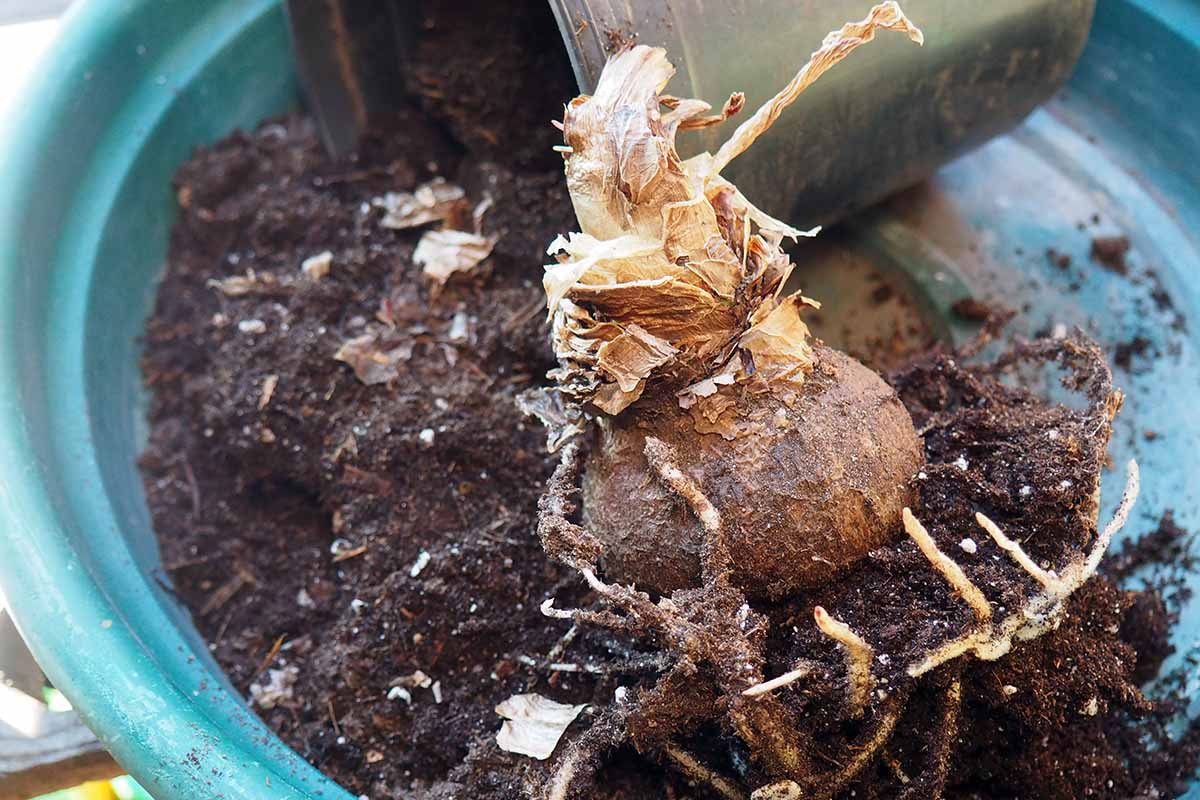
If you store them inside a growing pot, run a dull dinner knife around the inside edge of the pot, to gently dislodge the roots.
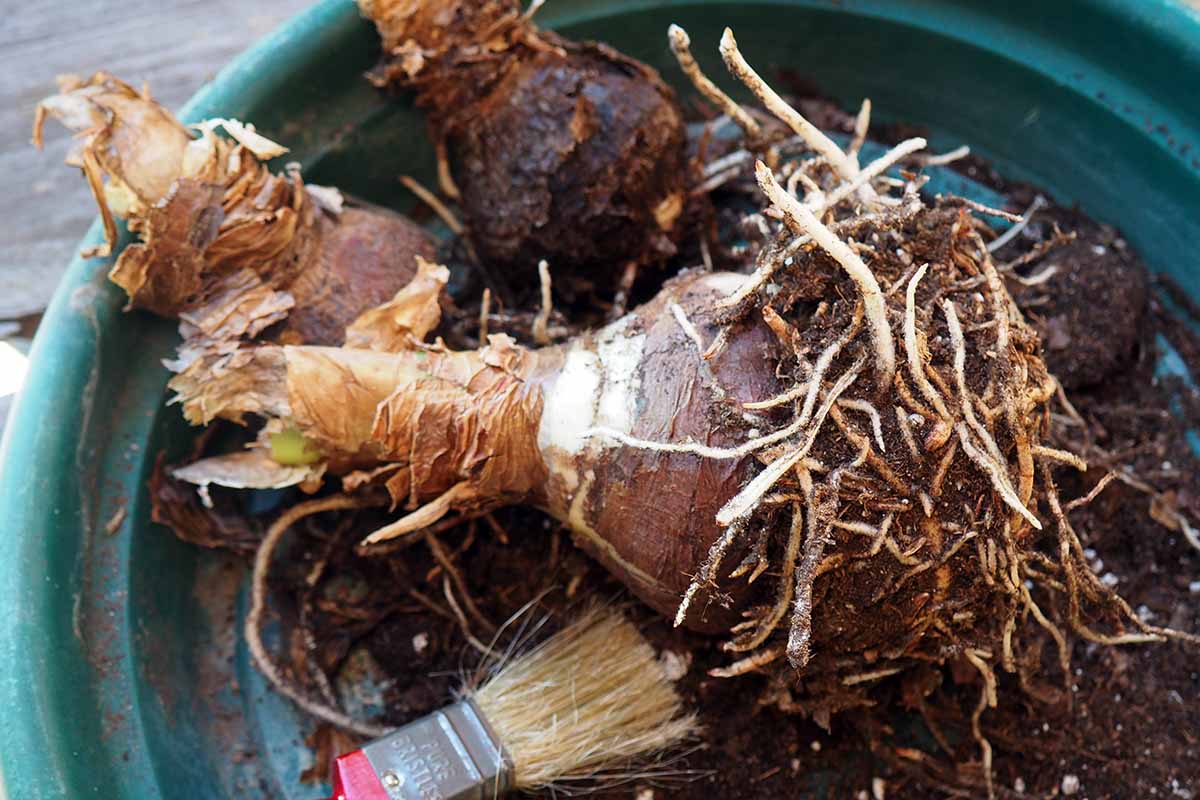
Lift the bulbs out of their pot and use your fingers or a soft bristle brush to wipe away the soil.
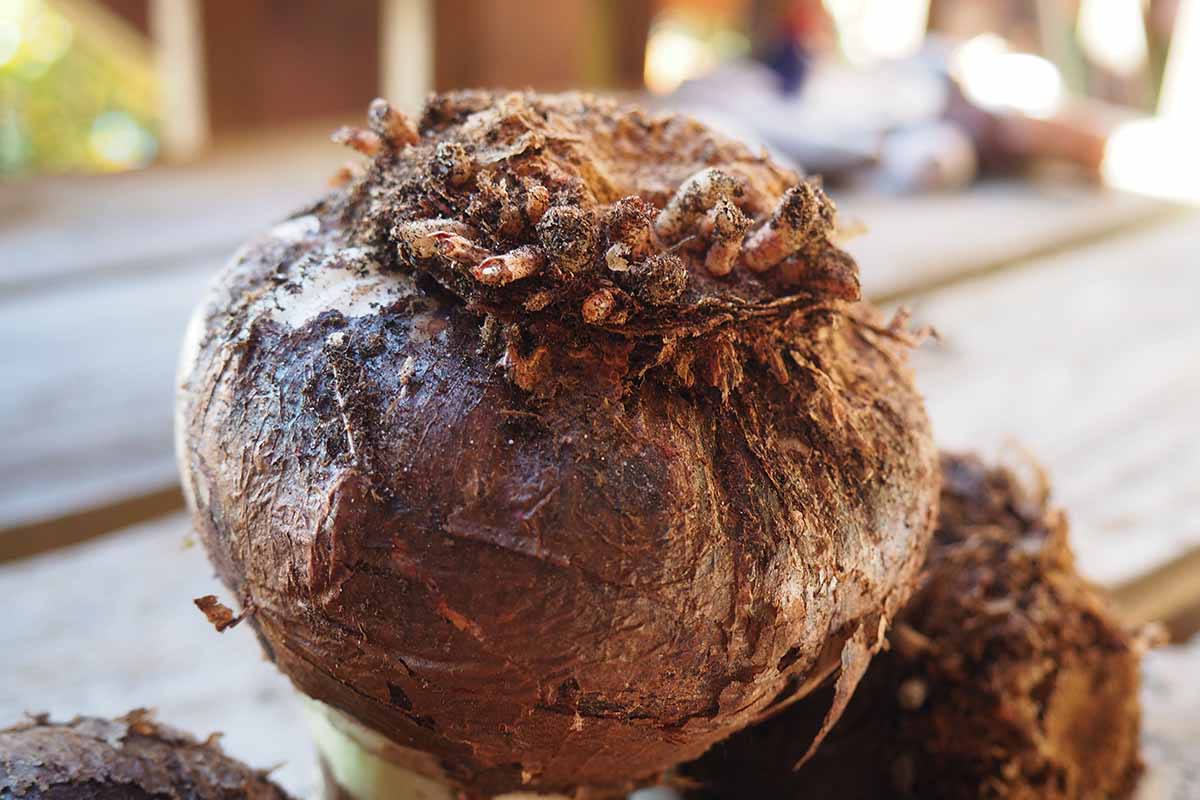
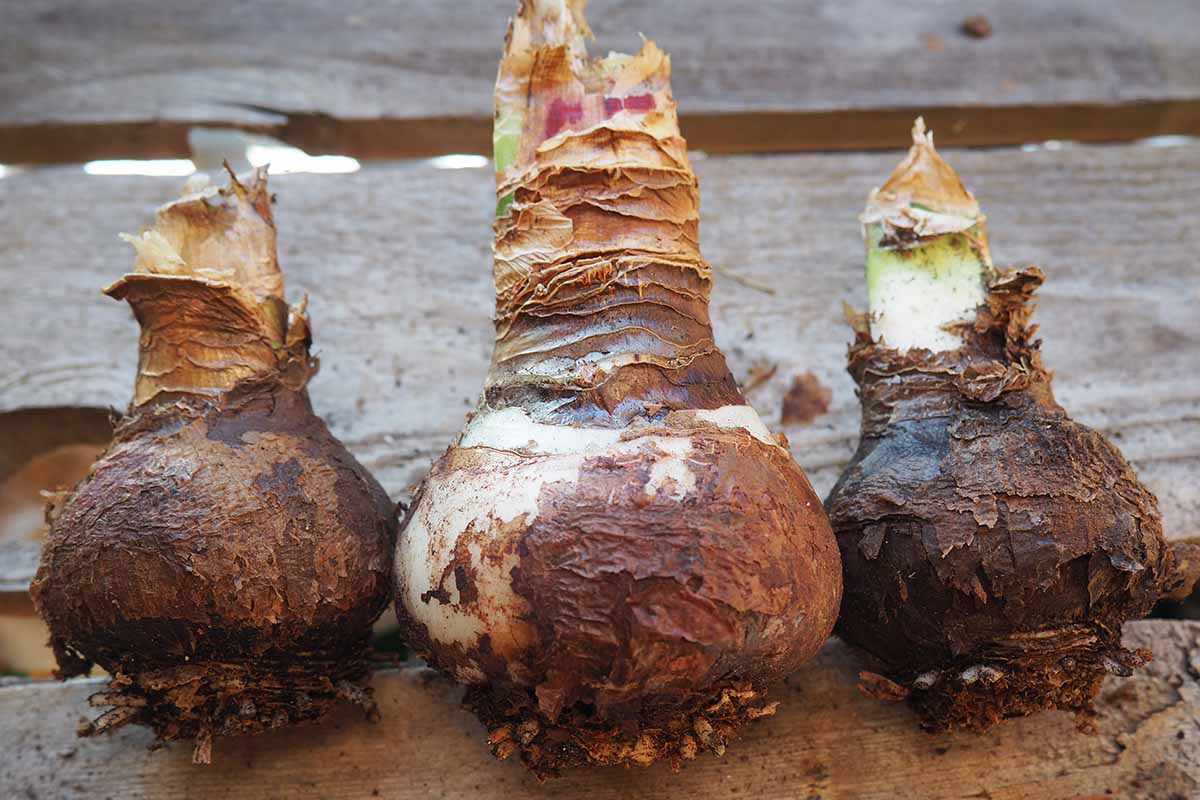
Trim the roots close to the basal plate. If you’re not sure what the basal plate is, it’s the flattish part on the bottom of the bulb.
Before planting, it’s helpful to first rehydrate the bulbs by soaking the basal plate in water for several hours or overnight.
To rehydrate, use a shallow saucer with a thin layer of pebbles to help them maintain an upright position – only the basal plate where the roots emerge should be soaked, not the entire bulb.
If any roots remain, trim them close to the basal plate then settle the bulb into the pebbles. Add water to the saucer until it just reaches the bulb’s base. Allow it to soak for a minimum of one hour, but several hours or overnight is preferable.
For strong, healthy plants with multiple stems and an abundance of flowers, container grown amaryllis are most prolific when they’re slightly rootbound. Cultivating them in tight-fitting pots helps to ensure you get flower stems, not just foliage.
The pot’s size should be one or two inches wider than the bulb’s diameter and about twice its height. Ideally you should have a two-finger measure between the edge of the bulb and the side of the pot.
Whatever container you choose must have drainage holes – in a snug pot, good drainage is mandatory to prevent rotting.
I like to add a thin layer of loose materials over the drainage holes to keep the soil draining freely.
After adding drainage material, fill the pots about halfway with a loose, humus-rich potting medium.
Nestle the bulbs firmly into the soil then add more soil around the perimeter, firming it gently with your fingers but leaving the top one-third or the neck, above the soil line. Keeping the neck free of soil also helps to deter rot.
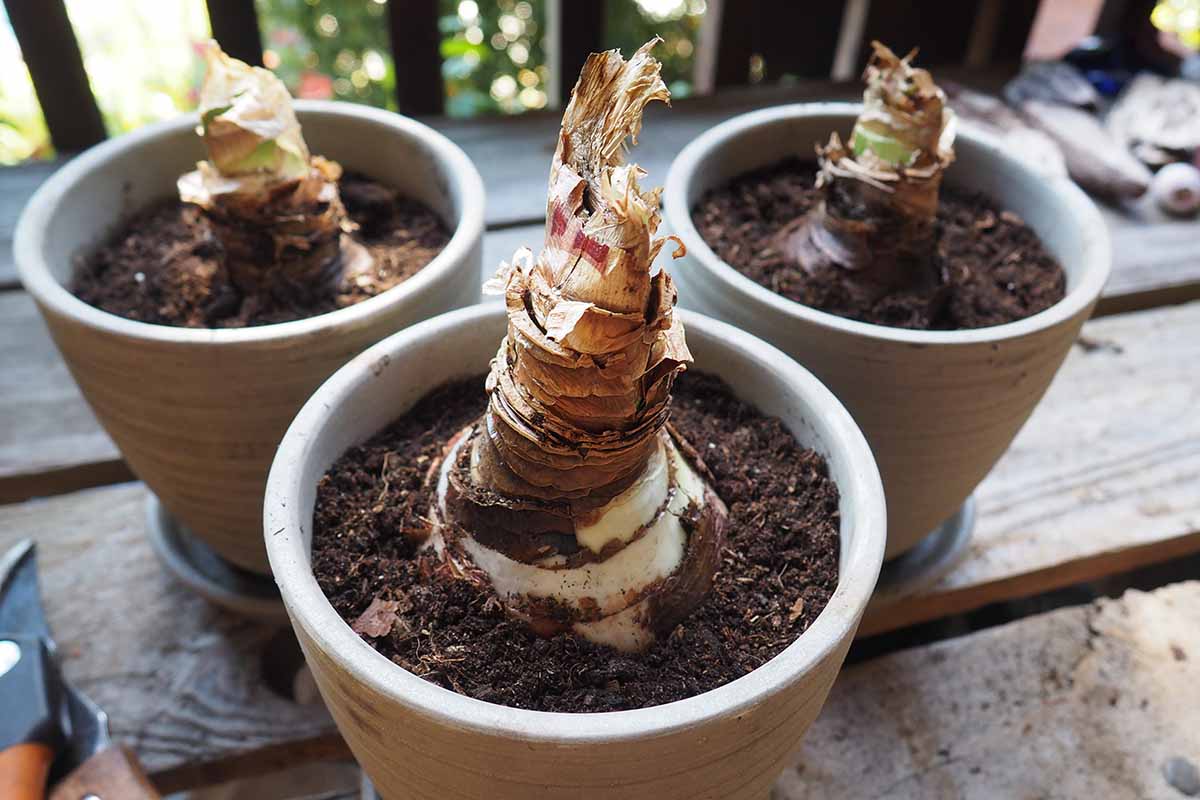
Place your containers on a saucer to catch water and keep the surroundings dry and tidy.
Water the soil slowly but thoroughly, just until water emerges from the drainage holes, then place the pot and saucer on a sunny windowsill.
After repotting, follow the steps in our guide to forcing amaryllis to bloom indoors for strong plants with plenty of flowers.
Growing Tips
Hippeastrum produce beautiful flowers and growing them indoors is a fun and easy way to add vibrant, living color to your winter decorations.
Once they start growing, which can take up to eight weeks after planting, growth is vigorous and fast, with noticeable daily changes that amp up your anticipation for the showy flowers to come.
Their care and cultivation while flowering is simple and straightforward:
- Grow potted specimens on a sunny windowsill. Move them out of direct sunlight into bright, indirect light just before flowering.
- They do best in a room with coolish temperatures – the ideal is around 65 to 70°F.
- After new growth starts, keep the soil lightly moist but not wet. Allow only the soil surface to dry between water applications.
- Use stakes to support leaning flower stems or floppy foliage. To keep them looking their best, make sure to stake amaryllis for support before they need it.
- If your plants fail to produce flowers, we have a troubleshooting guide for that.
But the real key to keep these bulbs thriving – with spectacular floral displays – is to keep them growing after they finish flowering.
Properly cared for, they can last for decades, gaining size with each growing season. And the bigger the bulb, the more flower stems it produces, which means more of those fabulous blooms.
To do this, deadhead the spent flowers to prevent seeds forming and continue to water and fertilize regularly – and be sure to read our guide to caring for amaryllis after flowering.
Wonderful Winter Flowers
With their fast growth and easy care requirements, container-grown amaryllis provide wonderful winter flowers that brighten our homes over the holidays and beyond!
Keep your plants alive after flowering, then repot while they’re still dormant.
But don’t put them in a roomy container – they prefer the squeeze of tighter quarters and thrive when rootbound.
Any questions about repotting your amaryllis? Drop us a note in the comments section below.
And if you’re ready to learn more about amaryllis cultivation, add these guides to your reading list next:


Hi, I was wondering what month do I take the bulbs out of the bag and repot? What type of bag should I store them in and do I seal the bag shut? Thank you
Hi Susan, when to take the bulbs out for repotting depends somewhat on the cultivar – some flower in four weeks after potting up, others can take up to eight weeks to flower. I like mine to flower over the winter holidays, so I repot them at the start of November… not all flower at the same time, but I find the combo of blooms and bulbs to be attractive. To store them, use a paper bag and loosely fold the top closed so air can still circulate. Avoid using plastic bags or sealed containers as they can trap moisture… Read more »
I got a bulb in Christmas of ‘22, it bloomed in Jan ‘23, during the summer I put it outside as I had read on another post, brought back inside in early Oct, it bloomed again in May ‘24, I repeated the outside, and now it’s had these huge leaves but no stems are growing. The roots are coming out of the bottom of the pot but it’s not in a dormant stage to repot, but I don’t know what to do to get it to bloom again.
Hey Emily, it sounds as though your bulb isn’t getting a regular dormancy period, which is needed for regular reblooming – even though it flowered again in May ’24, this is often a residual effect from the initial greenhouse pampering. Here’s what I suggest to force it into dormancy for flowers during this year’s winter holidays. Don’t report at this stage but leave your bulb outdoors and continue to water and fertilize regularly until mid-July. From mid-July to September 1, withhold all water and fertilizer, allowing the soil, roots, and foliage to dry out. At the start of September, trim… Read more »