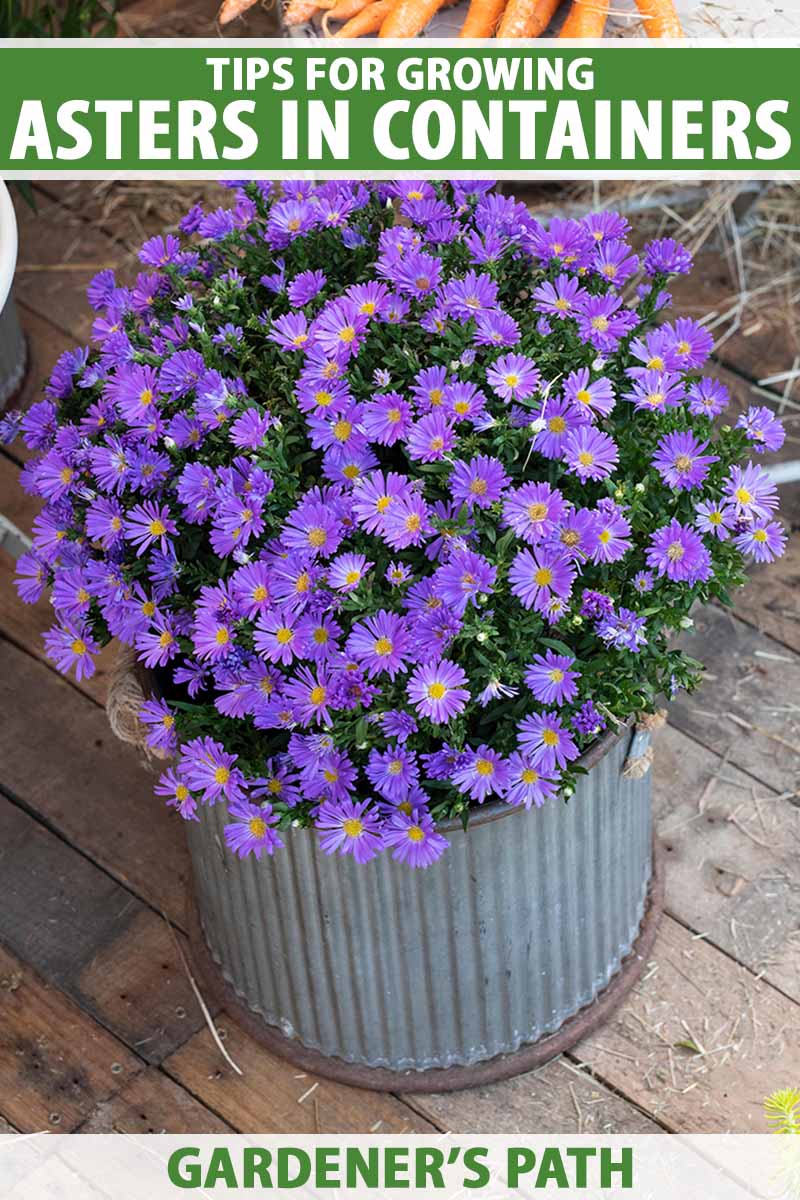
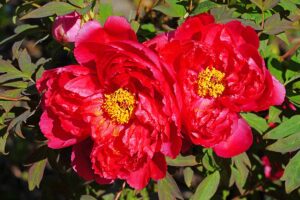
Perennial asters are sturdy flowers with masses of small daisy-like blossoms that burst onto the scene in late summer and last until frost.
There are numerous aster species and cultivated varieties in the Asteraceae family that includes chrysanthemums, daisies, and sunflowers.
Most bloom from late summer to fall, but some, like the Alpine aster, A. alpinus, open in the spring.
We link to vendors to help you find relevant products. If you buy from one of our links, we may earn a commission.
Our guide to growing asters tells all you need to grow and care for your own.
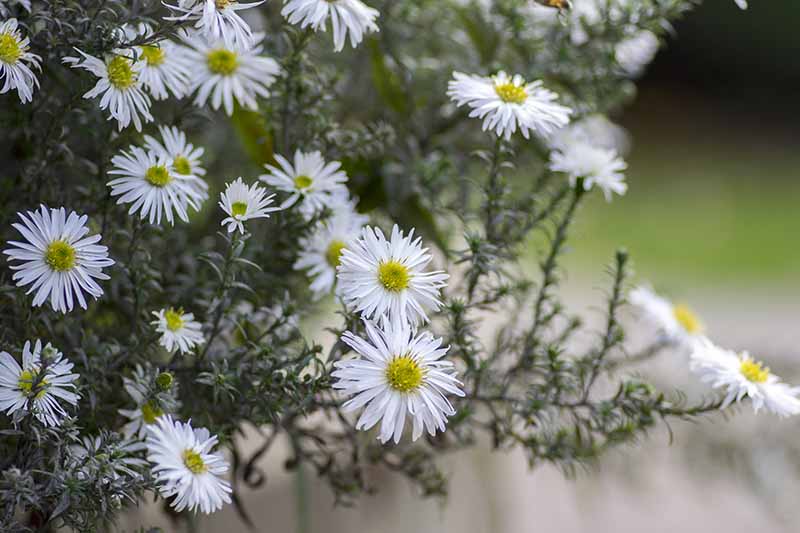
And our round-ups recommend exciting varieties in shades of blue, pink, purple, and white.
In this article, we share 5 tips for growing asters in containers, a cultivation method suited to gardening in small spaces and the management of plants’ vigorous growth habits.
Here’s the lineup:
How to Grow Asters in Containers
Let’s get started!
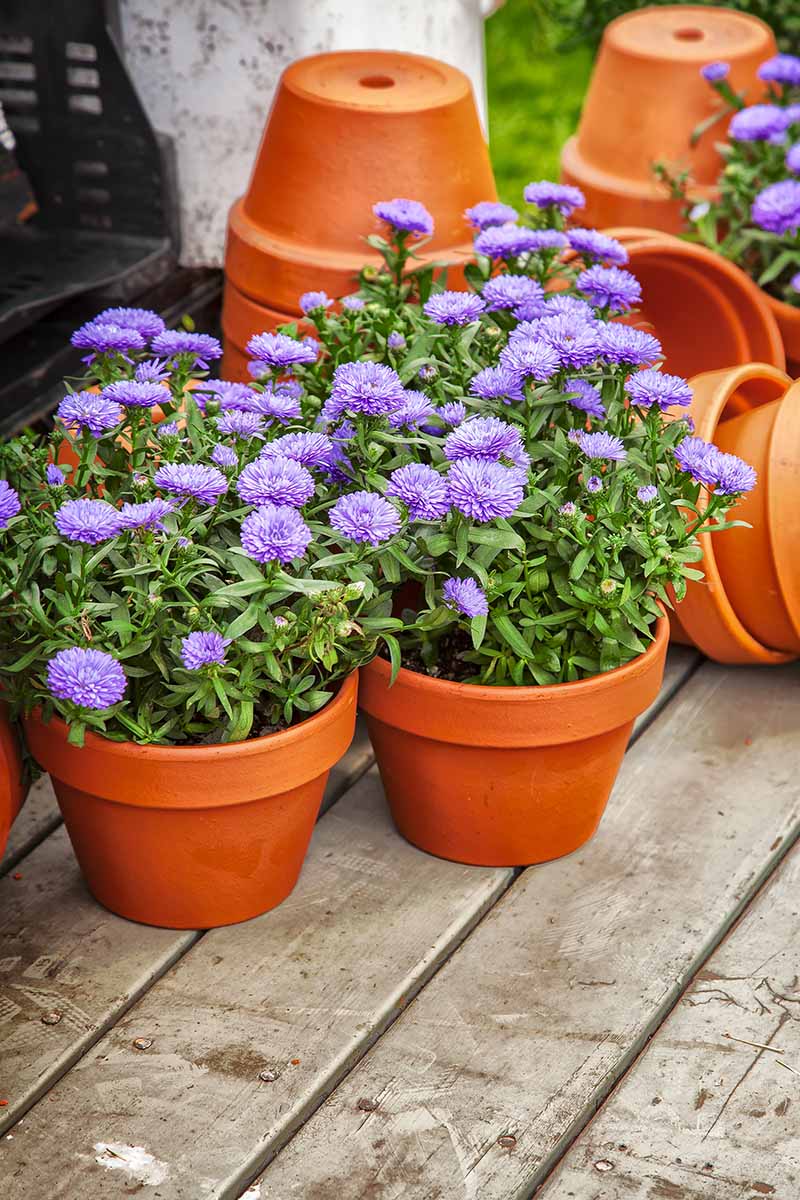
1. Choose the Perfect Pot
To grow asters in containers, you’ll need to know the dimensions of the varieties you are planting.
Above the soil, aster heights range from six inches to six feet, with a spread between eight and 36 inches. Cultivated varieties for the home garden tend to have more compact growth habits than wild species.
Below ground, there is shallow growth composed of both thick rhizomes and thin fibrous roots.
When selecting containers, choose those with a diameter that accommodates mature dimensions, plus an additional inch for a watering can spout or hose nozzle to easily fit in.
A good rule of thumb is to select a vessel that is half the height of the mature plant. For a mixed grouping, use your tallest species as a guide.
Avoid terra cotta pots that leach water and may crack in the winter. Glazed types retain water for longer, but are also prone to cracking.
Steer clear of metal pots and dark colored containers that can overheat.
Instead, choose container materials that can withstand winter freezing and thawing without cracking, and that will not heat up in summer sun, such as cast stone, fiberglass, and low-density polyethylene resin.
2. Ensure Good Drainage
Pots should have at least one drainage hole. You can lay two thicknesses of newspaper over the inside bottom of the container to keep the potting medium from spilling out, without impeding drainage.
If you find an attractive designer container you’d love to use, but it lacks drainage holes, you may be able to place a well-draining vessel inside it. Be sure to place the inner one on a bed of pebbles, to keep it from sitting in ponding water, or plants risk rotting.
Take into consideration the weight of containers. A wheeled caddy can make it easy to move heavy plants around to meet the full-sun requirement of most asters, as well as shade them from intense afternoon sun in the warmest zones.
And one last word about containers: sanitize them before use with a 10-percent bleach to water solution, and rinse them well.
3. Manage Moisture
While there are some types that thrive in rocky, poor soil, most asters prefer to nestle their roots in moist, rich earth.
During germination and establishment in the first year, it’s crucial to provide asters with about an inch of water per week, never letting them dry out.
After the first year, garden plants only need supplemental watering during dry spells, as they have above-average drought tolerance.
However, with potted plants, vigilance is necessary, because they dry out faster than ground soil. And when watering, take care to aim the nozzle at the roots, not the leaves, to avoid activating mold spores.
Use a moisture meter, and water before the bottom half of the medium completely dries out. Consider self-watering vessels if you are frequently away from home.
To aid in moisture retention, add a one-inch layer of mulch over the medium. Be sure to keep it from touching the plant stems, or they may stay moist and become more prone to fungal disease.
Moisture is essential, but avoid oversaturation. Asters that are too wet are prone to fungal conditions and rotting. That’s why excess water must drain freely, and not pond.
The use of a lightweight potting medium is preferable to garden soil for container gardening. Unlike garden soil that tends to become very dense in containers, commercial options are lightweight and formulated to retain optimal moisture while allowing the excess to drain away.
However, unless the potting medium is fortified with fertilizer, it lacks the essential nutrients found in soil, which brings us to our next tip.
4. Boost Nutrition
With a good quality commercial potting medium that is moisture retentive and well-draining, and high-quality, disease-resistant plants or seeds, you are well on your way to successful container gardening.
However, asters require supplemental nutrition that mimics what they would get in the rich garden soil they prefer.
There are both sterile, soilless potting mixes and potting soils that contain organic matter. Some products contain fertilizer.
To boost the nutrients of your product, combine about two-thirds of it with one-third organic matter, like compost, and apply a well-balanced, slow-release granular fertilizer at planting time.
Take care to keep the fertilizer from touching the stems to prevent them from burning.
Apply fertilizer early each spring for a great start to the growing season.
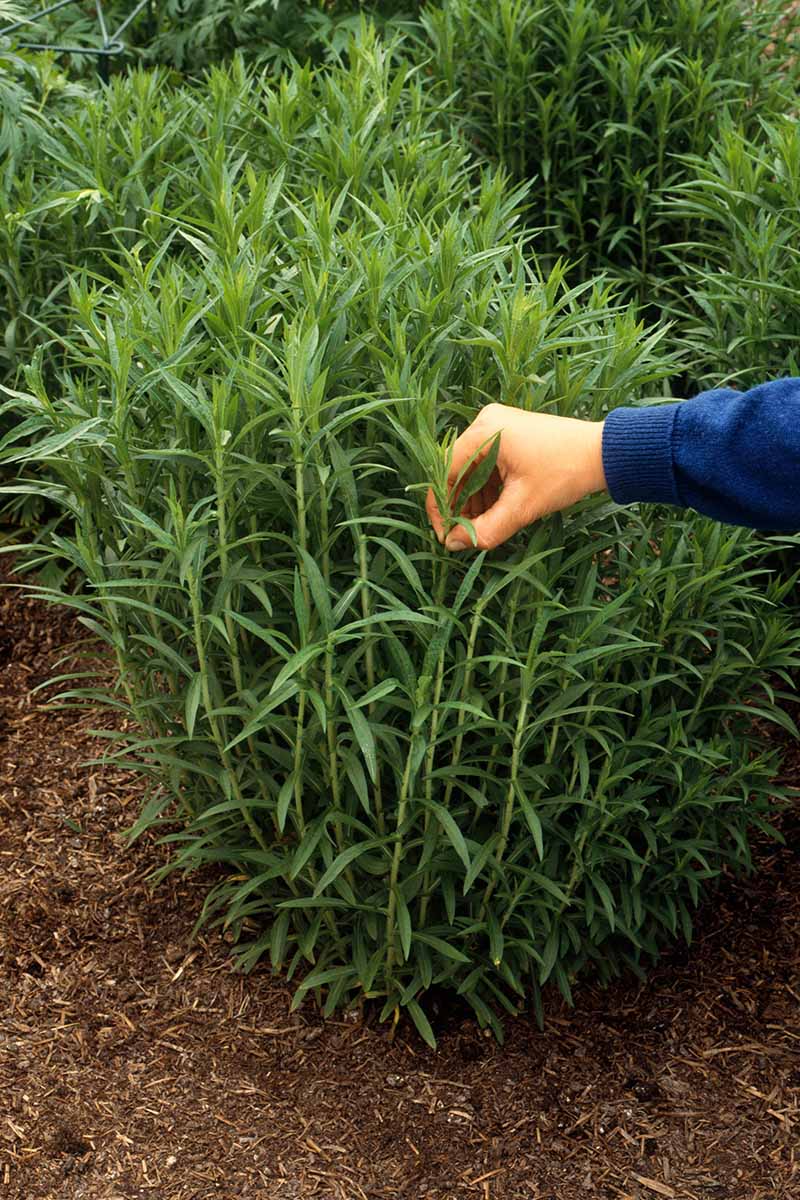
5. Pinch and Prune
Always sanitize pruning shears before and after use to avoid spreading disease pathogens from plant to plant.
To have asters that are compact and bushy, rather than lean and leggy, pinch back the growing tips to remove one-third of the total height, between late spring and early summer. This stimulates lateral growth and optimal blooming, while reducing the need for staking.
In addition, when all of the blossoms on a stem have finished blooming, snip the stem off at its point of origin. In this way, you encourage more flower production and inhibit self-sowing.
If you see signs of infestation or infection, cut off the affected foliage, and apply an insecticide or fungicide as appropriate.
At season’s end, after the first hard frost, cut all stems to the pot surface to rid the container of pests and pathogens that are able to winter over.
And finally, early spring is the time to divide asters to keep plant clumps manageable. Most benefit from such rejuvenation every three years, but extremely vigorous growers may require thinning every year.
Replant the divisions in sanitized containers using fresh potting medium, compost, and fertilizer.
A Strong Finish
I have to tell you – I was hesitant to grow asters, because I thought they would look weedy and possibly spread beyond where I wanted them.
However, once I realized how well I can control their behavior by choosing compact varieties, planting them in pots, and deadheading spent blooms to minimize seed drop, I was sold on the idea of introducing them to my outdoor living space.
I find that one of the greatest gardening challenges is to have a continuous succession of flowers from spring through fall. When it happens, it’s a thrill.
An excellent way to jump start the growing season is to cultivate diminutive spring flowers, like hellebores and snowdrops that defy late winter, often popping up right through the snow.
And for a strong finish, fill containers with late summer to fall blooming asters for masses of blue, pink, purple, and white that enliven the garden until winter’s frosty fingers grip the landscape.
Are you growing asters in containers? Let us know in the comments section below and feel free to share a picture!
If you found these tips informative, and want to learn more about growing asters, we recommend reading the following next:


Nan, may I ask what you do with the potted asters in the winter after you’ve trimmed the stems down? Do you leave the pots outside in the weather, bring them under a covered porch, or store them in a garage? I don’t want mine to rot over the winter when they are dormant. Thank you!
Hello Shoshana –
You can store your potted asters in the garage over the winter. You’ll need to check them during the cold months, and water them periodically so they never completely dry out. A two- to three-inch layer of mulch over the roots will help to keep them warm and moist.
I just bought an aster and it is in a thin glazed jar and the soil is very hard. Should I replant it with indoor planting soil?
Hi Patricia –
Yes. Choose a pot that is one to two inches wider than the diameter of the plant. It should have a drainage hole. Fill the pot three-quarters full with a lightweight, moisture-retentive potting soil that is enriched with fertilizer. Maintain even moisture, but do not oversaturate. Place your potted aster in bright indirect sunlight.
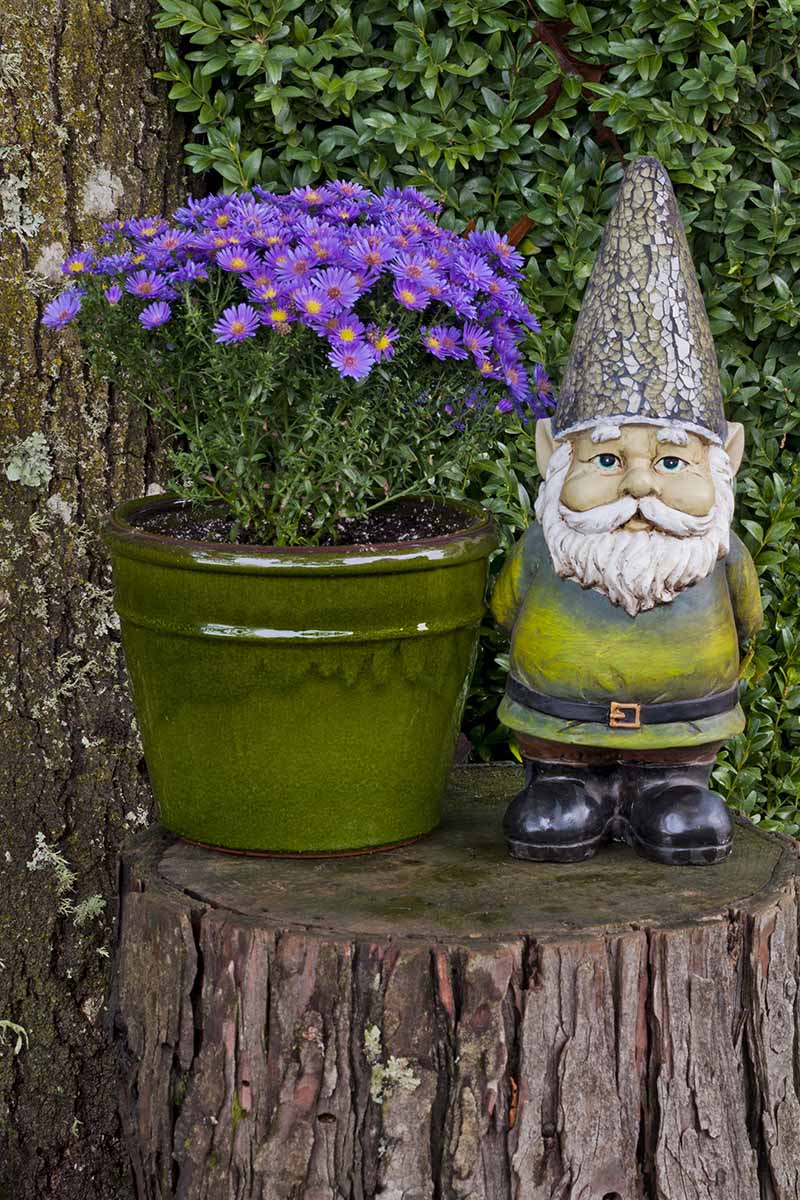
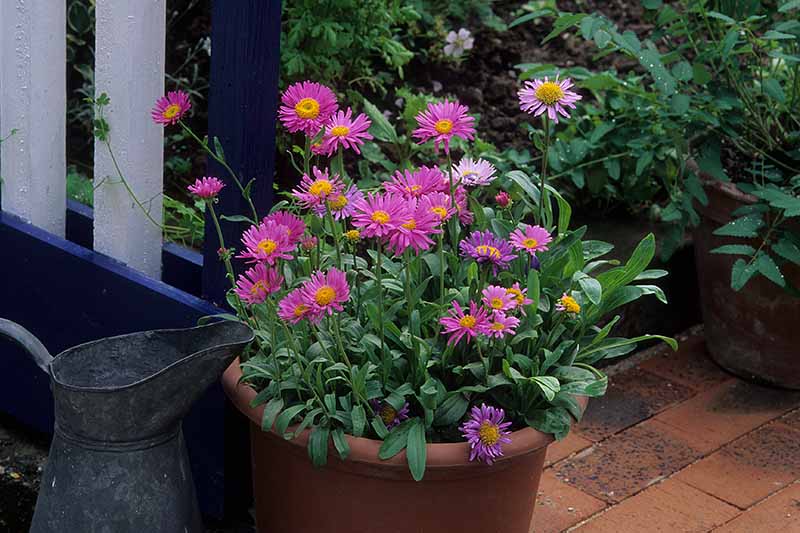
Hi – ok, obviously, I’m not much of a gardener, and I have a really basic question. Let’s take the example of the photo here is your article – the one with the Gnome (: So, the asters in the pot…. was that the result of ONE seed? or a Scattering of seeds??
I am going to be sowing seeds right into the containers and raising them that way.
Thanks lots
Anna
Hi Anna –
That’s a great question! Depending on the variety, asters need between one and three feet of space to accommodate their size at maturity. You can sow several seeds in each container and thin the seedlings after they have two sets of true leaves, keeping the strongest one, two, or more, depending on the variety and pot used.