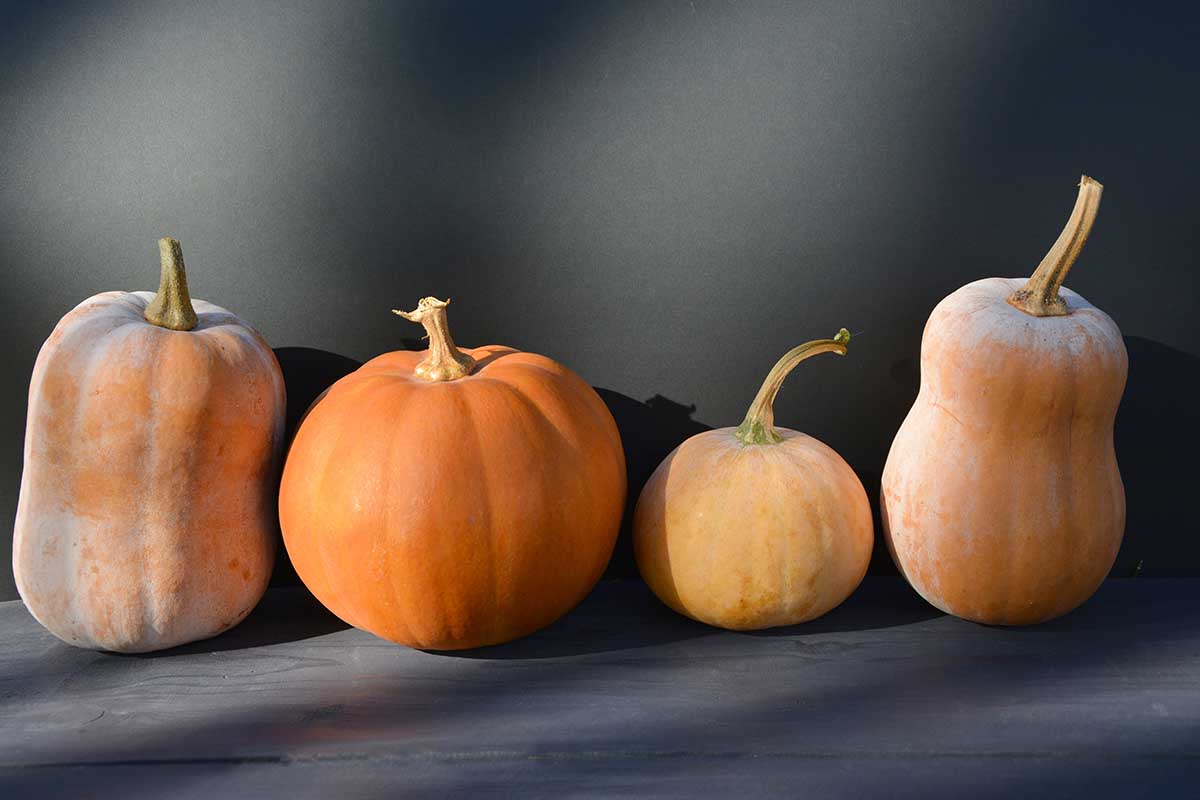
Cucurbita ‘Butterkin’
Cue the classic Superman phrase, but make it about your next favorite winter squash – it’s a pumpkin, it’s a butternut squash… It’s butterkin!
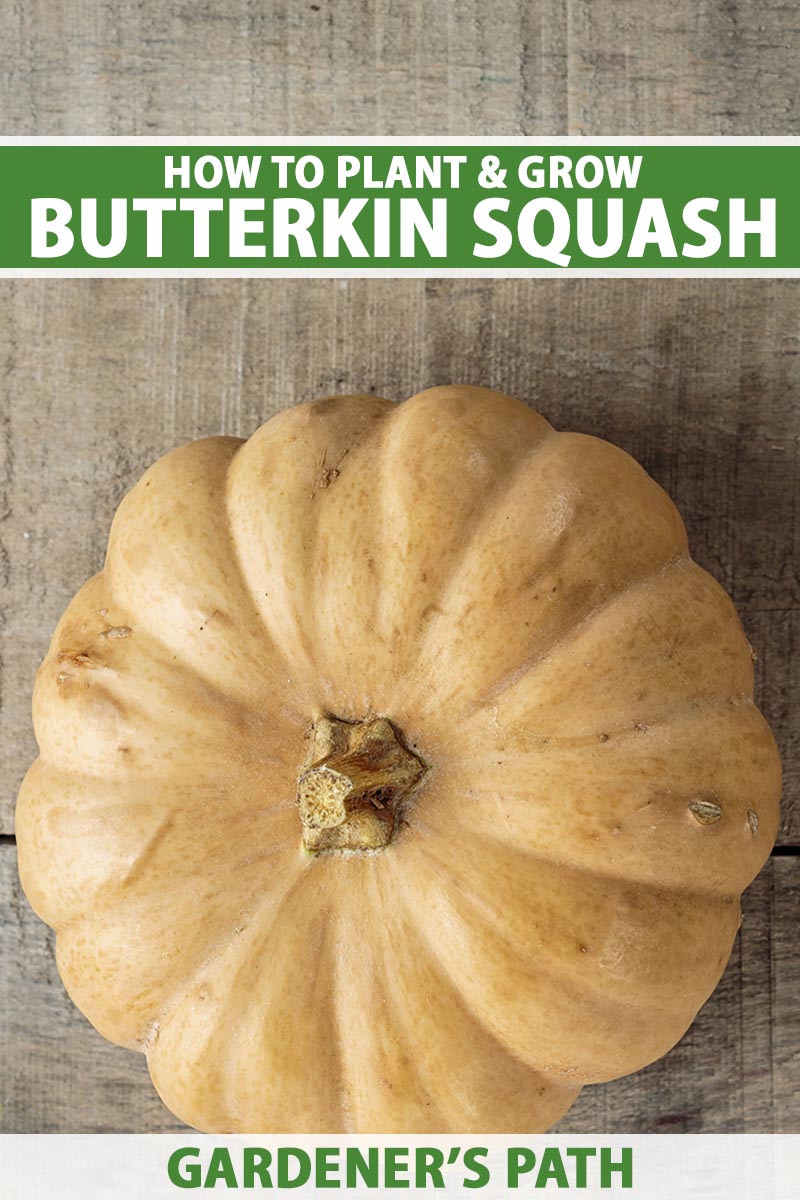
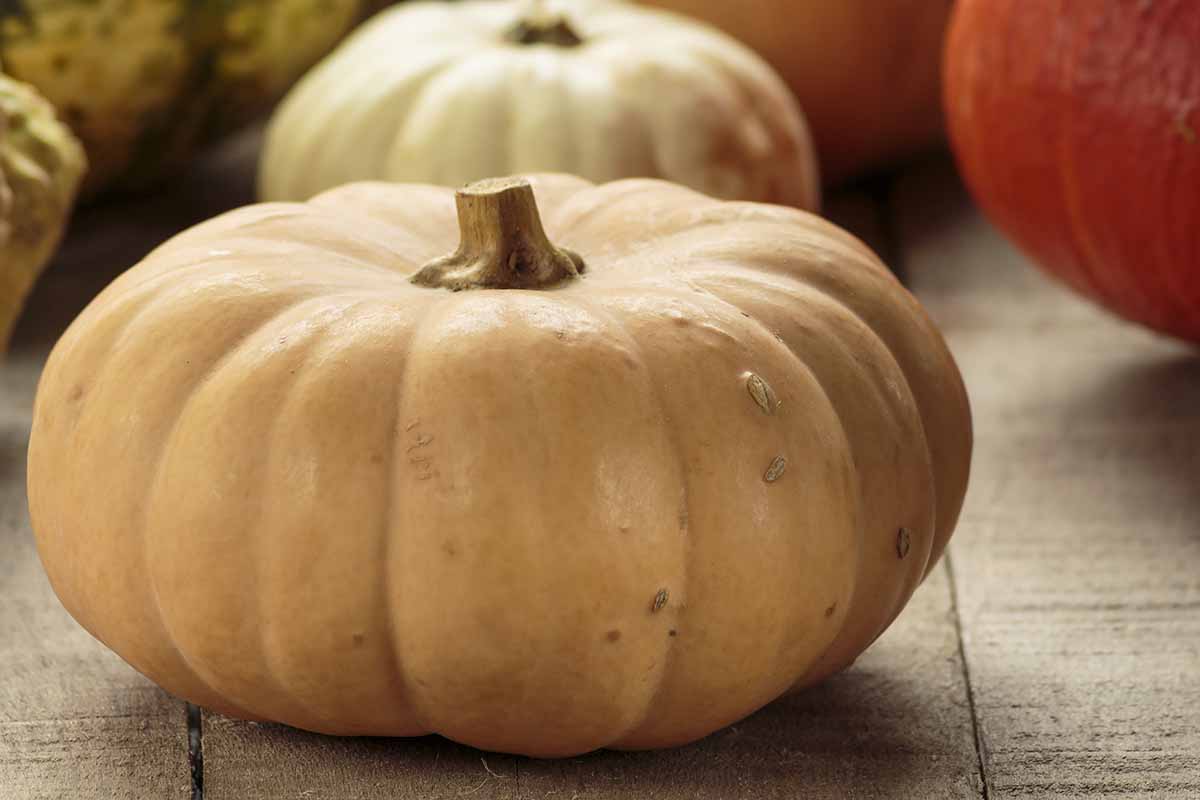
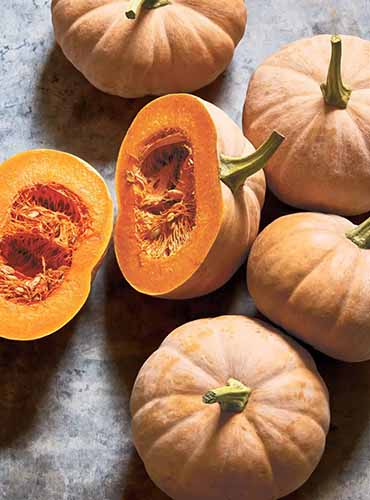
‘Butterkin’ is a winter squash hybrid that combines the rounded, slightly scalloped shape of a pumpkin with the smooth, tan-colored exterior of a butternut squash.
The two- to four-pound fruit boasts a bright orange, fleshy interior that has the familiar sweet and nutty flavor of butternut squash.
We link to vendors to help you find relevant products. If you buy from one of our links, we may earn a commission.
Under the right conditions, ‘Butterkin’ can be stored for up to six months and, like a butternut squash, can be used in soups or a roasted vegetable medley to keep you warm throughout the fall and winter.
Ready to grow this unique squash in your garden? Here’s what I’ll cover:
What You’ll Learn
What Is ‘Butterkin’ Squash?
‘Butterkin’ is a relatively new winter squash cultivar, developed by Hybrid Seeds in New Zealand and released to the US market in 2014.
The goal was to combine the aesthetic shape of a pumpkin with the classic flavor of a butternut squash. As the name implies, it’s a cross between a pumpkin (C. pepo) and a butternut squash (C. moschata).
“Winter squash” is kind of a misnomer, as these plants are not cold- or frost-tolerant in the slightest! They are grown during the summer and harvested in the early autumn, for consumption during the winter months.
Unlike summer squash, which are harvested when their rinds are immature, winter types are harvested at full maturity, after the exterior rind has hardened and the vines have started to turn brown.
If you want to learn more about winter squash, check out our guide.
‘Butterkin’ grows on four- to six-foot vines that each produce two to three fruits. The fruits are usually six to eight inches in diameter, and weigh roughly two to four pounds.
Like other winter squash plants, the leaves have a rough texture, and five to seven lobes. The vines become woody when the plant reaches maturity.
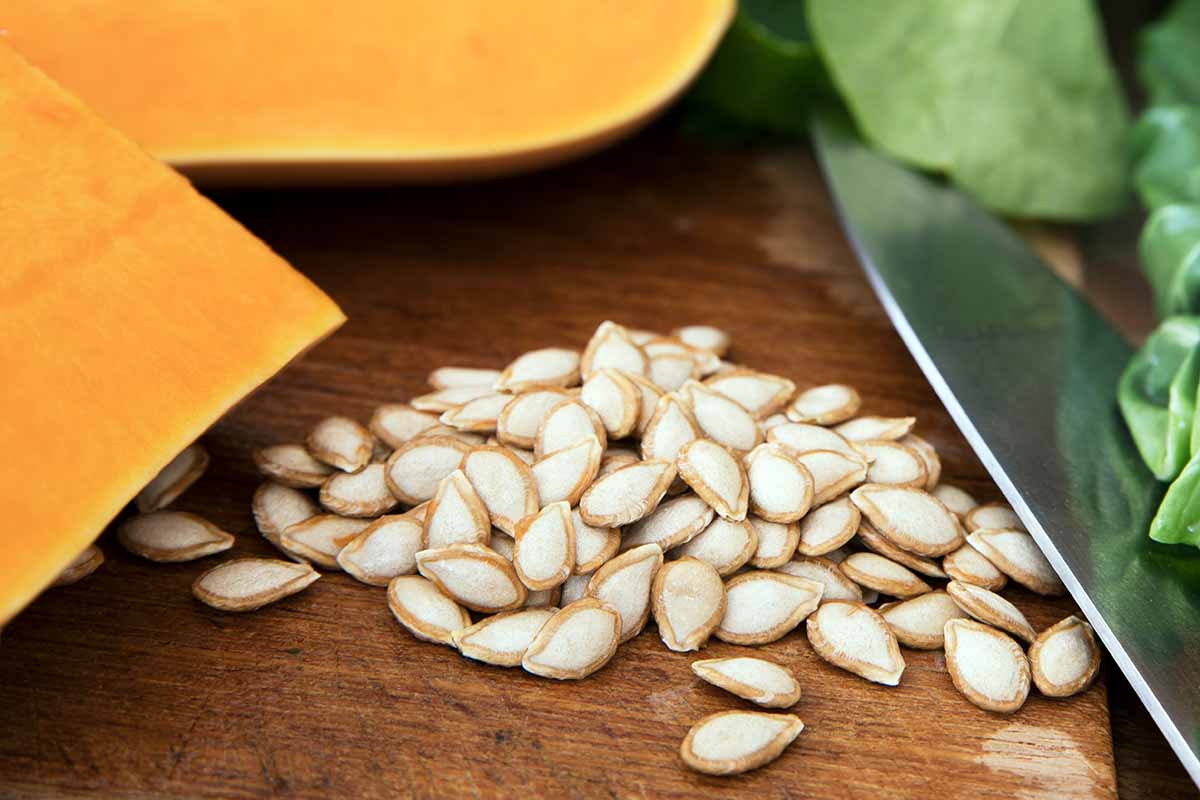
Similar to a pumpkin, ‘Butterkin’ squash has a cavity in the center that is full of closely packed seeds. The seeds usually are 11 to 13 millimeters in size with a beige color and oblong shape.
These annuals can be grown in USDA Hardiness Zones 3 to 10 and take approximately 105 days to reach maturity.
How to Sow ‘Butterkin’ Squash
You can start new plants by sowing seed directly into the garden or indoors for transplanting later.
Alternatively, you can pick up started transplants at some garden centers or plant nurseries.
Note that since this is a hybrid cultivar so seeds collected will not grow true to the parent plant.
From Seed
If you want to direct-sow in your garden, you’ll need to wait until after all danger of frost has passed and temperatures are starting to warm up. The timing will depend on your USDA Hardiness Zone.
The plant needs a full sun location and well-draining soil, and you need to wait to sow until the soil temperature is above 65°F.
If you need help figuring out what your soil temperature is, this soil tester from Garett Wade can help.
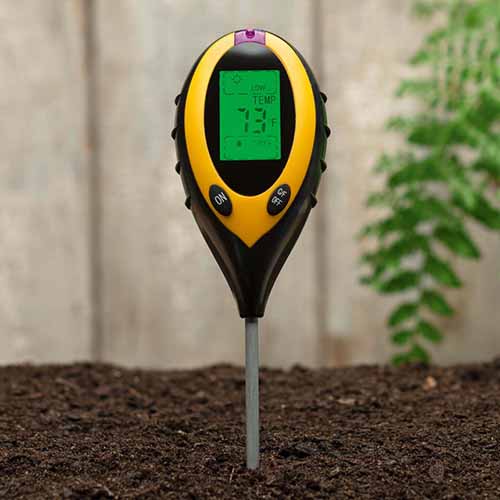
I personally love this because it doesn’t just let me know the temperature of the soil, it also measures the pH and moisture content.
To sow your seeds, first make mounds in the soil that are 12 inches in diameter and six to eight inches tall. Space the mounds six to 12 inches apart.
Put one seed into each mound about an inch deep into the soil, then cover and water in well.
Keep the soil evenly moist but not waterlogged, and usually, seedlings will emerge in seven to 14 days. Water the mounds thoroughly when the soil surface is dry.
If you have a short growing season, you can start seeds indoors and transplant your starts out into the garden when the soil warms up.
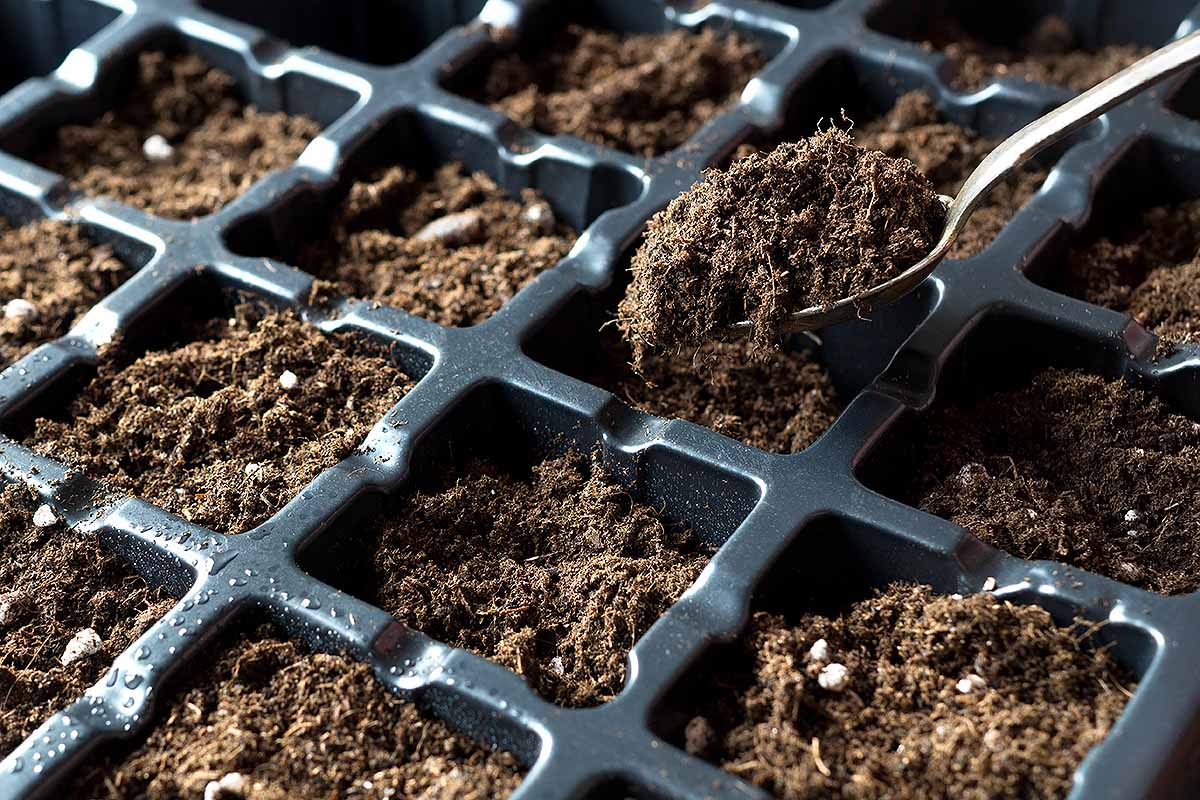
Start by preparing a seed starting tray with enough cells for the amount of seeds you wish to grow, and fill with a loose potting medium – a half and half blend of peat moss and perlite will do just fine.
If you need a recommendation for a seed starting tray, I have personally used this one from Gardzen, available via Amazon.
It comes in a five-pack of 15-cell seed starting trays with humidity domes and I love it.
The plastic top keeps humidity high and ensures that the potting media won’t dry out too quickly.
You also want to keep the media at a temperature of about 70℉, which you can achieve by placing your tray in a suitable location or by using a heat mat.
I use this seedling heat mat from Vivosun, available via Amazon.
It has an adjustable thermostat so you can ensure they have the optimum temperature that they need to germinate.
After putting soil into the tray, sow one seed per cell at a depth of one inch. Cover with soil, and water the cell pack thoroughly, until water starts draining out from the bottom.
Finally, cover the seed tray with the plastic top to keep the humidity high and the soil moist.
Place the seeds in a location with bright, direct light in a location that is consistently 65 to 70℉. Only water when the surface of the media is dry to the touch or when water droplets have disappeared from the plastic top.
Under these conditions, the seeds should germinate within seven to 12 days.
After germination, remove the plastic top, and keep the seedlings in a location with bright, indirect light, and maintain even moisture.
When they have grown two to four inches tall, and all risk of frost has passed, the seedlings are ready to start the acclimation process before being planted in the garden.
I like to acclimate my transplants over the course of three weeks because it gives me lots of flexibility with timing.
We’ve all accidentally forgotten to move our plants outside at least once – or maybe it’s just me? With this three week window, I am able to really make sure that my new plant babies will do well in the garden.
During the first week, set the transplants outside in an area that receives direct sunlight for just a few hours during the day and leave them for an hour on the first day, adding an hour each day.
The second week is a little more intense as I increase the amount of light and the amount of time that my transplants spend outside. My south-facing back porch receives lots of light in the early afternoon, so I put them there for four to five hours per day.
Finally, the third week is when I leave my plants out on that south-facing back porch for the entire day and overnight. On the last two days of that week, I plant them in my garden.
Throughout this acclimating process, I water my seedlings when the soil surface is dry.
I cannot stress this enough, but don’t let your transplants dry out or they will start to wilt! That stress will decrease their success when you plant them in your garden.
Transplanting
After your seedlings have been hardened off, or you have brought home transplants from your local garden center, prepare the mounds as discussed above.
Dig holes a bit deeper and wider than the size of the containers the plants are currently growing in.
Remove your transplants from their seed cells or containers by gently grasping the base of the stem with your thumb and index finger with one hand and pinching the sides of the plastic cell with your other.
Then gently place the root ball in the hole and backfill with soil. Water in well.
How to Grow ‘Butterkin’ Squash
As mentioned above, ‘Butterkin’ plants require full sun – about six to eight hours per day – and consistently warm temperatures.
The plants need soil that is well-draining, with a slightly acidic to neutral pH of 6.0 to 7.5 – they will not tolerate heavy clay.
I like to add organic amendments like compost and manure to my garden before I plant, so I typically don’t need to fertilize.
However, these plants are heavy feeders and you can fertilize with a balanced 10-10-10 (NPK) product every three to four weeks once they start flowering – stop fertilizing about a month before harvest.
‘Butterkin’ squash plants have shallow root systems, so they require regular watering – in the absence of rain, make sure you water thoroughly and deeply when the soil is dry to an inch down.
When you irrigate, try to avoid wetting the leaves, as this can promote fungal issues such as powdery mildew.
Apply a layer of organic mulch underneath the plants, just avoid letting it touch the main stem where it emerges from the ground. Leaf mold or straw will help to retain moisture in the soil and inhibit weeds.
Growing Tips
- Plant in a full sun location.
- Water at the soil level to avoid splashing the foliage.
- Fertilize regularly until a month before harvest time.
Maintenance
Aside from keeping up with the watering and weeding chores, for the most part you can just let your ‘Butterkin’ do its thing in your garden.
If you live in an extremely hot location, the leaves may wilt in the afternoon sun. If this happens, consider using some shade cloth to shield them from the harsh rays. Be very vigilant about watering during dry, hot weather.
You can prune the vines if you wish, which can encourage more fruits. Our guide to trimming pumpkin vines covers when and how to do this.
Where to Buy ‘Butterkin’ Squash
You can find ‘Butterkin’ seeds and transplants at many plant nurseries and garden centers.
If you like to do your shopping online, you can find packets of 20 seeds available at Burpee.
Managing Pests and Disease
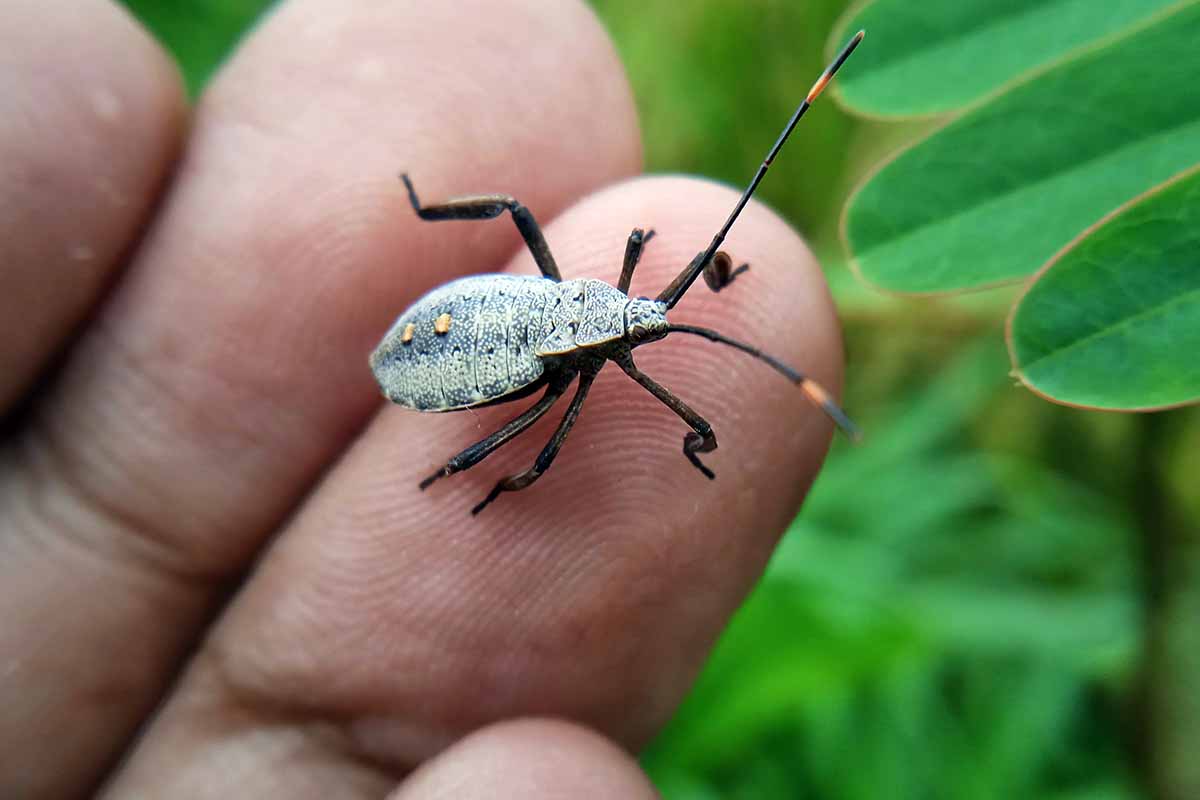
If your ‘Butterkin’ starts to look a little worse for wear, squash bugs and aphids are the most likely culprits.
Squash bugs (Anasa tristis) are small, dark gray or brown insects that produce bronze colored eggs on the undersides of leaves.
With their piercing mouths, they suck the sap out of the foliage and leave behind yellow spots that eventually turn brown.
You can handle a squash bug infestation by using strong sprays of the hose to physically knock them off or pick them off by hand.
If you want to physically pick off adult bugs, larvae, and eggs, fill up a bucket with warm water and soap. When you find the bugs and their eggs, simply toss them into the water.
Personally, I would only recommend using a spray if the infestation is severe.
Chemical treatment that contains either acetamiprid and malathion is effective, depending on whether you wish to use pesticides in your garden.
You can learn more about how to deal with squash bugs in our guide.
Disease
Powdery mildew can be a big problem in dry, hot areas. If you see a substance that looks like baby powder on the leaves of your ‘Butterkin’ plants, you need to act quickly.
This fungal disease spreads very fast when vegetation is planted closely together. The fungi that cause it do not need the the presence of water to spread.

You can easily treat powdery mildew with Bonide Neem Oil, available from Arbico Organics.
Be sure to check out our guide for more information about powdery mildew and how to treat it.
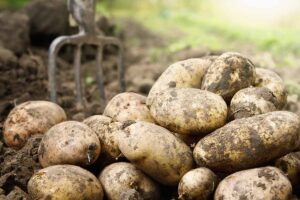
Harvesting
Well, you’ve sowed your seeds and waited patiently for harvest. What do you do when the time comes?
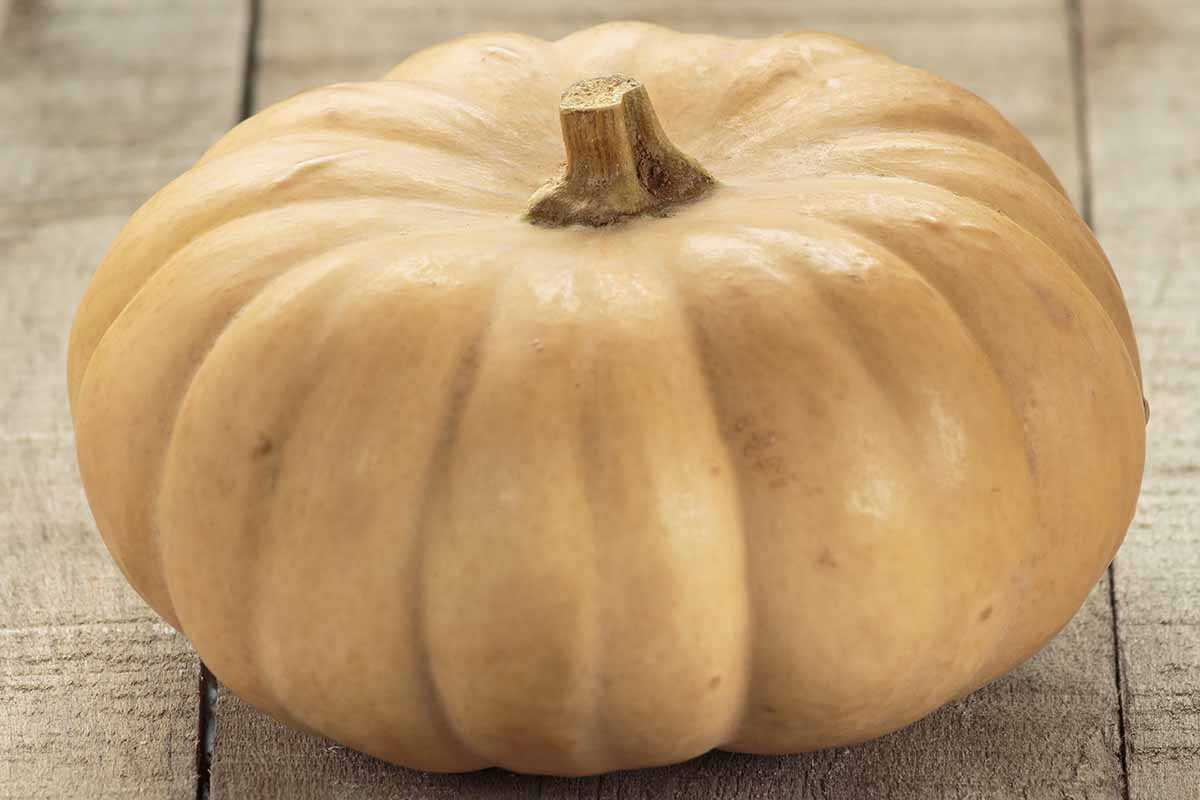
‘Butterkin’ squash fruits are usually fully mature by late September or early October, depending on your location.
Unripe fruits are light green, and when they are ready for harvest, they’ll turn to a light tan or orange color.
You can tell if a ‘Butterkin’ is fully mature by gently knocking on the surface of the fruit. If it sounds somewhat hollow, then it is ready to be harvested.
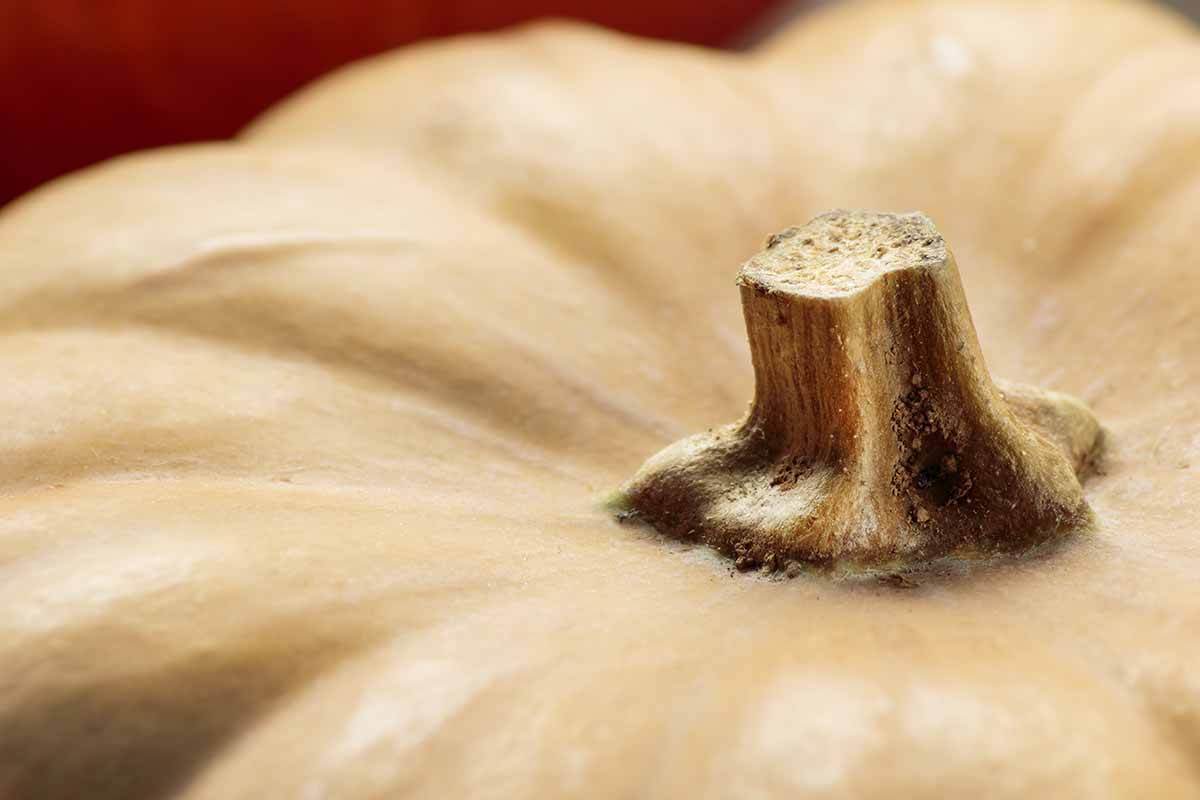
You can also examine the stem where it attaches to the fruit. The stem should be brown and have a tough, woody texture. If it’s still green, then it is too early to harvest.
When you’ve figured out which fruits are ready to be harvested, take a pair of gardening scissors and cut the stem about one inch away from the fruit.
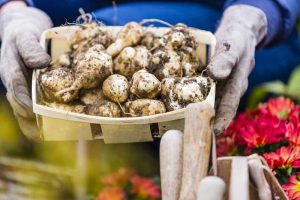
Storage
As I mentioned earlier, ‘Butterkin’ can be stored for up to six months. However, before you start preserving you have to cure the fruit.
To do this, space out your squashes in a dry location with temperatures between 70 and 80℉ for seven to 10 days.
Storing ‘Butterkin’ is simple. I personally just put them in a basket or cardboard box in a dark, cool area that is anywhere between 50 to 60℉.
Monitor your squashes frequently for rot or decay, and discard these.
You can also freeze your harvest. Simply peel and cut the flesh into cubes, spread them out on a cookie sheet in the freezer until they are frozen solid, then transfer to containers or zip-top bags until you’re ready to use.
Recipes and Cooking Ideas
To me, squash is the perfect winter comfort food. You can roast it in the oven for a quick and tasty veggie, or blend it into a soup for a warm and filling meal.
‘Butterkin’ is just as versatile as a pumpkin or butternut, and can be substituted for these in any recipe.
For cooking inspiration that you’re sure to enjoy, check out these squash recipes on our sister site, Foodal.
Quick Reference Growing Guide
| Plant Type: | Annual vining vegetable | Maintenance: | Low |
| Native to: | Cultivated variety | Tolerance: | Heat |
| Hardiness (USDA Zone): | 3-10 | Soil Type: | Organically-rich |
| Season: | Summer-fall | Soil pH: | 6.0-7.5 |
| Exposure: | Full sun | Soil Drainage: | Well-draining |
| Time to Maturity: | 105 days | Attracts: | Bees and other pollinators |
| Spacing: | 6-12 inches | Companion Planting: | Lavender, sage, sunflowers, zinnias |
| Planting Depth: | 1 inch (seeds), same depth as container (transplants) | Avoid Planting With: | Beets, melons, potatoes |
| Height: | 8-12 inches | Family: | Cucurbitaceae |
| Spread: | 48-60 inches | Genus: | Cucurbita |
| Water Needs: | Moderate | Species: | Moschata x pepo |
| Common Pests and Diseases: | Squash bugs, squash vine borers, striped cucumber beetles; bacterial wilt, powdery mildew | Cultivar: | 'Butterkin' |
Brilliant, Beautiful Butterkin
This lovely hybrid is sure to be a favorite in your garden and in your kitchen! If you love winter squash and are looking for something a little bit different, why not try this one?
I know that I love having ‘Butterkin’ on those cold winter nights when I need some soup to warm me up.
Are you growing ‘Butterkin’ squash? Let us know in the comments section below – and share your favorite recipe!
And for more information about growing winter squash in your garden, check out these guides next:
Hello! I am a big fan of Butterkins, and have grown them in my tiny vegetable plot since 2016. Every year, I plant them from seeds saved from the previous year’s crop. All are descended from a single Butterkin I bought at the grocery store in 2015. They always grow true Butterkins. Mine range in size from 1.5 to 5.5 pounds. The vines can grow 12 or more feet, and I usually get 4-6 squashes per vine. Butterkins make the BEST pumpkin pie. They are sweeter and creamier than Butternut squash in my opinion. I adore growing, cooking and using… Read more »
Thanks for sharing your experience Dee. How wonderful that your crops are still going strong using the saved seeds. Just goes to show how efficient and cost-effective seed saving can be!