Not everyone who enjoys gardening or loves the gorgeous color and form of flowers has a yard that can accommodate a large, woody shrub like the camellia.
Some people have just a small space to work with. And some may have difficulty with the physical demands of caring for large shrubs.
Maybe you have pests, like moles or voles, and you just don’t want to add another plant to their buffet.
Perhaps you’re a gardener who has a balcony or a patio but no land to plant in; or perhaps you do have the space and the right seasonal temperatures, but you just don’t want to dedicate the space required for a camellia that can grow up to twenty feet tall.

We link to vendors to help you find relevant products. If you buy from one of our links, we may earn a commission.
Or, you may live in a region outside of USDA Hardiness Zones 7 to 10, where the majority of camellias thrive.
While camellias can be protected through the winter in many cases, some areas where the ground freezes for months because of extreme low temperatures may not be suitable, even with protection.
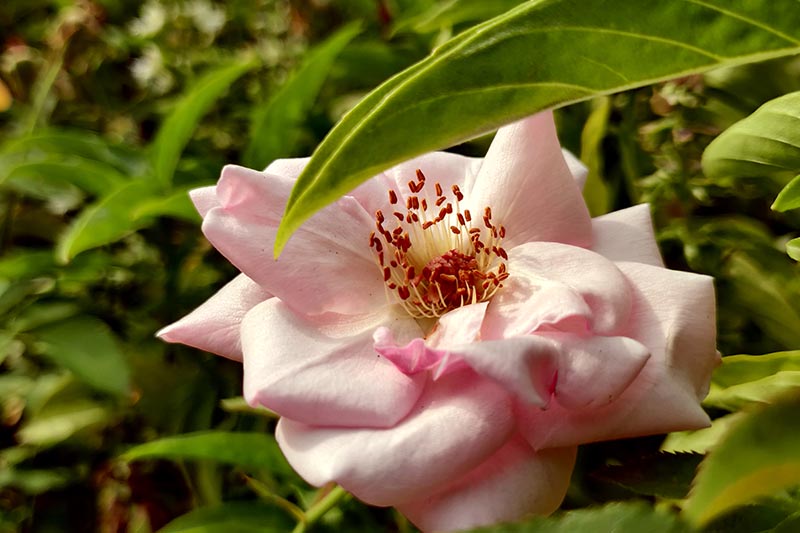
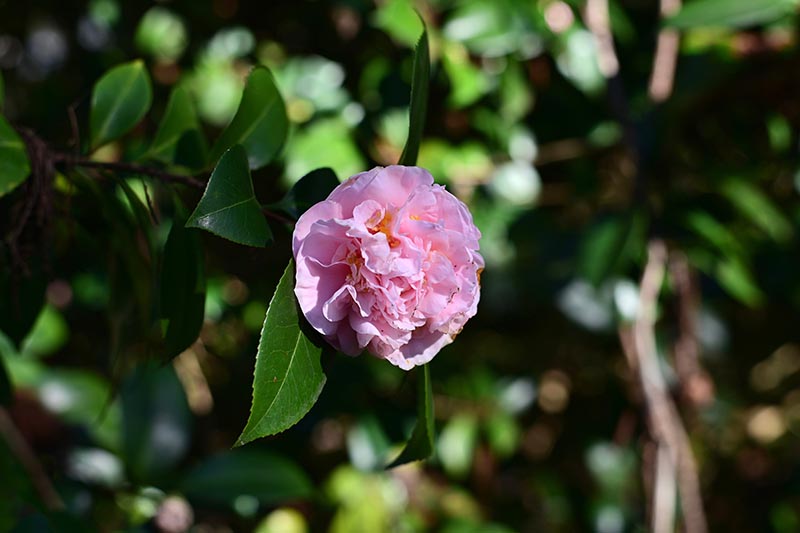
Challenges aside, I can see it in your eye – you’re determined. You’ve fallen in love with one of the thousands of beautiful camellia varieties available and now, you’re sold. You need that plant in your collection.
Luckily for you, quite a few varieties of camellia are suitable for container growing. You’ll just need to do a little prep work, and devote a bit time and effort to maintenance – and that gorgeous shrub can be yours.
So, what does it take to grow a potted camellia? Pull up a chair and let’s talk about it.
What You’ll Learn
Camellia Needs
If you’re looking for a plant that requires little to no maintenance, camellias may not be the best choice for you.
While they’re not the neediest specimens one can add to the landscape, they do require a little forethought and effort to keep healthy.
Container growing can actually reduce the amount of maintenance a camellia needs because it creates a growing environment that is more easily controlled.
That is, when temperatures plummet unexpectedly, you may not be scrambling to wrap or mulch them – you’ll just move them indoors.
That said, there is still a small list of considerations and concerns that you’ll want to bear in mind so you can assure optimum growing conditions for your potted plants.
One of the primary needs to take into account is aeration. The roots of this shrub do not like to be deeply buried; they prefer to be near the soil surface so they don’t smother.
It’s also very important to keep a consistent moisture level, as these plants are intolerant of both drought and waterlogged soil conditions. Potted camellias tend to dry out more quickly than those grown in the ground.
If you’re choosing camellias to grace a sunny deck or patio, you may want to reconsider. These are woodland plants, and in their natural growing environment, they dwell in the forest where they’re protected from harsh sun by the canopy of trees around them.
While they do prefer the warmer temperatures associated with Zones 7 to 10, they aren’t sun-loving and prefer mottled or partial shade, rather than direct sun exposure.
Young plants are especially intolerant of strong, direct sunlight and should be sheltered until they fill out, providing some of their own protection. Plants of the C. sasanqua species are often more sun tolerant, but also less cold tolerant.
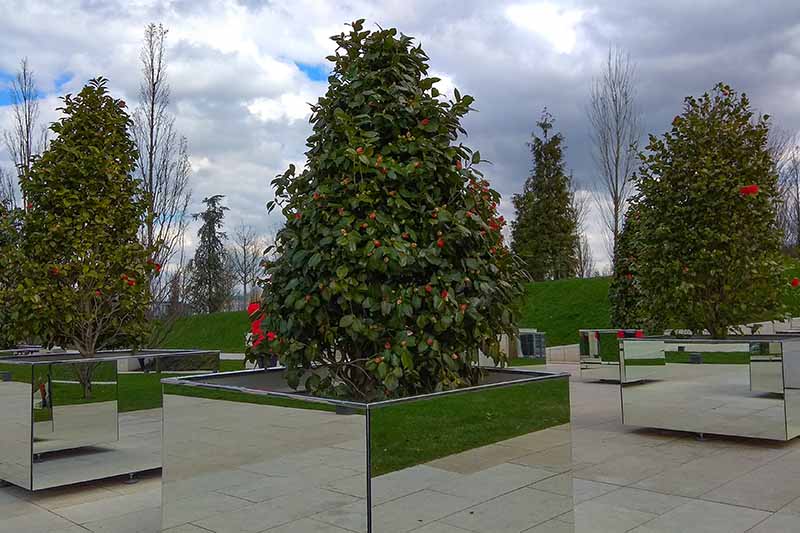
When you’re choosing the best variety for your needs, note that some camellias can grow to more than twenty feet tall. They’re not known for growing extremely fast, but you’ll likely be pruning for size every spring.
If you’re not thrilled about that prospect, you’ll need to choose a cultivar with a more compact growth habit.
Some pests and diseases can cause quite a lot of damage, and camellias have a fair few of both to look out for, ranging from aphids and mites to canker and root rot.
For more comprehensive information on controlling pests and disease, check out our guide to identifying and fixing problems with camellias.
Which Containers to Choose
If you’ve ever visited a garden center or searched for plant pots on any home and garden website, you probably know that there are a seemingly infinite number of different shapes, sizes, and colors available.
Planters and pots can be made from plastic, clay, metal, wood, or even fabric. There are advantages and disadvantages to growing in each kind. Let’s take a look.
Plastic
Plastic pots retain moisture more than clay, wood, or fabric pots. This can be advantageous, depending on what the plant you’re growing in it prefers. Plastic pots are typically the least expensive option.
While non-porous and fairly durable, plastic pots can weather, splitting or becoming brittle after prolonged exposure to the elements.
A plastic pot such as this one, available from Home Depot, works well for a smaller plant. It is 14.5 inches wide and 12 inches deep.
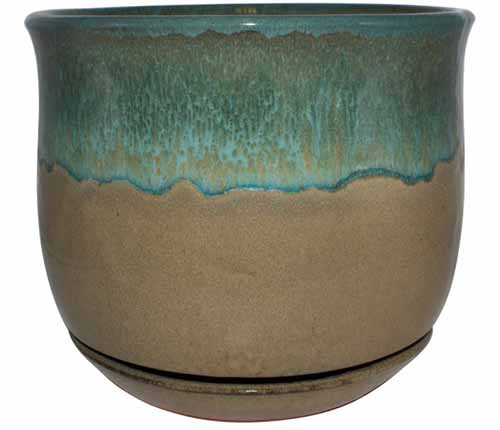
Ceramic
Ceramic planters have the advantage of being porous, allowing for transpiration – air and moisture can more easily pass through the material, promoting healthier roots and often resulting in fewer problems with root rot, other types of fungal infection, and mold growth.
Pots made from clay are also known to potentially last for a very long time, given proper care. Consider how many have been unearthed from archaeological digs, having lasted for hundreds or thousands of years!
Ceramic pots do tend to dry out faster than other types, so they require a little more monitoring to keep soil consistently moist.
Clay pots – particularly those that are glazed – can also be heavier, and more susceptible to cracking over time, especially if they’re left outdoors during a hard freeze.
Cost can vary widely in ceramic planters as they can run the gamut in terms of design. Basic terra cotta pots can be fairly inexpensive, whereas glazed, painted, or otherwise decorated versions can be higher in price.
Dia Multi-Color Bella Ceramic Planter
A ceramic planter such as this one, available from Home Depot, looks stylish, and is 10 inches high and 11 inches wide.
Wood
Wooden planters can be a good choice for their rustic, natural appeal, but bear in mind that they can also be costly not only to buy, but to maintain as well.
Most must be resealed every two to three years, and tend to weather and rot over time, eventually becoming unusable. This can cause frustration and extra work, as camellias can live for decades – sometimes up to a hundred years or more.
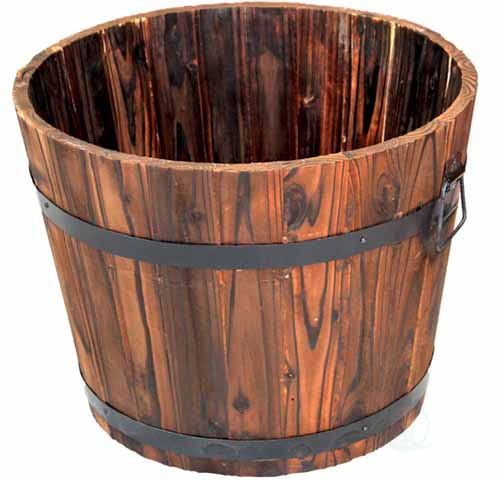
If you enjoy country decor and don’t mind the added maintenance, this whiskey barrel planter is available from Home Depot, and at 14 inches tall with a diameter of 17.5 inches, it works well for small to medium sized plants.
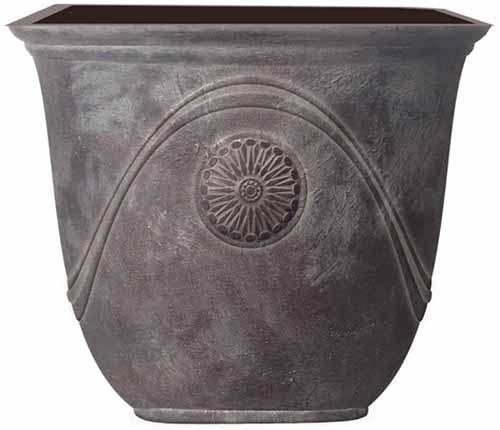
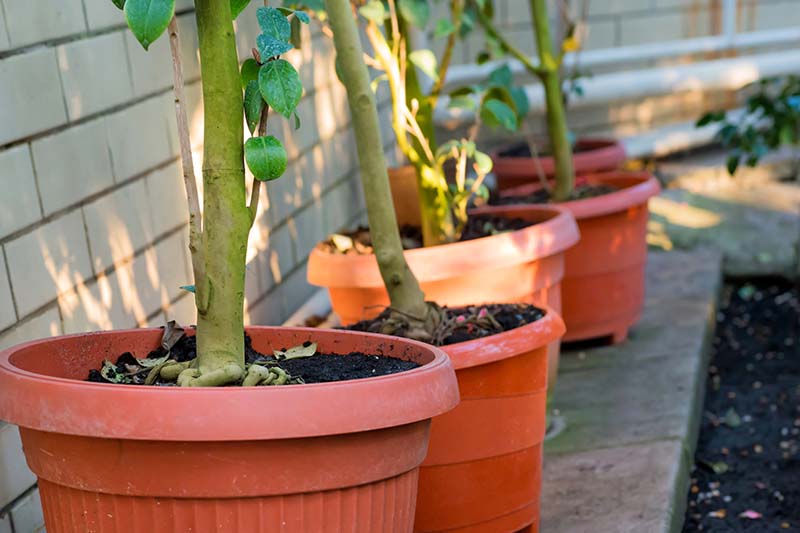
Overall, the best choice is a planter of a manageable size that can be moved into a protected area during cold snaps. Good drainage is imperative, so one that has drainage holes is a must.
If you’ve got a planter that looks great but lacks drainage, or is not made of a suitable material, consider “double planting.” Simply plant your camellia in a simple pot of adequate size, with good drainage, and place it inside the more stylish planter “cachepot.”
Not sure what size to choose? A good rule of thumb is to choose a container that is three to four inches larger than the width and depth of the existing root system of the plant.
A container that is much larger than the root system will leave the soil moist outside the reach of the roots, where fungus can develop, leading to root rot.
Containers that are too small can cause top-heavy plants to tip over often, and can cause the soil to dry out very quickly. Small containers can also lead to plants becoming root bound.
Plants that become root bound will eventually begin to strangulate, so the planter that you choose should leave enough room for the roots to grow, and you should keep an eye on signs that roots are running out of room, such as leaf drop and poor growth.
Now that we know what to look for in a suitable container, let’s go over potting and caring for your camellia.
Planting in a Container
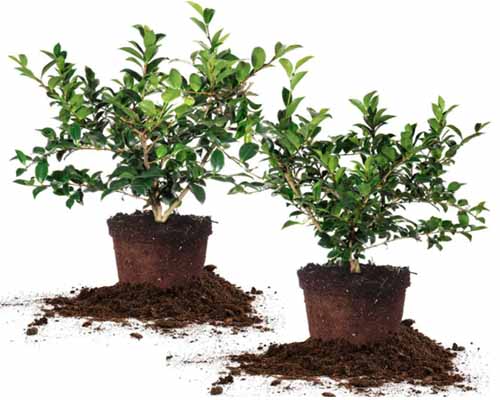
Any time you plan to pot a plant, you’ll want to be sure that the growth habit, mature size, and needs of the plant make sense for container growing.
The same holds true for the camellia. Choosing the right cultivar is important, as some are vigorous growers and will quickly outgrow their home, leading to the need for frequent pruning and repotting.
Container planting creates an environment that is the equivalent of one to two zones cooler than in-ground planting, because roots are not as protected as those planted in the ground.
In-ground plants have the benefit of warmth generated from the earth, and the soil is a consistently warm temperature at about six feet deep.
Without this, plants in containers will need more protection from seasonal cold temperatures.
You can combat those low temperatures in several ways. Before temperatures drop, surround the container your camellia is growing in with a thick layer of mulch; bring the plant indoors; or cover the entire pot with landscaping cloth or bubble wrap if temperatures may fall below freezing.
Once you’ve chosen a cultivar, container, and location, it’s time to get planting!
Begin with a rich potting soil mix that contains a lot of organic material and that drains well. One that includes shredded bark, mulched oak leaves, or composted pine needles is best because camellias prefer soil with an acidic pH of 5.5 to 6.5.
It’s best not to use garden soil as this can introduce pests and disease from your yard into your container.
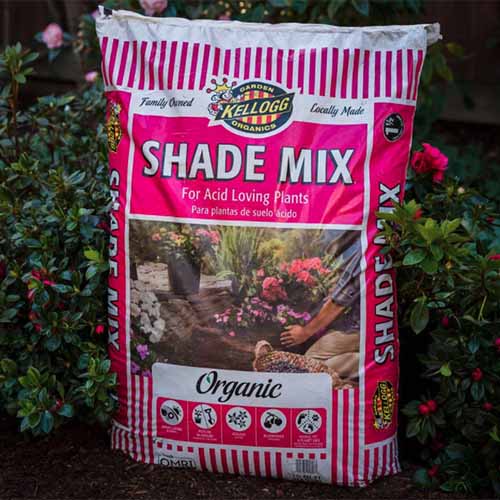
Kellogg Garden Organics Shade Mix
A commercial potting mix that’s suitable for acid-loving plants like azaleas and rhododendrons works well, such as Kellogg Garden Organics Shade Mix, available from Home Depot.
If you’re unsure of the pH of the soil you’ll be using, you can always test the soil using test strips such as these from Garden Tutor, available from Amazon.
Adding one to two cups of used coffee grounds to the mix can increase soil acidity.
Camellias prefer loose, rich soil. If the soil is spongy or dense, such as those that are heavy in peat moss or high in clay, it’ll need to be amended, as these materials can hold too much moisture and lack aeration.
Determine soil consistency by squeezing a handful of moist soil in your hand, and observing if the handful becomes a solid clump. If this is the case, you can add one part coarse silica sand to the mix, blending it in well, to reduce density.
Perlite can be substituted for sand if desired, but be sure to wear a mask when handling it, as it’s not safe to inhale perlite dust.
If the pot you’ve chosen doesn’t have adequate drainage holes, you may be able to make more, depending on the material that it’s made of. A drill with a bit designed for use on concrete works for ceramic containers, or a wood bit can be used for a wooden planter.
Adding a two- to three-inch layer of pea gravel to the bottom of the pot will allow extra water to drain away from the roots. I’ve used bagged natural aquarium gravel in the past and it works very well.
You can also keep the plant in a pot of adequate size with good drainage, and seat it inside the more decorative planter you’d like to use, allowing excess moisture to drain through.
Just make sure the outer container is waterproof, and simply place a layer of pea gravel in the bottom of the decorative pot to provide enough space for water to run off.
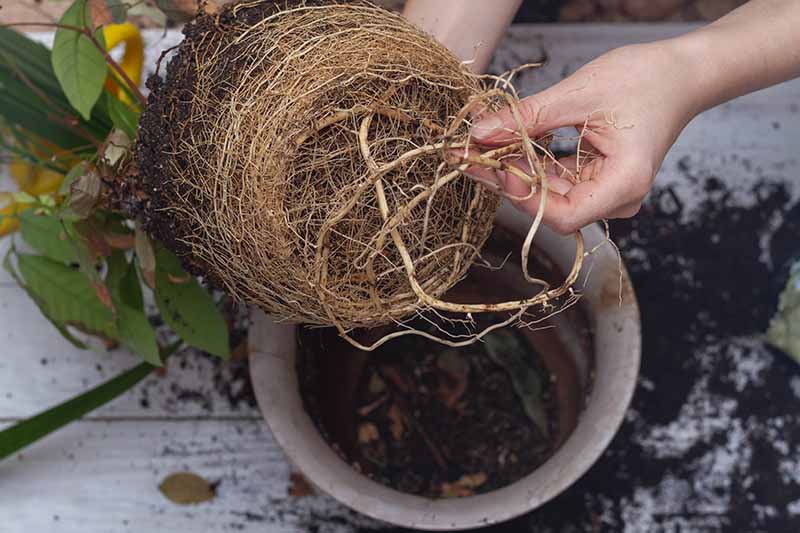
Next, prepare your camellia for potting. If you’re starting with a seedling or rooted cutting, pinch or snip off the lower third of the tap root before planting. The tap root is designed to reach deeply into the ground, which it obviously won’t need to do in a container.
Pinching the tap root signals the plant to send out more fibrous roots, branching out into the surrounding soil rather than reaching deeply. This type of root system is much more suited for container growing.
If you’re beginning with a store bought or previously potted plant, gently remove it from the pot it’s in and observe the state of the root system. If the roots are tightly compacted or show signs of rot, such as a black color, withering, or slimy mold, you’ll want to address that before repotting.
Healthy roots should appear white to brown, and be firm, flexible, and moist, but not slimy.
Plants that have been previously potted most likely have already had the tap root pruned back, but it’s still a good idea to make sure before repotting.
Until you’re ready to repot, simply place the plant back in its original container to await its new home, as it’s not good for the plant to leave roots exposed for a long period of time.
Add a few cups of your chosen soil mix to the pot, creating a layer at the bottom of adequate depth to raise the top of the roots of the plant to the surface level of the soil. Camellias do not like to be buried, so avoid seating the plant too deeply.
Place the plant in the container and backfill with soil, filling up the remaining space. Press gently with your hands to seat it in place, and water well to settle it in.
Once your camellia is in its new home, place it in a location with partial shade or dappled sunlight. Pay attention to moisture levels, and drench well when the top three inches of soil feel dry.
Growing Tips
- Avoid cultivars that grow very large, and choose one that has a more compact growth habit.
- Choose a container that is sturdy, has good drainage, and doesn’t hold too much moisture.
- Don’t leave camellias in harsh, full sunlight – place in partial shade or dappled sun.
- Move potted camellias indoors, to a sheltered area, or protect with wrapping or mulch in cold snaps.
- Plan to prune, fertilize, and repot regularly for optimum health.
Pruning and Maintenance
Potted camellias are similar to a family pet when it comes to caretaking.
They’ll need food, water, and shelter. They’ll need a trim every now and then. They won’t do well with long periods of neglect – and they’ll exhibit certain behaviors, such as bud drop, poor growth, or disease, if not taken care of.
Watering
Consistent moisture is very important for a healthy camellia. Check the soil for adequate moisture once or twice a week.
If the top two to three inches of soil feel dry to the touch, you’ll want to water deeply, allowing excess water to drain off. Be sure that the plant is not sitting in water, as this can lead to root rot.
How much water your plant will need depends on what type of pot it’s in, the temperatures it’s exposed to, and whether or not it’s growing or in bloom. A good rule of thumb is to offer more water during periods of growth, and when it’s hot and dry outside.
You can also add a layer of shredded wood mulch on top of the soil to help prevent moisture from evaporating.
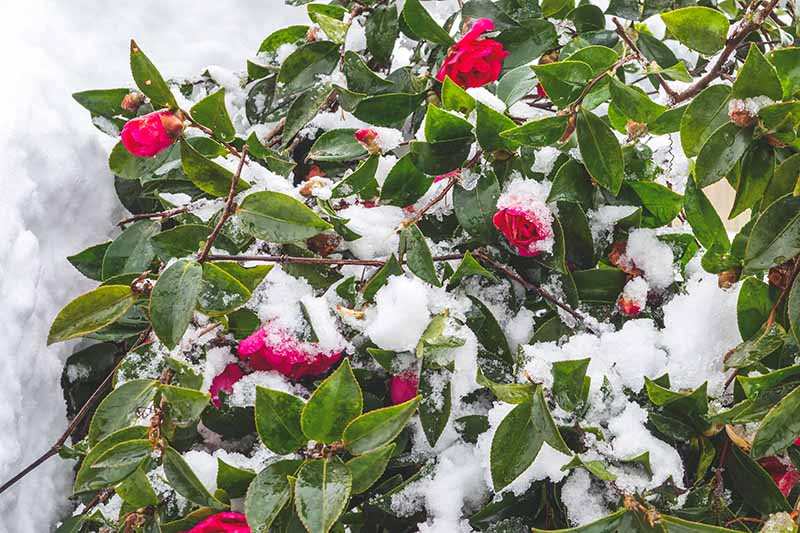
Cold Protection
When seasonal low temperatures are predicted, you’ll need to protect the plant ahead of time to prevent damage.
Water deeply and wrap the pot in a heavy blanket or a few layers of landscaping cloth, covering it and tying it off around the base of the trunk, to maintain warmth.
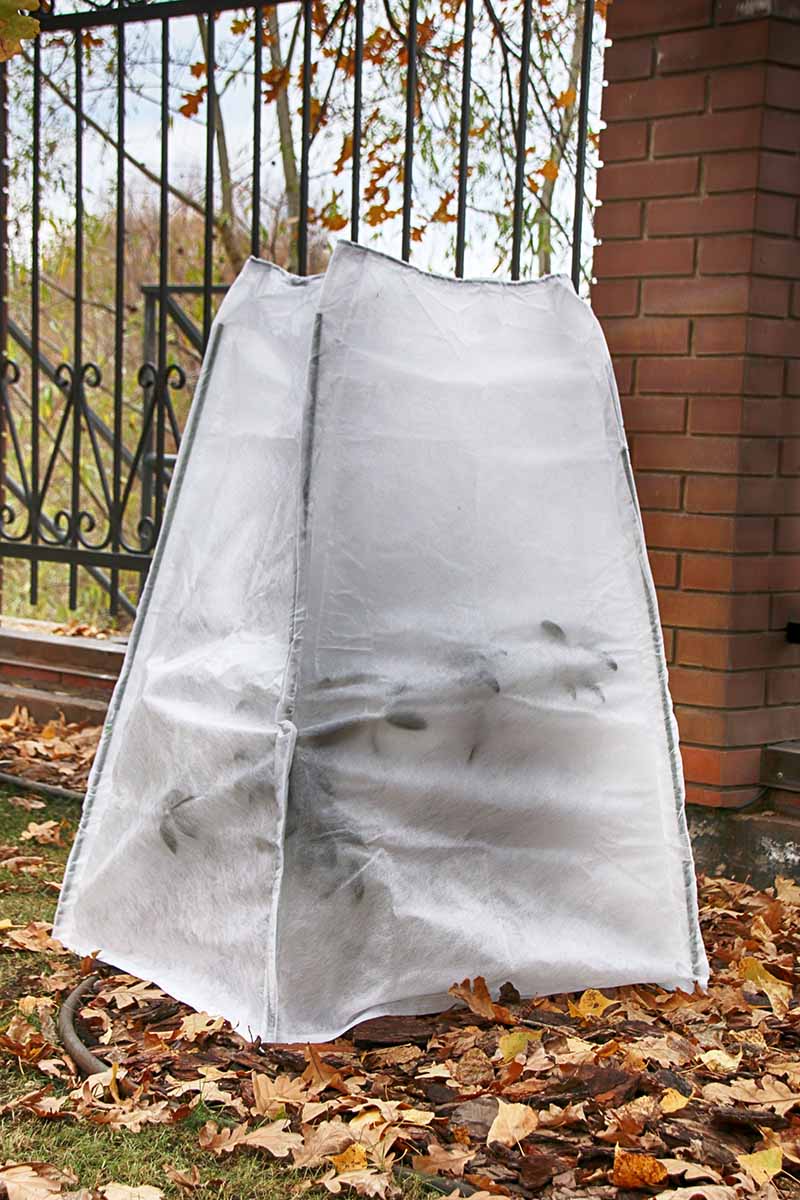
You can add a layer of bubble wrap around the plant, wrapping it around both the shrub and the pot. If it’s going to be extremely cold, you can double up with both blanket and bubble wrap.
Be aware that a wrapped plant can more easily tip over, so you’ll want to secure it against any hard, gusting winds.
If you’re able to move the container to a more sheltered location, such as into a garage or sunroom, that’s an even better option to be sure that a hard freeze doesn’t kill your camellia.
Repotting
As the plant grows, you may notice evidence that it’s outgrowing its pot.
Roots may become visible at the drainage holes, the roots at the soil surface may begin to curl at the edges where they’ve come into contact with the walls of the container, or the plant may begin to look unhealthy.
When this happens, you’ll need a pot three to four inches larger than the container your plant is growing in currently. Prepare the plant and the pot as described above.
You’ll most likely need to repot your plant every two to three years, as it continues to grow. Between repotting, you can scoop out the top two to three inches of soil when your plant begins to set buds, and top dress with fresh soil.
Find more tips on transplanting camellias here.
Fertilizing
There are a lot of different fertilizer options available, but one that is designed for azaleas and rhododendrons works well.
Be mindful that you are not adding too much, as plants growing in containers will need less fertilizer than those planted in the ground.
Granules can be sprinkled on the soil surface and raked in with a hand rake, fertilizer spikes can be pressed into the soil on the outer edge of the root system, or a foliar spray or liquid fertilizer can be applied.
Always follow package directions to avoid burning roots.
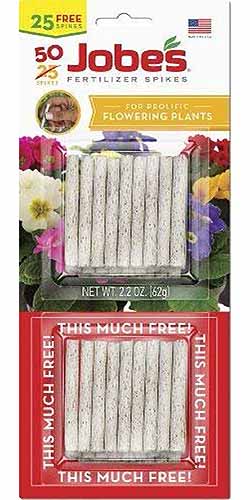
Jobe’s Flowering Plant Food Spikes
Plant food spikes, such as Jobe’s for flowering plants, are available at Walmart.
You can add fertilizer in the late summer to early fall when buds are forming, and again in early to mid spring when the plant begins to put on new growth. Any time you add fertilizer to a plant, be sure to water well, as salts can build up in the soil over time.
If you notice a layer of whitish crust forming on top of the soil, that is a sign that there is too much fertilizer present. You may need to repot and reduce the amount you’re applying.
A layer of compost can be added as top dressing to provide additional nutrients. For the best results, include used coffee grounds or pine needles in the composted material you plan to use for your camellia to add a little acidity.
Find more tips on fertilizing camellias here.
Pruning
More compact varieties will fare better when grown in containers; larger sized cultivars will need more pruning to keep a size and shape suitable for container growth, or they may be unsuitable altogether.
The best time for light pruning is after plants bloom, in late spring to early summer in most regions. Pruning at this time encourages the production of more blooms for the next season.
If you’re not planning to collect seeds from your plant, you’ll want to deadhead as blossoms whither, cutting them back to allow the plant to redirect energy to other areas.
Avoid cutting off more than is necessary to maintain size and shape. Severe pruning will trigger the plant to grow rather than producing blossoms, which is obviously the opposite of the intended goal.
If your plant is very dense, with branches growing tightly together, you can prune a few out to open up airflow. Don’t cut out the primary branches, but rather, focus on the smaller ones that are filling space.
Cut them back where they meet the main branches using sharp pruning shears, and only remove as many as is necessary to create more open space on the interior of the plant. This method of pruning can be useful in preventing some types of disease common to camellias, such as mildew.
Pruning dead or dying branches is very important as it gives the plant the opportunity to redirect energy into other functions, such as budding. Think of it like getting a haircut to remove split ends and shape things up – an invigorating renewal.
Unless your camellia has experienced a huge amount of growth, you’ll only need to cut back one to two inches at the ends of the branches to promote budding.
If you’d like to try your hand at shaping your plant into a specific form, such as a tree shape, you’ll want to cut back several of the lower branches at the base, removing just enough to expose the trunk. Shape the rest of the plant as desired, but avoid cutting too much off.
Once you’ve gotten to know your camellia and found a groove for caretaking, you’ll enjoy its blossoms even more knowing you’re providing exactly what it needs.
Read our full pruning guide here.
Species and Cultivars to Select
There are thousands of varieties suitable for growing in containers, and the following is just a sampling of what’s available.
Learn more about different camellia cultivars in our roundup.
Kramer’s Supreme
Cultivars of the C. japonica species are also generally more cold tolerant than other varieties.
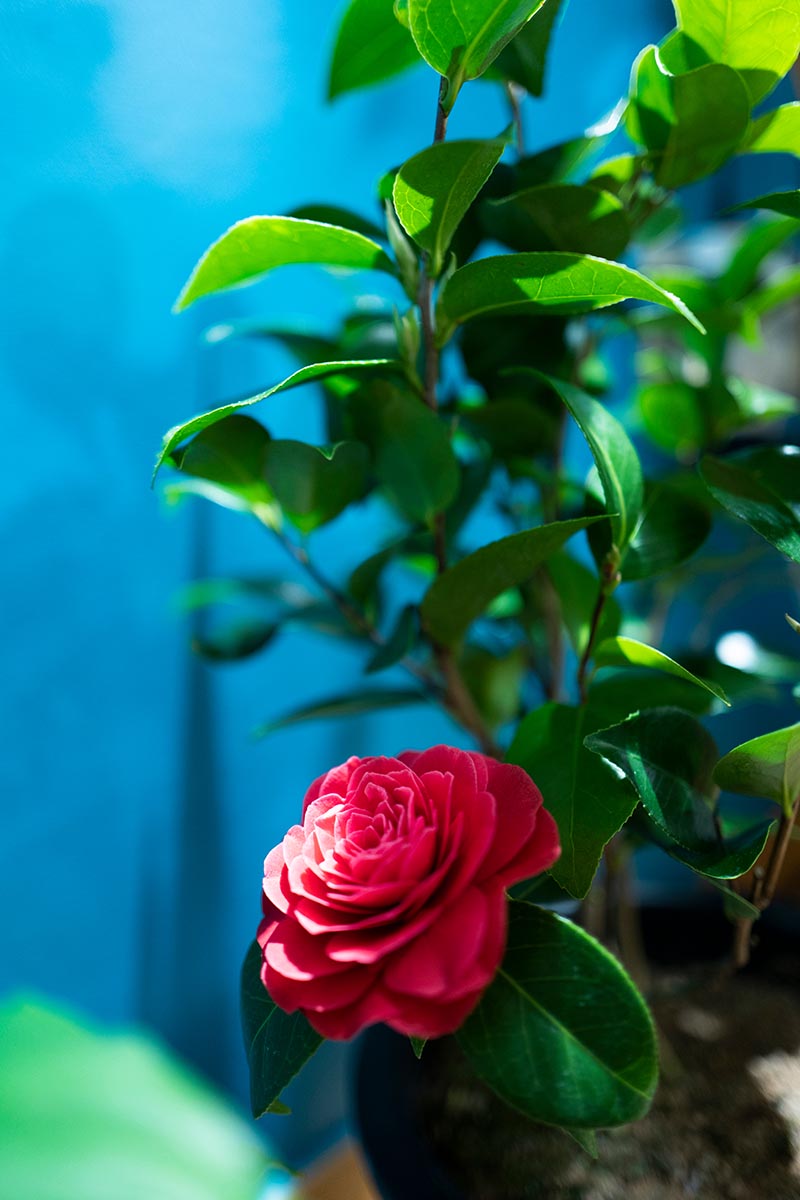
‘Kramer’s Supreme’ produces stunning scarlet red blossoms, tolerates colder temperatures, and maxes out at eight feet tall, but can be pruned to four or five feet easily.
Plants sold in one- and three-gallon pots are available from FastGrowingTrees.com.
October Magic
If you live in Zones 6 or 7, you may want to choose a hardier cultivar like ‘October Magic,’ which is a C. sasanqua hybrid specifically bred for cooler climates and compactness.
This variety thrives in containers, reaching a maximum height of about three feet.
You can find ‘October Magic’ plants in quart-sized pots available from Root 98 Warehouse via Amazon.
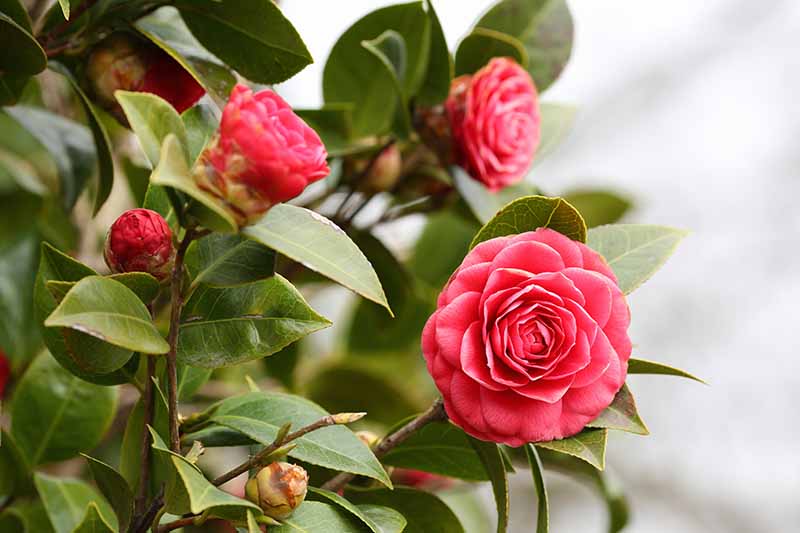
Shi Shi Gashira
One of the most popular varieties, C. sasanqua ‘Shi Shi Gashira,’ can be successfully container-grown with a bit of maintenance.
While this variety can reach five to six feet at maturity, you can prune for size, while encouraging the formation of more gorgeous pink blooms.
You can find two-packs of plants in three gallon pots available from Home Depot.
Camellia sinensis
If you’re more interested in functionality than appearance, you could choose C. sinensis, the species used for centuries to produce both black and green tea.
This species is not only an excellent choice for container growing, but earns its keep when its leaves are dried and crushed for home-brewed tea.
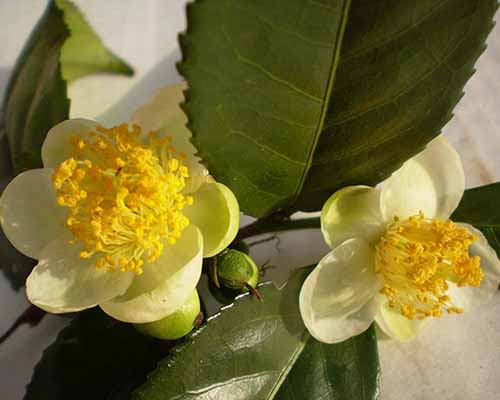
This species is also more cold hardy than many camellia species. Plants are available from Nature Hills Nursery.
Potting Camellias Will Let You Bring Their Beauty Home!
Whether you’re downsizing the garden, working with limited space, or just want a lovely potted plant that isn’t as high maintenance as an in-ground shrub, the camellia in its many forms can become a part of your collection.

As with any potted plant, you’ll learn over time how to best provide proper care and watch your shrub thrive, blooming each year, just for you.
You may have been warned that camellias are demanding and hard to keep, but don’t be too intimidated to try! You may even find that you have such a knack for it that you want to learn to propagate your own plants to create an entire menagerie of gorgeous shrubs.
We want to know – have you had success with growing a particular variety of camellia in a container? Let us know in the comments section below and feel free to share a picture!
For more tips about growing and caring for camellias, check out these guides next:

Nice article on camellias,prop, germ. & uppot scenarios. Not too wordy, just enough to be personal. Thankyou, best is yet to come.