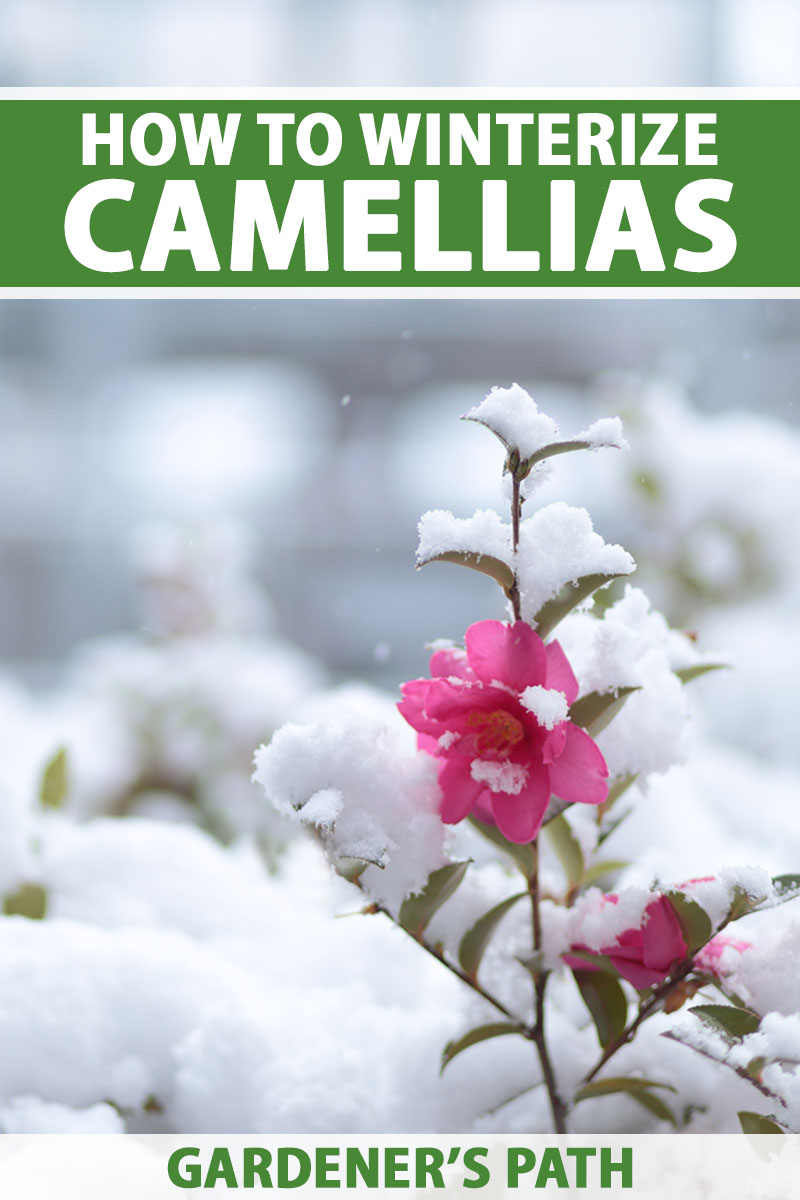
Spotting a splash of color in a winter landscape can immediately brighten and add beauty to the dreary, gray days.
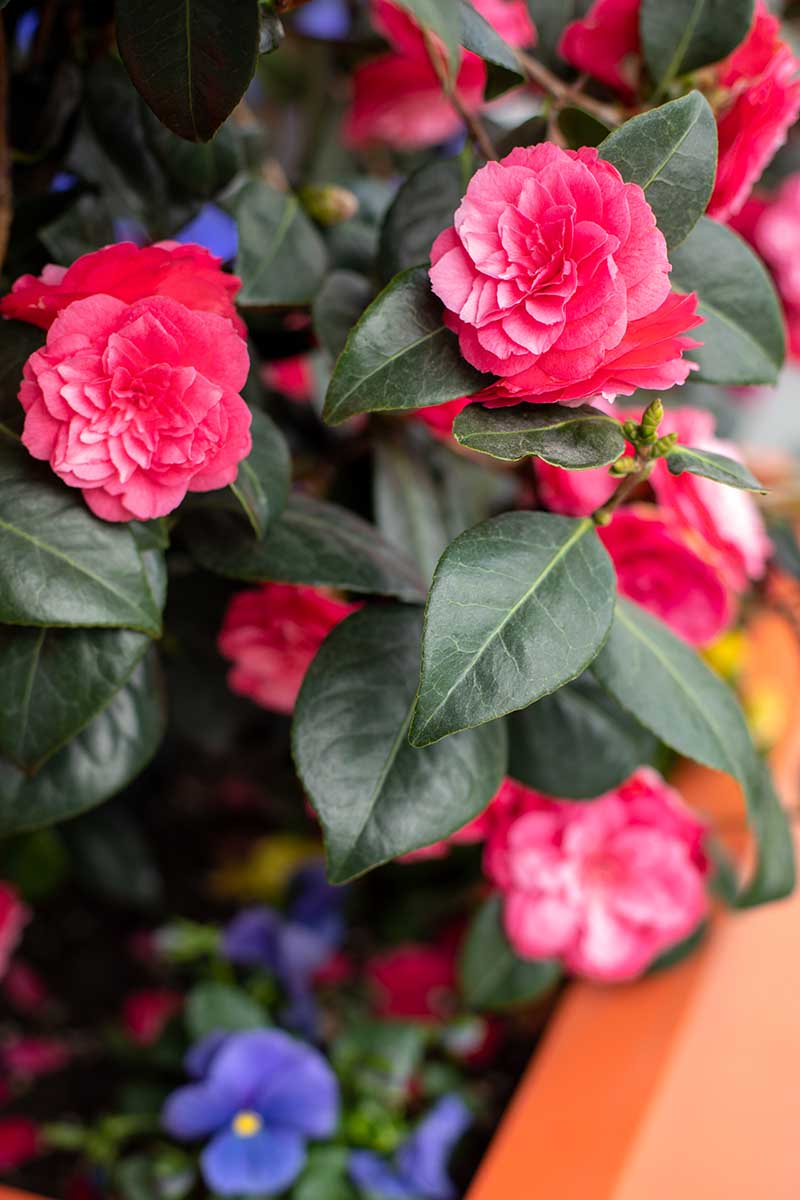
Camellia is a good choice for adding color, and important sources of pollinator forage, when most plants have begun months of slumber.
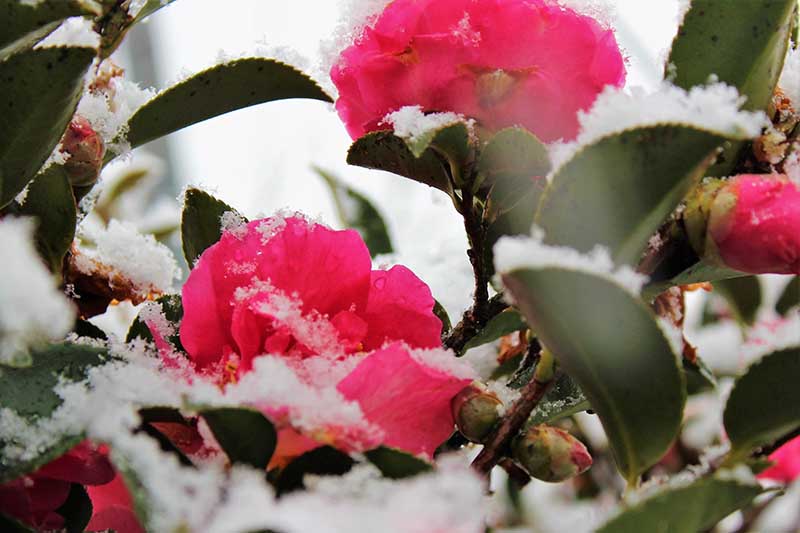
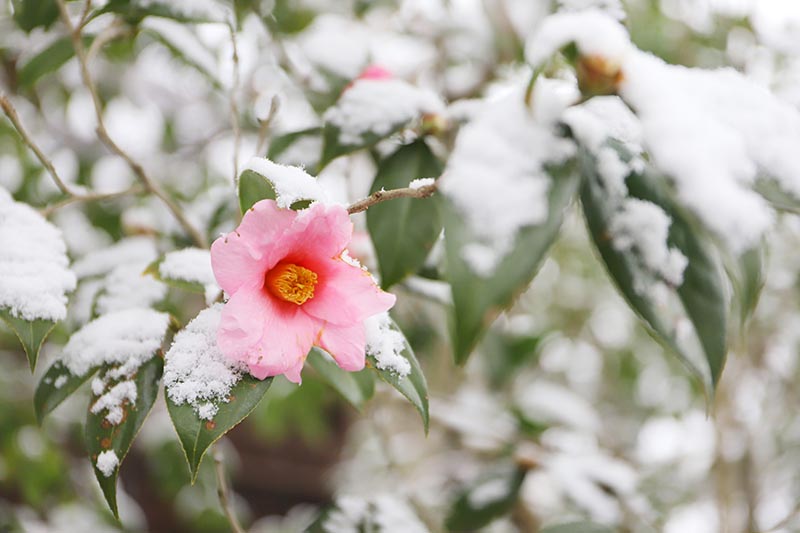
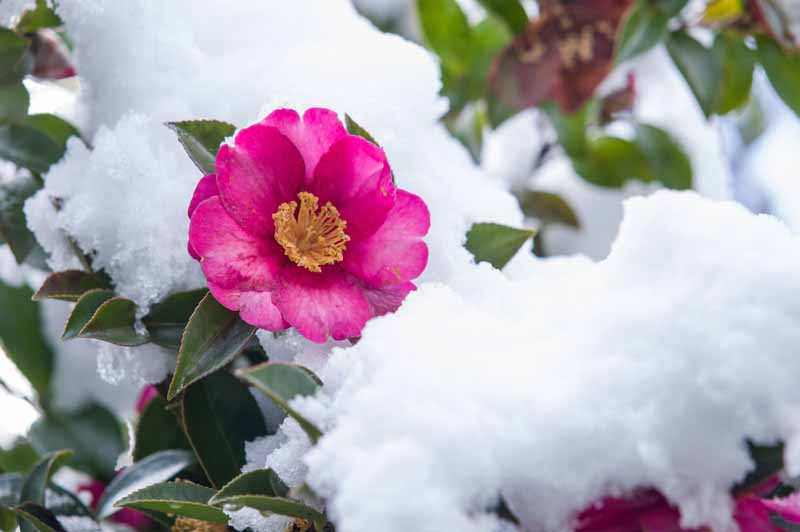
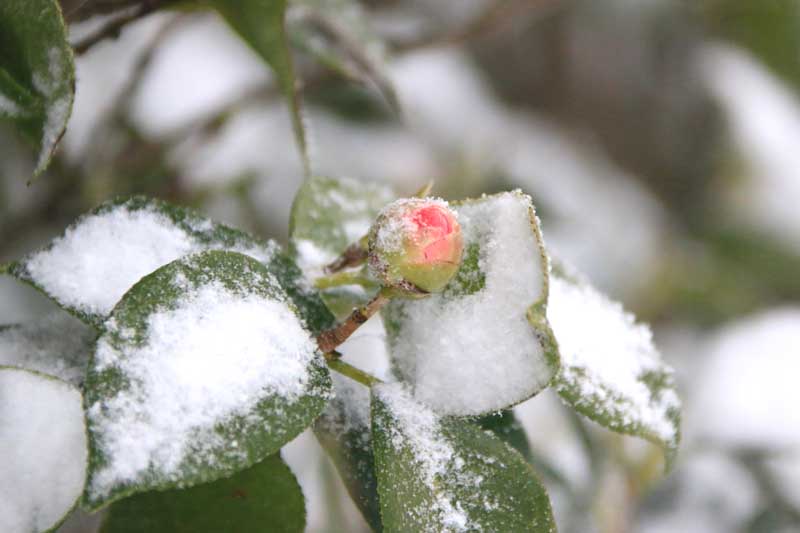
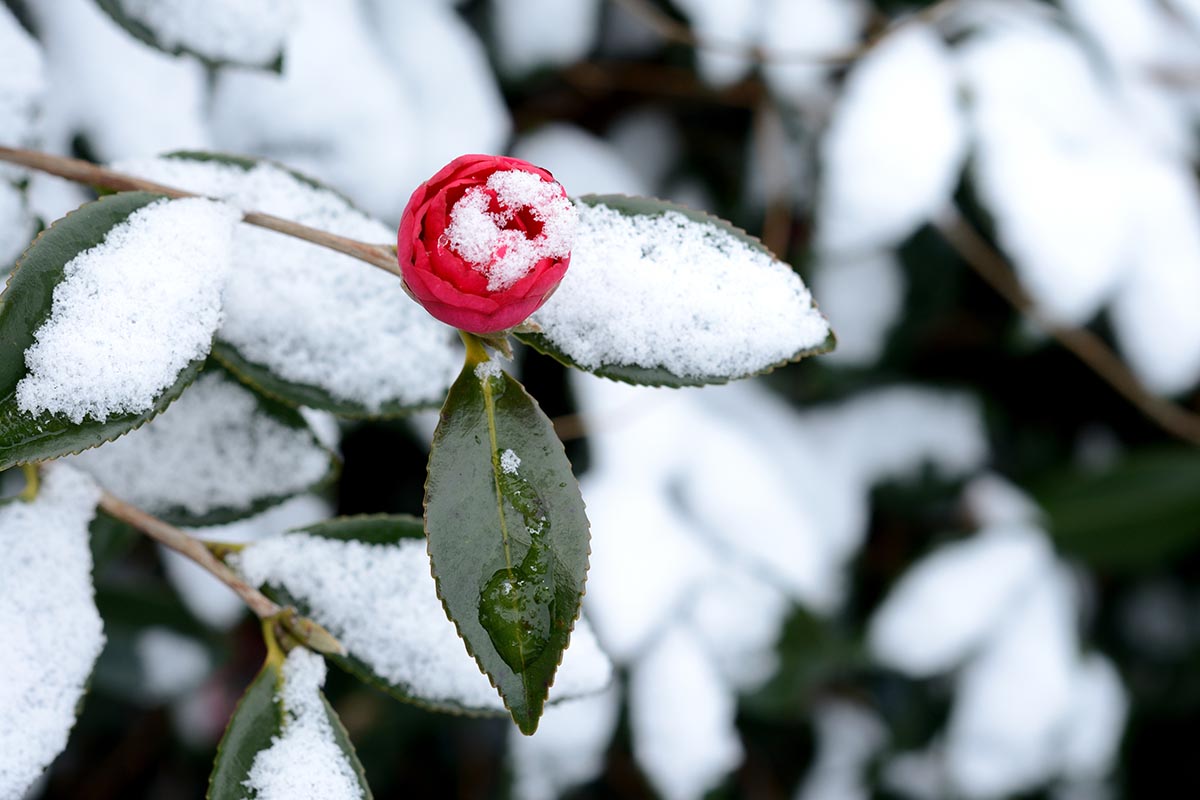
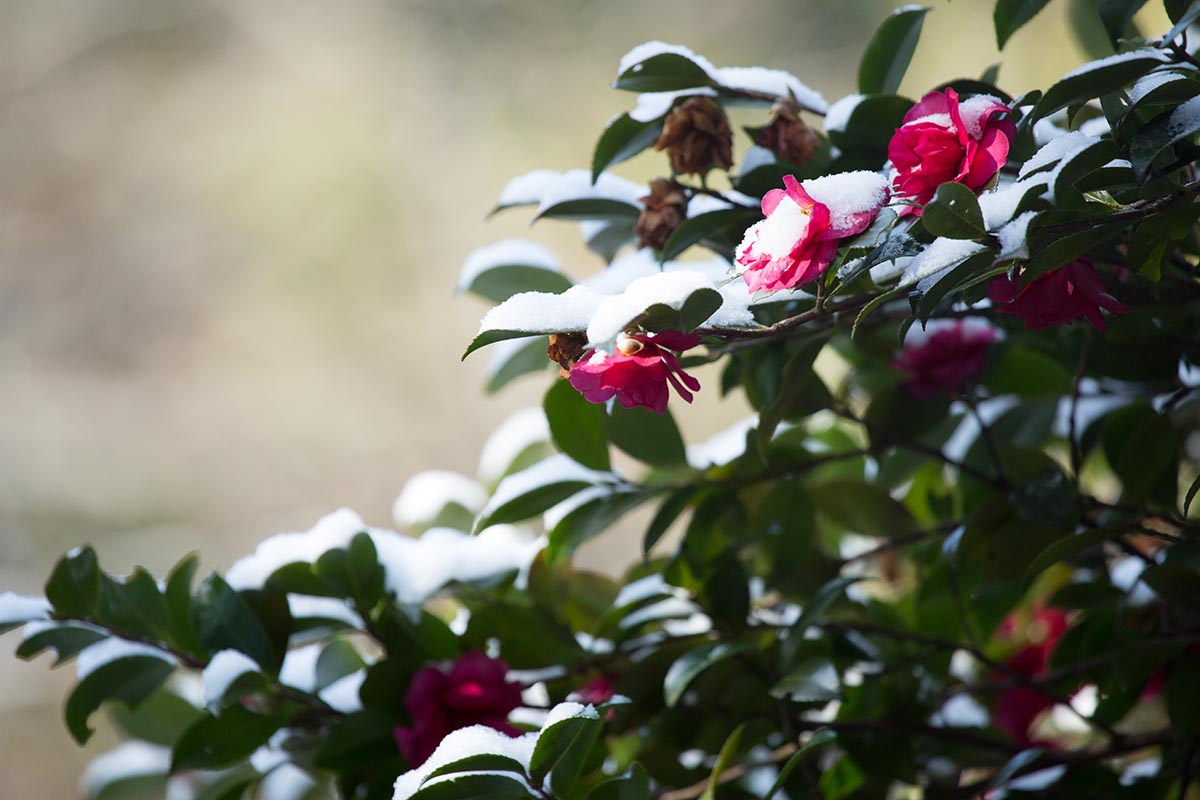
But even though most varieties are semi-tolerant of cold temperatures, and can even continue to bloom through light frost or a dusting of snow, they still need some protection from hard freezes and harsh winds.
We link to vendors to help you find relevant products. If you buy from one of our links, we may earn a commission.
In this guide, we’ll talk about how to keep your camellia protected and thriving through the cold winter months.
What You’ll Learn
Why Do Camellias Need Winter Protection?
All varieties of camellia originated in various parts of Asia, thousands of years ago. Their beauty, charm, and usefulness established them as a coveted addition to the garden.
In China and Japan, these shrubs have been widely adored for quite some time, and included as an important part of religious observances and imperial ceremonies.
In fact, some of the camellia plants gracing many palace gardens in the region today were planted more than five hundred years ago.
Read more about the long history of camellias and how to grow them in our guide.
While many varieties are cold hardy or cold tolerant, even these can suffer winter damage in extremely low temperatures or from exposure to harsh, cold winds.
Potted camellias can be moved into a greenhouse or garage, or a more sheltered area outdoors, for winter protection.
But beware of dry conditions inside temperature-controlled areas in winter. Camellias are not best suited for these, and rehoming your plants in a warm and dry location for the winter may lead to death.
Preventative measures and a little forethought are necessary to get your camellia through the winter months safely. Let’s discuss the best methods for protecting your plants.
Tips for Outdoor Winterizing
First and foremost, choose a variety that is suited to your region if you intend to leave it outdoors throughout the winter, and be sure to set it in a location that is as protected from cold winds as possible.
It’s also important to shelter the roots, but avoid smothering them, as they are highly sensitive.
Be sure to avoid fertilizing late in the summer or in the fall. Fertilizing can cause it to produce new growth, and boosting plant growth just as winter weather conditions take hold will almost certainly kill the new shoots.
Allow your plants to begin to fall into dormancy as the weather chills. Dormant plants are more tolerant of winter weather, and can be more easily protected through the rest of the season.
As temperatures fall, water deeply, as moist soil can help to insulate roots. It’s also important to provide water ahead of time as the plant will not be able to draw moisture from the frozen ground.
A thick layer of two to four inches of mulch can be applied at the base of each plant, spread to the width of the canopy – or the outer circumference of the shrub – to cover roots that are close to the surface of the ground.
Camellias are typically planted shallowly as the roots need good aeration, and roots can often be positioned near ground level.
Shredded or chipped wood mulch or straw work best, as these allow for air transpiration without becoming matted down, which is important for the roots. Be sure to apply mulch prior to hard freezes, especially if extreme cold is predicted.
Avoid using leaf mulch as it can become matted when wet, creating a smothering layer on top of the roots. Leaves can be used if they’re well shredded to prevent matting from becoming an issue.
It’s a good idea to replace the mulch annually as they are woodland plants, and mulch can mimic the typical environment of the forest floor throughout the year.
Mulch can also be left in place to help to retain moisture and keep temperatures at the roots cooler in the hotter months.
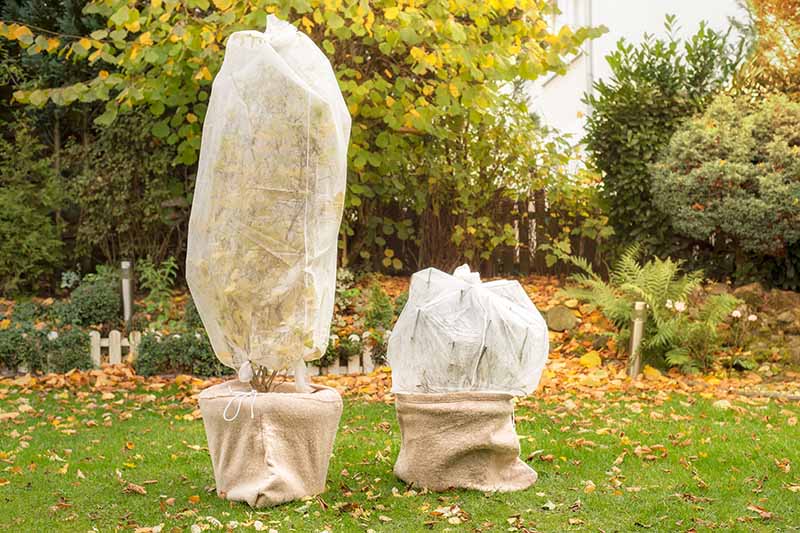
In areas where temperatures can dip well below freezing, you should wrap your shrubs for additional protection. Plants can be wrapped in layered horticultural fleece, burlap, or bubble wrap.
If extremely low temperatures are expected, materials can be doubled or tripled up, provided that light can still filter through.
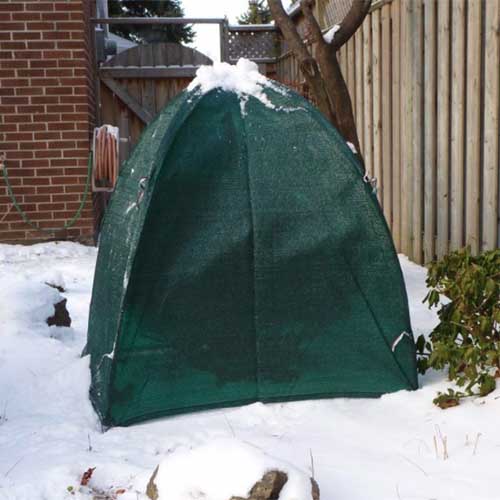
If you’d prefer a canopy-style barrier, you can find these at Home Depot. Just be sure to fasten it securely in place to prevent it from becoming a kite!
Wrap plants loosely to allow for air circulation and transpiration.
But be sure to secure it well to avoid having to chase errant wrapping material through the yard on a windy day.
Twine or twist ties can be used to bind the wrapping material to bamboo canes or metal stakes to keep things in place.
Don’t tie material directly to the branches, as this could cause damage if the plant can’t support the weight of snow or withstand strong winds.
After the threat of frost has passed, the wrapping can be removed. If your plant normally blooms before the last threat of frost has passed, however, you can remove the wrapping ahead of time, and rewrap it when frost is expected.
Even when precautions are taken, you may notice some discoloration of the foliage. Camellia leaves are evergreen, meaning that they don’t drop in the fall, and winter burn or frost can damage them.
Normally, yellowing will self-correct as spring rolls around, but any foliage or branches that die off should be pruned away in the spring.
If you’re seeing a lot of discoloration, consider adding additional wrapping, but don’t layer it so thickly that light is not able to penetrate to the plant.
If you pick a variety that can not tolerate the low winter temperatures and conditions in your area, you will most likely need to grow it in a container so you can move your shrub to a sheltered area.
So, what’s the plan for moving the potted plant? Let’s explore some options.
Moving Potted Camellias Indoors for the Winter
If you’re determined to own a camellia regardless of the seasonal low temps in your area, it may be best to grow in a container so it can be relocated to a more sheltered place when necessary.
Learn more about growing camellias in containers in our guide.
Most varieties of camellia can tolerate temperatures between about 10 to 90°F.
Cold hardy types can typically tolerate temperatures as low as 5°F, however, some have been observed to tolerate temperatures that are slightly lower, such as those in Zone 6B where wintertime dips below zero are fairly common.
When temperatures begin to fall, be sure to water your plant well. Moisture in the soil can help to insulate the roots.
A layer of mulch can be added on top of the soil, and it can and should remain outdoors until frost becomes a threat.
Allowing exposure to falling temperatures will signal the plant to go dormant, which is an important part of its natural cycle. It’s best not to disturb this cycle as many camellias, though they are not actively growing, bloom while in their dormant state.
As previously mentioned, the warm, dry air inside most of our homes is not suitable for camellias.
Rather than moving the container into your home, consider relocating it to an unheated garage, shed, or greenhouse, provided that adequate indirect light will be available.
It’s best to keep it out of strong, direct sunlight, as the heat from the sun can cause frozen parts of the plant to thaw quickly, potentially causing damage and sunscald.
Avoid moving the plant into an environment that is much warmer than it is outside. A cool place no more than 50°F is best.
Since most indoor areas have lower humidity than the outdoors, you’ll need to frequently observe soil moisture levels and water as needed.
If the area you’re moving the plant into does not have adequate light, a grow light will help to provide enough light to keep it alive until it can be moved outdoors again.
When temperatures again become safe for the plant to be moved back outside, you’ll want to do so slowly.
Moving it quickly back out into the elements can cause stress, which can result in bud, bloom, and leaf drop, and exposure to too much sunlight can cause sunscald.
Move the plant into a shaded area outdoors, and gradually expose it to more light over the course of several days to a week.
Once temperatures have begun to rise again, dead or discolored parts of the shrub can be pruned away to make way for new growth.
Protect Your Camellia When Temperatures Plummet
As you’ve seen, keeping your camellia safe from damaging winter cold and chilly winds can take a bit of effort and observation, but your efforts will ensure that it remains healthy and continues to thrive.
Once you’ve established a winterizing routine, you’ll have all of the necessary skills and tools on hand, and it’ll become easier every year. The hardest part may be convincing yourself to trudge out in the swirling snow to make sure your fleece has stayed put!
Do you have any other winterizing tips that may help other gardens to prepare their plants? Let us know in the comments section below!
And if you’re interested in learning more about growing and caring for camellias, have a look at these topics next:


I do Camelias in Birmingham Alabama. This is a well written article. Thanks
Two of your photos are photos of ranunculas, not camellias.
Helpful article. A few of the bloom images might resemble ranunculus, but the foliage is certainly camellia foliage, not finely cut, parsley-like ranunculus leaves. Ranunculus growth is frost-tender too, so would not likely be in full bloom surrounded by snow.