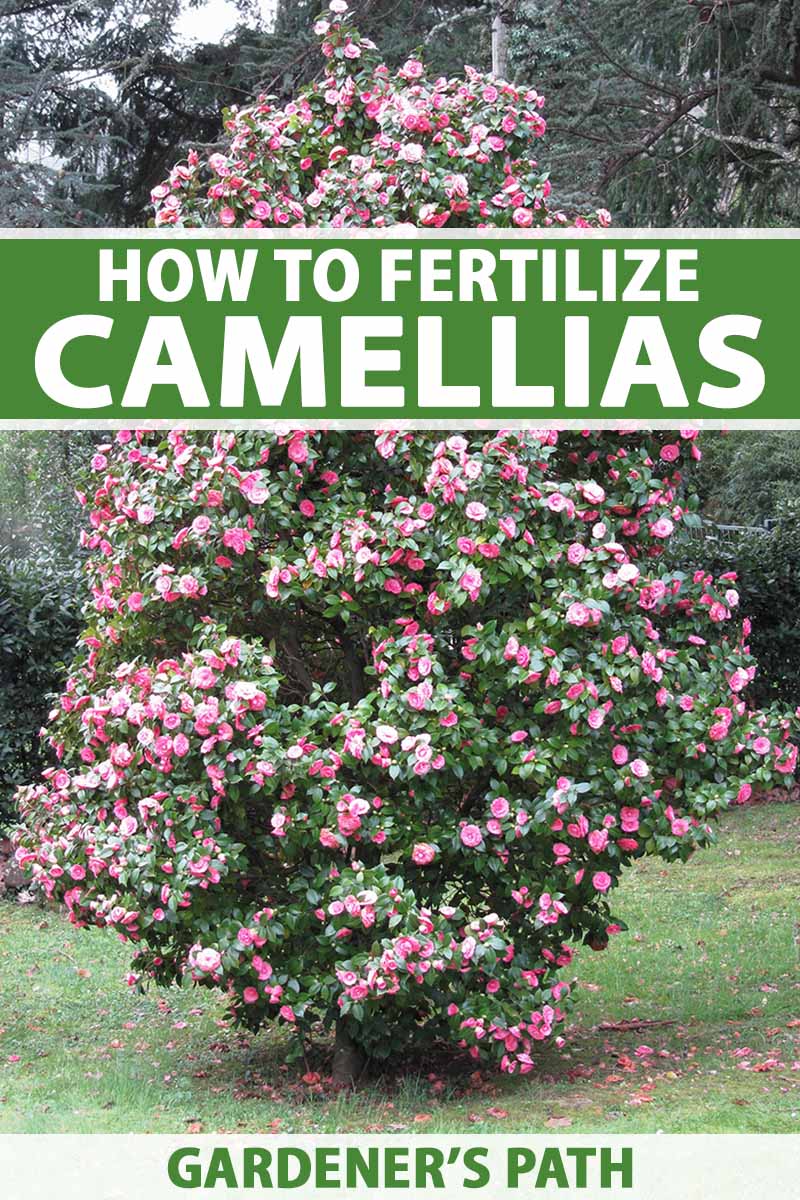
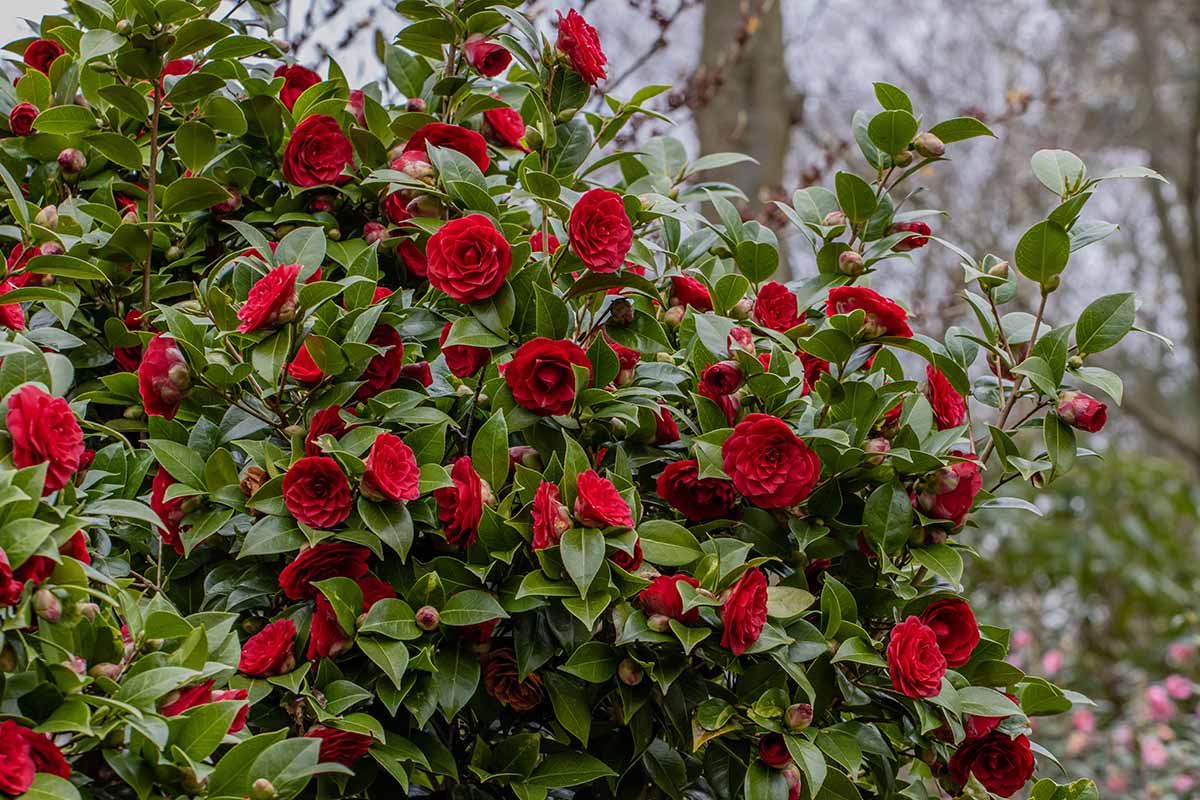
The first time I walked past a camellia bush, I literally did a double take.
I turned to the friend I was walking with and asked if they knew what the heck this gorgeous creature was.
A quick trip to the nursery after that, and I was on my way to growing my own beauty.
We link to vendors to help you find relevant products. If you buy from one of our links, we may earn a commission.
I soon learned fertilizing is one of the essential parts of growing a shrub that makes heads turn.
You have to feed your plants if you want them to perform. If you do it right, you’ll be richly rewarded.
The process is all about timing and determining your baseline to begin, starting with a solid foundation – and a good understanding of the soil.
That’s what this guide aims to teach gardeners. To that end, we’re going to discuss the following:
How to Fertilize Camellias
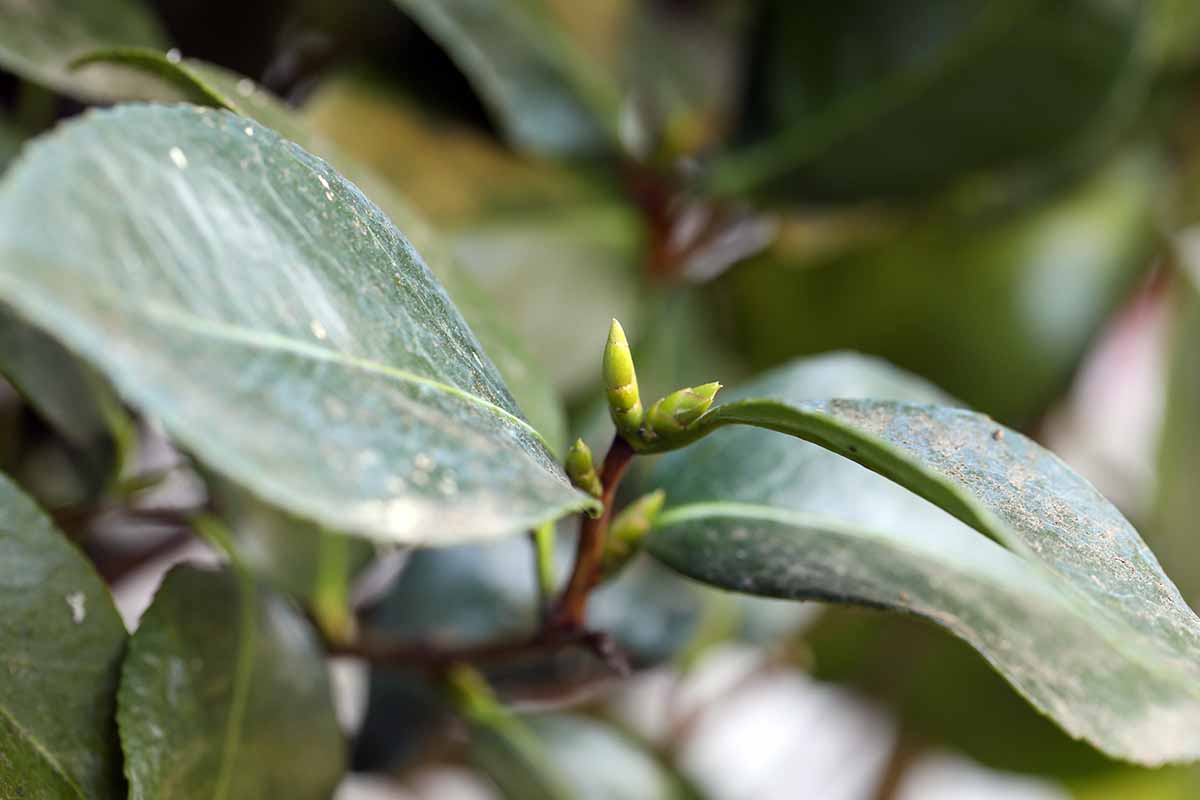
Camellias are slow growers and heavy feeders.
While they can survive without fertilizer, particularly in the case of older, more established plants, they will bloom and grow much better if you feed them.
Even if you have fairly healthy soil and you mulch regularly with well-rotted compost, it’s likely that your soil doesn’t have enough nutrients to keep heavy feeders like camellias happy.
You don’t want to over-fertilize either, however. That leads to spindly, leggy growth that breaks easily.
Choosing a Fertilizer
There are lots of granular fertilizers out there made for acid-loving, woody shrubs like azaleas, rhododendrons, and camellias.
You can rely on these if your soil is fairly balanced in nutrients already and if your soil is the correct pH for these plants.
Remember, these plants prefer slightly acidic soil with a pH of around 6.0 to 6.5.
Dr. Earth’s Acid Lovers blend is ideal, particularly for older, well-established plants that don’t need anything special. Plus, it’s Non-GMO Project verified if that’s important to you.
Amazon carries this product in one-, four-, and 12-pound bags.
If you’re like most people, you probably don’t know what kinds of nutrients your soil has in it already.
It’s easy to assume that you’re starting from a neutral baseline when, in reality, your soil is deficient in nitrogen and high in phosphorus, for example.
If you were to feed with a balanced fertilizer, you’d be wasting money on nutrients your plants don’t need and missing out on ones they do.
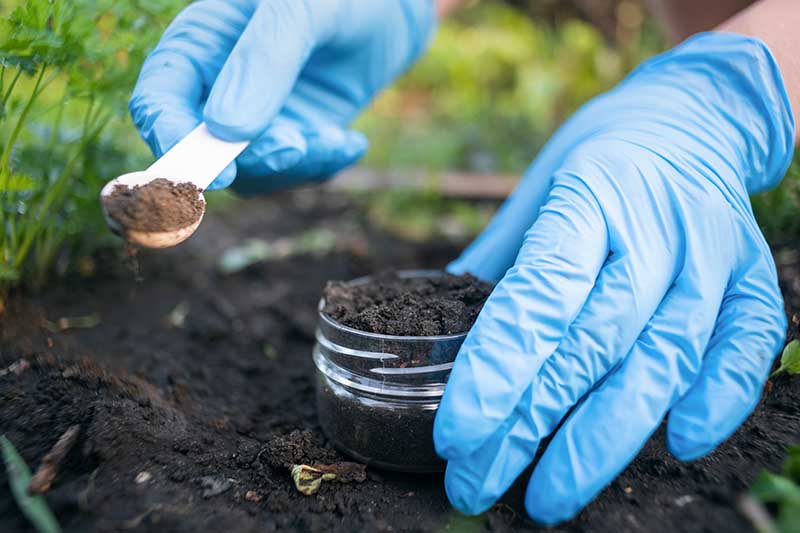
The solution is to test your soil. You don’t have to do this often. Doing it every few years will give you a good idea of what’s going on.
It doesn’t have to be expensive, either. You can buy a soil test kit or you can send some soil off to your local extension office and they’ll give you a good rundown on the nutritional makeup.
Once you receive your results, you can do what’s required to balance your soil, whether that involves making amendments to change the pH or working in more of one particular nutrient.
After that’s done, you can turn to that good old camellia fertilizer we talked about above.
When to Feed Camellias
Ideally, you should feed your plants two times a year – once after the blooms have mostly faded, and once again in midsummer to give them a boost as they begin to develop the flower buds for next year’s show.
The exact timing will vary depending on where you live and which type you are growing, so observe your own plant rather than relying on the calendar as the chief indicator.
When the flowers are mostly faded, feed your plants. Then, when you see the very beginning of buds developing, feed again.
Fertilizing Tips
The exact process will vary depending on the type of fertilizer you’re using.
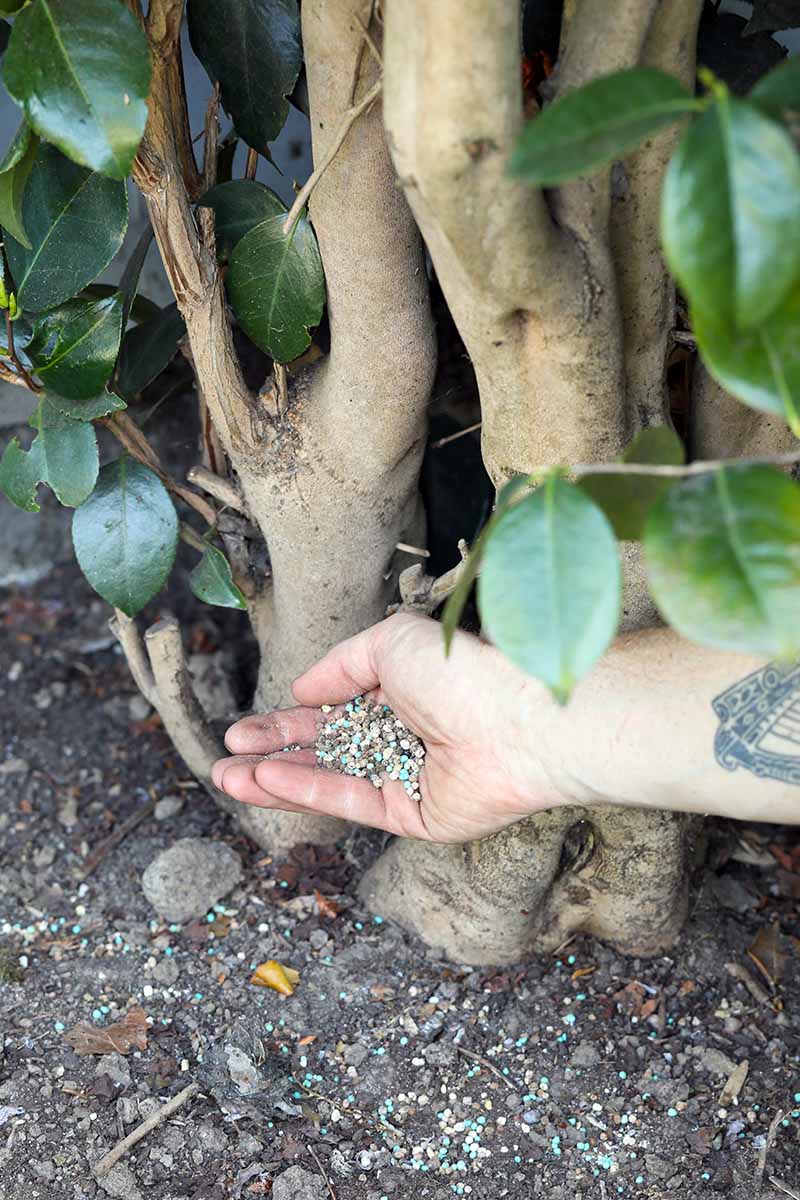
In general, you’ll want to rake away any mulch that you’ve put in place and apply the granules spanning an area from just outside the trunk to the edge of the drip line.
Then reapply your mulch and water well.
Again, it depends on the manufacturer’s directions, but you’ll want to spread out about a quarter of a cup per mature plant.
Give the Right Food at the Right Time
Careful feeding is imperative in young specimens as opposed to mature ones, to help them develop a strong structure that will keep them healthy for years to come.
But established plants need nutrients too. It’s easy to forget about feeding your bushes when they’re mature and blossoming just fine, but your camellias will look so much better if you take this extra step.
Is this your first year maintaining your camellia plants? Or are you just looking for a refresher on how to give these beauties the things they need to thrive?
Share the details of your journey with us in the comments below. We’re all at different points in the process and it’s nice to be able to chat about what we’ve learned.
If you are just beginning, you might find some of our other camellia growing guides useful. Here are a few to get you started:

I have had a Camelia bush for 2 or 3 years. I have never put fertilizer on it, The growth seems to be stunted. It is the same size it was when I got it. It had a few bulbs on it last year but none this year.
Hi Jan, I would go ahead and give it some food as described in this guide. Depending on where you live, right now is the perfect time to feed, since your plant should have finished blooming. How much sun is your plant receiving?