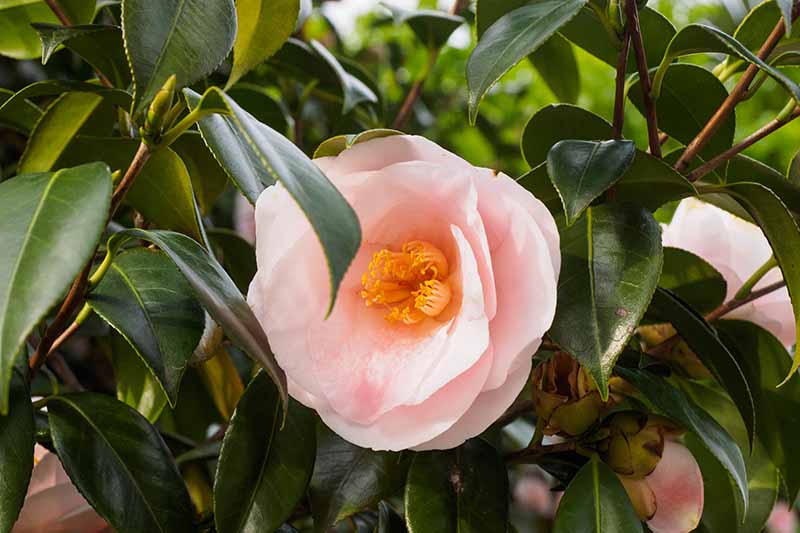
Is your container-grown camellia looking unhappy?
After all of the love and care you’ve given it, the last thing you want is to see it die especially when the problem could be something that is easily fixed.
We link to vendors to help you find relevant products. If you buy from one of our links, we may earn a commission.
If you need a refresher on how to grow camellias in containers, have a read of our guide.
In this article, we’re going to discuss the signs and symptoms that indicate that something is amiss, and how to address them, so you can feel more confident in coming to the rescue.
Let’s look at the most common issues you may face when growing your camellia in a container and how to correct them.
Here’s what I’ll cover:
Troubleshooting Potted Camellia Problems
Cold and Frost Damage
If you live in an area where temperatures plummet in the fall and winter, you’ll need to protect your plant.
Unexpected cold snaps and strong, icy winds can cause damage such as brown leaves and dieback, also known as winter burn.
Taking preventative measures including strategic placement are the only ways to ensure that your plant does not suffer winter burn.
It’s easier when your camellia is potted, as it can be moved indoors, wrapped, or relocated to a sheltered area.
Be sure that your plant is well watered during periods of colder temperatures, and wrap it with blankets, bubble wrap, landscaping cloth, or a combination of these, to protect from cold temperatures.
If you observe signs of winter burn, wait until the plant is showing signs of new growth before you cut away affected foliage, but avoid pruning too much back in spring or fall, as you don’t want to cut away budding blooms.
If enough of the plant can be salvaged, it should recover with time and care.
You can learn more in our guide to camellia care in winter.
Compacted Roots
Be on the lookout for signs that your plant has become rootbound.
Symptoms include leaf and bud drop, yellow or brown leaves, poor growth, and “girdling” – or curling of the visible roots near the edges of the pot – or roots showing through drain holes at the bottom of the container.
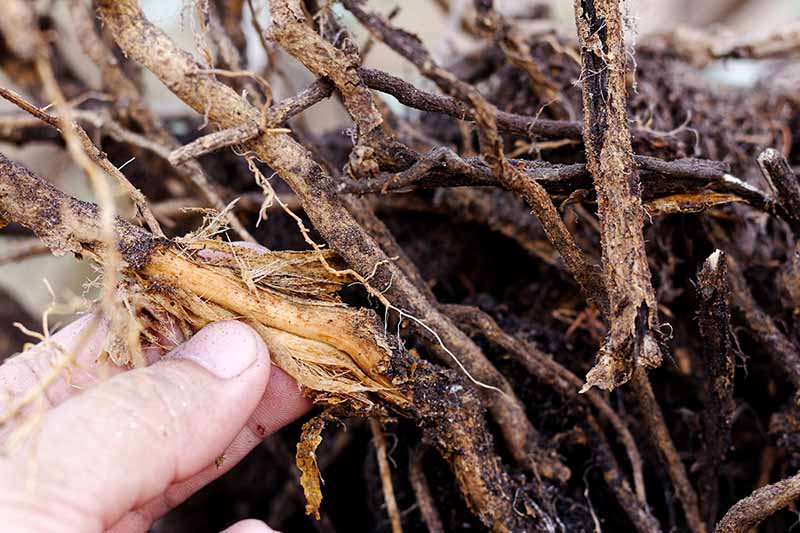
Roots that are growing tightly together can be more susceptible to root rot as well, especially if the closely-growing roots are prohibiting adequate drainage
Signs of root rot are almost identical to those of root compaction, but also include roots that are blackened or slimy.
If it appears that the roots are becoming compacted or unhealthy, it may be time to repot your camellia, with extra attention to drainage.
It’s always a good idea to do a visual check of the roots once every one to two years, to be on the safe side.
Damaged roots can cause the health of your plant to deteriorate quickly, which can be very hard or sometimes impossible to reverse.
Disease and Infestation
Potted camellias are as susceptible to infestation and disease as in-ground shrubs.
If you notice powdery white, sooty black, or feathery web-like substances on the leaves, chances are they’ve also got some unwelcome guests or illness.

Pests may include aphids, scale insects, and spider mites. Additional signs that pests may be present include leaf discoloration, bud and leaf drop, black or brown spotting and holes in leaves, and poor or stunted growth.
Signs of disease may look similar to those of infestation, so it’s important to keep a close eye on the condition and growth of your plant. If you notice any of these symptoms, don’t wait to take action, as camellias can be sensitive.
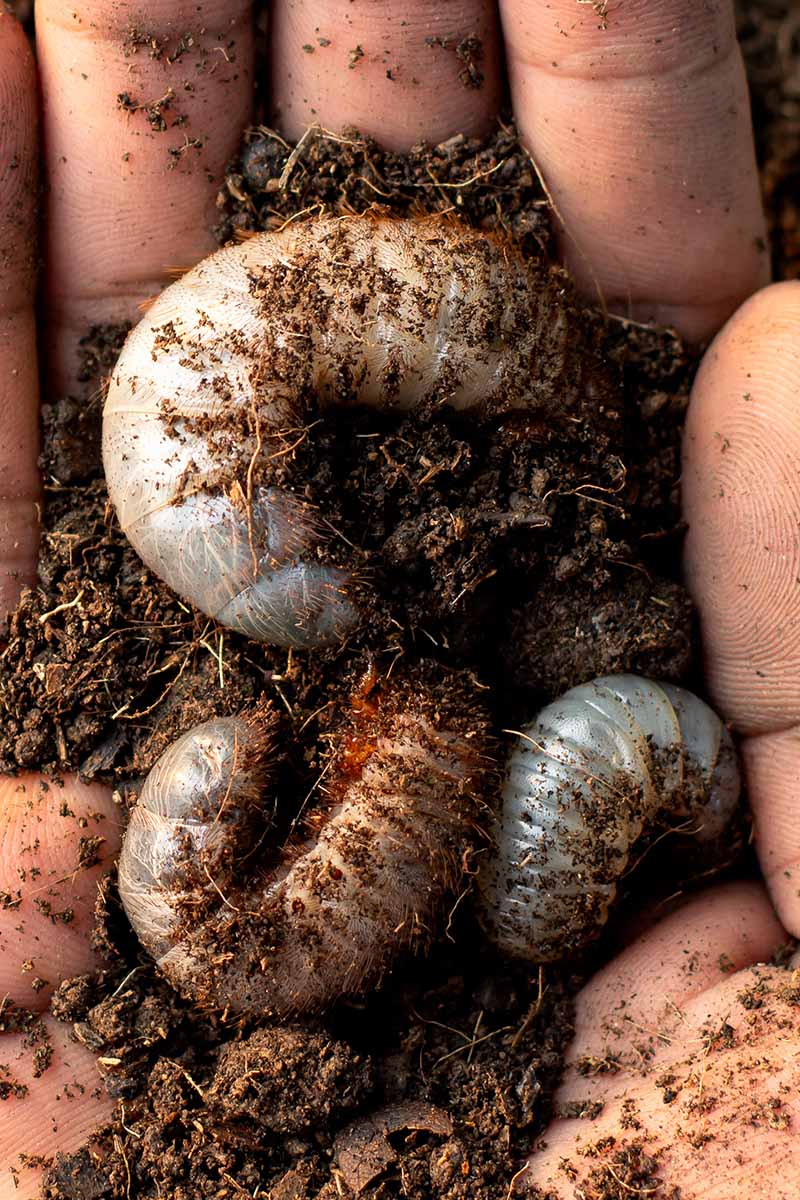
Grubs
There are several types of beetles that lay eggs in soil, resulting in larvae that hatch from eggs between spring and fall. These unsightly grubs can vary in size from about half an inch to almost two inches long.
Most grubs feed on plant roots and stems. They can destroy a patch of lawn, devouring roots until the grass turns brown and dies. After they feed, they will pupate and emerge as adult beetles.
Potted plants are particularly susceptible to grubs because the soil surface is usually wide open, and the soil is moist and loose, making it easy for the adult insects to deposit eggs at will.
The eggs and larvae are then safely incubated in the enclosed environment of the pot, and may go completely unnoticed.
As a preventative measure, you can mix about half a cup of three percent hydrogen peroxide per gallon of water, and use the solution to water your plants. The peroxide will kill eggs and larvae.
Additionally, you can add a layer of decorative stone or coarse sand to the top of the soil to prevent adult insects from depositing eggs.
Diatomaceous earth can be spread as well, and will effectively kill the majority of insects that come into contact with it; however, certain beneficial insects may be killed as well.
When using diatomaceous earth, avoid getting it on the leaves, buds or blooms, to help prevent harm to beneficial insects.
If you notice that parts of your plant are dying, changing color to yellow or brown, or losing leaves, but you don’t see other signs of distress such as an obvious infestation or disease, grubs may be the culprit.
Check for their presence by removing the plant from the pot and gently brushing soil away from the roots. Grubs are easy to spot as their white to gray color stands out in contrast against the soil.
If grubs are present, remove all of the soil from both the roots and the pot.
Fill a bucket or plastic storage tote – large enough to accommodate the entire root ball – with water, deep enough to cover the roots, and add about one cup hydrogen peroxide per gallon of water.
Hydrogen peroxide available at the grocery store is generally a three percent solution and that is perfectly adequate for this purpose.
Add the affected plant to the solution, making sure the roots are entirely submerged, and allow them to soak for three to four hours to kill any eggs or larvae that are present.
Dispose of the soil in a trash bag that you’ve tied closed tightly, or pick the grubs out and leave them in a shallow dish for birds and scavenging animals to feast on, as many find them delectable.
Sterilize the plant pot by scrubbing it well with soap and water, and soaking it for thirty minutes to an hour in a solution of nine parts water to one part bleach. Thoroughly rinse the solution off of the pot before repotting the plant.
Repot your plant with fresh soil, and trim away any affected foliage.
Overgrowth
Some potted plants simply become too big for their britches, so to speak. Hard pruning may be necessary if your shrub has suffered a period of neglect, leading it to become much too large for container growing.
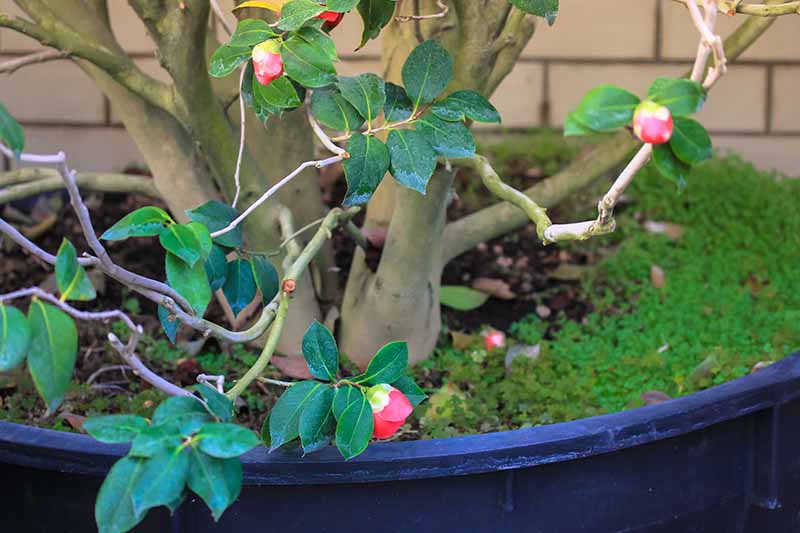
Some varieties of camellia can grow to more than eight feet in height, so it’s possible that a shrub that has been neglected could become too large to grow in a container.
Plants that become too large for their container are more likely to tip over, which can cause damage. They’re also more likely to be stunted, more susceptible to becoming rootbound, and may fall victim to mildew growth when airflow is restricted by dense foliage.
If the plant reaches more than four to five times the size of its current pot, and you’re not able to transfer it to a larger pot to accommodate the growth, you can prune the branches back to one to two feet in height.
Again, it’s important to be absolutely sure that the roots are healthy and save this kind of pruning for late winter or early spring, when the plant will be in its natural growth period.
Otherwise, this hard pruning can lead to shock and may kill your plant.
Sunscald or Sunburn
Sunscald is a very real danger for camellias that have been overexposed. These woodland plants prefer dappled sun to partial shade, particularly before they’ve developed dense foliage.
Signs of sunscald include brown, gray, or black splotches or sections on the leaves; leaf drop; blossoms that die off quickly or become brown or yellow; and an overall unhealthy appearance.
The plant may also fail to produce as many leaves or blooms as it would otherwise.
If signs of sunscald are present, the best thing to do with your potted plant is to move it out of the path of direct sunlight.
Provide full shade, either in a protected area or with a canopy or cover, but be sure to avoid inhibiting airflow.
Thoroughly drench the soil with water and give the plant time to recover.
It should start to perk up within a few days, and at that time, you can prune away any dead or dying material. Leaves that have turned brown will not recover and should be removed.
Avoid a hard pruning if possible, but if you must, do so only in late winter or early spring so the plant is able to quickly generate new growth.
Keep the plant protected as it recovers, which can take some time, and avoid moving it to a place where it’ll be overexposed again.
Also note that placing the plant too close to the side of the house or a fence, where sunlight and heat are reflected and magnified, may damage it further.
Now You’re Ready for those Container-Grown Camellia Challenges
Slightly finicky though they may be, camellias are extremely popular and make handsome container plants.
If you’ve gone to all of the effort of potting, pruning, repotting, and maintaining yours, clearly it’s important to you to keep it healthy and happy.
Now that you know the main issues that container-grown plants can face, you can be on the lookout for early warning signs.
If you’ve got some tips or questions about growing potted camellias, we’d love to hear them! Let us know in the comments section below.
And, if you’re interested in learning more about growing camellias, check out these additional guides next:

Hi Kelly. How are you? My camellia has very yellow leaves even though I’ve been feeding it. The flowers are doing well though. Last summer I just did a top dressing of ericacious compost. I’m wondering is it pot bound? After it’s flowered I want to try some of your suggestions but I thought I’d ask for your opinion first. Any suggestions gratefully received! Cheers. Karen
PS I tried to attach a photo but it wouldn’t!!
Hi Karen, Sorry to hear about your camellia! Please could you try uploading your photo again, we’ve had some technical issues but it should work now if you click on the paperclip icon at the bottom right of the comments box. Thanks!
Thanks for the tips here, and in your post about growing camellias in containers! I have been in love with camellias for some time and finally got two for my back yard ???? but I am NOT a skilled/experienced gardener ???? I feel a bit more prepared to keep these beauties alive now ???? Wish me luck! Haha. I’m really going to have to watch them for sun damage, as I live where temps can reach 115* ???????? I’m glad I decided to pot them, so I can move them inside!
Hi Kristen, good luck with your plants! If you need further information, do have a read of our guide to growing camellias in containers and feel free to reach out if you have any questions.