It seems so straightforward: grab the watering can, pour some water into the pot your houseplant is growing in, and get on with your day.
But proper watering is one of the most complicated elements of caring for houseplants. And the consequences can be dire if you get it wrong.

We link to vendors to help you find relevant products. If you buy from one of our links, we may earn a commission.
Watering at the wrong time, with too much or too little water can lead to fungal and bacterial diseases that can kill your plants, and underwatering can starve your plant to death.
Advice on hydrating your houseplants can often be vague.
In this guide, we’ll help you understand how, when, and what type of liquid to use to keep your houseplants healthy.
Here’s what we’ll discuss:
Watering Houseplants
I find that in general most beginners to the houseplant world tend to overwater their plants. That was certainly the case for me, and it took me years to break the overwatering habit.
As we go into this, try to consider your current watering habits.
Do you irrigate on a specific schedule? Do you regularly splash liquid on the leaves of your plant? Do you check the soil for moisture regularly?
We all make mistakes, that’s part of life. Let’s discuss how to do it right.
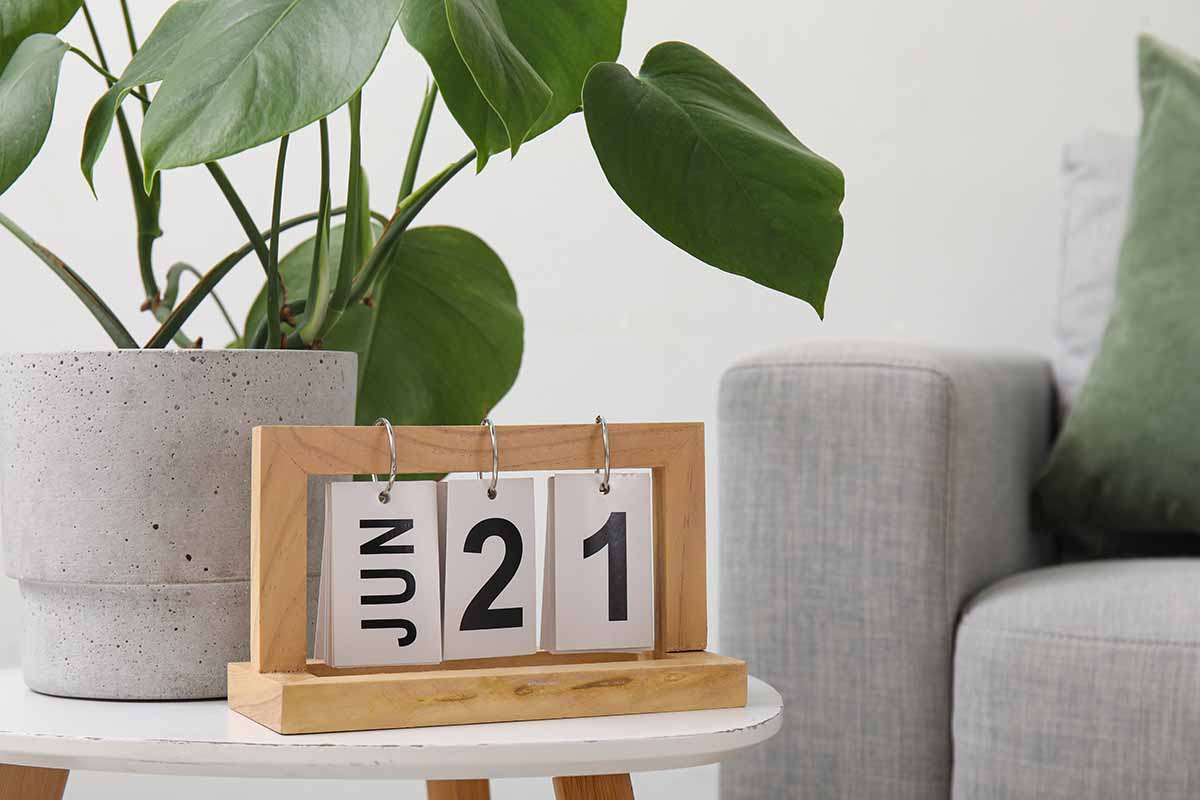
How Often?
If you’re someone who waters on a schedule, stop immediately. Anytime someone recommends that you irrigate a plant according to the calendar, they’re steering you in the wrong direction.
There are so many elements that impact how quickly the soil dries out. It can vary from home to home and even from room to room.
A plant situated in your kitchen might need watering every two weeks, while the exact same specimen set in your living room may need irrigation once a week.
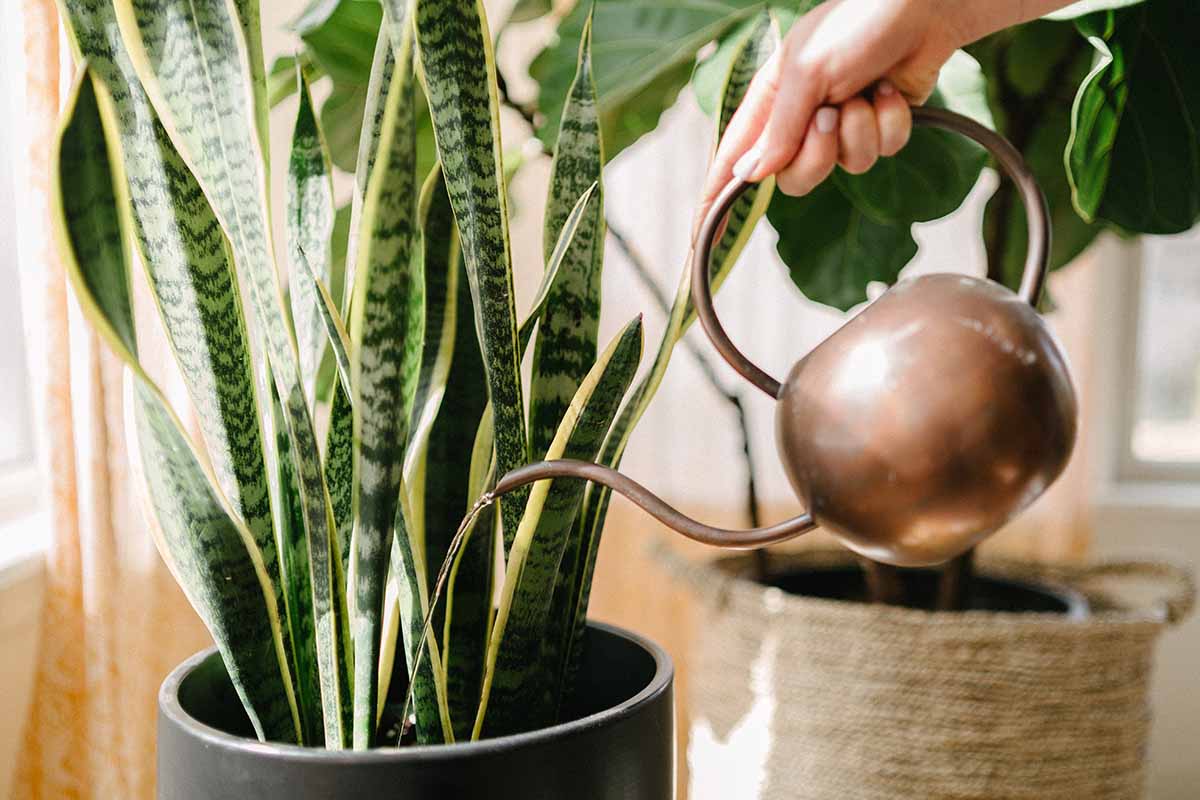
Of course, watering needs vary from species to species. A cactus needs far less than a pilea, for example.
The amount of light the plant receives, if there is any sort of air circulation around the plant from a heat or AC vent, the relative humidity in the air, how compacted the soil is, how much drainage the container has, and what kind of soil you use, are some of the factors that can impact how quickly the soil dries out.
How often you irrigate will depend entirely on your specific plant, and it might change from season to season.
If you’re feeling lost, don’t worry. It’s easy to determine when to water by checking the soil.
This can be done with your finger or by using a soil moisture meter. Once you get to know your plant, you might even be able to tell just by the weight of the pot when you lift it up.
You can also tell if the plant starts to wilt and the soil feels dry. Plants can wilt for other reasons, so don’t immediately assume it’s a drought situation.
The best time of day to water is in the morning rather than the evening because it gives the leaves time to dry and gives you time to empty the drainage saucer or cachepot.
How Much?
As with determining how often to hydrate your plants, working out how much to apply is incredibly subjective.
Again, if someone tells you to add a certain amount, like a cup of water each time, they are steering you wrong.
The amount of water you’ll need to provide depends on the needs of the species you are growing, your particular environment, and the water-retentive qualities of the potting medium.
In the same way as determining when to irrigate, you will need to rely on the soil moisture level to tell you how much to add.
This is where a soil moisture meter comes in handy. It will tell you exactly how damp the potting soil is and then you can compare that to the recommended moisture level for the species you’re growing.
If you don’t have a moisture meter, you can stick your finger in the soil.
“Moist” would be a texture similar to a well wrung-out sponge. Dry would feel like a dry sponge. Wet would feel like a sponge that hasn’t been wrung out yet.
You can also ball the soil up in your hand. If it falls apart, it’s dry. If it stays together but no water squeezes out, it’s moist. If moisture squeezes out, it’s wet.
What Type?
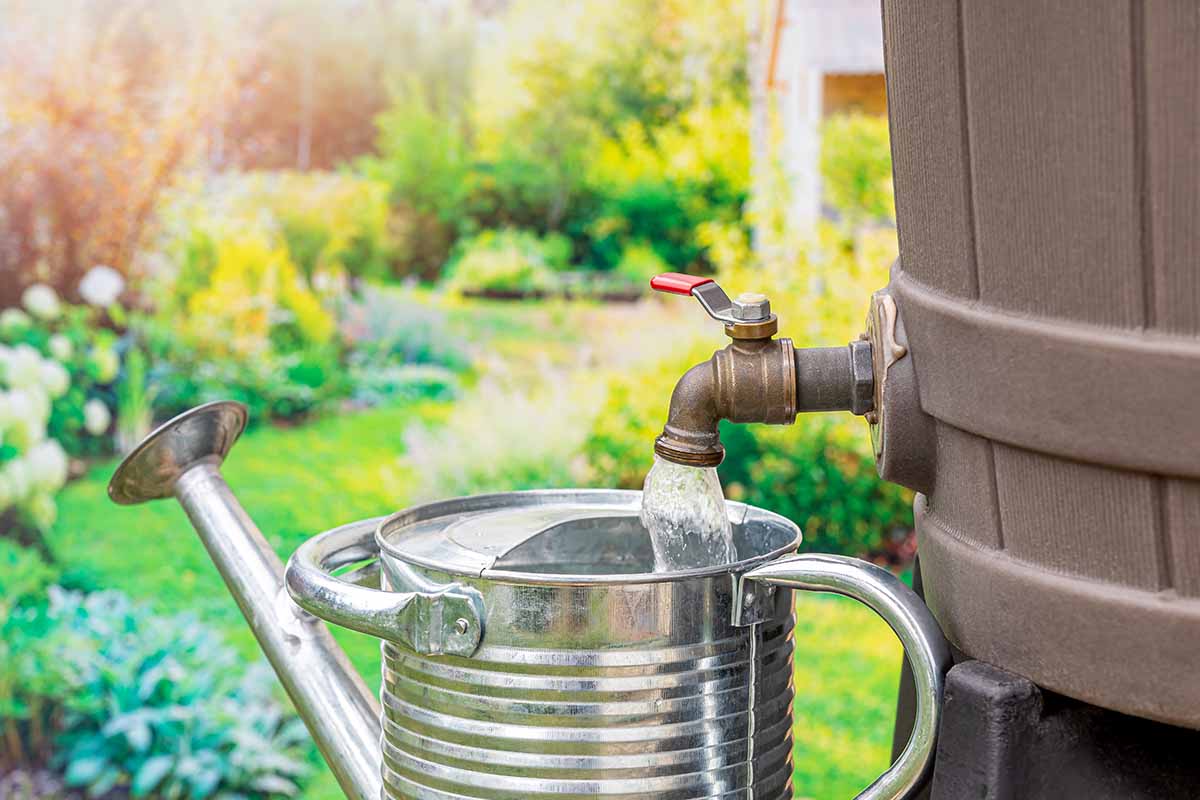
For the majority of plants, good old municipal tap water will do just fine.
If you’re worried, go ahead and leave the liquid in a container without a lid for 24 hours to let some of the chemicals evaporate.
If you have soft water, don’t use it on your plants. Soft water has salts that can rapidly build up in the soil and kill your specimen.
Some species are extremely sensitive to water quality, so for these plants, use rain, filtered, or distilled water.
The water should always be near room temperature. Cold or hot liquid can harm your plant.
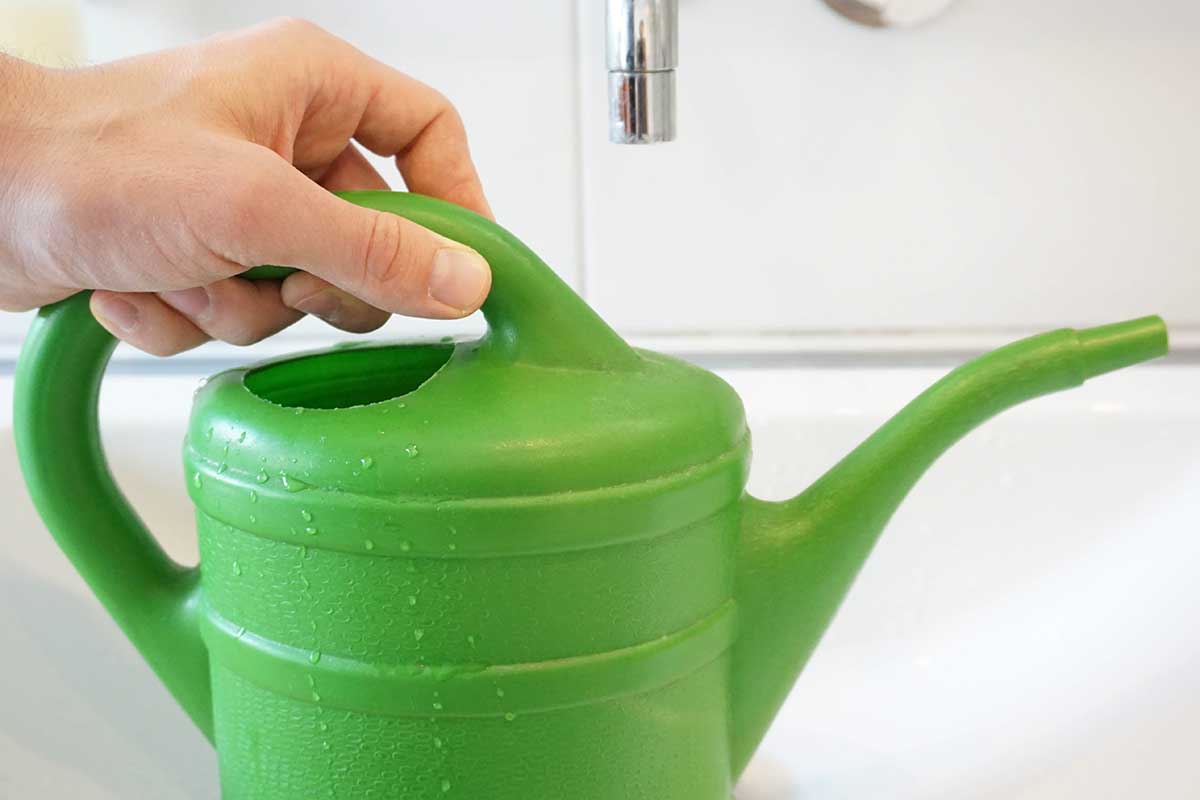
How to Water
Now for the easy part, right?
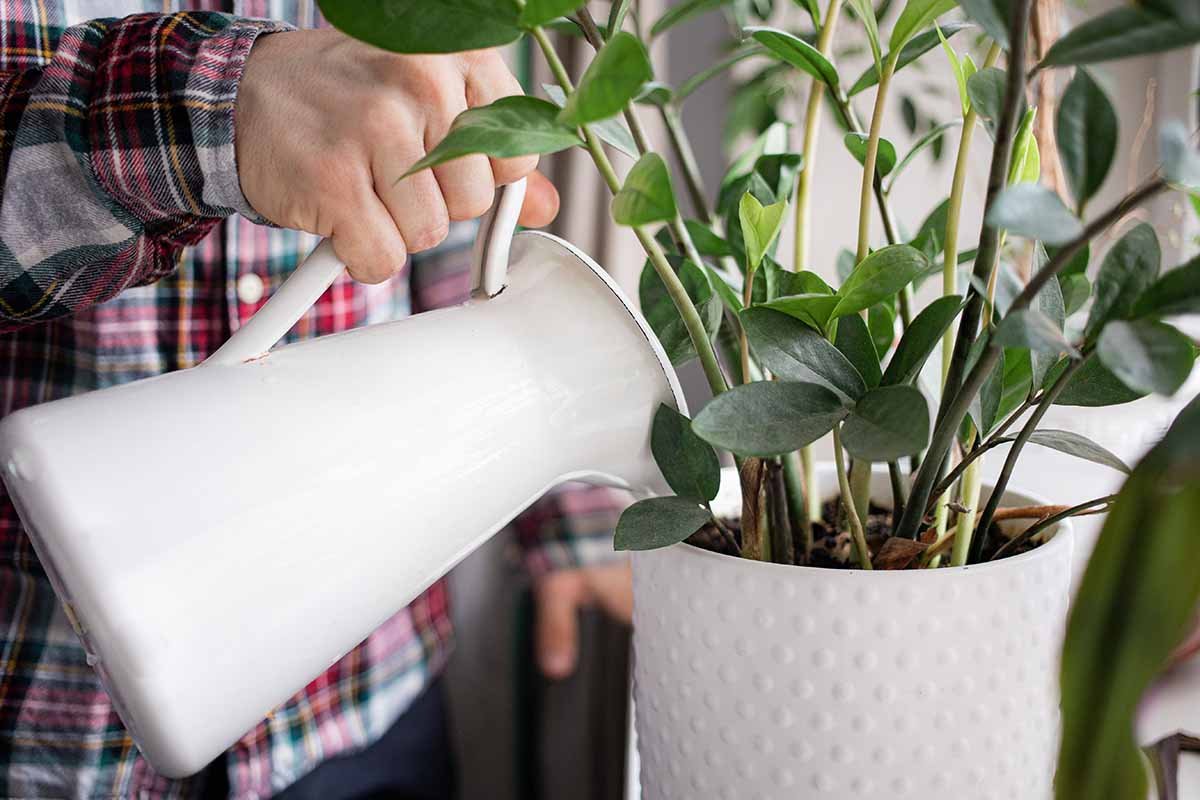
Take your watering can and fill it up. Pour the water out slowly onto the surface of the potting medium.
When you water, apply the moisture to the soil, not like rain on the foliage. Wetting the foliage can often lead to problems with fungal diseases.
Add enough water so that it starts to run out of the drainage holes at the bottom of the pot.
What’s that you say? Your pot doesn’t have drainage holes? You’re playing with fire, my friend.
Unless you’re growing a species that doesn’t mind wet feet – and very few do – a pot without drainage is going to result in standing water around the roots and will inevitably lead to root rot.
You want to make sure the soil is saturated all the way through. If you just add a little bit on the surface, it won’t reach the roots and will encourage shallow root growth, which isn’t ideal for most plants.
Wait 30 minutes after you irrigate, and then empty the outer pot or catchment saucer.
You can also use a process known as bottom watering.
This involves placing the pot in a container, bathtub, or sink with water in it and allowing the medium to wick up the moisture it needs. We have a guide that will walk you through the process.
Signs You’re Doing it Wrong
Plants usually aren’t shy about telling you the moisture situation is wrong.
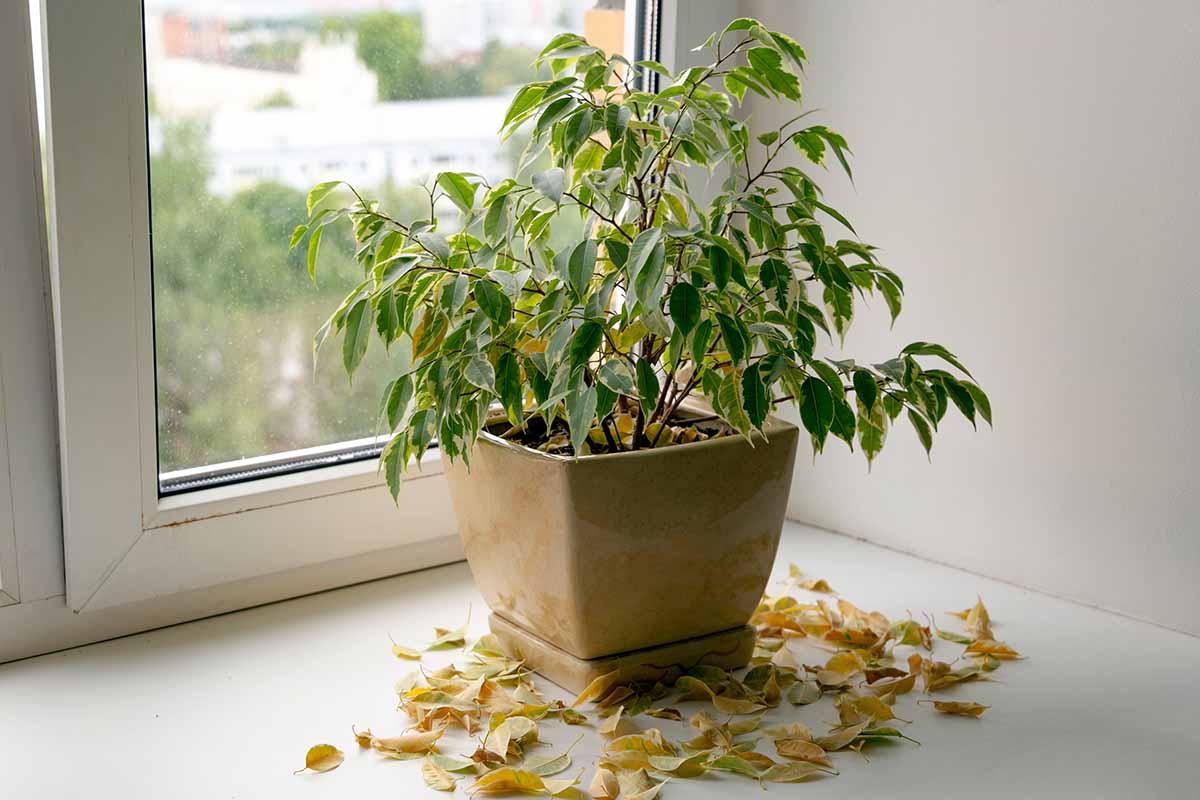
Too much typically results in yellowing leaves, brown patches on the foliage, wilting, and dropping leaves.
Under the soil, the roots turn dark or black and mushy. If you take the plant out of the container, you might get a whiff of something unpleasant.
That’s the build-up of bacteria or fungi and it smells a lot like a vase that has been holding cut flowers for a week.
Too little water results in wilting and dry foliage. If you touch the soil, it will feel extremely dry. Sometimes, this can happen if the medium has become hydrophobic as a result of allowing the soil to dry out too much and too often.
Hydrophobic soil has a waxy layer on top, so when you water, the moisture runs off and down the sides of the container rather than soaking into the medium. Either replace this medium or use the bottom watering method instead.
If your container doesn’t have drainage holes, you need to repot as quickly as possible.
Without adequate drainage, there’s nowhere for the water to escape and even if you don’t add too much, it can still stagnate in the bottom of the pot. This leads to a buildup of bacteria and fungi.
Use a container with drainage and set it inside a decorative pot instead.
In addition, please don’t put rocks or other material at the base of the pot to improve drainage. If I could get rid of one gardening myth, I think this would be it.
Adding this drainage material won’t work and it actually increases the risk of root rot. That’s because there’s a process called capillary action that causes water to pool when it encounters a different texture.
So, the water will collect at the transition between the soil and the rocks or drainage material, sitting closer to the roots, before it eventually drains down into the rocks.
Healthy Plants Start With Water
Mastering the art of watering well is probably the most crucial part of becoming an expert at caring for houseplants.
Finding the right amount, the right timing, and the right type of water for your houseplants will make all the difference in the world in their health.
What kind of houseplants are you growing? Have you run into any trouble figuring out how to water them? Let us know in the comments section below.
After you’ve mastered watering, there are lots of other skills to perfect when raising houseplants. We have a few guides you might find useful in your journey. Check these out: