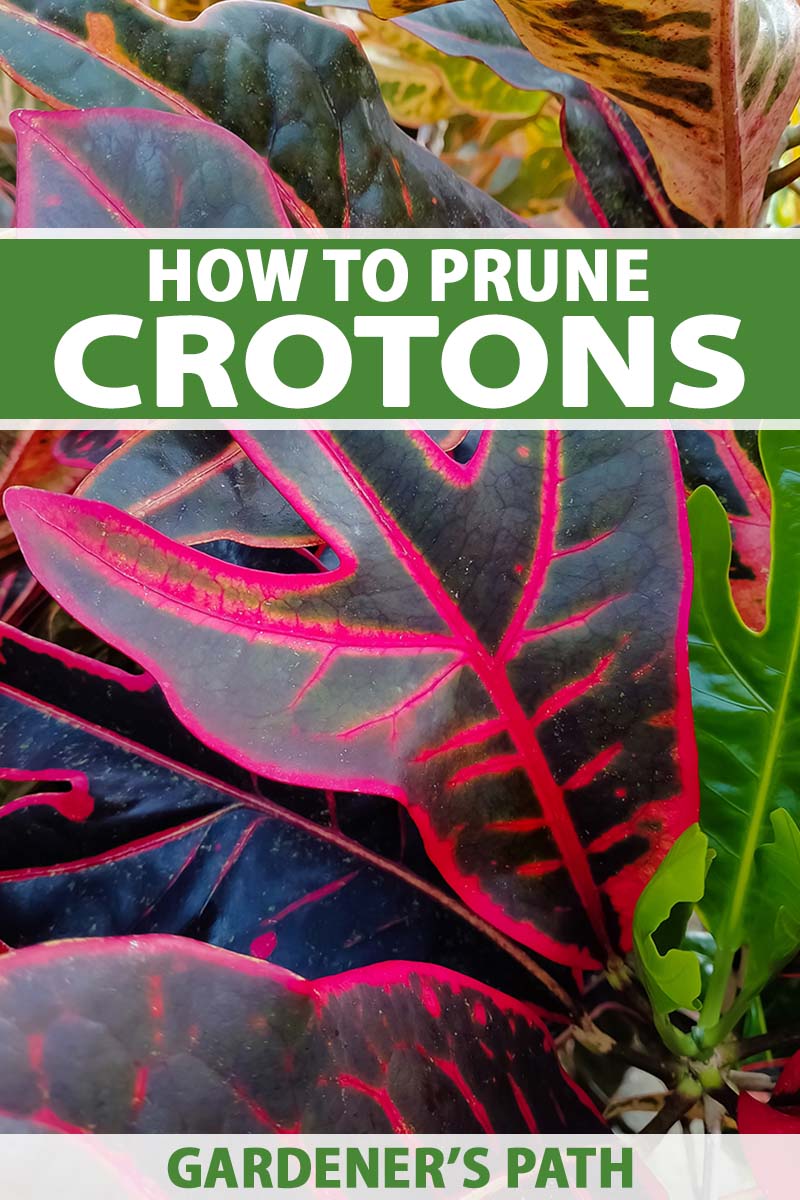
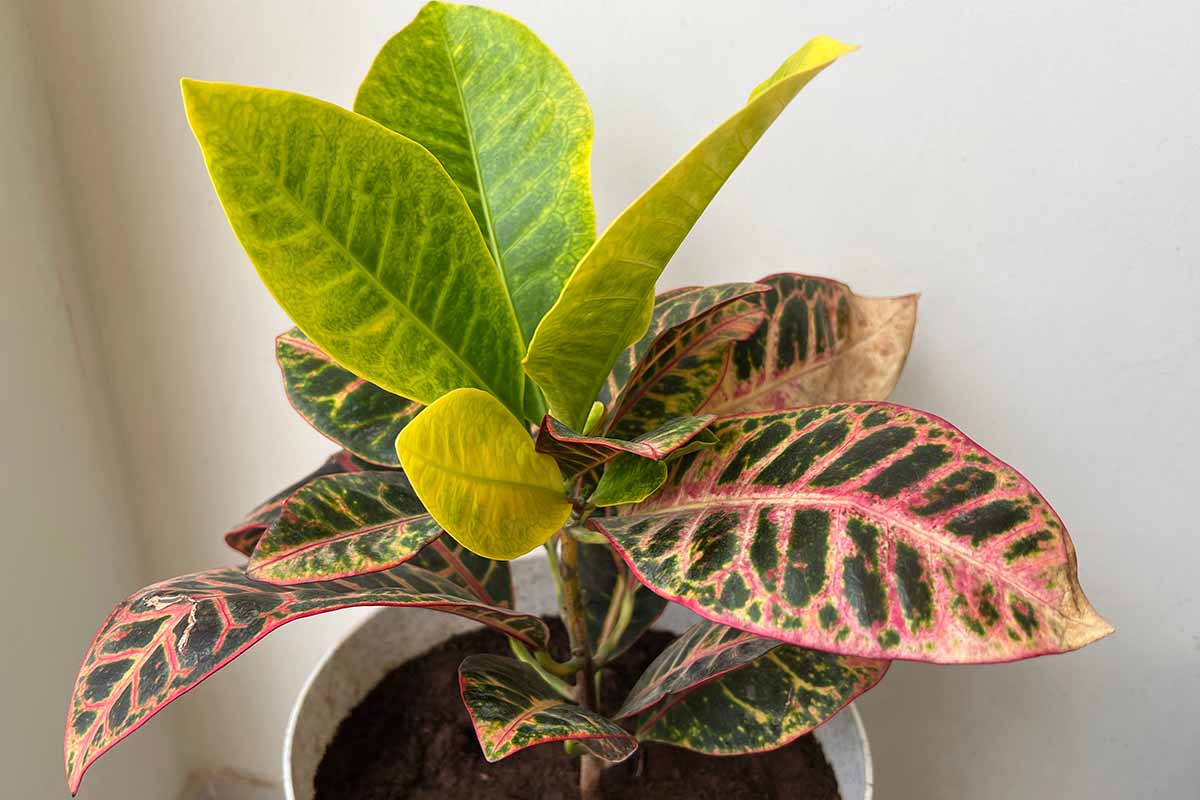
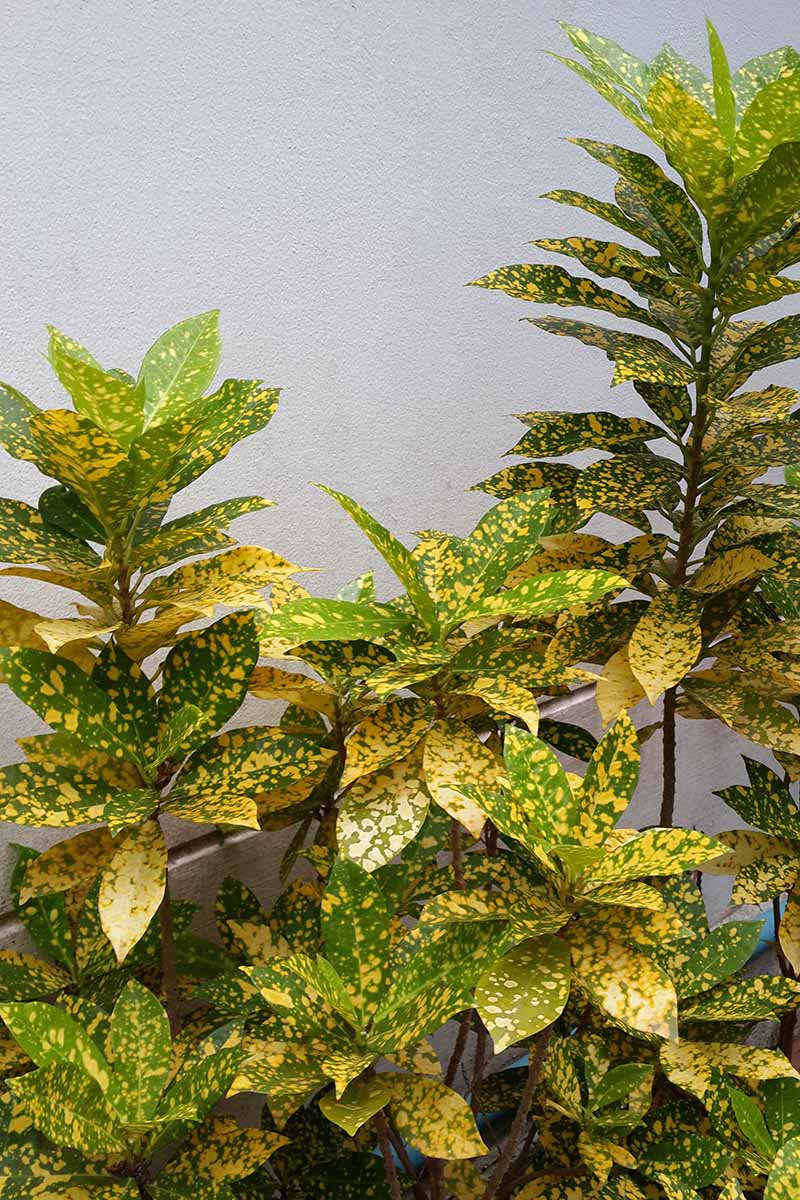
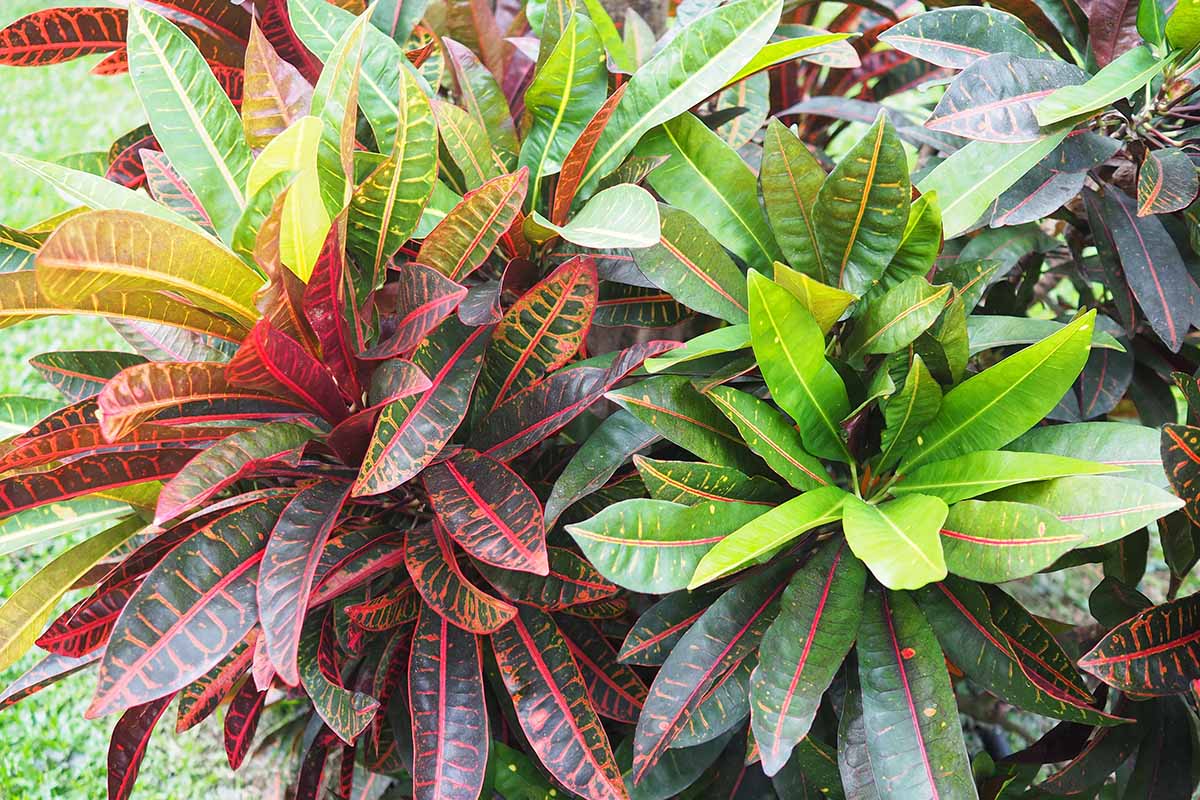
Croton, Codiaeum variegatum, a native of Australia and Southeast Asia, may be cultivated as a garden specimen or as a houseplant.
We link to vendors to help you find relevant products. If you buy from one of our links, we may earn a commission.
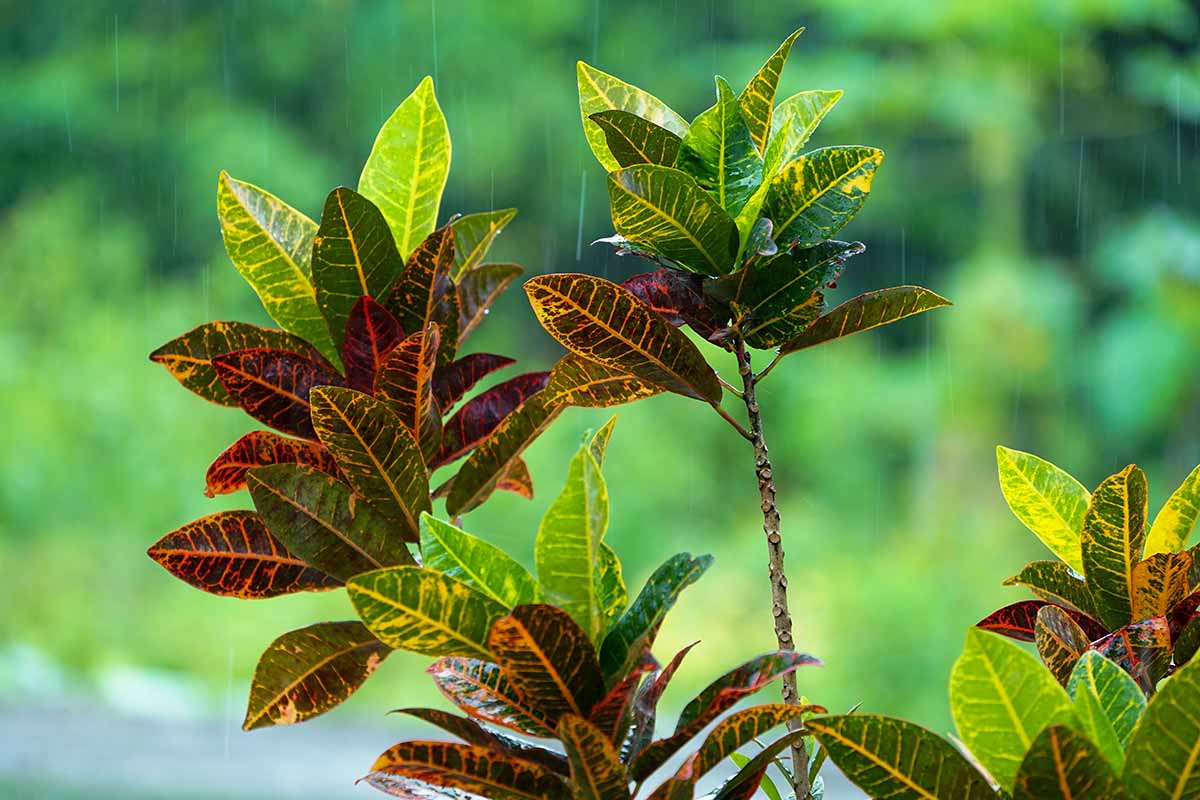
If you live in USDA Hardiness Zones 10 to 12, it makes a lush and colorful shrub that may soar to 10 feet tall.
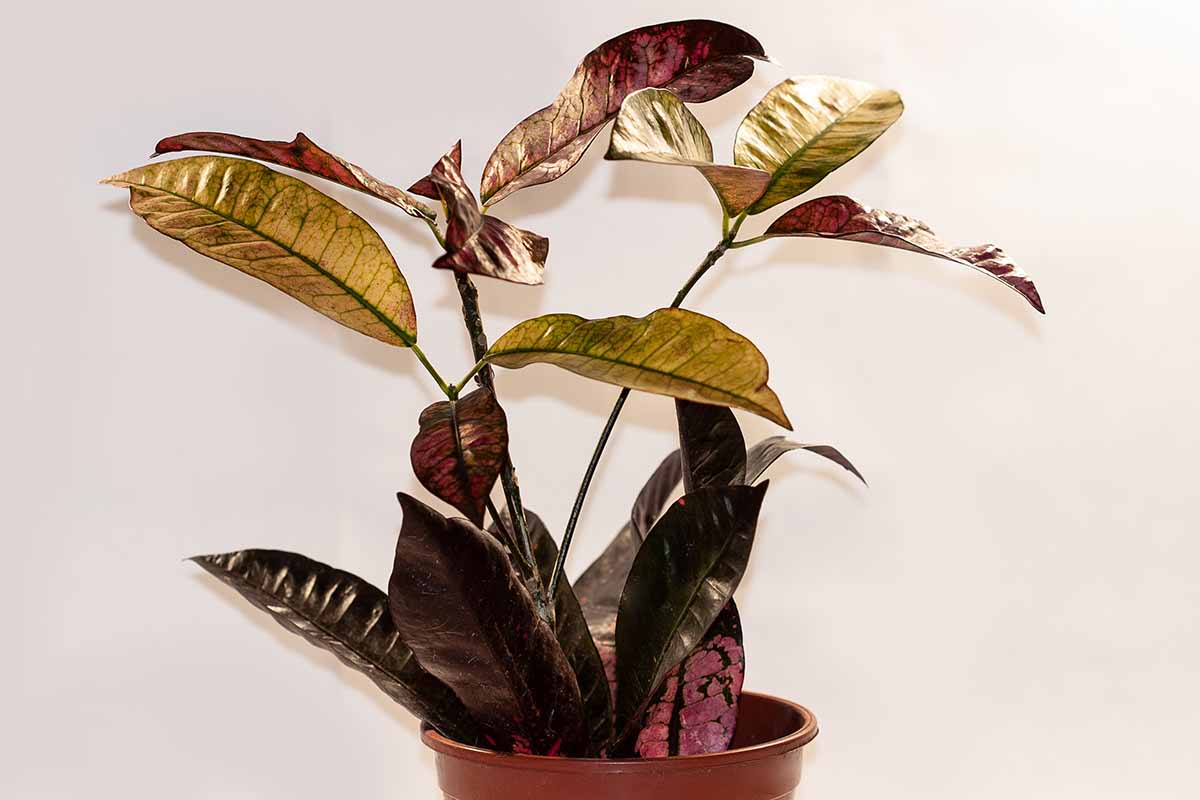
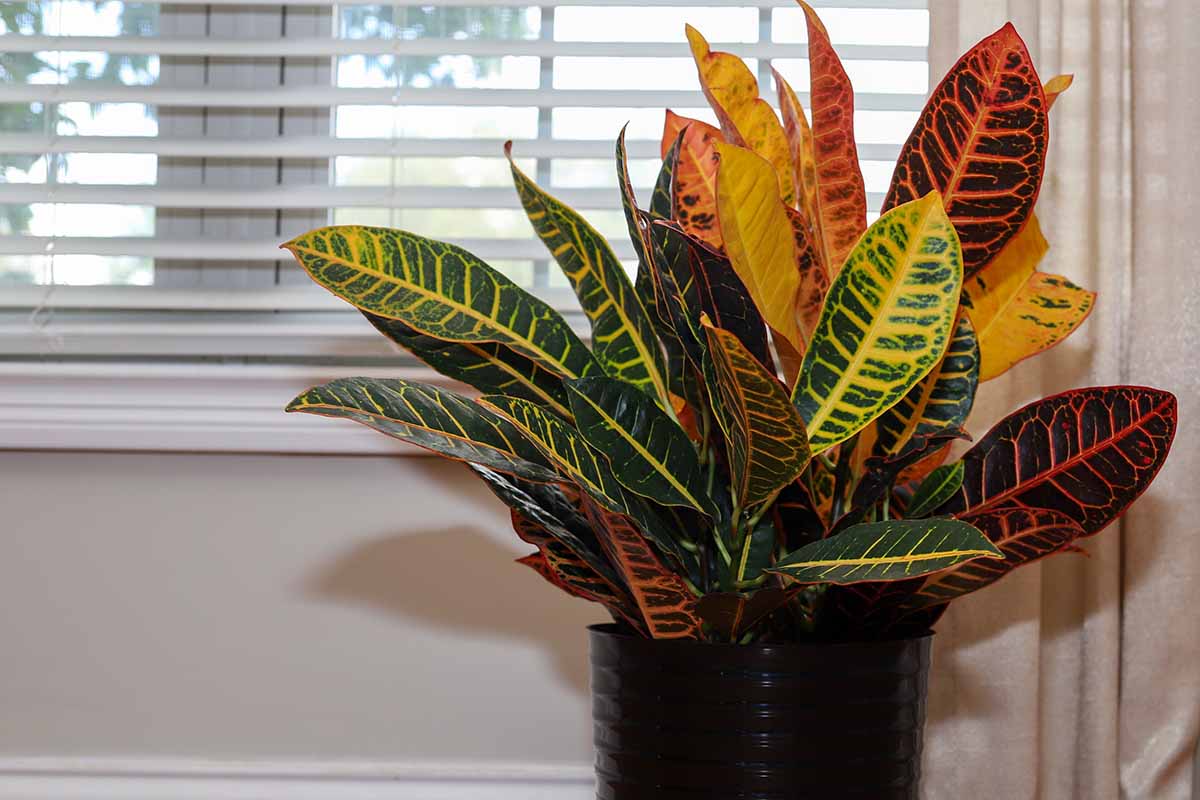
As an indoor plant, it is a substantial and eye-catching addition to home decor with a height of up to three feet.
It may not always be necessary, but there are seven good reasons for pruning crotons. And in this guide we’ll cover them all!
Ready to dig in? Here’s a preview of everything up ahead:
7 Reasons for Pruning Crotons
Pruning crotons is an optional aspect of care that we do on an as-needed basis.
The best time to prune is in the spring, when vigorous growth promotes the speediest recovery. However, you can snip stems or leaves as needed at any time.
Wear gloves to avoid contact with the milky sap, as it may irritate your skin. And sanitize your pruners before and after use with a 10-percent bleach solution, made with one part bleach to nine parts water.
When you remove individual leaves, snip the petioles or short leaf stems as close to the main stem as possible without grazing it.
To trim soft stems and woody branches, make cuts above a leaf node where a leaf currently grows or the bump where one once grew. These are natural growing points that readily regenerate.
Make all stem and branch cuts at a 45° angle to facilitate water runoff, especially for plants that spend time outdoors in the rain. Wet “wounds” are susceptible to rotting.
And finally, a good rule of thumb to minimize shock is as follows: never remove more than one-third of a plant when pruning.
Now, let’s explore the top reasons for clipping crotons.
1. Deadhead
We grow crotons for their attractive foliage. However, they sometimes produce a nondescript long stem or raceme with small, star-like yellow and white flowers clustered along its length.
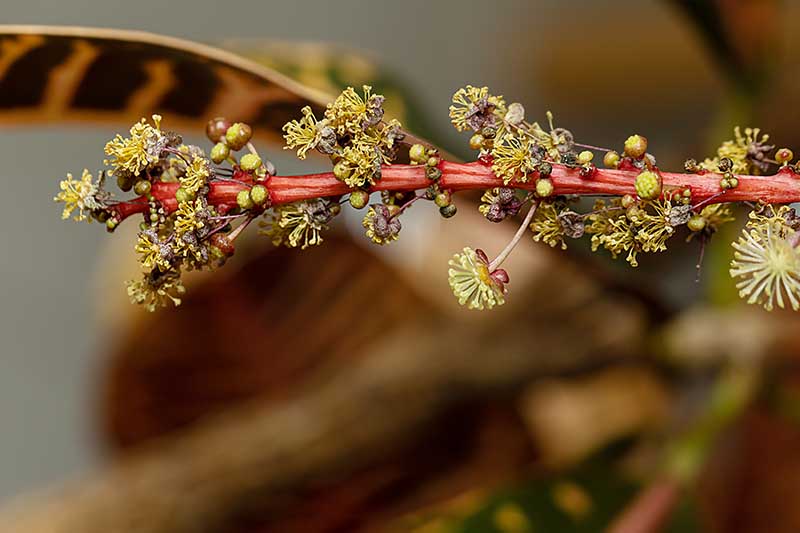
The phenomenon may occur year-round with outdoor plants but is less likely with houseplants.
Readers who have read our general guide to growing crotons know that my daughter’s lovely indoor plant honored me by blooming in her absence.
It is exciting when a rare bloomer presents its gardener with flowers – but the joy turns to annoyance as the sticky blossoms begin to drop off, clinging to the foliage before scattering on the floor below.
To avoid messy flower shedding, deadhead when the blossoms begin to fade. Use clean pruning shears to cut the entire raceme off at its point of origin and discard it.
You may choose to make this type of pruning a regular task if you cultivate outdoors in a formal setting, as it keeps the foliage and garden tidy.
2. Propagate
Another reason for pruning is to propagate new plants from existing ones.
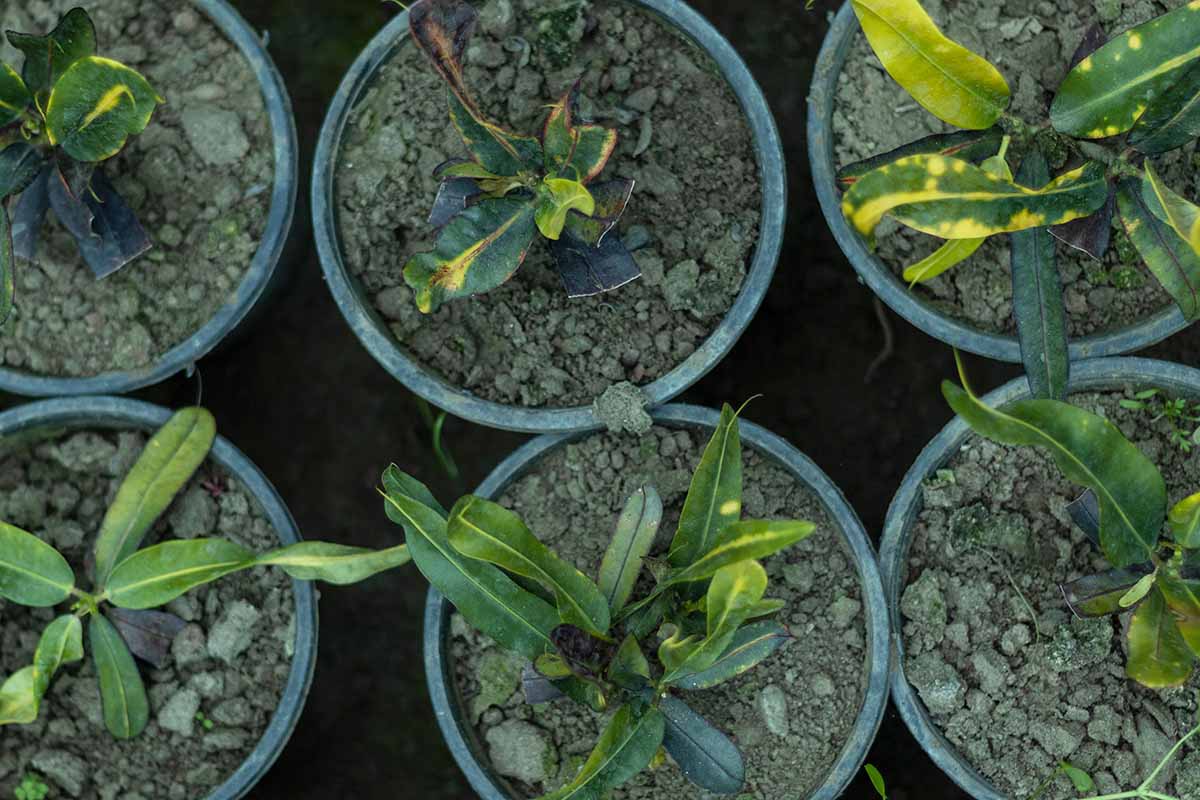
To make a new plant, snip off a length of new tip growth that’s three to four inches long with three to five leaves. It’s best to cut just above a leaf node to jump-start regrowth on the existing plant, too.
Dip the cut end in rooting hormone powder, and place it in moist potting soil.
Taking soft tip cuttings is an excellent way to start new plants for yourself or friends, and it promotes compact tip growth on the existing branch.
3. Rejuvenate
Pruning to rejuvenate is often called deep pruning. Three common reasons for it are to:
- Stimulate growth on woody old branches.
- Refresh after neglect.
- Salvage after severe pest infestation or disease.
With a temperamental species like C. variegatum that sheds its leaves at the first sign of discomfort, it is crucial to take deep pruning slowly.
Refresh one-third of the branches by cutting them back to their points of origin at the main stem.
Alternatively, you can cut one-third off of all the branches for a more uniform appearance.
Once the cut stems develop new leaves, this is an indication that the shock has worn off and it’s safe to prune again.
It may take a few years of gradual trimming to completely refresh a large croton.
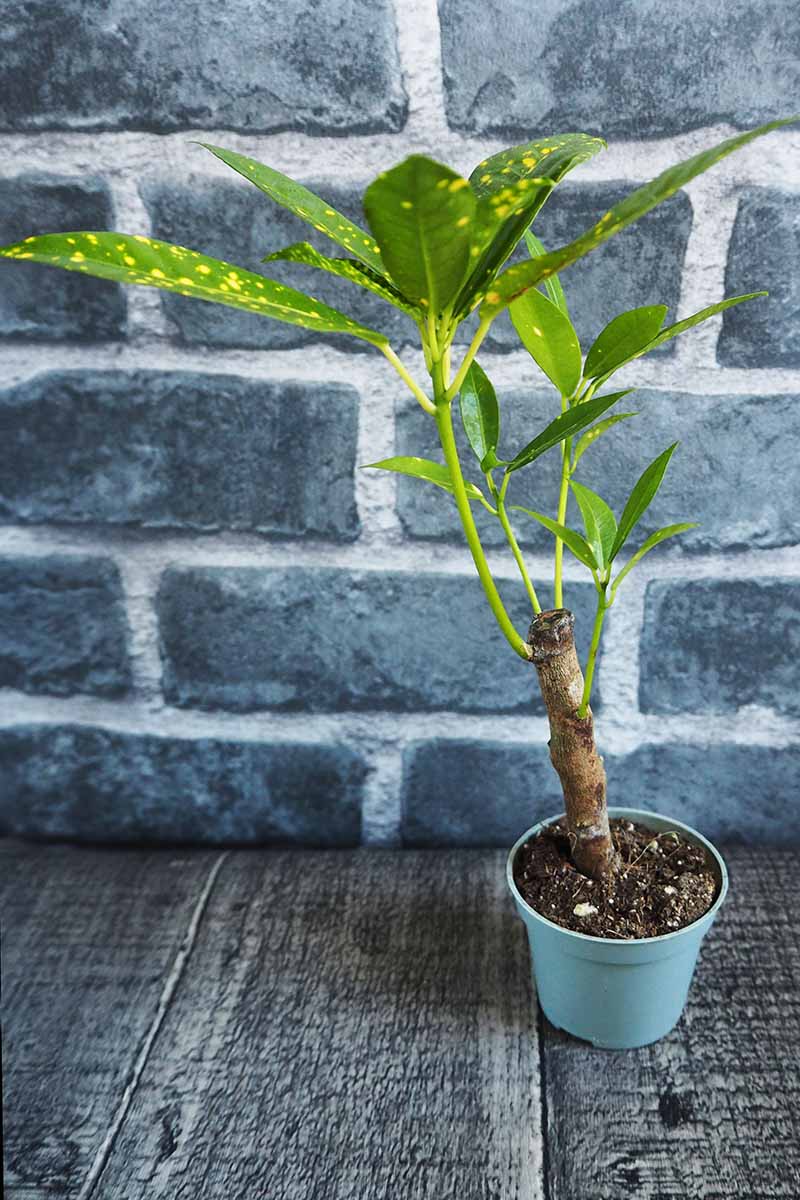
4. Remove Damaged and Dead Foliage
Healthy flora is not prone to pests or disease, but you may occasionally have to deal with an infestation or infection.
Pests like mealybugs, scale, and spider mites, and diseases like anthracnose and powdery mildew, may leave you with damaged foliage.
To remove individual leaves, snip them off at their base, as close as you can get to the stem without injuring it.
For entire branches, trim them back to their point of origin, again avoiding injury to surrounding plant tissue.
Address extensive damage gradually, as we did above.
5. Rebalance
As crotons age, the bare, leafless lower stems may become heavily burdened by top growth.
Besides being visually unbalanced, top-heavy bulk may cause leaning and branch breakage.
Selective pruning restores balance that is both pleasing to the eye and supportive of optimal health.
Select the most top-heavy branch and reduce its height by one-third. When it regrows, you can reduce it by up to one-third again as desired to achieve physical and visual balance.
Repeat the process with other branches as needed to maintain a well-proportioned specimen.
Resist the urge to rush the process. Wait for new growth to appear before making your next round of cuts to avoid severe shock and a potential failure to recover.
6. Shape Artistically
We talk a lot about the bare, leafless stems on older crotons. Some folks like to prune them to generate new growth that is more compact.
But others like to preserve the tree-like bare stems and concentrate on pinching back the leafy tips, for an appearance that reminds me of a desert Joshua tree.

Use your pruners to tip-prune as we did above for this style.
In addition to achieving mature dimensions with a tree-like shape, some clever folks train crotons in the bonsai tradition, creating miniature versions of the species with great patience and years of selective wiring and pruning.
You can read about crafting and cultivating bonsai in our guide.
7. Sustain Bushy Growth
For plants that are bushy and branching instead of leggy and sparsely leafed, cut off the growing tips of the main stem or stems annually.
Remove the same length from each stem, up to one-third, for a uniform appearance.
As C. variegatum matures, the stems become woody like tree trunks, and the lowest leaves drop off.
To change the appearance of an older specimen with bare legs, you can cut the leafless branches back to desired lengths to encourage new growth.
Be sure to do so gradually to minimize shock.
You may want to cut them all to the same length, or vary the lengths for an asymmetrical look, using the one-third max rule of thumb as a guide.
When the new foliage is well established, you can maintain it with yearly tip-pruning to encourage bushiness.
Another reason to prune is to reduce leggy stems. When a branch “goes rogue” and extends beyond the length of the others, it creates a visual and often physical imbalance.
In this case, you can prune wayward stems to a length that is more aligned with neighboring branches.
If your croton is multi-stemmed and dense instead of being woody and sparsely leafed, you may find that you need to thin it out to allow the leaves to fully unfurl. Opening up a dense clump also improves airflow and inhibits fungal disease.
Use your clippers to cut one or more stems from the center and random stems throughout the interior of the clump to give the rest of the foliage more room.
Cut them as near their points of origin as you can go without damaging neighboring foliage.
And don’t forget that cuttings removed while pruning can often be propagated to start new plants!
Prune Judiciously
Pruning crotons requires attention to detail and deliberate, individual cuts.
We don’t use loppers to chop multiple branches simultaneously, as with formal hedge clipping, or drastically downsize at season’s end, as with a spirea or hydrangea.
Instead, we assess the need for a trim, deliberate about which stems to cut, minimize shock by using the one-third rule, and wait patiently for regrowth after the stress subsides.
And while it is optional, as we’ve covered here, there are plenty of good reasons for pruning.
Be sure to prune judiciously to maintain your plant’s best health and appearance, and enjoy the beauty of your croton!
Do you prune your croton? Let us know in the comments section below!
If you found this guide informative and want to learn more about pruning houseplants, we suggest the following next:


Very informative and well written. My croton is 28 years old and now, for the first time, it started losing its volume. I hope I can revitalize it with these instructions.
Thank you.
Hello Vasco –
We are glad you found the article informative and wish you the best of luck with the revitalization of your senior plant.
28 years old is truly remarkable. Mine struggle badly with spider mites, it’s an ongoing battle. I mist them every day but it’s a full time job lol. Today I came into all the leaves (about 12) on one branch of the plant all drooping and dead. The rest of the leaves were all fine. I checked the lower part of the branch and it’s still green so I’ve pruned it right back and fingers crossed.
I salvaged a very small croton plant from a mixed gift pot for my wife. It was barely 12 inches in height. Now- it’s almost 6 foot, but in a bush about 4 feet across. We live in zone 3. It has to be taken outside in the spring or it seems to struggle to live (possibly due to its size) We need to prune this thing back before I need to remove a door to get it out. I really hate killing plants. Thanks for the article. Very insightful.
Hi Erick –
We’re glad you found the article informative. It sounds like you are the croton whisperer. Enjoy!
I have a Croton that was my mom’s, circa 1970’s. It is huge and unwieldy and I need to prune it as it is taking up so much space. This plant has only been watered weekly, replanted twice while I’ve had it, never pruned and it has been very healthy. Thanks for the article, and I hope I can work up the nerve to cut it back a bit. I was hoping for a professional to come and do this but I have been unable to find someone.
Hi Linda –
It’s amazing to have a family heirloom plant, and your concerns about pruning are valid.
Croton does react – often dramatically – to drastic changes, including pruning.
If you contact a local university with an agricultural extension and Master Gardener program, you may be able to get the name of someone who can help you.
Help
Hi Chris – Thanks for reaching out. Your croton has three leggy stems that will benefit from gradual pruning for a more compact form. The low growth in the foreground is ideal. Take it one tall stem at a time, removing no more than one-third of the length to avoid severe shock. Remember that croton reacts dramatically to stress and grows very slowly. As the first stem recovers it will produce new lateral growth. Let it develop a flush of leaves and enjoy stability for a few months before addressing the next tall, bare stem. Your croton has lovely glossy… Read more »
Hi–My 6-year-old croton looks beautiful and bushy and healthy but for two years was facing low light on one side so grew toward window light and now thick branch and leaves have a 30-degree angle and I worry it will fall out of pot. How can I straighten it? I am now in a different apartment and can rotate it to east light in morning and west light in afternoon if that is a good idea? It is so lovely and I tell it I am sorry I did not understand enough about light before!
Hi Regina –
A mature, woody stem is not going to yield to attempts to straighten it as a young, pliable one might.
Instead, prune off up to one-third of the total length of the stem. With the tip removed, new growth should grow vertically. Because crotons are sensitive to change, it will take time for your plant to recover.
You may need to use stakes and string to guide growth in the desired direction.
Rotating the pot is an excellent way to provide bright, indirect sunlight and promote upright growth.