Whether you dream of growing your own coffee beans for roasting or just want to create more houseplants from an existing coffee plant, it all starts with the seeds.
Yep, those same cherries that give us the cup of Joe so many of us can’t live without can also provide us with new plants to enjoy.

We link to vendors to help you find relevant products. If you buy from one of our links, we may earn a commission.
You can buy seeds or harvest them from an existing plant. Either way, you can sprout them and start new coffee plants to enjoy.
Maybe your goal is to start a mini coffee farm or perhaps you just want more plants to enjoy –and share!
Here’s the process:
How to Sprout Coffee Beans
The coffee bean that you grind and process into coffee is botanically a pit or seed, and what we call the coffee berry is technically a drupe.
Cherries and peaches are drupes, as well. There is no coffee “berry” or “bean,” but we all commonly refer to them that way, so I will continue to do so in this guide.
This process can be started in winter, anytime from late November to early February in the Northern Hemisphere, though you can begin it at any time and just plan to keep the plant indoors until the weather is perfect – which might mean waiting until the following year to plant out.
If your plant stays inside full-time, you can start this process whenever you want.
If your hope is to grow your own beans to produce your own coffee, know that plants produce the best tasting beans at a high elevation. Low-elevation beans are typically mild to bland in flavor.
Once you move above 3,000 feet or so, the beans start to take on a sweet flavor. Above 4,000 feet, and you get those chocolate and citrus notes. Top 5,000 feet, and the fruity, berry, and spicy notes happen.
Terroir matters, and commercial growers spend a lot of time and money figuring out how to nurture the flavor that we love so much in our morning coffee.
You can probably grow enough plants to supply yourself with some coffee, but it probably won’t taste like the beans you’re accustomed to unless you garden at a high elevation.
Source Your Seeds
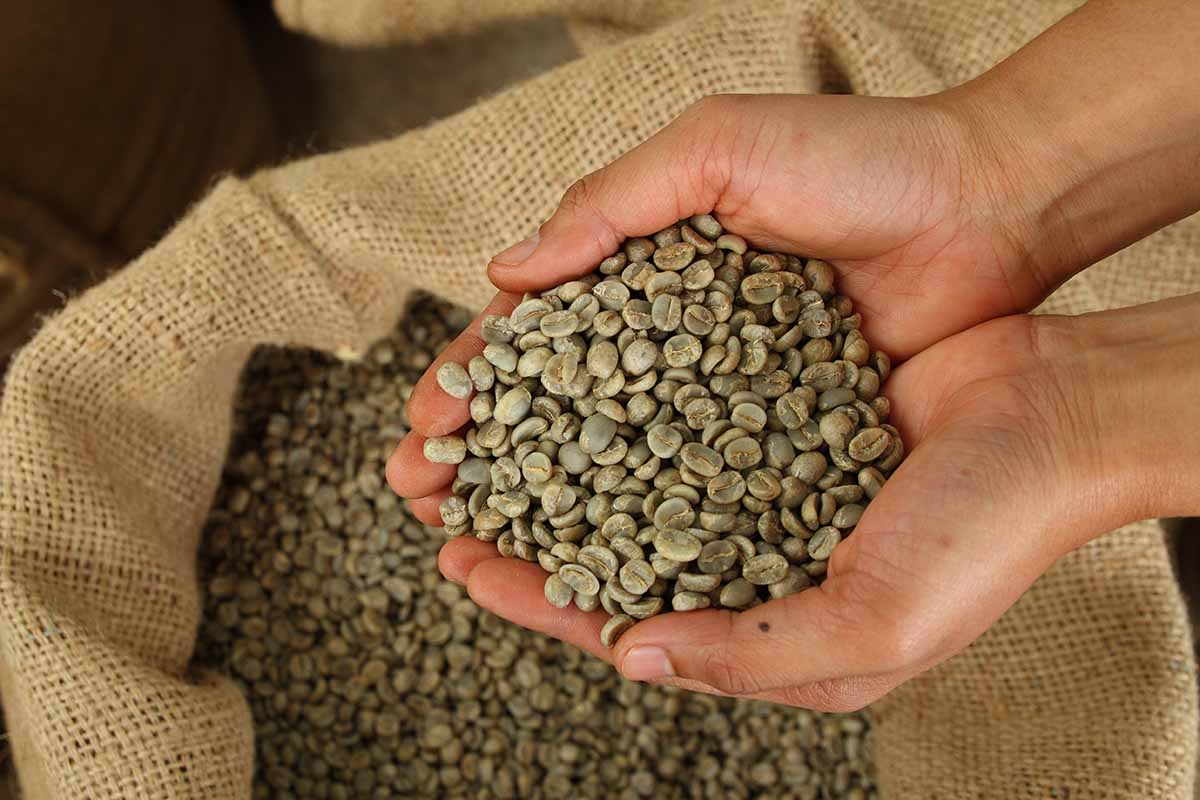
You can’t plant the processed coffee beans that you use to make your morning cup of Joe. Those beans have been roasted, killing the seeds. They sure taste good, though.
Instead, you can either harvest a ripe drupe if you have access to them, or you can buy the seeds.
If you have a coffee plant and it isn’t blooming already, you can encourage it to do so.
Coffea species grown as houseplants don’t always bloom and produce fruits. A plant that is five years old or younger isn’t mature enough to bloom, either.
If your plant is old enough, you need to give it the same conditions it would have in the rainforests where it grows indigenously in order to encourage fruiting.
These plants are self-pollinating, but pollinators will increase the number of fruits produced, so plants growing outdoors are typically more productive.
The temperature should be between 65 to 75°F with humidity between 50 and 75 percent. The exposure should be dappled shade outside, or bright, indirect light indoors.
In either case, some direct morning sun won’t go amiss. Too little light is the main cause of a lack of flowering.
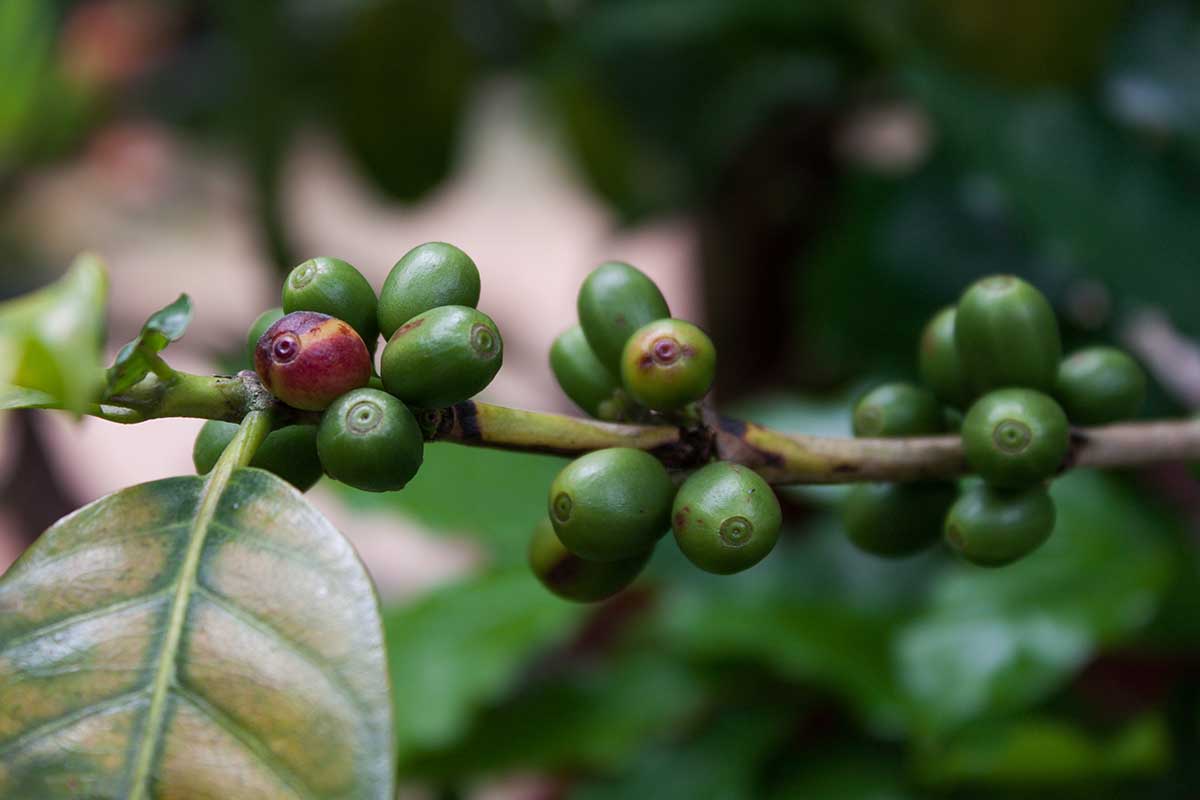
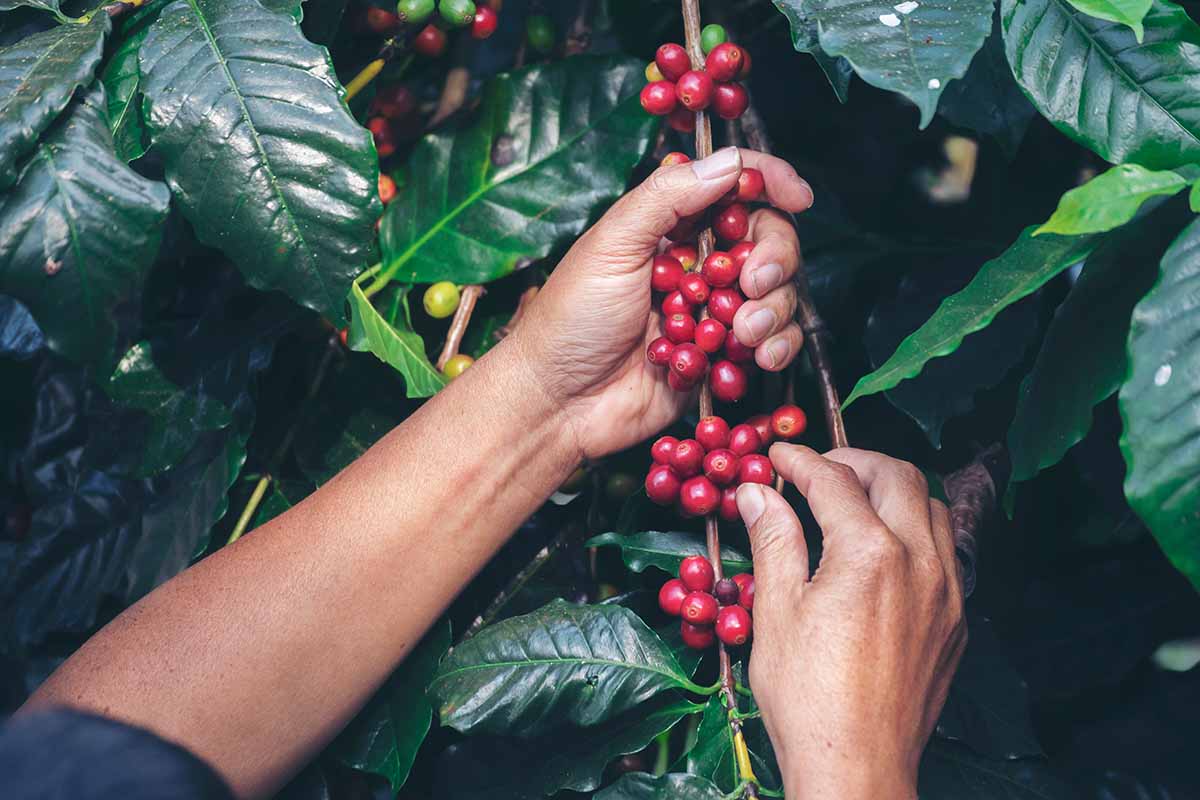
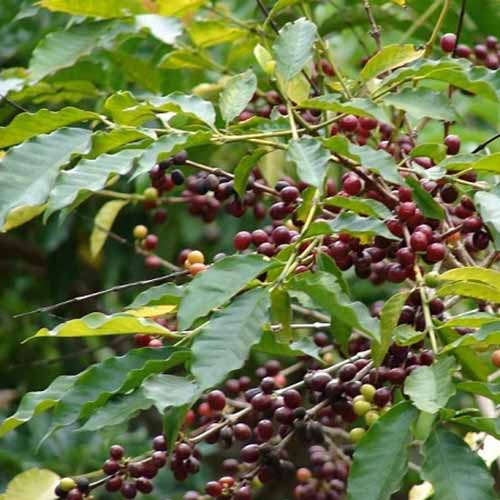
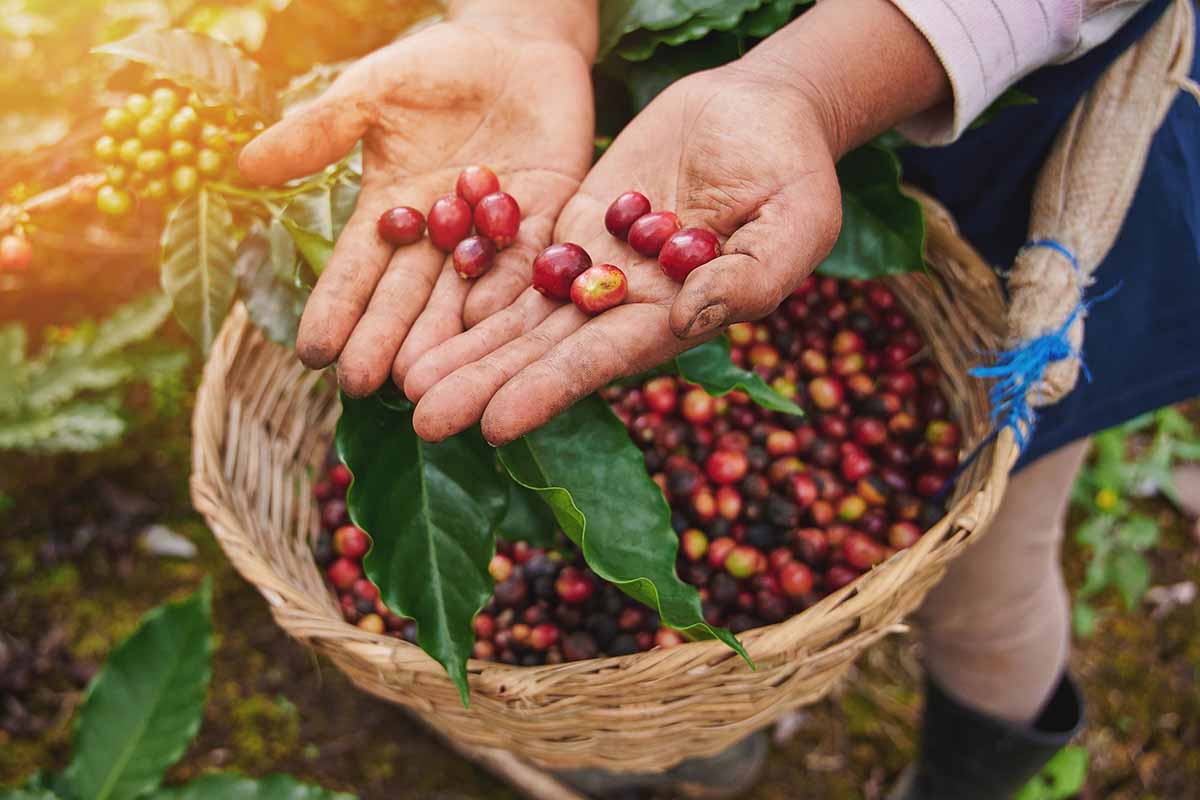
Once the flowers, followed by berries form, let the berries turn dark red. If the skin starts to wrinkle, it’s definitely time to harvest.
To harvest the seed, peel away the fleshy exterior of the drupe and wash the seed in water to remove any of the yellowish pulp. There should be two seeds per drupe – these are the “beans” that would be roasted and turned into your favorite flat white or cortado.
The seed will be covered in a bit of parchment, but don’t worry about removing that.
You could also simply purchase them – coffee seeds become far more common than they used to be.
For example, you can buy them at Eden Brothers in a variety of package sizes.
Just be aware that seeds over three months old rapidly lose viability. Sellers should guarantee their product or at least provide the harvest date.
Prepare the Seeds
First things first, we need to determine which seeds are viable and which aren’t. To do this, put them in a glass of water. Any that float are dead or too old to germinate, and you can dispose of them.
If you harvested your own seeds, place the viable ones on a screen or cloth and put them in a warm spot out of direct sunlight. Allow them to dry until they feel like they weigh about a third of what they did when you harvested them.
You can also use a fingernail or your teeth to gently press on the parchment, which is the outer skin around the seed.
The outer skin should feel dry, but the inside of the seed will still be soft. At this point, you can store them in an airtight container for a few weeks.
If you can sow right away, even better.
Once you’re ready to sow, soak the seeds for 24 to 48 hours in room-temperature water.
How to Sow
Before the seed meets the dirt, there’s just a little more work to do.
Fill some four-inch pots – one for each seed – with equal parts seed-starting mix and sphagnum moss and moisten it.
Press the seed into the soil so that the long, flat side is facing down. Don’t cover it with too much soil, the seed should be sown no deeper than it is long.
Place the pots in an area with bright, indirect light and keep the medium moist at all times. It should always feel like a well-wrung-out sponge, and the top of the soil should never be allowed to dry out.
You can cover the pots with clear plastic to help keep the moisture inside. If you do this, you might find that you rarely need to water.
Watch for any mold or fungus formation. If you see any, lightly spray the soil surface with a 10 percent bleach solution – a mixture of one part bleach to nine parts water – every other week.
Don’t let the temperature drop below 65°F at any point. If you need to, you can use a heating mat.
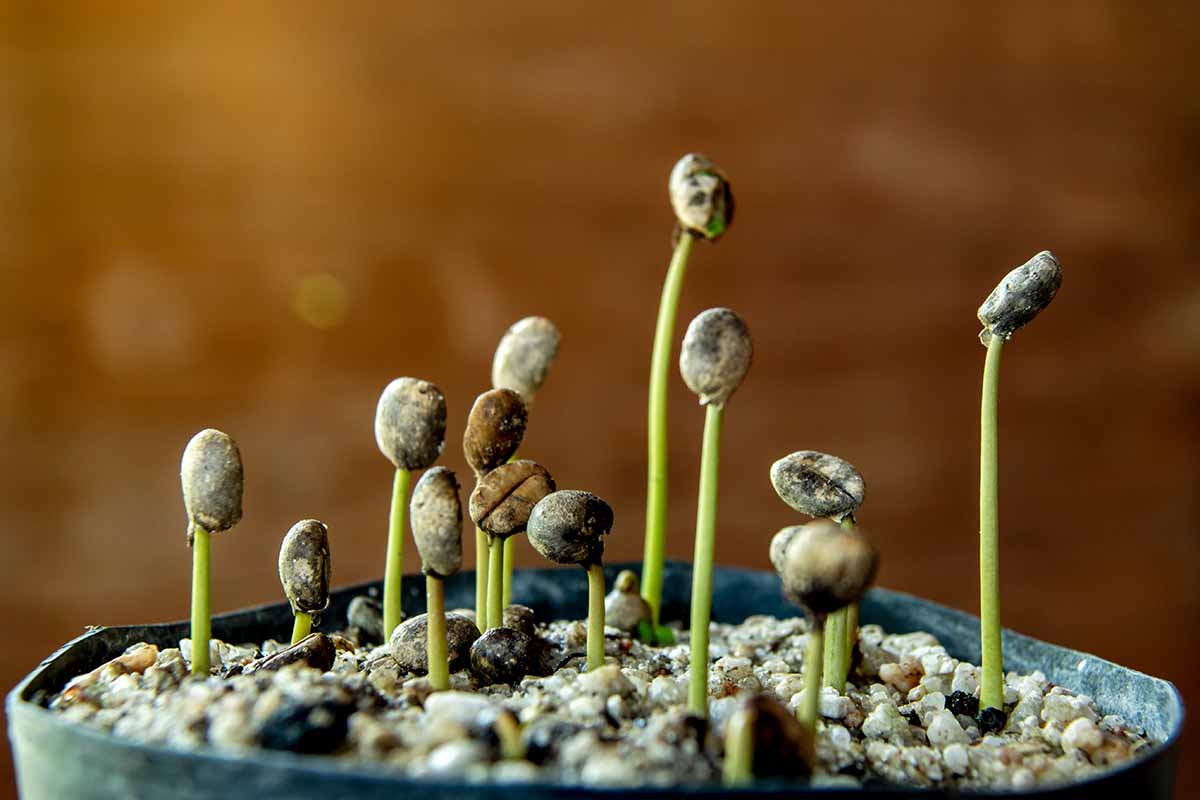
Coffee seeds take a long time to germinate, fresh seed can take about eight weeks to pop up, but older ones might need a full 24 weeks to sprout.
How to Grow
The moment you see green shoots emerge from the soil, after you finish celebrating, remove the clear plastic if you used it. No more spraying with the bleach mixture, either.
A little direct morning light won’t go amiss at this point.
At first, the baby plant will have two oval-shaped cotyledons, followed quickly by a terminal bud. That bud will turn into a stem from which two true leaves will emerge. Be patient, this can take anywhere from 10 to 25 weeks.

When this happens, it’s time to start feeding the seedlings. Use a mild, balanced fertilizer once a month until the plants are large enough that they are outgrowing their containers.
You’ll know it’s time to transplant if you see roots coming out of the drainage holes or circling the pot. If the plants are a foot tall, it’s definitely time to transplant.
To transplant, gently remove the seedling from its container and set it in a larger pot filled with standard potting soil.
Or, if you’re planning to grow the plants outside, harden the seedlings off for a week before planting them in their permanent homes.
Hardening off is a simple process of taking the plants outside to an area that has the same light and wind exposure as the future growing area.
Leave them there for an hour and bring them back in.
Each day, add an hour of outside time. After a week, you can plant them in the ground.
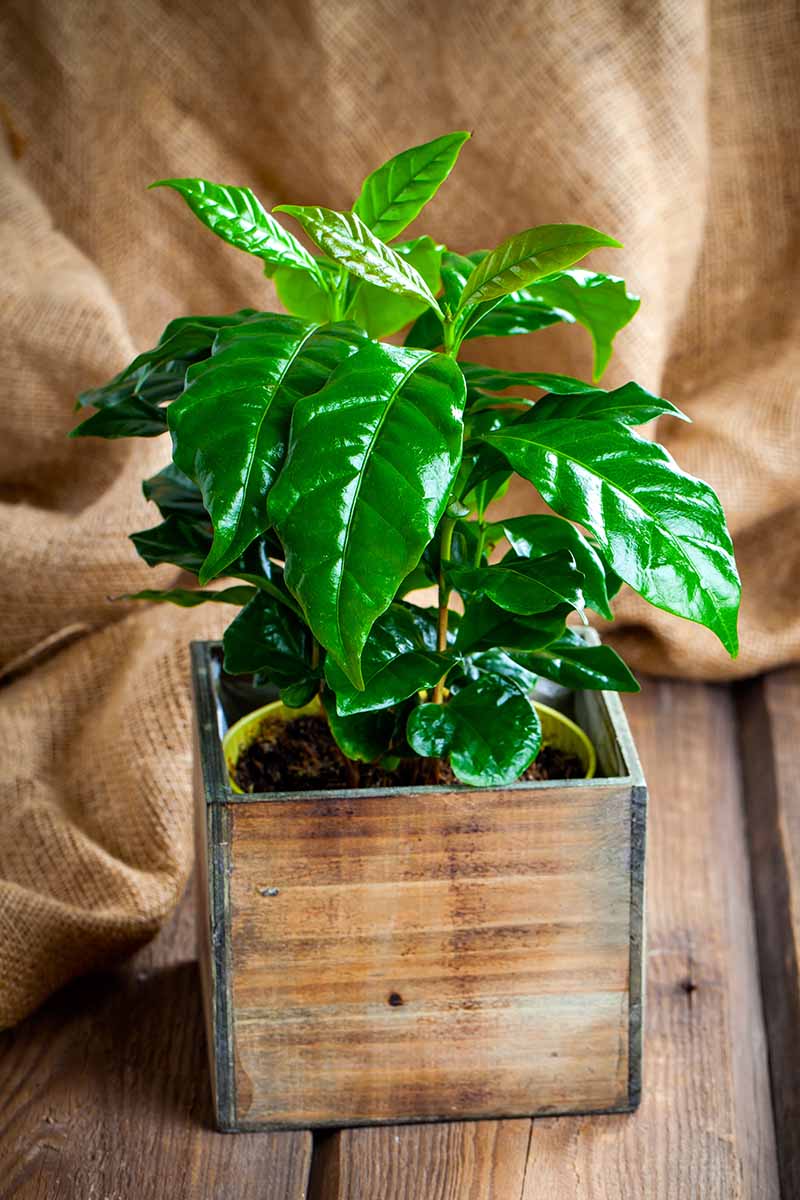
Now, you can care for them as you would a mature coffee plant, which we cover in our guide.
Grow Your Own
There’s something so fulfilling about growing your own plants from seed. I think that goes double for Coffea species. Being able to master the plant that brings me my wake-up cup in the morning is exciting.
What is your plan? Are you going to try and grow your own coffee beans? Just looking to see if you can propagate a few plants? Share your ideas in the comments section below.
And for more information about growing houseplants, add these guides to your reading list next: